

Page 1

ProofReady Plugin for 6-Color
HP Printers- Quick Reference
Guide
1 Introduction
The ProofReady plugin for 6-Color HP printers, version 1.0, is supplied with
calibration profiles and pre-configured color setups that allow instant color
management, hence the name ProofReady.
This document contains the following sections:
• “Supplied profiles” details the calibration profiles and color profiles
provided with the plugin.
• “Getting Started” describes how to produce color managed output
using the supplied profiles.
• “Calibration” explains how to improve the quality of output by re-calibrating for the actual printer.
For further details on how to use the plugin, refer to the full manual, entitled
ProofReady Plugin for 6-Color HP Printers.
AG50325P3 Rev. 3
1
Page 2
2
•
ProofReady Plugin for 6-Color HP Printers- Quick Reference Guide
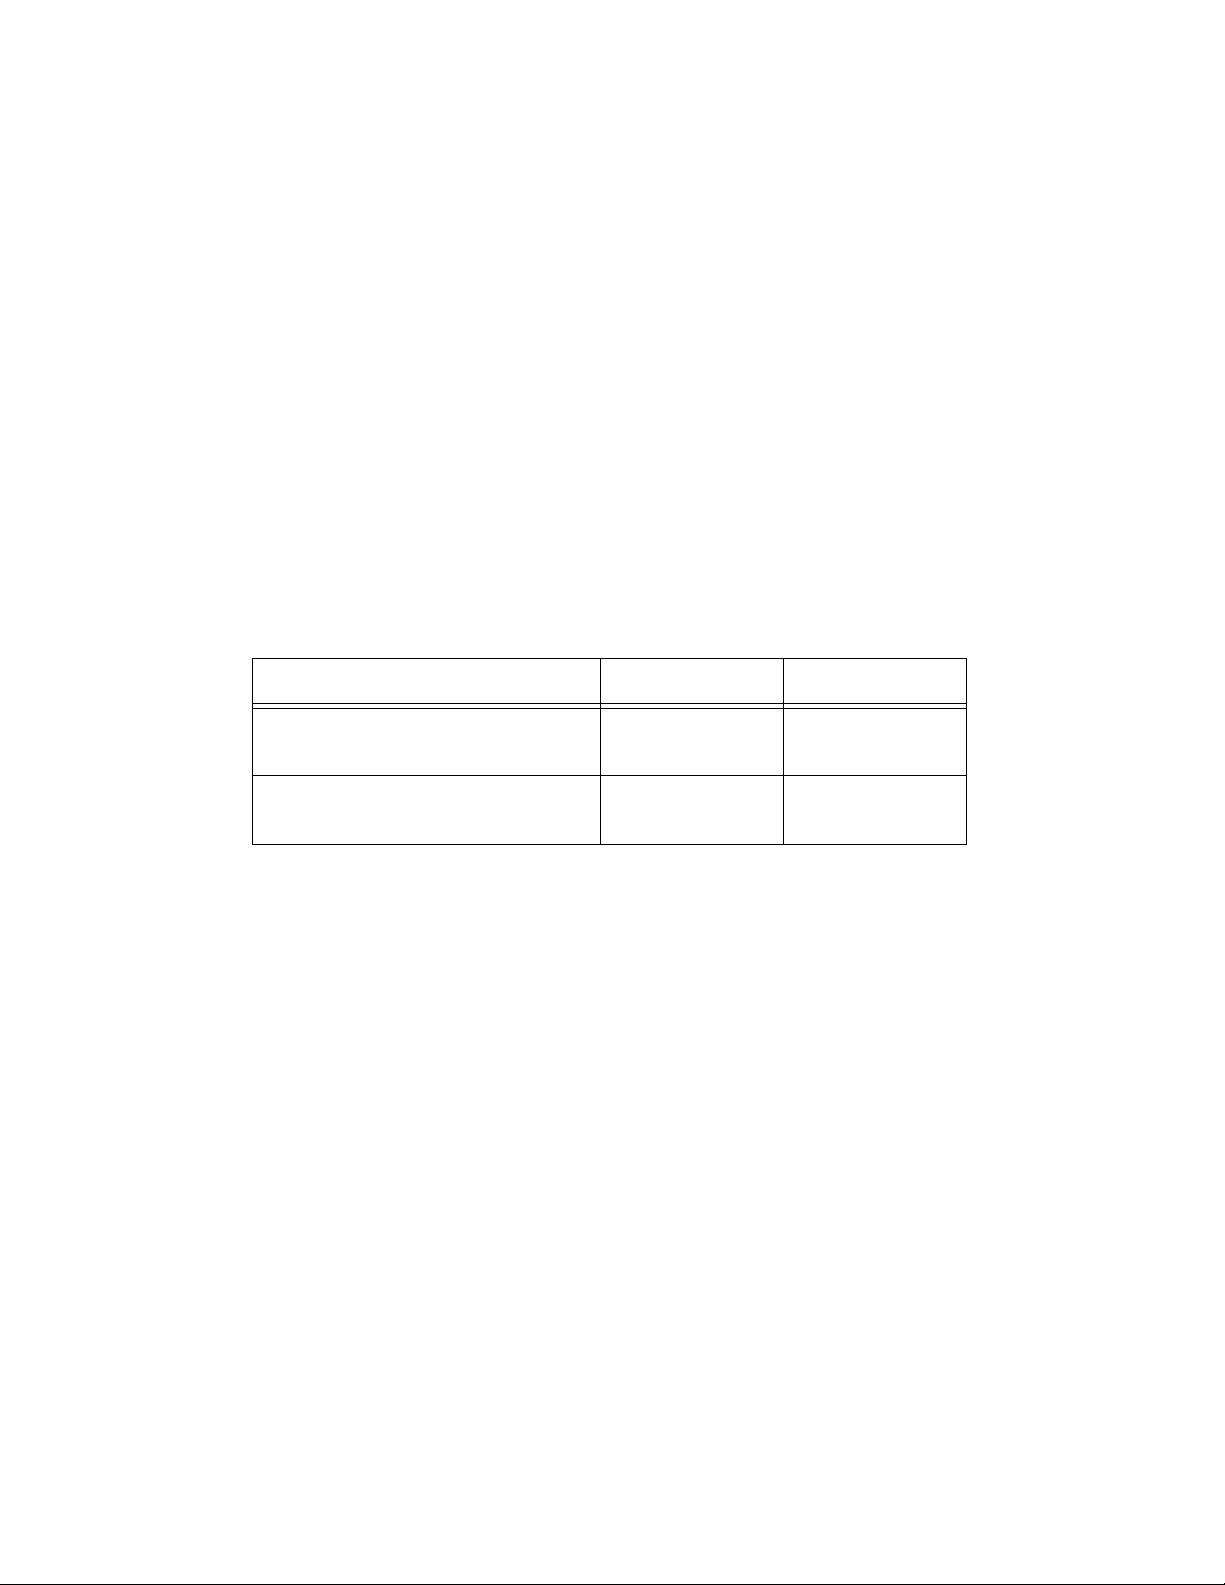
2 Supplied profiles
The following table lists the paper types for which calibration profiles and
color profiles have been provided. The profiles
600 x 600 dpi. Y ou can use the profiles to output in both the 4-color and 6-color
modes for selected paper types.
If you need to use the printer in another configuration, you must obtain your
own calibration and color profiles.
The name of the profile appearing in the Harlequin RIP
appears in code format in the
Paper Type
column followed by the resolution, all
enclosed in parentheses. For example, a profile for HP DesignJet Photo Gloss
Paper at 600 x 600 dpi is
(HP Photo Gloss 600)
are available for a resolution of
™
is the text that
Paper Type Part Number HP 5000 series
Heavyweight Coated Paper
HP Heavy Coated
Photo Gloss Paper
HP Photo Gloss
C6030B
C6963A
•
AG50325P3 Rev. 3
Page 3

3 Getting Started
ProofReady Plugin for 6-Color HP Printers- Quick Reference Guide
The way in which you create a page setup depends on the Harlequin RIP version that you are using. In the Eclipse Release
™
or later of the Harlequin RIP,
instant color management is possible by simply selecting a ProofReady
profile. See Section 3.2 on page 6 for details.
In former RIPs, instant color management is possible by selecting a supplied
calibration profile that includes a default color setup. See Section 3.1 below for
details.
3.1 Creating a page setup in pre Eclipse Release RIPs
To create a ProofReady page setup in versions of the Harlequin RIP prior to
the Eclipse Release, you need to select a supplied calibration profile that
includes a default color setup, as described in the procedure below.
AG50325P3 Rev. 3
3
Page 4
4
ProofReady Plugin for 6-Color HP Printers- Quick Reference Guide
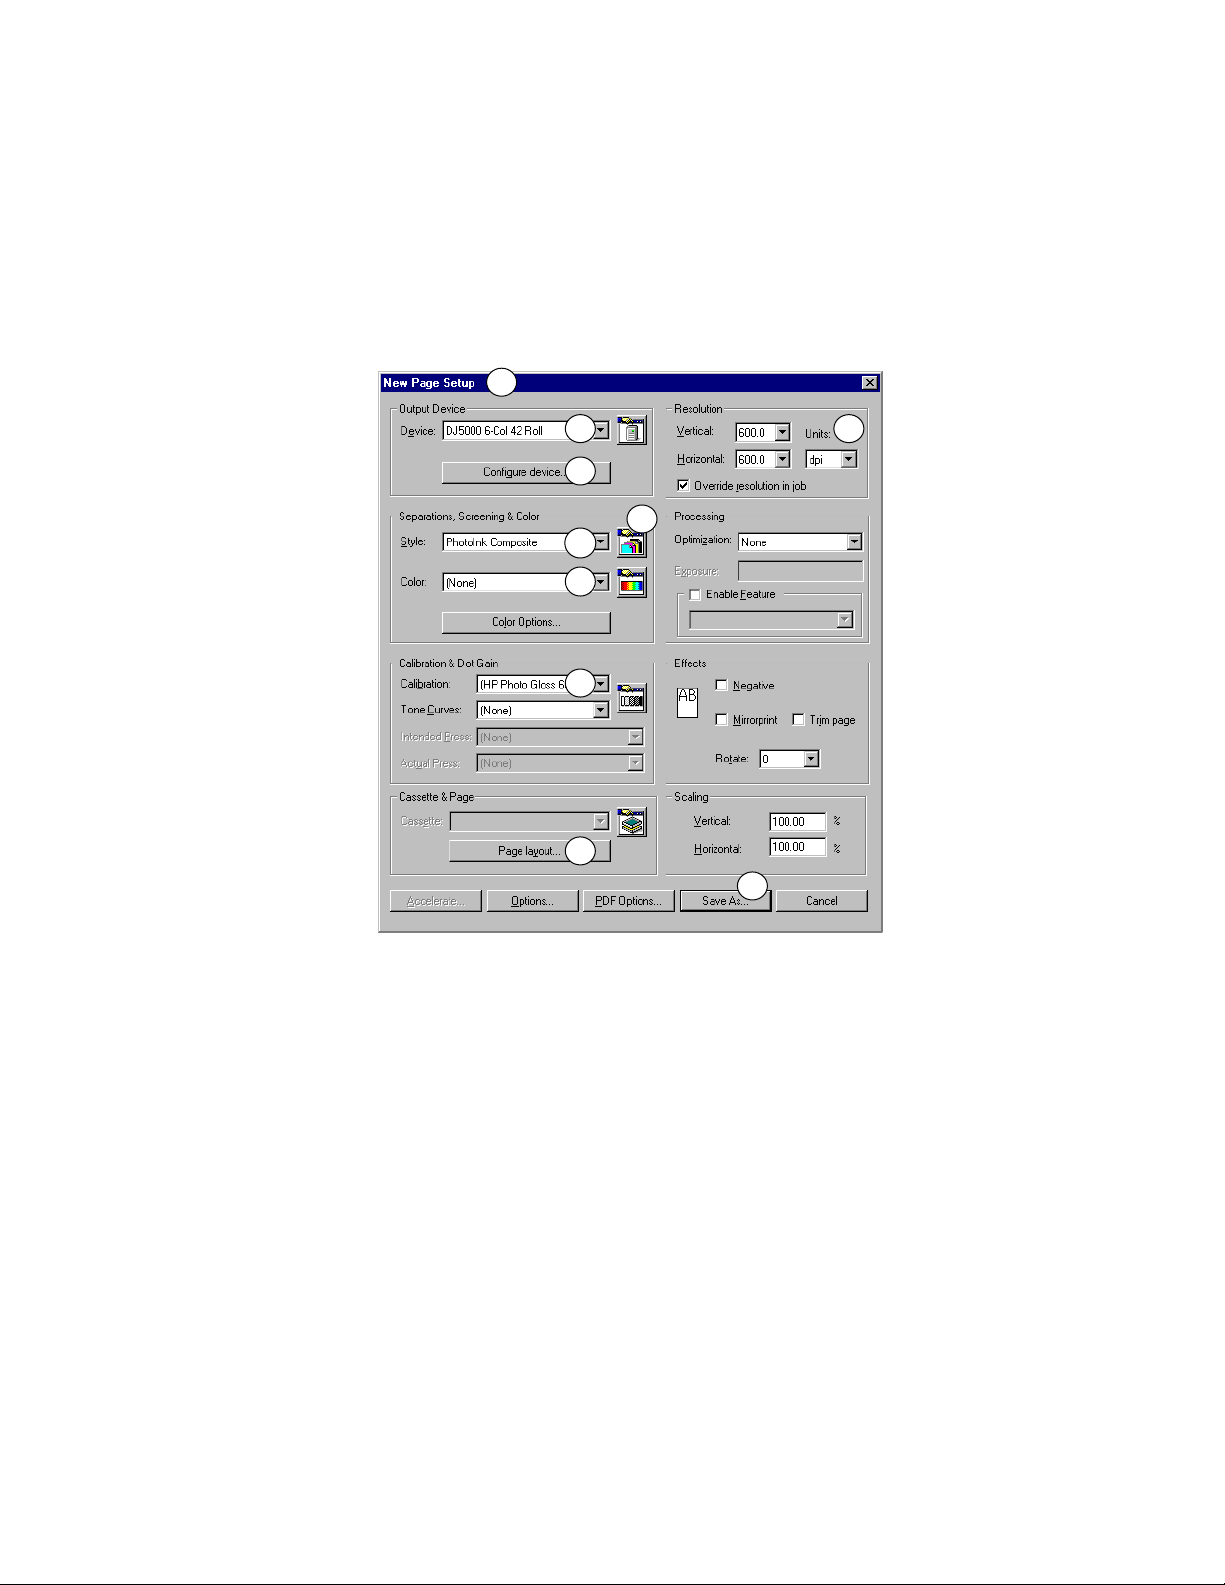
For each numbered step of the procedure the corresponding numbers in
Figure 3.1 highlight where choices are made in the New Page Setup dialog
box.
1
2 4
3
6
5
7
8
9
Figure 3.1 Creating a page setup in pre Eclipse Release RIPs
➀
Open the Page Setup Manager and click
➁
Choose the device required from the
➂
Click
Configure device
the full manual for details of options.
➃
Choose the desired resolution from the
taking care to select the required units.
➄
Choose
device type or
CMYK Composite
PhotoInk Composite
to modify configuration settings as desired. See
from the
10
New
.
Device
Style
if using a 6-color device type.
menu.
Vertical
list if you are using a 4-color
and
Horizontal
menus,
AG50325P3 Rev. 3
Page 5

ProofReady Plugin for 6-Color HP Printers- Quick Reference Guide
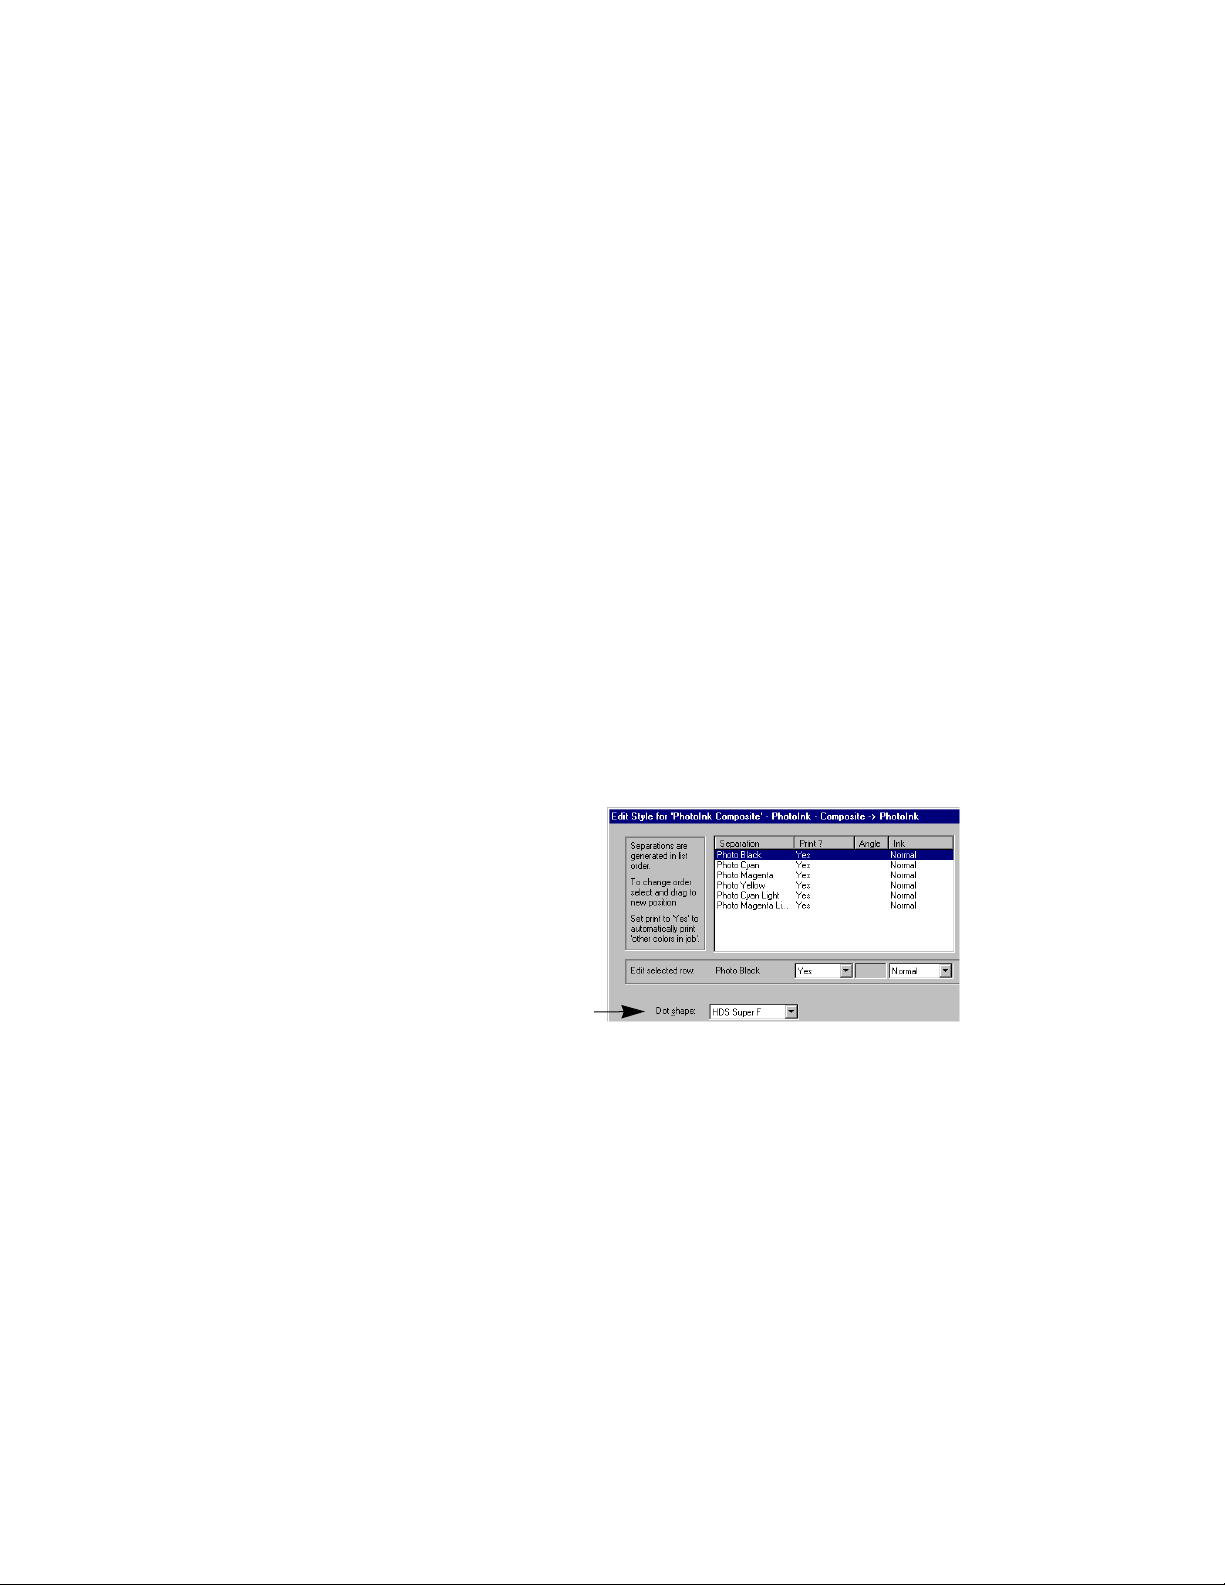
➅
If using a 6-color device type, check in the Edit Style dialog box that
screening is set to its default value of
To open the Edit Style dialog
box, click the Separations
Manager icon.
Edit
Click
Manager and check the screening option in the
Click
Page Setup dialog box.
➆
Choose
in the Separations
Dot shape
OK
twice to return to the
(None)
from the
list.
Color
menu.
HDS Super F
.
Note : Selecting a calibration profile or calibration set includes a default
color setup. You can choose an option from the
to use a color setup that you have previously created. See the full
manual for details on creating a color setup.
➇
Choose a profile from the
selected ink/paper type and resolution (as specified in step
For example,
HP DesignJet Photo Gloss Paper based on a resolution of 600 x 600 dpi.
See “Supplied profiles” on page 2 for a full list of supplied calibration
profiles.
For optimum results you can choose a calibration set that has been generated for the actual printer rather than for a reference printer. See
Section 4 for details.
➈
Click
Page Layout
margin and centering controls.
Note : If you are using a sheet-fed device, refer to the full manual for
details on how to control top and bottom margins.
➉
Click
Save As
Save
in the Save Setup dialog box and then
Manager.
(HP Photo Gloss 600)
to specify the positioning of the page, using the
and enter a page setup name in the
Calibration
menu that matches the currently
is a supplied calibration profile for
Color
menu if you wish
Save As
OK
in the Page Setup
text box. Click
➃
).
You can use this page setup when printing to produce color managed output.
AG50325P3 Rev. 3
5
Page 6

ProofReady Plugin for 6-Color HP Printers- Quick Reference Guide
3.2 Creating a page setup in Eclipse Release or later RIPs
To create a ProofReady page setup in the Eclipse Release or later of the
Harlequin RIP, you simply need to select a ProofReady pr ofile, as described in
the procedure below.
For each numbered step of the procedure the corresponding numbers in
Figure 3.2 highlight where choices are made in the New Page Setup dialog
box.
1
2
3
4
6
5
7
8
Figure 3.2 Creating a page setup in Eclipse Release or later RIPs
Open the Page Setup Manager and click
➀
6
9
New
.
Choose the device required from the
➁
Device
menu.
AG50325P3 Rev. 3
Page 7
ProofReady Plugin for 6-Color HP Printers- Quick Reference Guide
➂
Click
Configure device
the full manual for details of options.
➃
Choose a profile from the
selected ink/paper type. The correct resolution for the profile is automatically selected and should not be changed.
to modify configuration settings as desired. See
ProofReady
menu that matches the currently
For example,
Gloss Paper based on a resolution of 600 x 600 dpi. See “Supplied profiles” on page 2 for a full list of ProofReady profiles.
Note : When you select a ProofReady profile, a default
color setup is automatically selected in the
from the
you have created, as described in the main manual.
➄
Choose
device type or
➅
If using a 6-color device type, check in the Edit Style dialog box that
screening is set to its default value of
To open the Edit Style dialog
box, click the Separations
Manager icon.
Edit
Click
Manager and check the screening option in the
OK
Click
Page Setup dialog box.
(HP Photo Gloss 600)
ProofReady
CMYK Composite
in the Separations
twice to return to the
menu if you wish to use a ColorPro color setup that
from the
PhotoInk Composite
Dot shape
list.
is a profile for HP DesignJet Photo
(ProofReady)
Color
menu. Choose
Style
list if you are using a 4-color
if using a 6-color device type.
HDS Super F
.
(None)
➆
Choose (None) from the Calibration menu.
Note: Selecting a
profile. For optimum results you can choose a calibration set that has
been generated for the actual printer rather than for a reference printer.
See Section 4 for details.
ProofReady profile includes a default calibration
➇ Click Page Layout to specify the positioning of the page, using the
margin and centering controls.
Note: If you are using a sheet-fed device, refer to the main manual for
details on how to control top and bottom margins.
AG50325P3 Rev. 3
7
Page 8

ProofReady Plugin for 6-Color HP Printers- Quick Reference Guide
➈ Click Save As and enter a page setup name in the Save As text box. Click
Save in the Save Setup dialog box and then OK in the Page Setup
Manager.
You can now use this page setup when printing to produce color managed
output.
4 Calibration
The calibration profiles provided are for reference printers and provide good
quality output on printers of the same type. To obtain optimum output
quality, it is recommended that the first time you use a particular paper or
change inks that you calibrate for the actual printer.
The way in which you calibrate your device depends on the Harlequin RIP
version that you are using. For details on calibration in RIPs prior to the
Eclipse Release, see Section 4.1. For details on calibration in Eclipse Release or
later RIPs, see Section 4.2.
4.1 Calibration in RIPs prior to the Eclipse Release
The first time you use a particular paper or change inks you should calibrate
your printer using the following procedure:
1. Load the printer with the correct paper.
2. Create a page setup for the device, as shown in the “Getting Started”
procedure, ensuring that the name of the calibration profile matches the
paper and specified resolution.
3. Use the
Calibration dialog box.
4. Choose the desired page setup, as created in step 2 of this procedur e and
click
5. Use Genlin in the normal way to measure the printed target and create
an import file. See the Harlequin RIP OEM Manual for details on how to
use Genlin.
6. In the RIP, open the Calibration (Dot Gain) Manager using the menu
option
8 AG50325P3 Rev. 3
Output > Print Calibration menu option to open the Print
Print uncalibrated target.
Output > Calibration Manager. Choose the Device and click New.
Page 9

ProofReady Plugin for 6-Color HP Printers- Quick Reference Guide
7. Choose the correct profile (the same name that you chose in step 2) from
the
Profile menu and click Import.
8. Enter a
Name for the calibration set.
A useful convention is to use the same name as the reference calibration
profile used in the page setup. Reference calibration profiles are distinguished from user-generated calibration sets by the use of parentheses
( ) around the name.
9. Click
OK twice to close the dialog boxes.
You can return to “Getting Started” on page 3 to create another page setup
that uses this calibration set rather than the reference calibration profile. The
calibration set that you have created includes the same default color setup as
the profile chosen in step 2.
4.2 Calibration in Eclipse Release or later RIPs
The first time that you create a calibration set for an uncalibrated device, we
recommend that you print and measure an uncalibrated target appr oximately
three times to ensure that your calibration set is accurate. Once you have created an initial calibration set, the procedure to recalibrate the device requires
that you print and measure a calibrated target just once. These procedur es are
described in Section 4.2.1 and Section 4.2.2 below.
4.2.1 Calibrating a new device
You should follow these steps when calibrating a device for the first time
using the Eclipse Release or later of the Harlequin RIP:
1. Load the printer with the correct paper.
2. Create a page setup for the device, as shown in the “Getting Started”
procedure.
3. Use the Output > Print Calibration menu option to open the Print
Calibration dialog box.
4. Choose the desired page setup, as created in step 2 of this procedur e and
click
Print uncalibrated target.
AG50325P3 Rev. 3 9
Page 10

ProofReady Plugin for 6-Color HP Printers- Quick Reference Guide
5. Use Genlin in the normal way to measure the printed target and create
an import file. See the Harlequin RIP OEM Manual for details on how to
use Genlin.
6. In the RIP, open the Calibration (Dot Gain) Manager using the menu
option
Output > Calibration Manager. Choose the Device and click New.
7. Deselect the
Force solid colors check box, if necessary.
8. Choose the correct profile (the same name that you chose in step 2) from
the
Profile menu and click Import.
9. Enter a
For example,
Name for the calibration set.
HP Photo Gloss 600-1 is an appropriate name if this is the
first time you have measured an uncalibrated target.
10. Click
OK twice to close the dialog boxes.
11. Repeat the above procedure approximately three times. Note that each
time you print a new uncalibrated target, you must first modify the page
setup to use the latest calibration set. Following the example above, you
must choose
HP Photo Gloss 600-1 the second time you print an uncali-
brated target. In step 6, you must also select the latest calibration set in
the Calibration Manager and click
clicking
New.
12. Save the final calibration set with an appropriate name, for example,
Photo Gloss 600-F.
sets, for example
You should remove all the intermediate calibration
HP Photo Gloss 600-1, HP Photo Gloss 600-2 and so on
Edit from uncalibrated target instead of
HP
from the Calibration Manager.
13. Modify your page setup so that it uses the final calibration set.
Y ou should r ecalibrate the device when necessary, as described in Section 4.2.2
below.
4.2.2 Recalibrating a device
Whenever you use a new stock of paper or change inks you should recalibrate
your printer using the following procedure:
1. Load the printer with the correct paper.
10 AG50325P3 Rev. 3
Page 11

ProofReady Plugin for 6-Color HP Printers- Quick Reference Guide
2. Create a page setup for the device, as shown in the “Getting Started”
procedure.
3. Use the
Output > Print Calibration menu option to open the Print
Calibration dialog box.
4. Choose the desired page setup, as created in step 2 of this procedur e and
click
Print calibrated target.
5. Use Genlin in the normal way to measure the printed target and create
an import file. See the Harlequin RIP OEM Manual for details on how to
use Genlin.
6. In the RIP, open the Calibration (Dot Gain) Manager using the menu
option
used to print the target and click
7. Click
Output > Calibration Manager. Choose the calibration set that you
Edit from calibrated target.
Import to import the calibration data from Genlin.
8. Save the calibration set with the same name, or possibly rename it to
indicate the date, for example,
HP Photo Gloss 600-023009.
9. Modify your page setup so that it uses the updated calibration set.
Print as normal using the updated page setup and recalibrate on a regular
basis, or when using new stock.
Copyright © 2001-2002 Global Graphics Software Limited. All rights reserved. ProofReady is a
trademark of Global Graphics Software Limited. The manual ProofReady Plugin for 6-Color HP
Printers lists full copyright and trademark details for Global Graphics and third parties.
AG50325P3 Rev. 3 11
 Loading...