

Kohler K6945BN Installation Manual

Installation Guide
Bath Spout
K–6945
M product numbers are for Mexico (i.e. K-12345M)
Los números de productos seguidos de
M corresponden a México (Ej.
K-12345M)
Français, page“ Français-1”
Español, página“ Español-1”
105614-2-AB
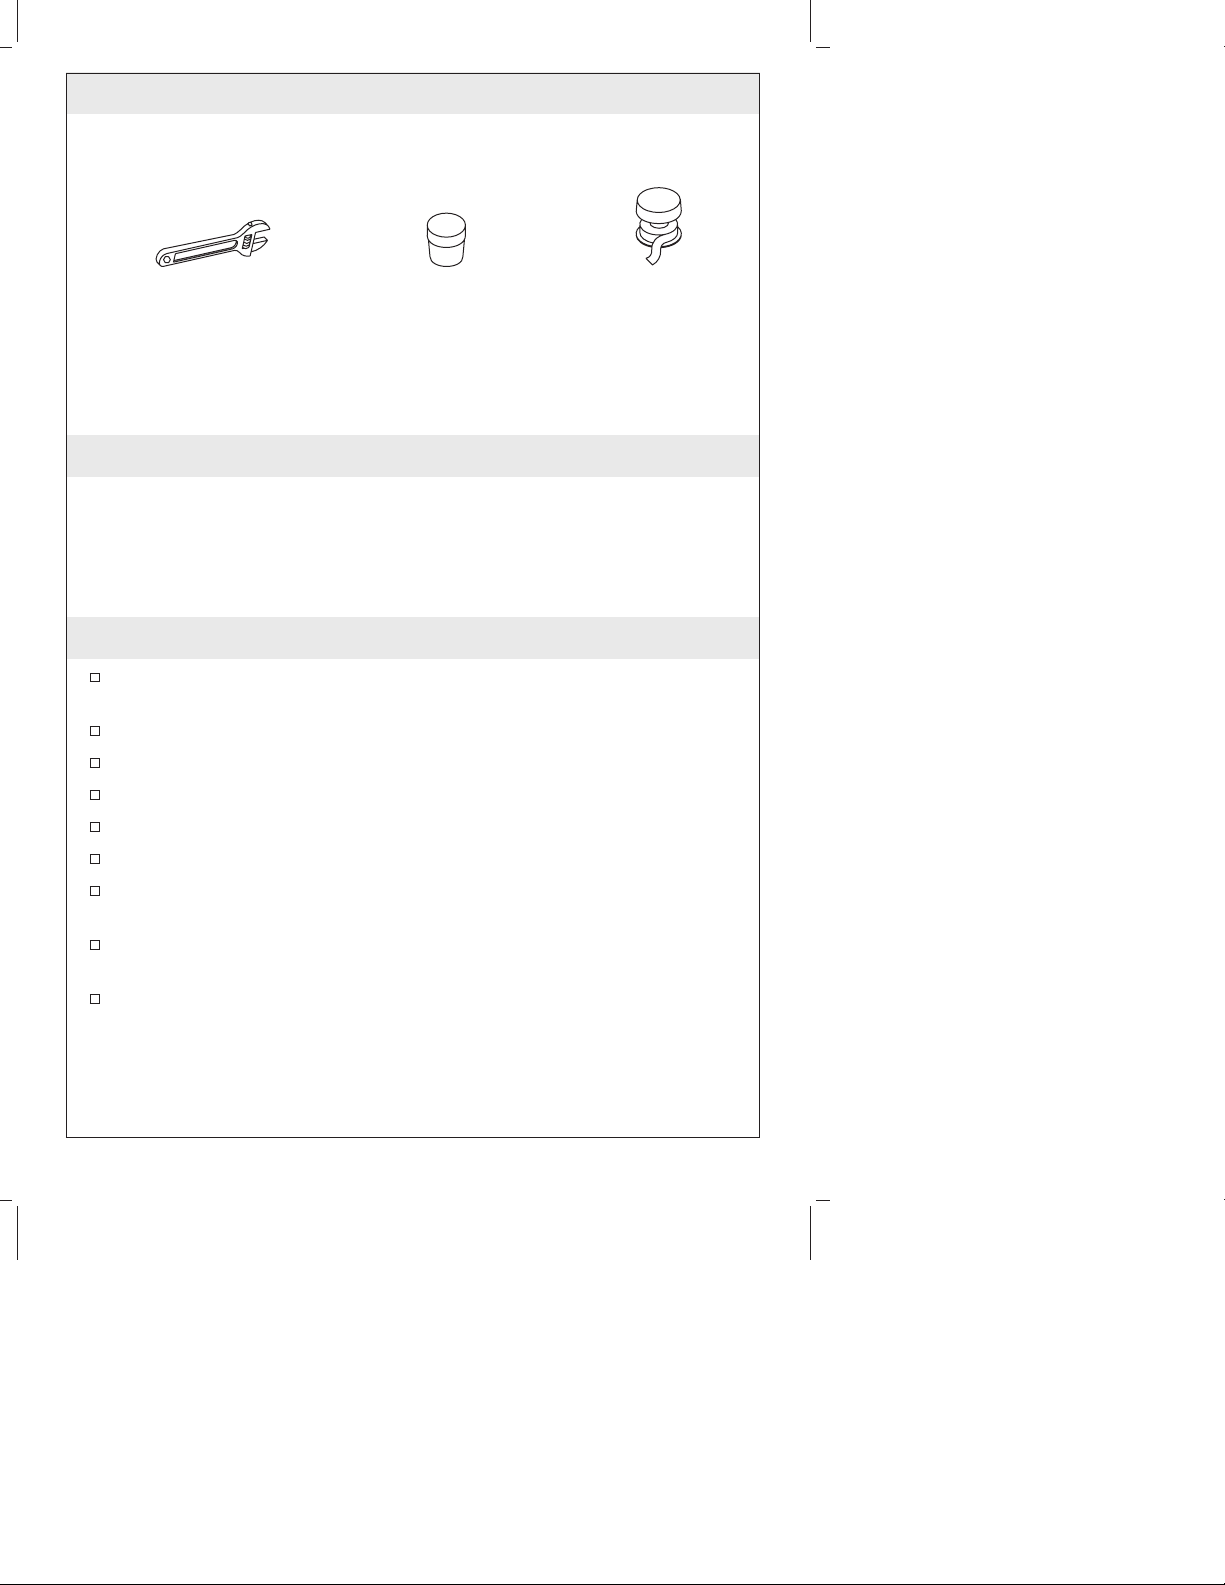
Tools and Materials
Adjustable Wrench Plumbers Putty Sealant Tape
Thank You For Choosing Kohler Company
We appreciate your commitment to Kohler quality. Please take a few
minutes to review this manual before you start installation. If you
encounter any installation or performance problems, please don’t
hesitate to contact us. Our phone numbers and website are listed on
the back cover. Thanks again for choosing Kohler Company.
Before You Begin
The valve is sold separately. Please read the instructions packed
with the valve for installation procedures.
Please read all instructions before you begin.
Shut off the main water supply.
Observe all local plumbing and building codes.
Complete the finished deck material before installing.
Provide a 1-1/8″ (2.9 cm) hole for the spout.
The tubing shown in ″Installation to Valves″ section is not
included. You may need to supply the 1/2″ Nom. copper tubing.
Before installation, unpack the new faucet trim and inspect it for
damage. Return it to the carton until installation.
Kohler Co. reserves the right to make revisions in the design of
faucets without notice, as specified in the Price Book.
105614-2-AB 2 Kohler Co.
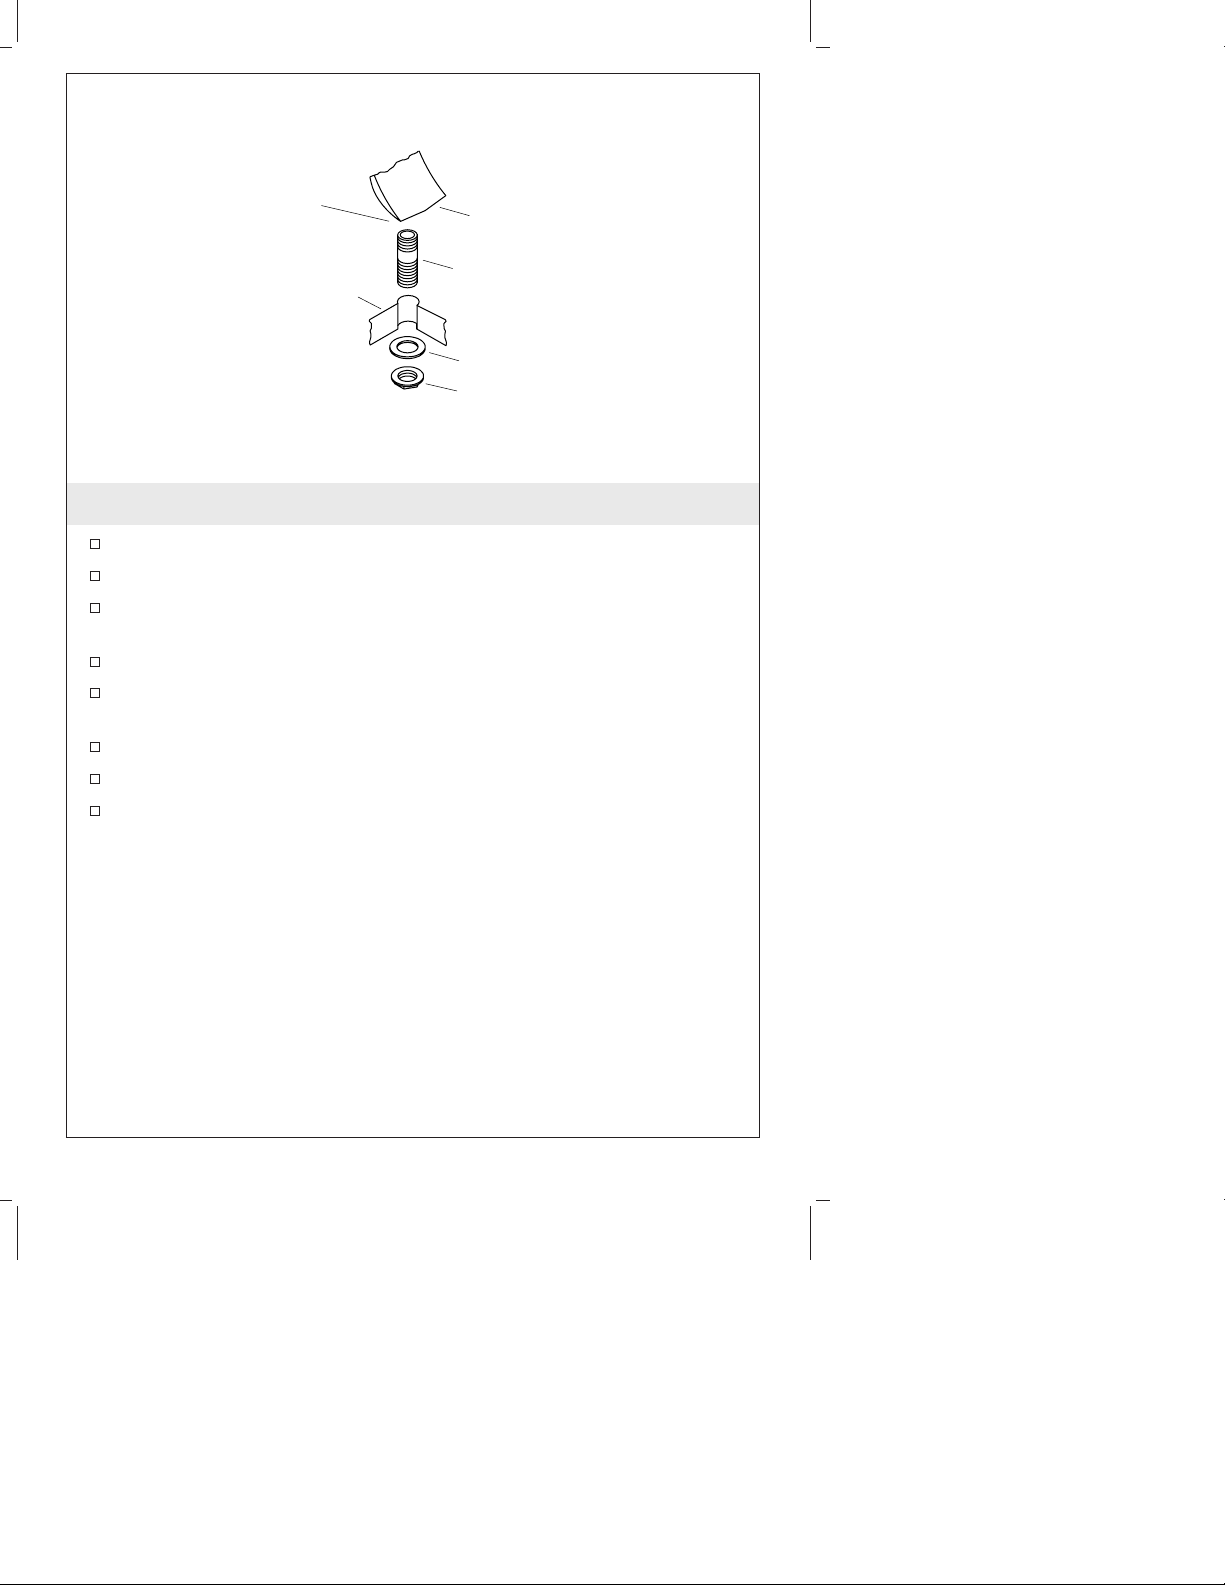
Apply
Plumbers
Putty.
Spout
Deck/Rim
Spout
Shank
Washer
Locknut
1. Stand Alone Spout Installation
Apply sealant tape to the short threaded end of the spout shank.
Thread the short end of the spout shank into the spout.
Apply plumbers putty or other sealant on the underside of the
spout according to the manufacturer’s instructions.
Position the spout in the mounting hole.
From the underside of the deck, assemble the washer and locknut
to the spout shank.
Position the spout and tighten the locknut.
Connect the spout to the supply as needed.
For connections to side body valves, go the next section.
Kohler Co. 3 105614-2-AB
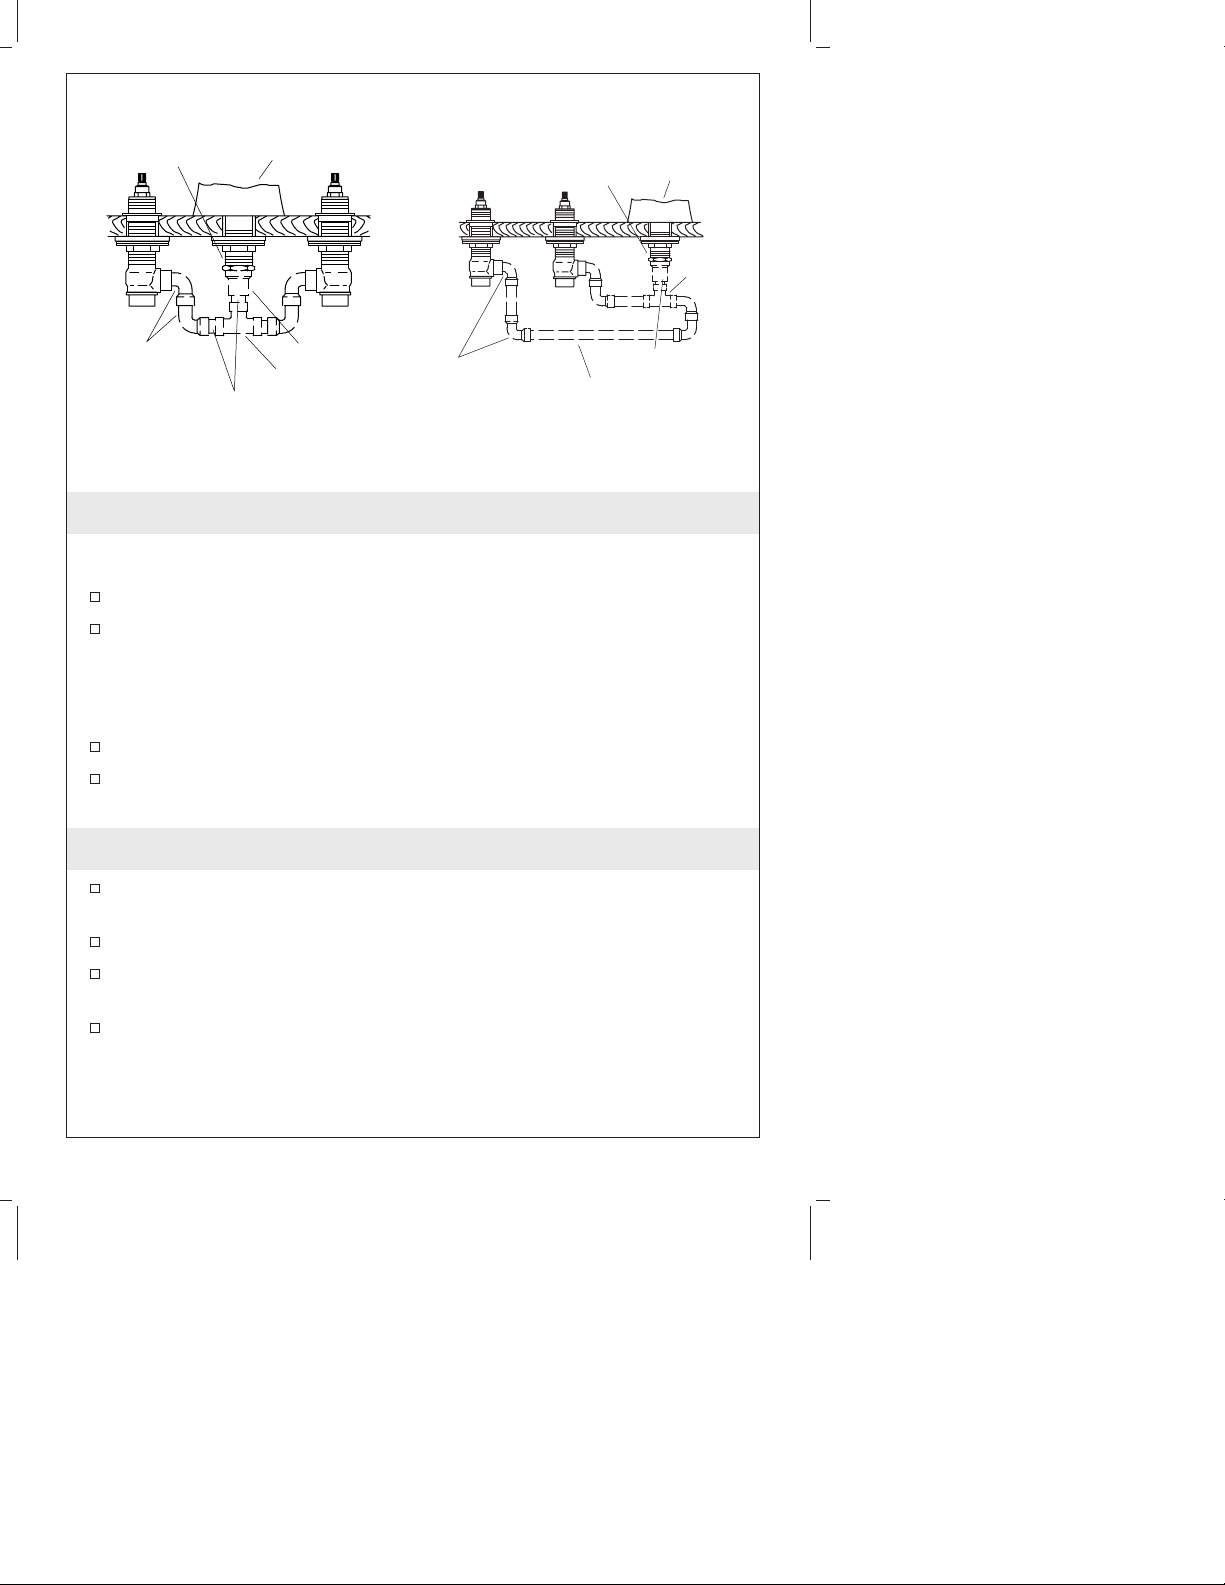
Installation Between the Valves
Spout
Shank
Spout
Installation Outside the Valves
Spout
Shank
Spout
Tee
90˚ Street Ell
(4 shown)
Copper
Tubing
Adapter
Tee
90˚ Street Ell
(6 shown)
Adapter
Copper
Tubing
2. Installation to Valves
NOTE: These steps are necessary only for installations incorporating
side body valves.
Tighten the copper adapter to the spout shank.
Determine the number and lengths of copper tubing pieces
needed to complete the installation.
NOTE: Combinations of copper 90° street ells or copper 90° ells can
be used to make the connection to the valves.
Dry fit the tubing, elbows, and tee and check for proper size.
Solder the joints together when the components fit together
properly.
3. Complete the Installation
Ensure that both faucet handles are turned off (hot = clockwise,
cold = counterclockwise).
Turn on the main water supply and check for leaks.
Turn on the hot and cold valves and run water through the spout
to remove debris. Check for leaks.
Turn off the hot and cold valves.
105614-2-AB 4 Kohler Co.
Guide d’installation
Bec de baignoire
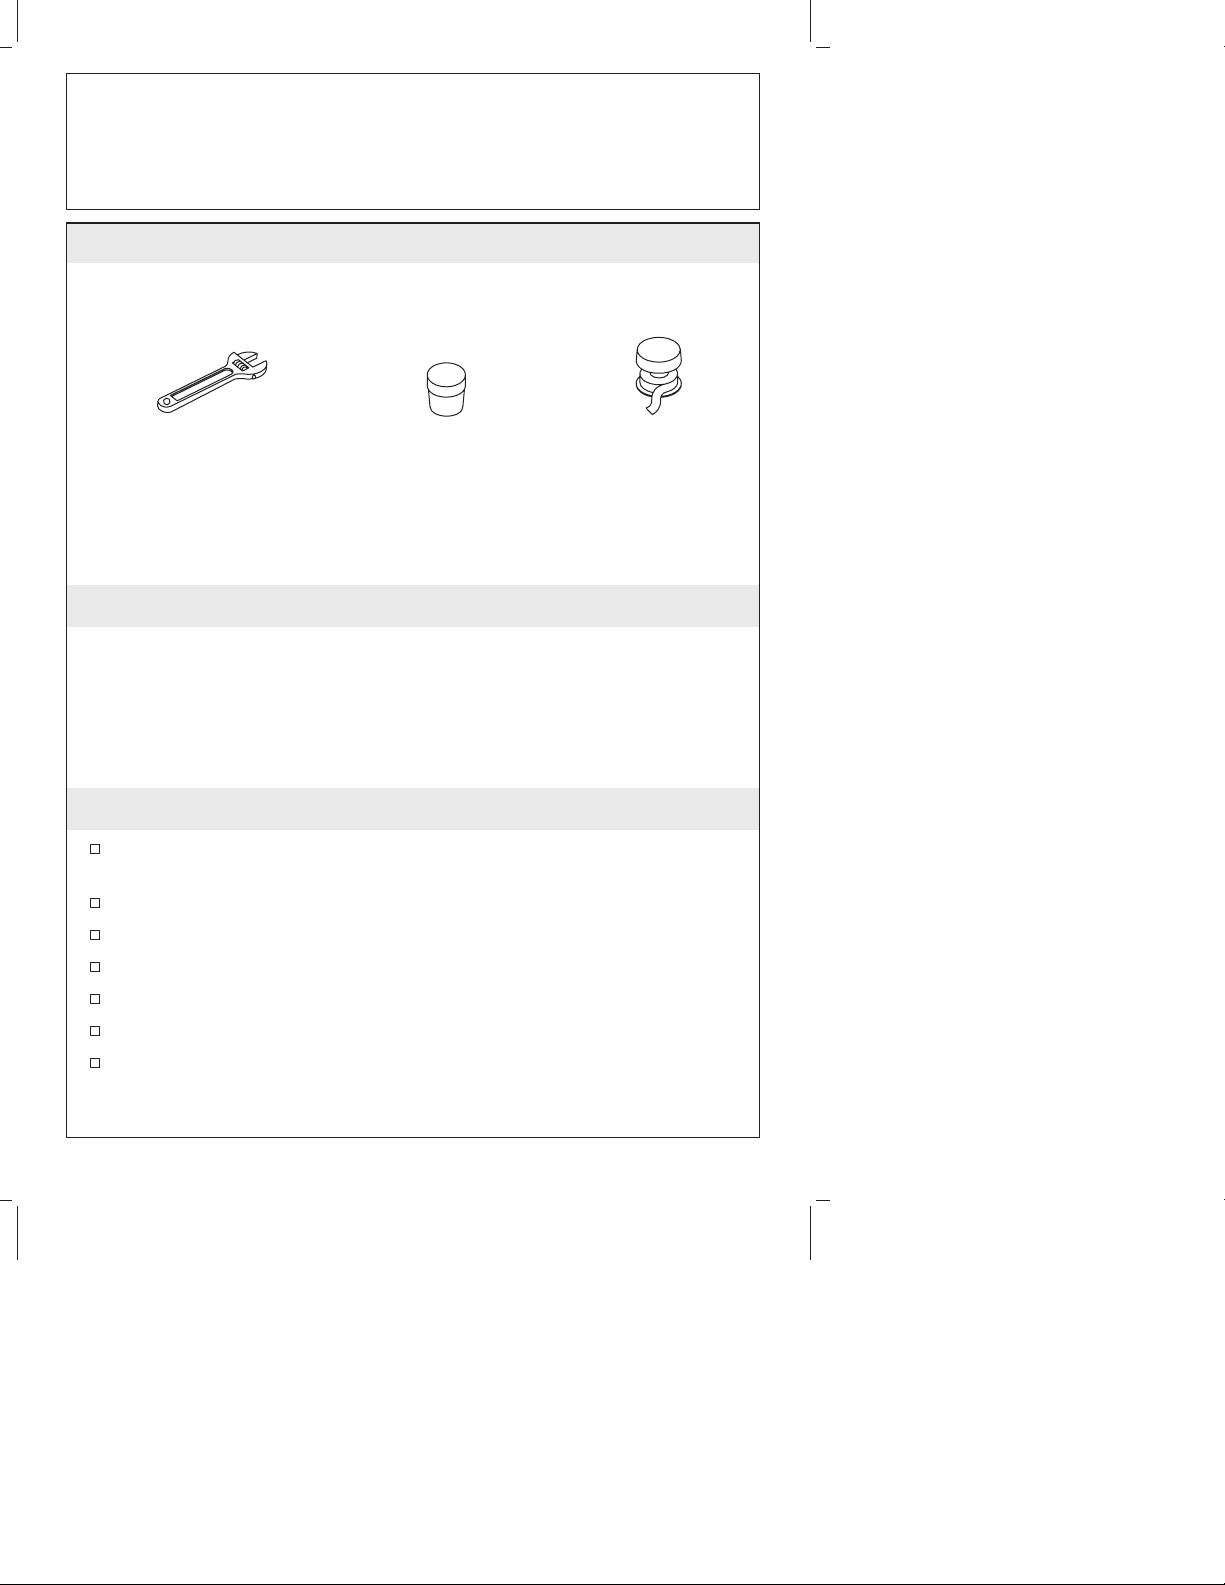
Outils et matériels
Clé à molette Ruban
Mastic de
plombier
d'étanchéité
pour filets
Merci d’avoir choisi la compagnie Kohler
Nous apprécions votre engagement envers la qualité Kohler. Veuillez
prendre s’il vous plaît quelques minutes pour lire ce manuel avant de
commencer l’installation. Ne pas hésiter à nous contacter en cas de
problème d’installation ou de fonctionnement. Nos numéros de
téléphone et notre adresse du site internet sont au verso. Merci encore
d’avoir choisi la compagnie Kohler.
Avant de commencer
La valve est vendue séparément. Veuillez s’il vous plaît lire les
instructions d’installation emballées avec la valve.
Veuillez lire toutes les instructions avant de commencer.
Couper l’alimentation d’eau principale.
Respecter tous les codes de plomberie et de bâtiment locaux.
Compléter le matériau du comptoir fini avant d’installer.
Fournir un orifice de 1-1/8″ (2,9 cm) pour le bec.
La tuyauterie montrée dans la section ″Installation de valves″
n’est pas incluse. Il faudra peut-être fournir de la tuyauterie en
cuivre Ø 1/2″ Nom.
Kohler Co. Français-1 105614-2-AB
 Loading...