

Page 1
Installation & User Guide
Dual-Flush Toilet
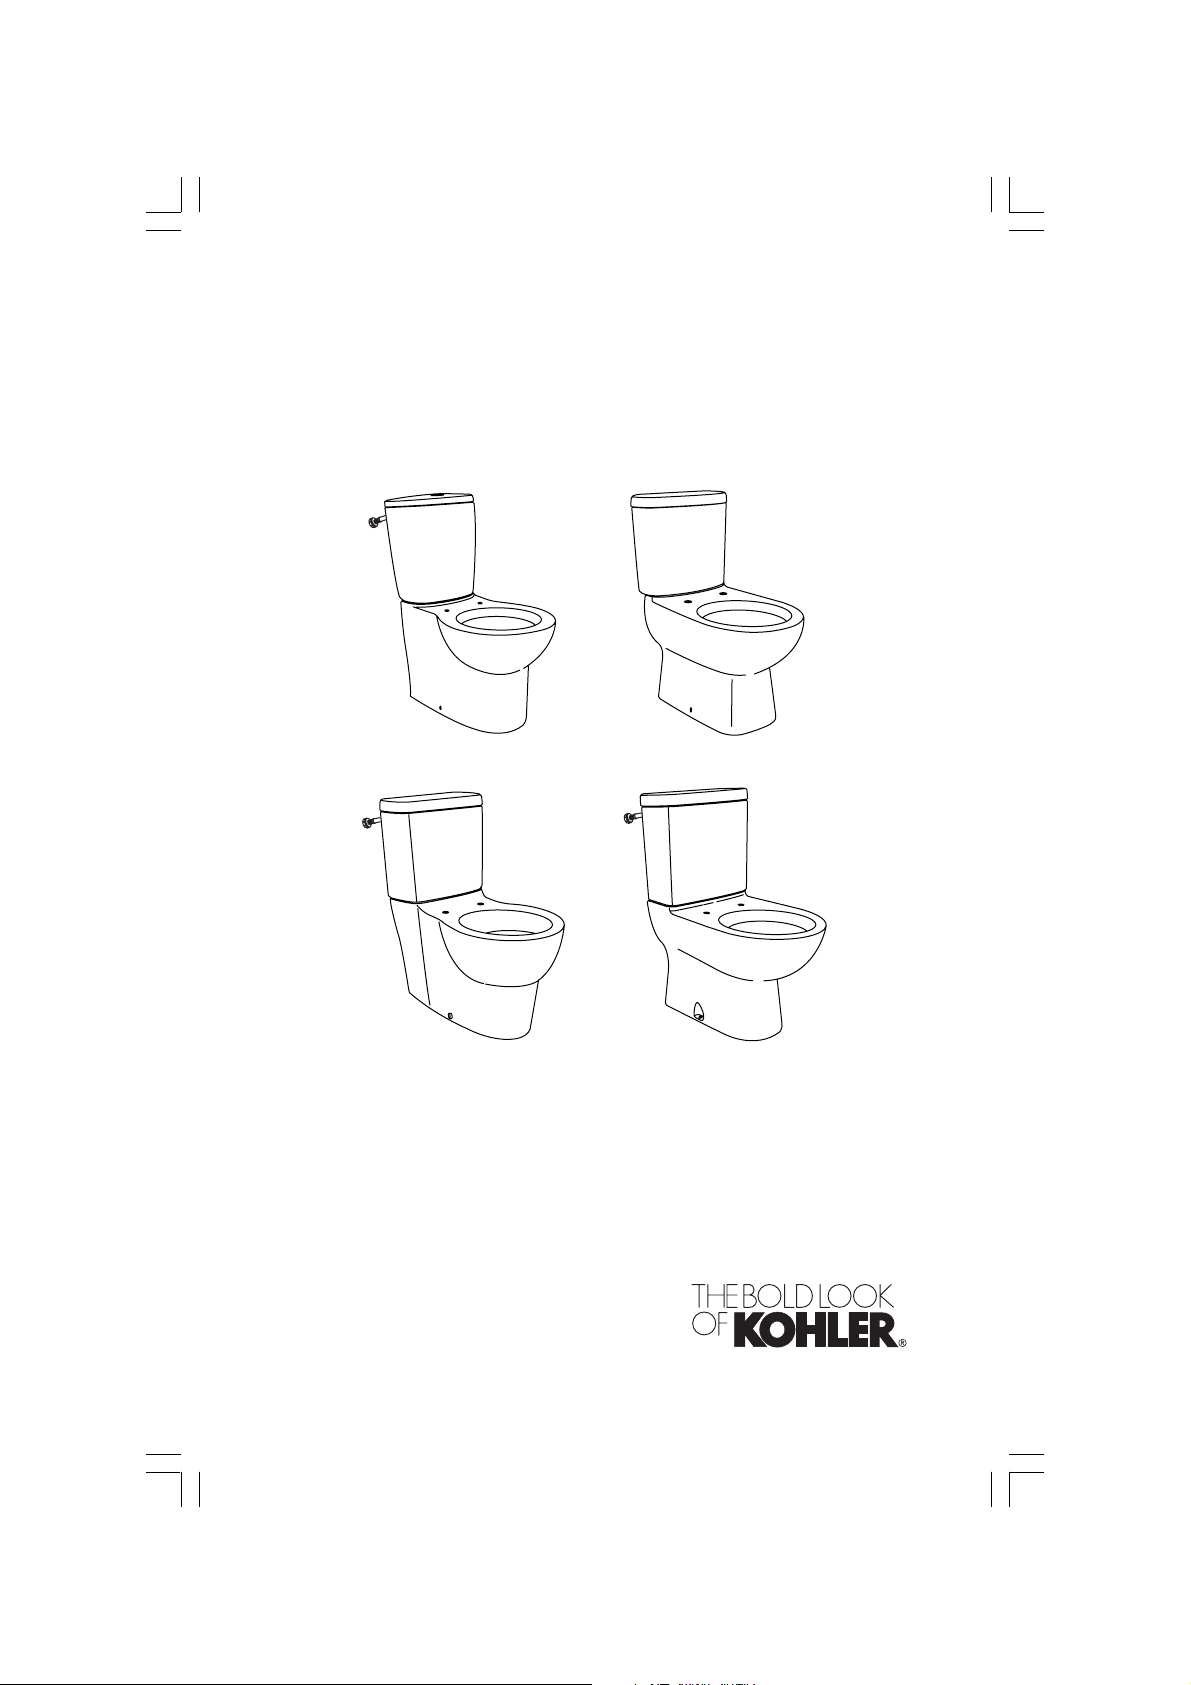
K-3735 K-3736
K-19896 K-4346
1102602-A2-A
Page 2
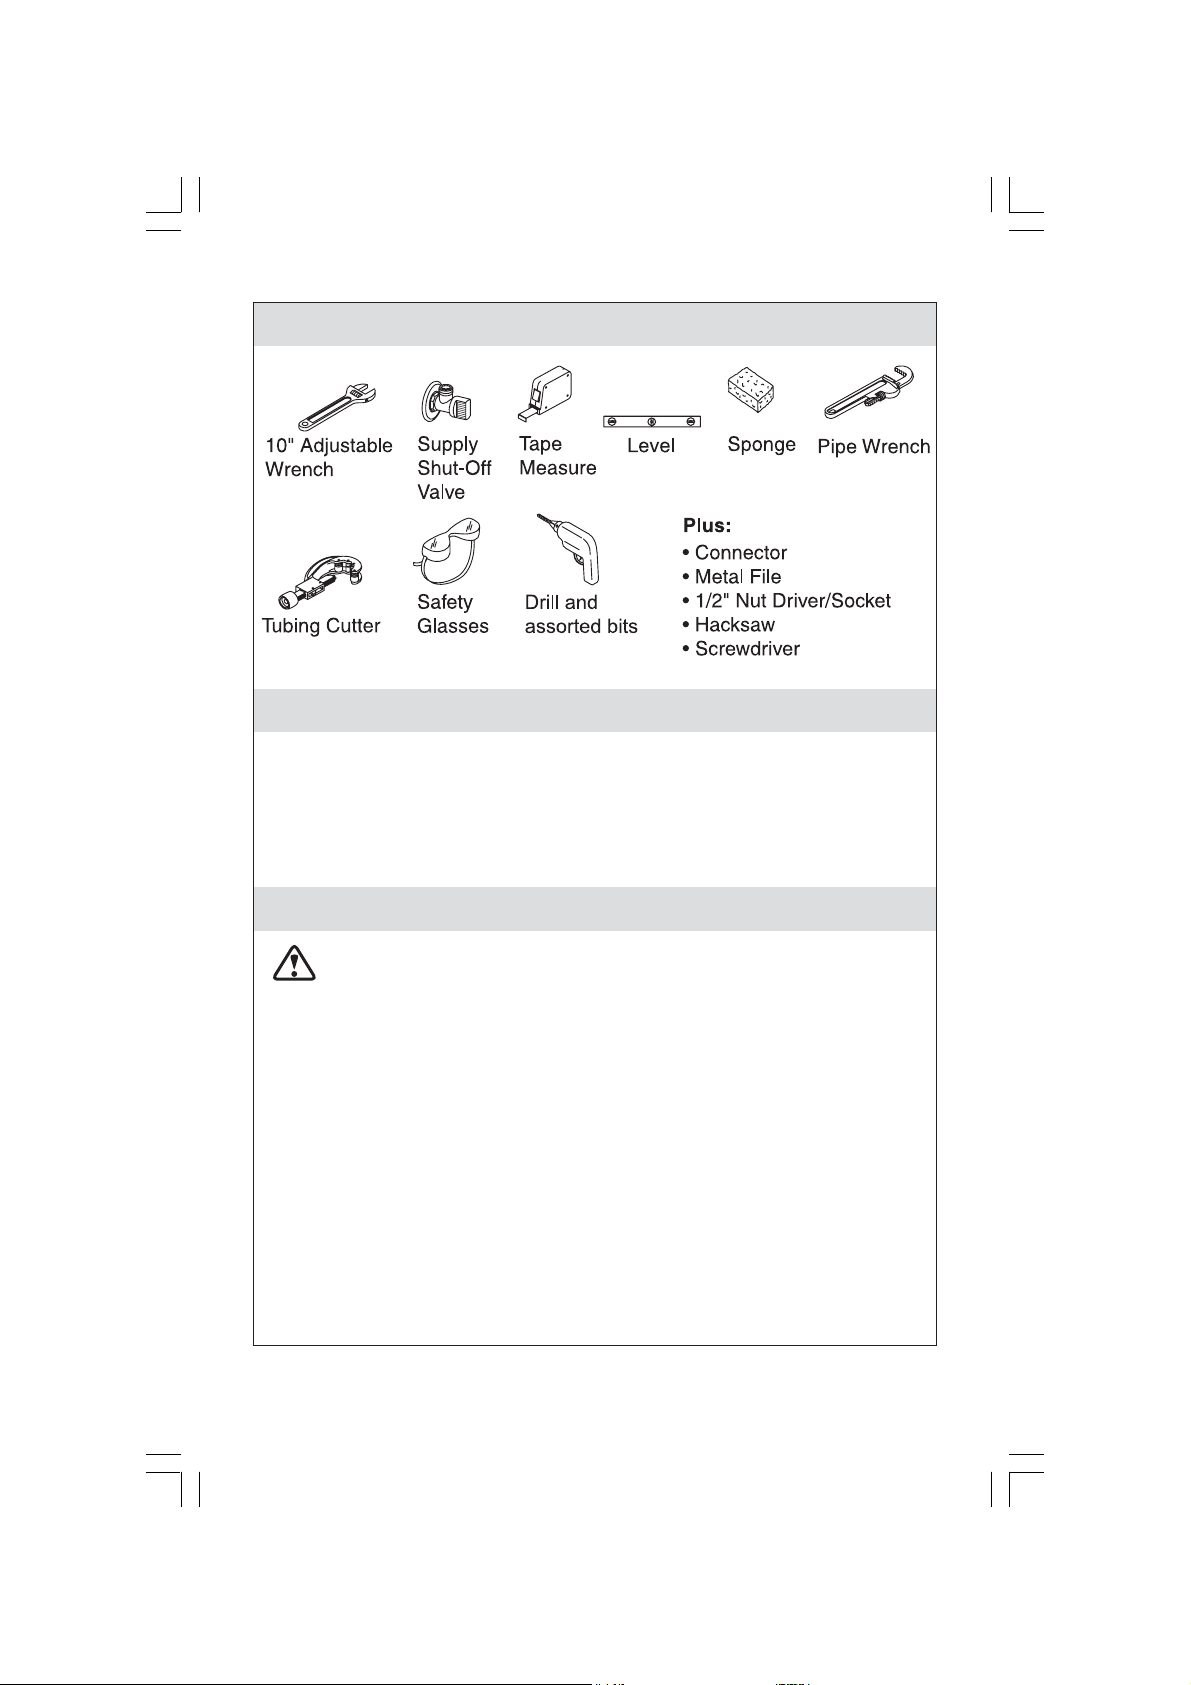
Tools and Materials
Thank You For Choosing Kohler Company
We appreciate your commitment to Kohler quality. Please take a few
minutes to review this manual before you start installation. If you
encounter any installation or performance problems, please don’t hesitate
to contact us. Our phone numbers are listed on the back cover. Thanks
again for choosing Kohler Company.
Before You Begin
CAUTION: Risk of personal injury or product damage. Handle
with care. Vitreous china can break or chip if the product is handled
carelessly.
Observe all local plumbing and building codes.
Carefully inspect the new toilet for damage.
If the existing toilet does not have a supply shut-off valve below the
cistern, install one before installing the new toilet.
1102602-A2-A 2 Kohler Co.
Page 3
Installation
1 Remove the existing toilet: Turn off the water supply and flush the toilet, then
sponge out all remaining water from the cistern. Disconnect the supply shut-off
valve (if present), and remove the old pan and cistern.
CAUTION: Risk of hazardous gases. If the new toilet is not installed immediately,
temporarity stuff a rag in the closet flange.
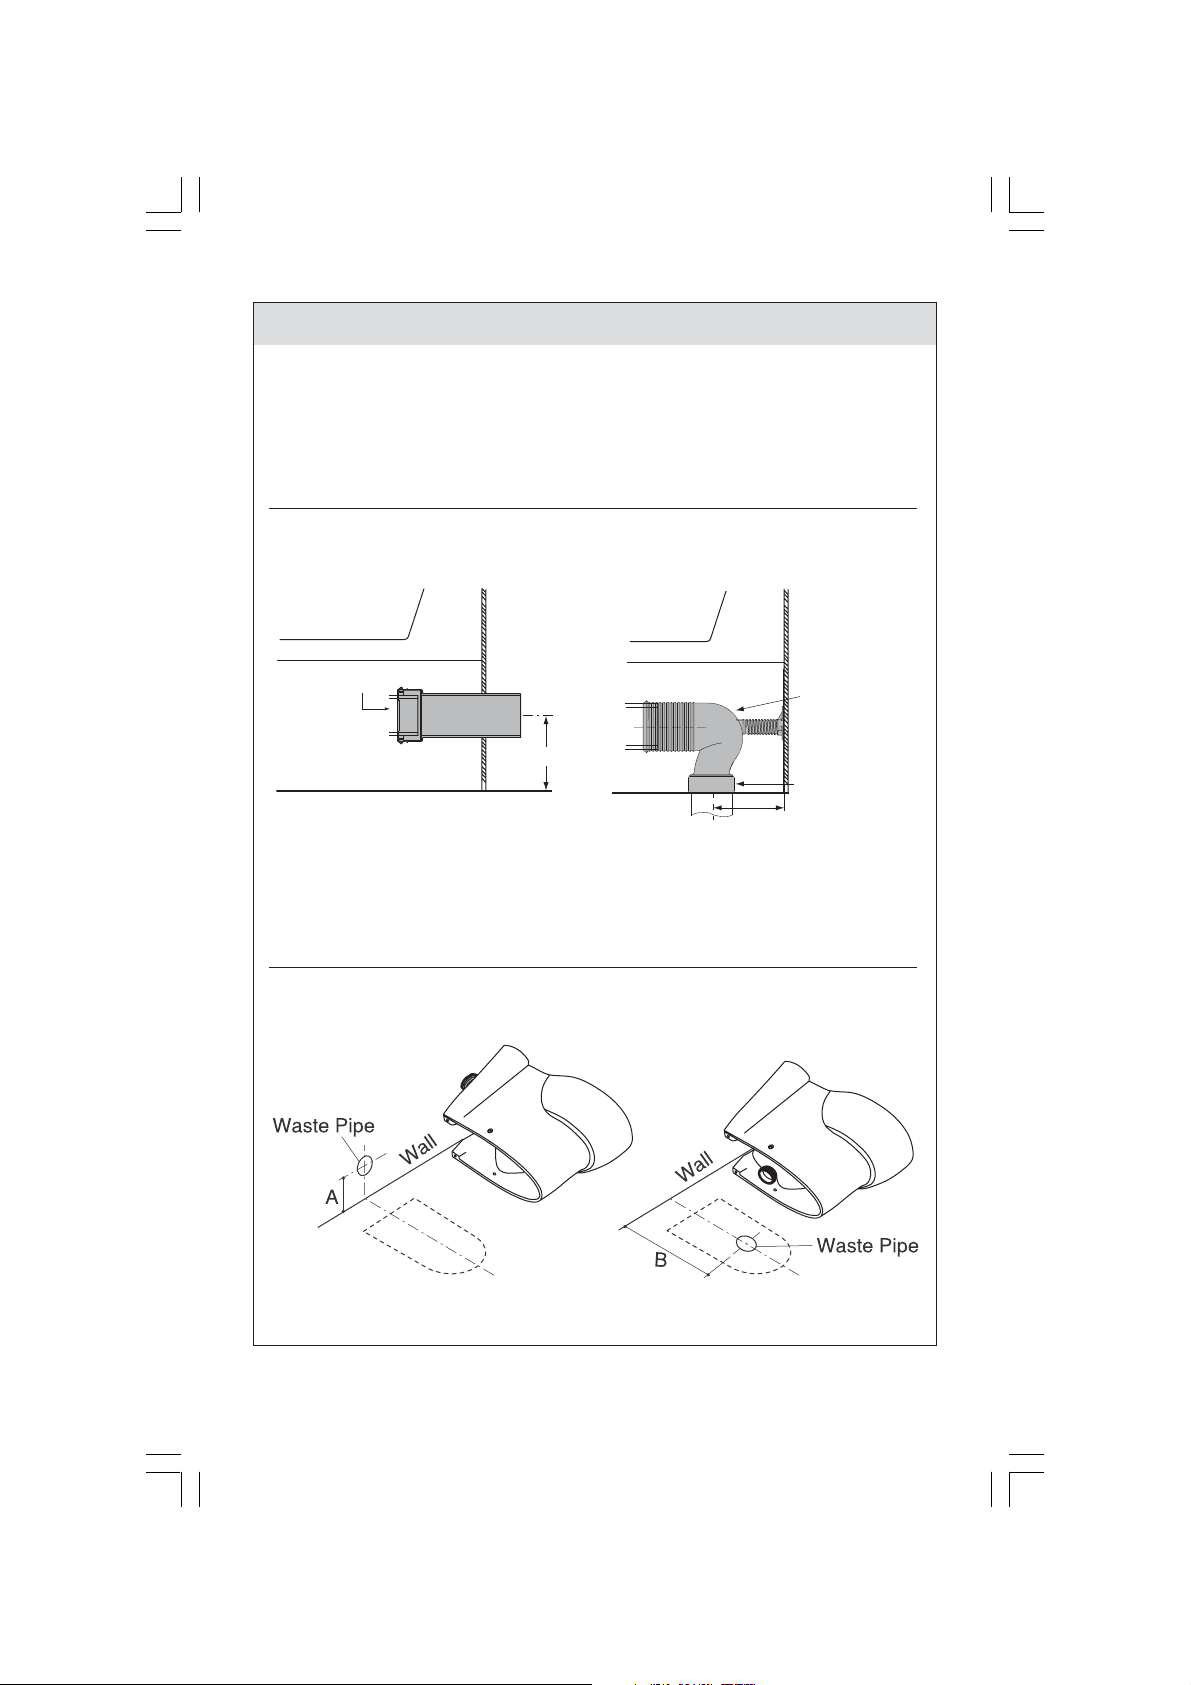
2 Define the position of connector: Place the connector onto the pan, position between
outlet and waste pipe.
Case 1
Connector
For this model, there are two types of connector. You can choose one
of the above pictures which is most suitable to your local plumbing
and building codes.
Finished
Wall
Waste Pipe
180 mm.
Case 2
Finished
Wall
Waste Pipe
Connector
min. 90 mm.
max. 150 mm.
3 Position the template on the floor to ensure the rear pan against the wall. Mark the
mounting hole centerline on the floor.
Connector to Wall
Kohler Co. 3 1102602-A2-A
Connector to Floor
Page 4

Installation
4 Drill 3/8” (10 mm) mounting hole
between the mark locations on the
floor and insert the anchor.
Anchor
6 Install the sleeves,
tighten the screw
and attach the
caps.
7 Position the cistern on the pan by centering the gasget
on the pan inlet. Assemble the retaining washer and
sealing washer to the screw. Securely tighten the
screws so the cistern is level.
Gasket
Screw
5 Install the washer and insert the hexagon
screw into the bracket then tighten the
screw.
Hexagon
Lag Screw
Bracket
Washer
Anchor
Retaining
Washer
Plan
Washer
Fiber
Washer
Sealing
Washer
Hole
Sleeve
1102602-A2-A 4 Kohler Co.
Cap
Screw
Screw
Page 5

Installation
8 Connect the supply shut-off valve to the supply hose and connect supply hose to
toilet supply shank.
Water
Supply
Hose
Water
Supply
Hose
Rear Inlet TypeBottom Inlet Type
9 In cistern.
Rear Water Inlet
K-19896
Rear Water Inlet
K-3735, K-4346
Kohler Co. 5 1102602-A2-A
Bottom Water Inlet
K-3736
Tank Hose
Bottom Water Inlet
Optional 148794A-NA
Stop Valve
Page 6

Install the Push Buttons
1 Remove the tape and protective pad. 2 Press down on the large button.
protective pad.
Tank Cover
3 Pull out and remove the small button. 4 Pull out and remove the large button.
5 Press the large button on to the black
rod.
Large Button
Black Rod
7 Insert the rod into the holes in the push
button housing.
1102602-A2-A 6 Kohler Co.
6 Press the small button on to the green
rod.
Small Button
Green Rod
8 Press down on the push buttons until
they click into place.
Page 7

Install Flush Valve
1 Release flush valve by turn right and pull straight up on the canister.
2
1
2 Assembly flush valve by push straight down into the canister and turn left.
1
2
Kohler Co. 7 1102602-A2-A
Page 8

New Zealand
Kohler New Zealand Ltd.
Phone: 64 9 980 6888, 0 800 100 382 Fax: 64 9 980 6899
Australia
Kohler Co.
Phone: 61 1300 362 284 Fax: 61 1300 652 284
2008 Kohler Co.
©
1102602-A2-A
 Loading...