

Kohler K330PB Installation Manual

Installation Guide
Wall Mount Bath Spout
K-328 K-330
M product numbers are for Mexico (i.e. K-12345M)
Los números de productos seguidos de
M corresponden a México (Ej.
K-12345M)
Français, page“ Français-1”
Español, página“ Español-1”
112562-2-BB
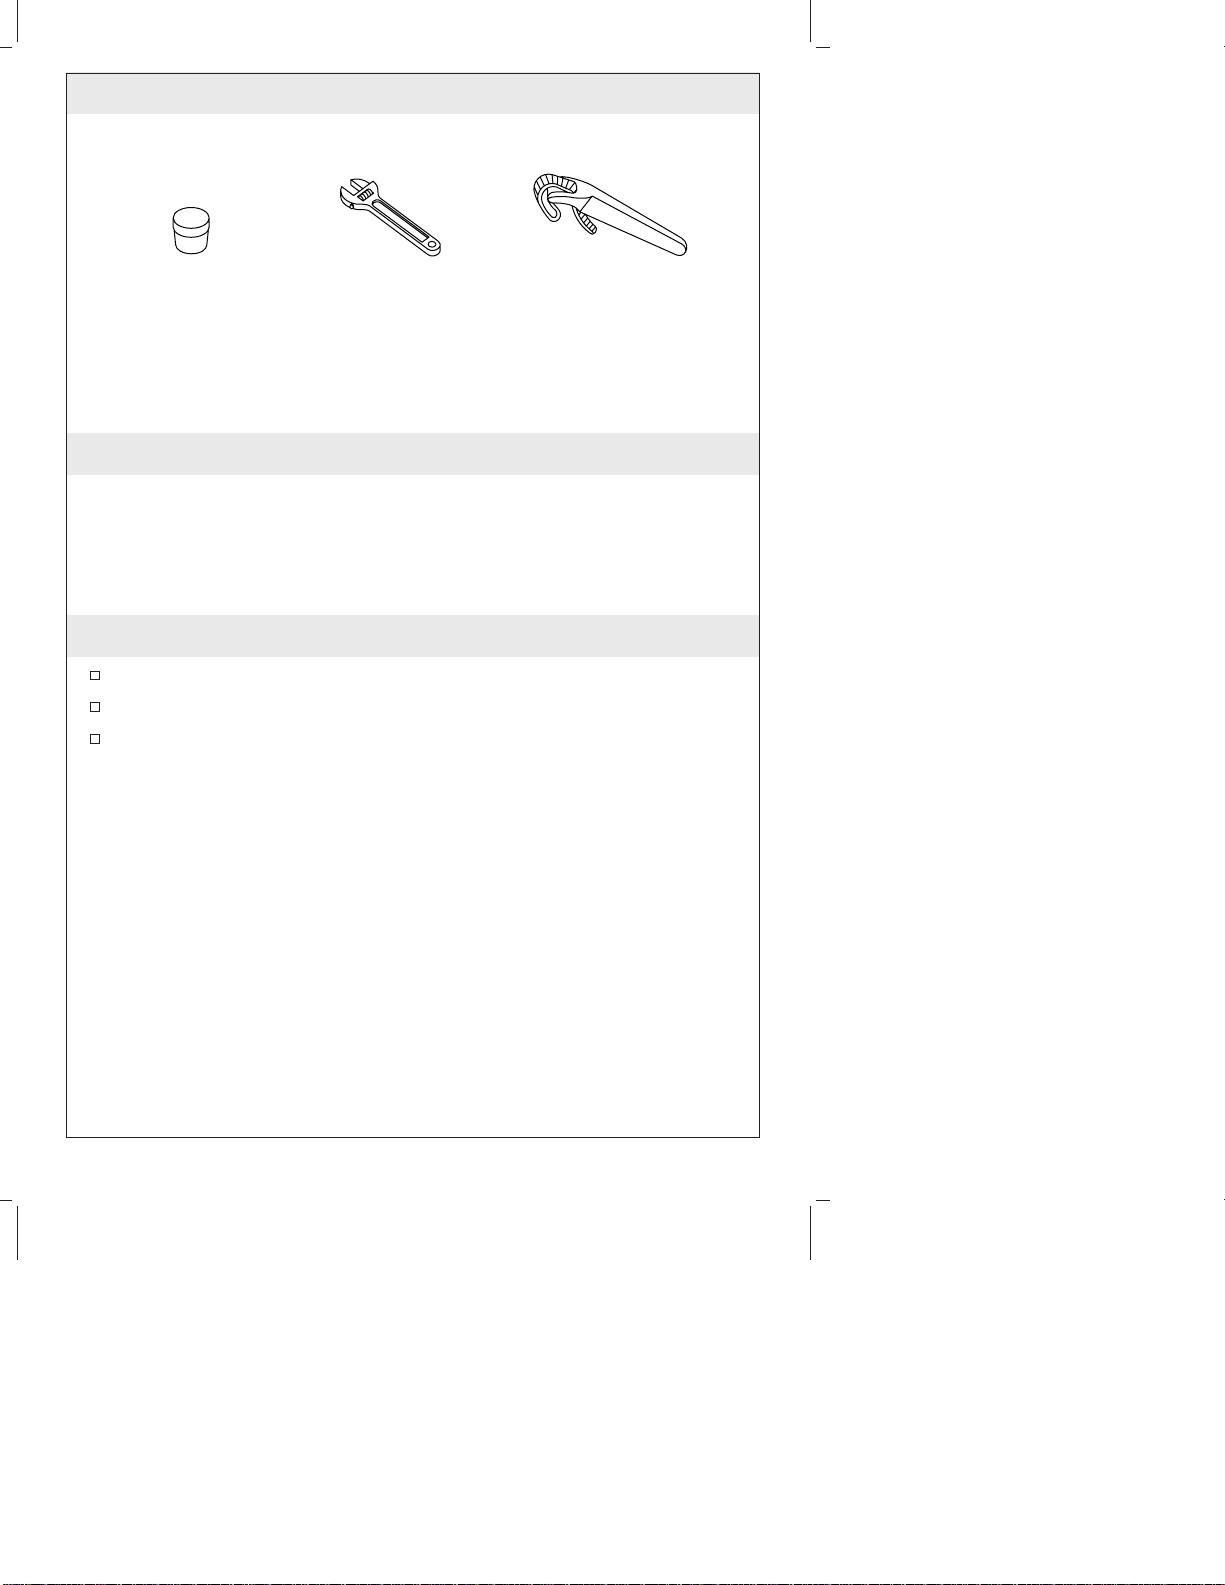
Tools and Materials
Plumbers
Putty
Adjustable
Wrenches
Strap
Wrench
Thank You For Choosing Kohler Company
We appreciate your commitment to Kohler quality. Please take a few
minutes to review this manual before you start installation. If you
encounter any installation or performance problems, please don’t
hesitate to contact us. Our phone numbers and website are listed on
the back cover. Thanks again for choosing Kohler Company.
Before You Begin
Observe all local plumbing and building codes.
Shut off the main water supply.
Kohler Co. reserves the right to make revisions in the design of
products without notice, as specified in the Price Book.
112562-2-BB 2 Kohler Co.
Pipe or
Tubing
Ell
Optional
Adapter
for Copper
Tubing
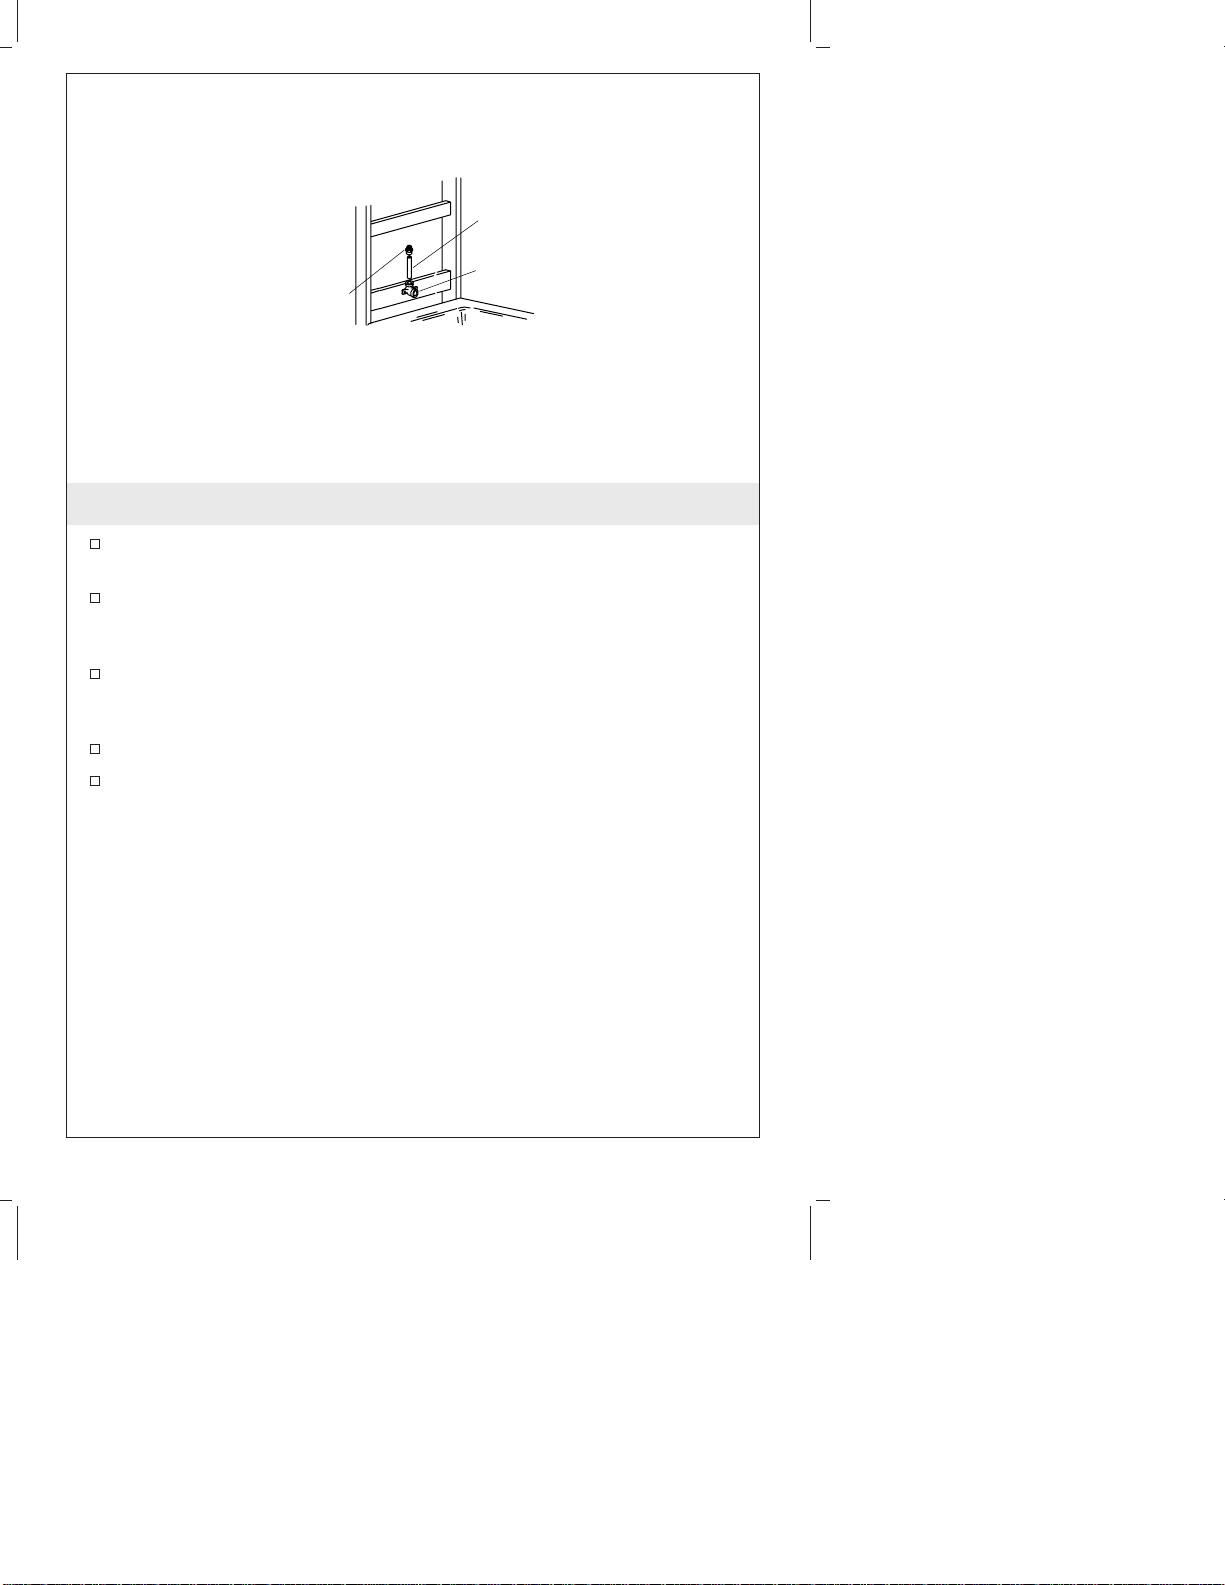
1. Prepare the Site
Determine the installation location of the spout and install the
support framing as required.
When installing a spout with a diverter, install a 3/4″ (or 1/2″)
temporary nipple, extending a minimum of 2″ (5.1 cm) beyond
the finished wall.
When installing a non-diverter spout, install a 1/2″ temporary
nipple extending a minimum 2″ (5.1 cm) beyond the finished
wall.
Securely fasten the bath members to the framing.
Turn on the water and check for leaks. Repair as required.
Kohler Co. 3 112562-2-BB

1/2" (1.3 cm)
1/2" x 3/4" Flush
Bushing (Supplied)
1/2" Piping
1/2" or 3/4" Piping
6-1/4" (15.9 cm)
2. Install the Spout
When installing a spout with a diverter:
Remove the temporary nipple.
If 3/4″ piping is used, install a 3/4″ nipple to extend 1/2″ (1.3
cm) beyond the finished wall.
If 1/2″ piping is used, the supplied 3/4″ to 1/2″ reduction
bushing should be installed now. Install a 1/2″ nipple extending
1/2″ (1.3 cm) beyond the finished wall.
Apply a bead of plumbers putty or other sealant to the back of
the spout flange according to the manufacturer’s instructions.
Slide the spout flange onto the spout.
Apply thread sealant to the nipple, and install the spout to the
nipple.
Carefully tighten with a clean strap wrench.
When installing a non-diverter spout:
Remove the temporary nipple.
Install a 1/2″ nipple extending 6-1/4″ (15.9 cm) beyond the
finished wall.
Apply a bead of plumbers putty or other sealant to the back of
the spout flange according to the manufacturer’s instructions.
Slide the spout flange onto the spout.
112562-2-BB 4 Kohler Co.

Install the Spout (cont.)
Apply thread sealant to the nipple, and install the spout to the
nipple.
Carefully tighten with a clean strap wrench.
Kohler Co. 5 112562-2-BB
 Loading...