

Kohler K2314847 Installation Manual

Installation Guide
Lavatory and Optional Hand Basin
K-2314, K-2335
M product numbers are for Mexico (i.e. K-12345M)
Los números de productos seguidos de M corresponden a México
(Ej. K-12345M)
Français, page “Français-1”
Español, página “Español-1”
1012580-2-E

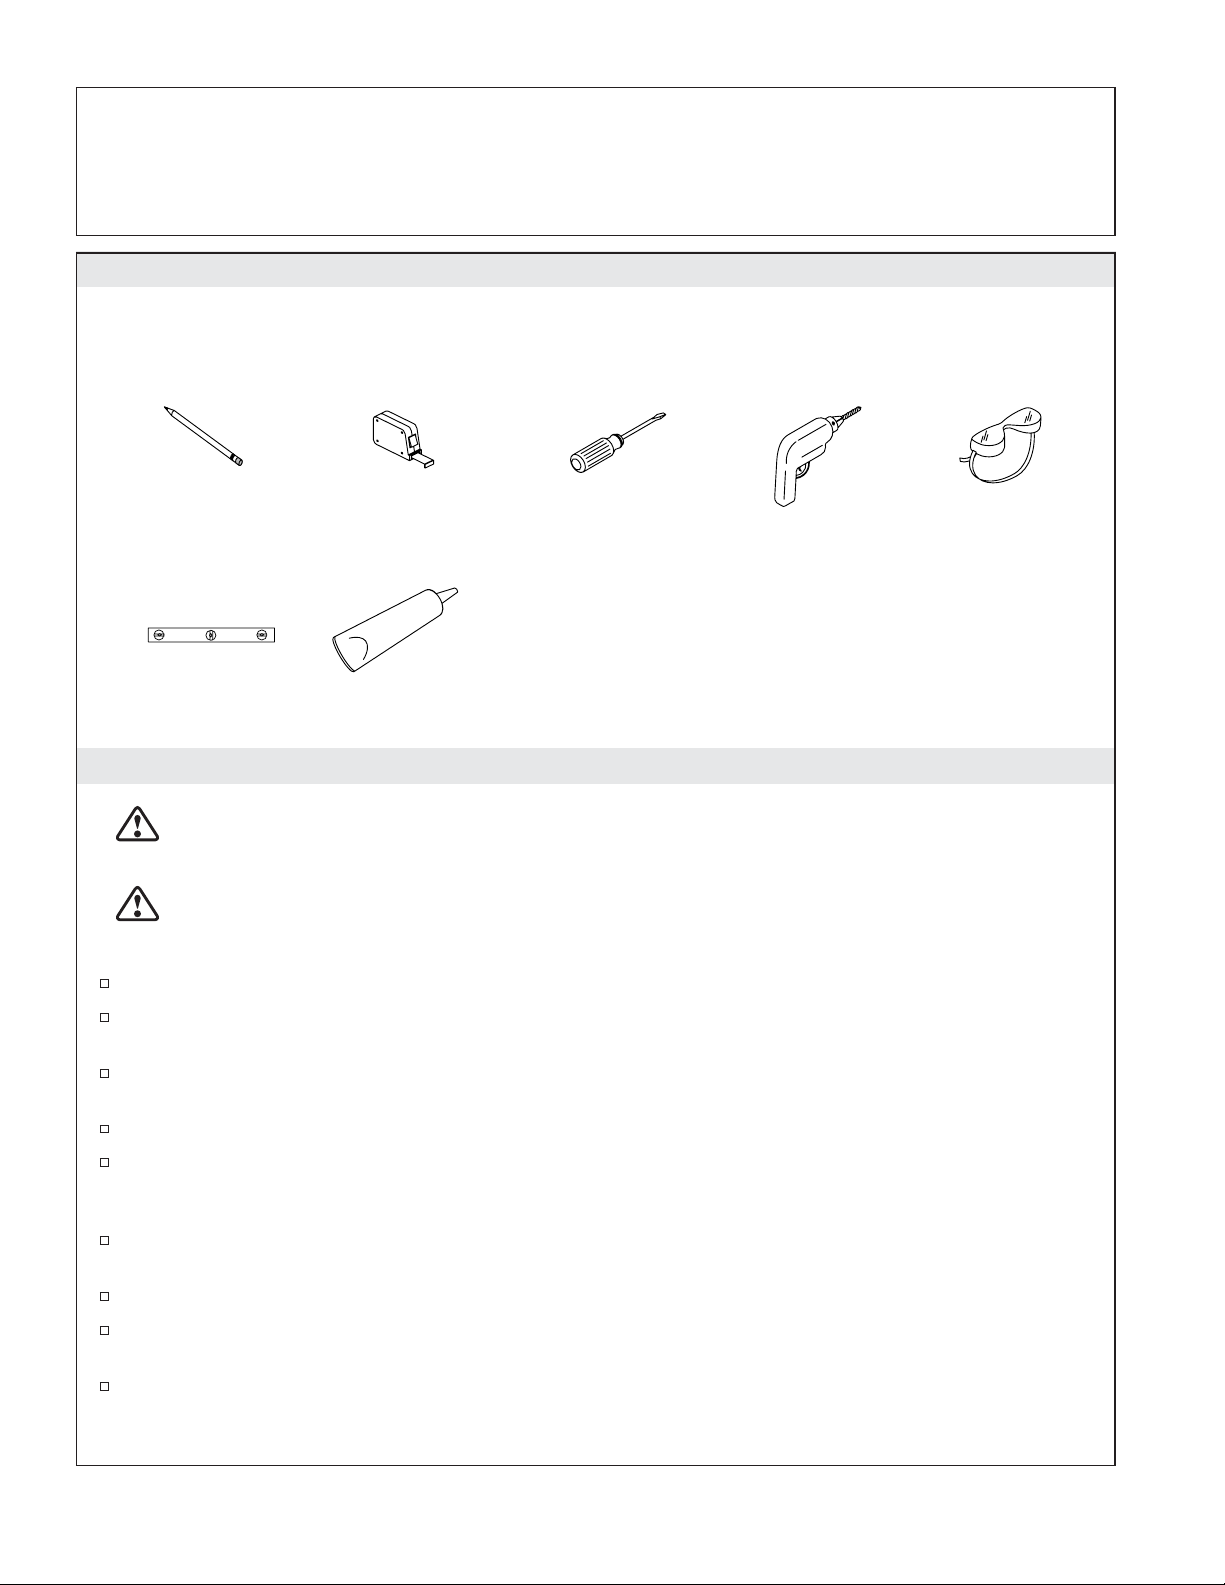
Tools and Materials
Pencil
Level
Measuring Tape
Silicone Sealant
Phillips
Screwdriver
Plus:
• Screws
• Washers
Drill
Safety Glasses
Before You Begin
CAUTION: Risk of personal injury or product damage. Do not attempt to lift or install the
lavatory without assistance. The lavatory can break, chip or cause personal injury if handled
carelessly.
CAUTION: Risk of product damage. Do not use plumbers putty with this product. Plumbers putty
can cause permanent discoloration of product surfaces. Sealant is the required for the installation.
Observe all local plumbing and building codes.
Refer to the Homeowners Guide to determine all necessary components for your installation.
Prior to installation, unpack the new lavatory and inspect it for damage. Return the lavatory to its
protective carton until you are ready to install it.
Inspect the existing drain and supply tubing. Replace if necessary.
If installing multiple components (vanity, cabinet, countertop, lavatory), read all component
installation instructions before beginning the lavatory installation. Some components should be
installed before others. Refer to the Homeowners Guide for sample configurations.
To ensure the lavatory functions properly, all components (vanity, cabinet, countertop, lavatory)
must be level.
The K-3081 model wall-mount vanity is designed for placement under the lavatory.
If brackets are installed for the natural lavastone countertop, no additional brackets are required for
this installation.
This lavatory is available with no faucet drilling, single-hole drilling, 4″ (10.2 cm) center drilling, or
8″ (20.3 cm) center drilling.
The lavatory with no faucet drilling is designed for use with Kohler mirrored cabinets with
integrated laminar flow faucet. A wall-mount faucet (minimum spout length 9″ (22.9 cm)) may also
be used with this lavatory.
Before installing the finished wall, make sure the proper headers are installed for each of your
component choices in this product line (consult the Homeowners Guide for proper configuration).
Plumbing and electrical (if applicable) rough-ins should also be completed before installing the
finished wall.
1012580-2-E 2 Kohler Co.
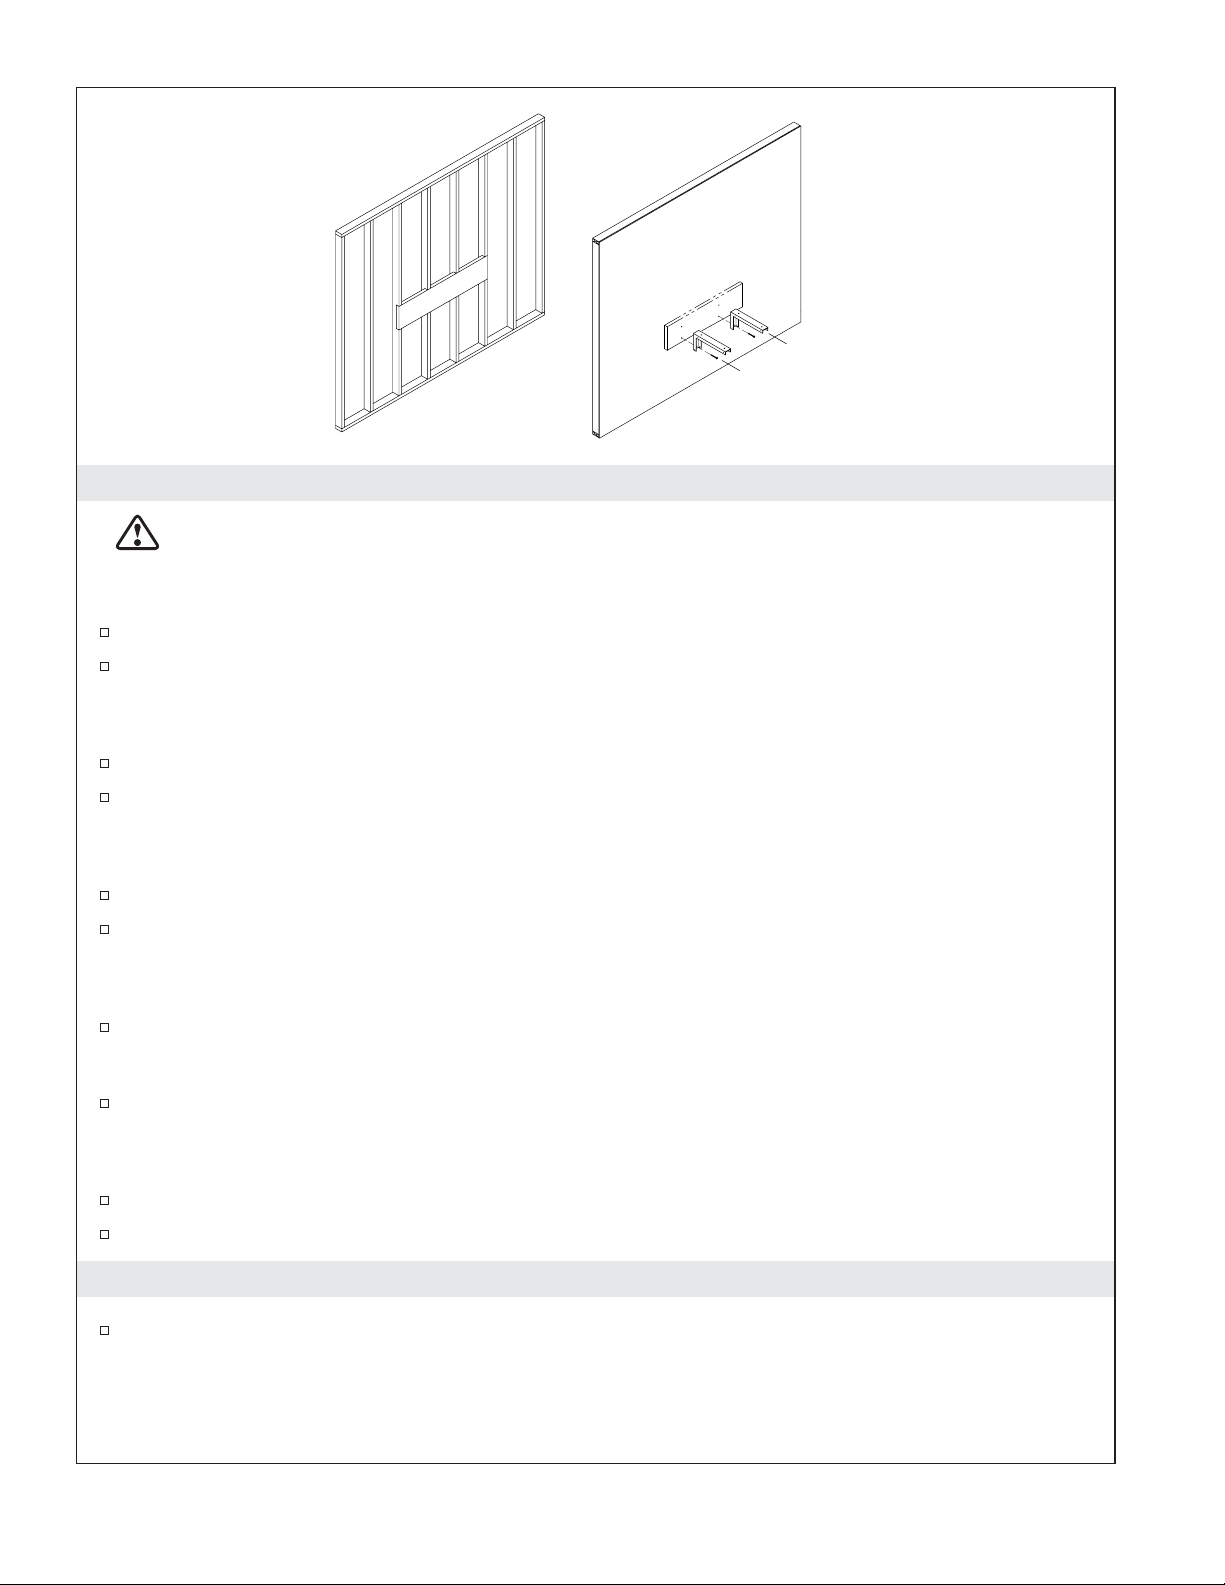
Bracket
Lag Screw
1. Prepare the Wall
CAUTION: Risk of personal injury and product damage. Extend the brace beyond the lavatory to
the nearest stud. This will ensure proper support for the lavatory.
If installing the lavatory with brackets only:
Install a 2x12 brace per the installation instructions packed with the K-9583 lavatory bracket kit.
Refer to the ″Install the Lavatory with Brackets Only″ section through the ″Install the Lavatory to
the Brackets″ section to complete the lavatory installation.
If installing the lavatory with the Lavastone countertop:
Install a 2x12 brace per the installation instructions packed with K-9667/76 countertop bracket kit.
Refer to the ″Install the Lavatory to the Countertop/Vanity″ section to complete the lavatory
installation.
If installing the lavatory with K-3081 wall-mount vanity:
Install a 2x6 brace per the installation instructions packed with K-3081 wall-mount vanity.
Refer to the ″Install the Lavatory to the Countertop/Vanity″ section to complete the lavatory
installation.
If installing mirrored cabinets K-3091/92/93:
Rough-in the plumbing according to the instructions packed with the mirrored cabinets.
If installing mirrored cabinets K-3082/83/89/90:
Rough-in the plumbing and electrical connections according to the instructions packed with the
mirrored cabinets.
For all installation types:
Rough-in the supplies, drain, and trap.
Complete the finished wall.
2. Install the Lavatory with the Brackets Only
Attach the brackets to the wall per the installation instructions packed with the lavatory bracket
kit.
Kohler Co. 3 1012580-2-E
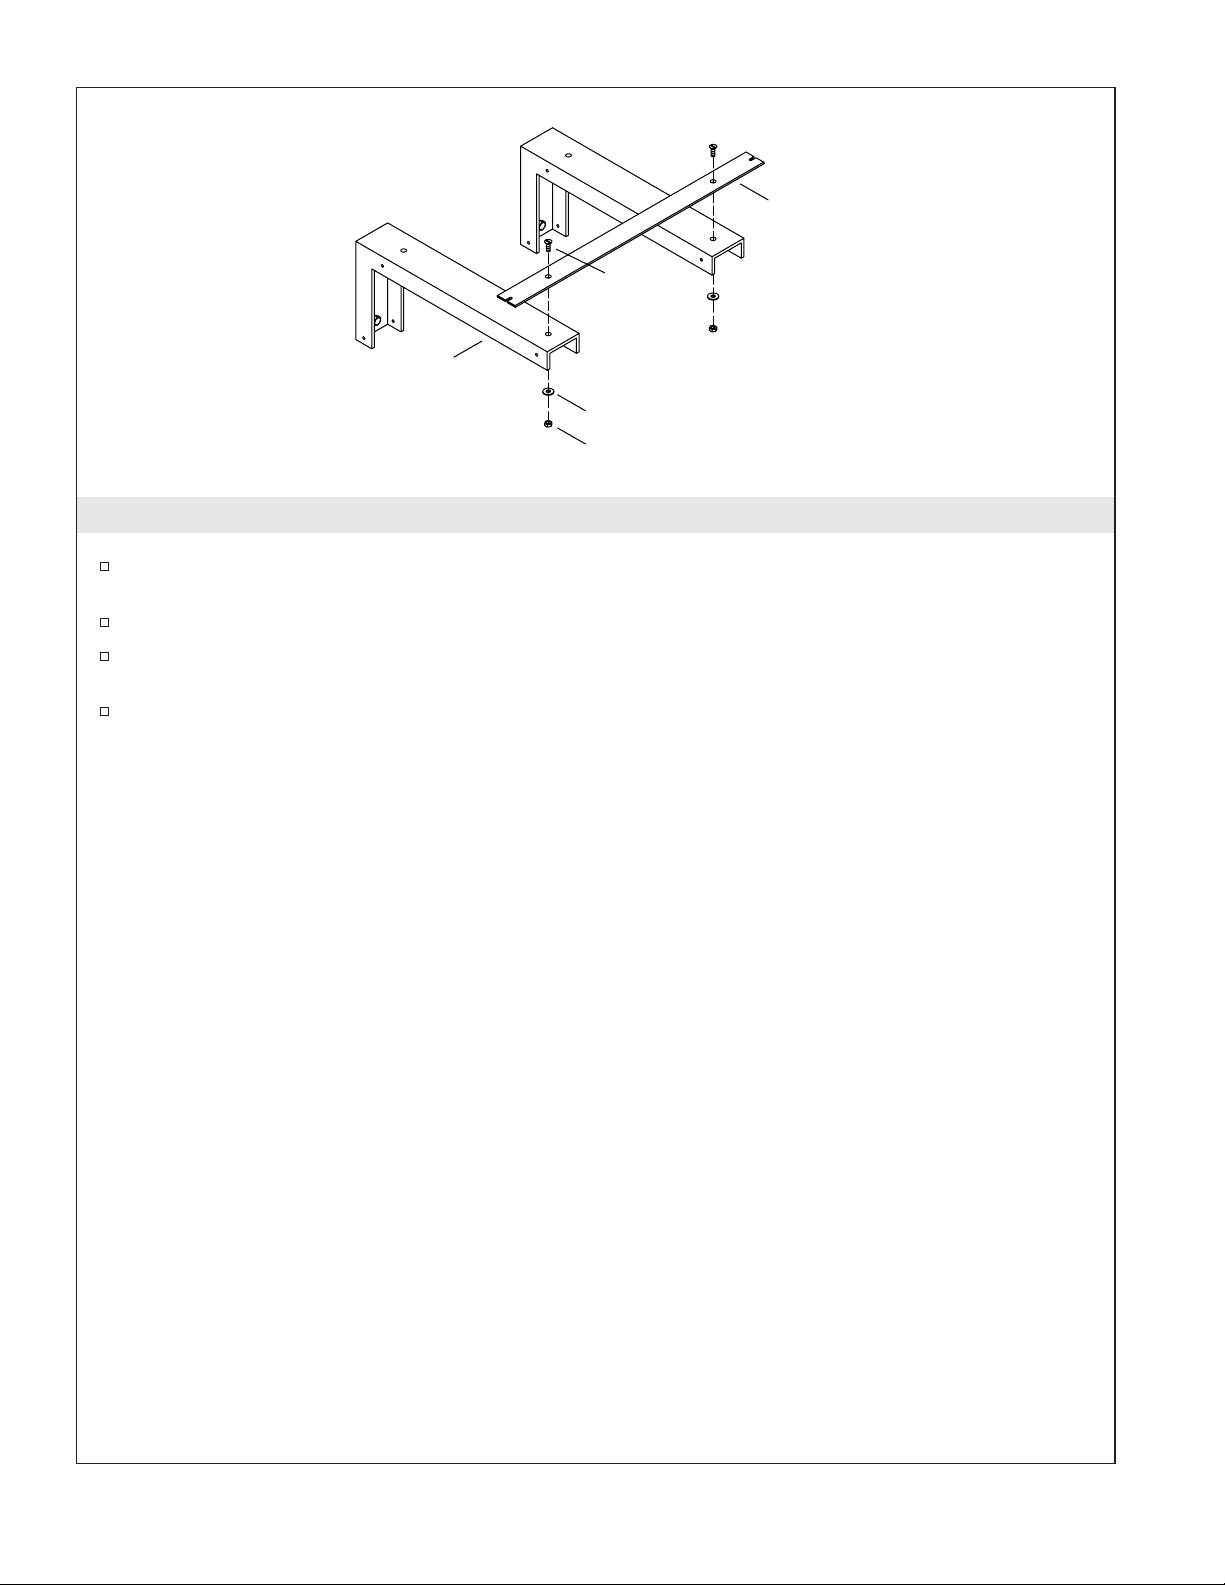
Tie Bar
Flush Head Bolt
Bracket
Washer
Nut
3. Attach the Tie Bar to the Brackets
Insert the 1/8″ bolts through a washer, then insert the 1/8″ bolts through the bracket holes closest to
the wall.
Spin the toggle wing nut onto the tip of each bolt.
Place the tie bar on the brackets, aligning the inner holes of the tie bar with holes in front of the
brackets.
Bolt the tie bar down using the flush head bolt, washer, and nut.
1012580-2-E 4 Kohler Co.

As Viewed From Below
Pinch wing nut closed to
insert into lavatory hole.
Toggle Wing Nut
Toggle Bolt
Assembly
Insert toggle bolt
into slot.
Tie Bar
Insert lag bolt and washer through
Pocket in back
of lavatory
back of lavatory, then attach to
finished wall.
4. Install the Lavatory to the Brackets
CAUTION: Risk of personal injury or product damage. Do not attempt to lift or install the
lavatory without assistance. The lavatory can break, chip, or cause personal injury if handled
carelessly.
Pinch the toggle wing nuts closed on the toggle bolt assemblies and insert into the front holes of the
lavatory bottom.
Lift the lavatory up above the mounted brackets.
Align the installed toggle bolt assemblies with the slots on the tie bar, then set the lavatory down on
the brackets.
Locate the mounting holes in the back of lavatory, then mark the holes with a pencil. Lift the
lavatory up off the brackets and set aside.
Pre-drill the marked holes.
Align the installed toggle bolt assemblies with the slots on the brackets again, then set the lavatory
down on the brackets.
IMPORTANT! Select the appropriate lag bolts and washers according to the thickness and type of finished
wall.
Insert two lag bolts and washers (not provided) through the holes located in the pockets in back of
lavatory, then into the finished wall.
CAUTION: Risk of product damage. Do not overtighten the bolts. Overtightening will damage the
lavatory.
Tighten all bolts.
Kohler Co. 5 1012580-2-E

Lavastone Countertop
Sealant
As viewed from below
Wall-Mount Vanity
5. Install the Lavatory to the Countertop/Vanity
CAUTION: Risk of product damage. Do not use plumbers putty with this product. Plumbers putty
can cause permanent discoloration of product surfaces. Silicone sealant is required for the
installation.
Make sure the countertop/vanity surface is clean and dry.
Temporarily position the lavatory on the countertop/vanity cut-out. Lightly mark the outline with a
pencil.
NOTE: If installing the lavatory with hole drilling, install the faucet at this time. Follow all the instructions
packed with the faucet.
Remove the lavatory and apply a continuous bead of silicone sealant around the bottom edges of
the lavatory.
Place the lavatory on top of the countertop/vanity cut-out and immediately wipe away any excess
silicone sealant.
Allow the silicone sealant to cure before proceeding.
6. Complete the Installation
Install the bracket covers according to the installation instructions packed with the bracket kit.
Install the lavatory drain according to the installation instructions packed with the drain.
Connect the supplies, trap, and drain assembly.
Turn the water supplies on and check for leaks.
1012580-2-E 6 Kohler Co.
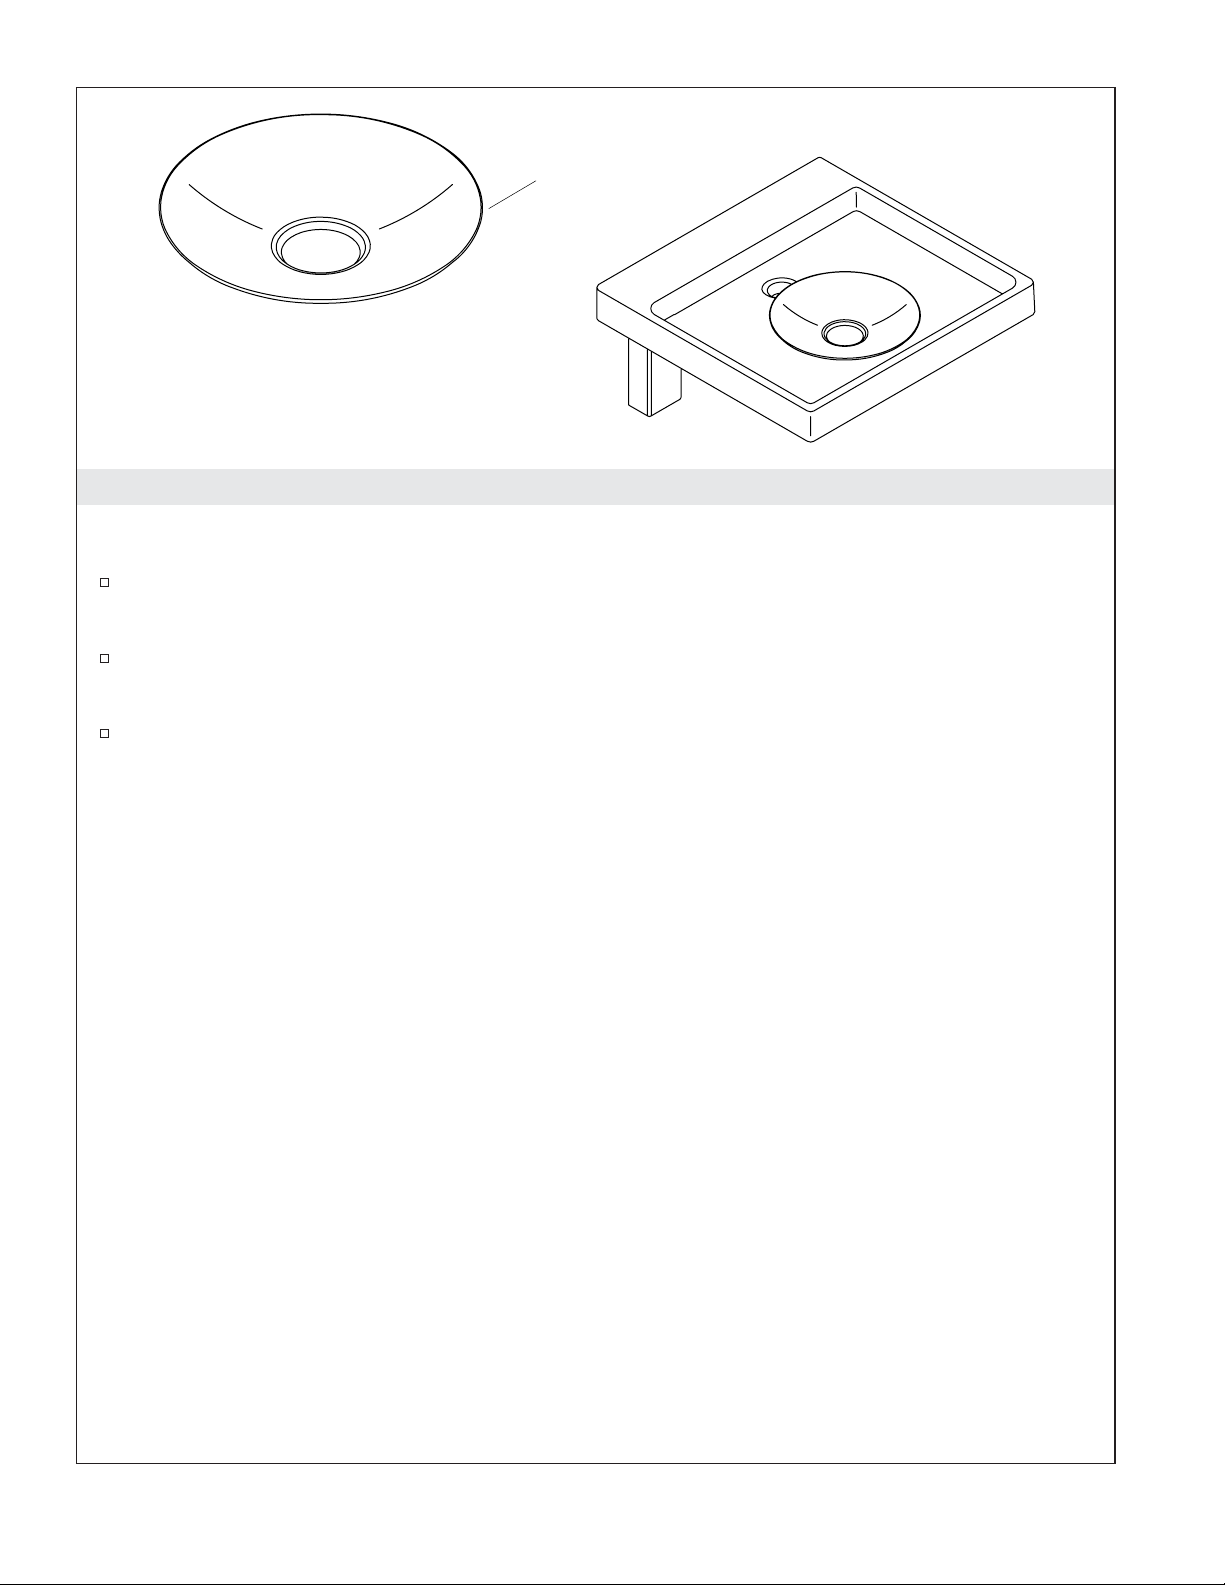
Open Bottom Hand Basin
(closed bottom version
not shown)
7. Install the Hand Basin (optional)
NOTE: There are two optional hand basins, one with an open bottom (K-2315) and one with a closed
bottom (K-2316). These basins are designed to catch and retain water.
Set the hand basin on the lavatory.
For Open Bottom Basins:
Lift up the open bottom basin evenly or tip to one side to allow the water to drain through the hole.
For Closed Bottom Basins:
Pour the water out of the closed bottom basin.
Kohler Co. 7 1012580-2-E
Guide d’installation
Lavabo et bassin à main optionnel
Outils et matériels
Crayon
Niveau à bulle
Mètre ruban
Matériau
d'étanchéité
Tournevis
Et:
• Vis
• Rondelles
Perceuse
Lunettes de
protection
Avant de commencer
ATTENTION : Risque de blessure corporelle ou d’endommagement du produit. Ne pas essayer
de soulever ou d’installer le lavabo sans assistance. Le produit peut casser, se fendre ou causer des
blessures si il est manipulé sans précaution.
ATTENTION : Risque d’endommagement du produit. Ne pas utiliser du mastic de plombier avec
ce produit. Le mastic de plombier peut causer une décoloration permanente des surfaces du
produit. Une étanchéité est requise pour cette installation.
Respecter tous les codes de plomberie et de bâtiment locaux.
Se référer au guide du propriétaire afin de déterminer tous les composants nécessaires à
l’installation.
Avant son installation, déballer le nouveau lavabo et l’examiner pour en déceler tout dommage.
Remettre le lavabo dans son emballage de protection jusqu’à être prêt à l’installer.
Inspecter le drain existant et la tuyauterie d’alimentation. Remplacer si nécessaire.
Si plusieurs composants sont installés (armoire de toilette, meuble, comptoir, lavabo, etc.), lire toutes
les instructions d’installation avant de commencer l’installation du lavabo. Certains éléments doivent
être installés avant d’autres. Se référer au guide du propriétaire pour les configurations possibles.
Pour assurer de propres fonctions du lavabo, tous les composants (armoire de toilette, meuble,
comptoir, lavabo) doivent être nivelés.
Le meuble à montage mural modèle K-3081 est conçu pour un placement sous le lavabo.
Si des supports sont installés pour un comptoir en pierre volcanique naturelle, aucun support
supplémentaire n’est nécessaire pour cette installation.
Ce lavabo est disponible sans orifices pour robinet, un orifice unique, forage central de 4″ (10,2 cm)
ou de 8″ (20,3 cm).
Kohler Co. Français-1 1012580-2-E
 Loading...