

Kohler K-2191, K-2200, K-2203, K-14223 Installation Manual

Installation Guide
Wall-Mount/Above Counter Lavatories
K-2191 K-2200, K-14223
K-2203
M product numbers are for Mexico (i.e. K-12345M)
Los números de productos seguidos de
M corresponden a México (Ej.
K-12345M)
Français, page “Français-1”
Español, página “Español-1”
1018373-2-C
Thank You For Choosing Kohler Company
Thank you for choosing Kohler Company. Your Kohler Company
product reflects the true passion for design, craftsmanship, artistry, and
innovation Kohler Company stands for. We are confident its
dependability and beauty will surpass your highest expectations,
satisfying you for years to come.
All the information in this guide is based upon the latest product
information available at the time of publication. At Kohler Company,
we strive to fulfill our mission of improving the level of gracious living
for each person who is touched by our products and services. We
reserve the right to make changes in product characteristics, packaging,
or availability at any time without notice.
Please take a few minutes to review this guide. If you encounter any
installation or performance problems, please call 1-800-4KOHLER
(1-800-456-4537) from within the USA and Canada, or 001-877-680-1310
from within Mexico.
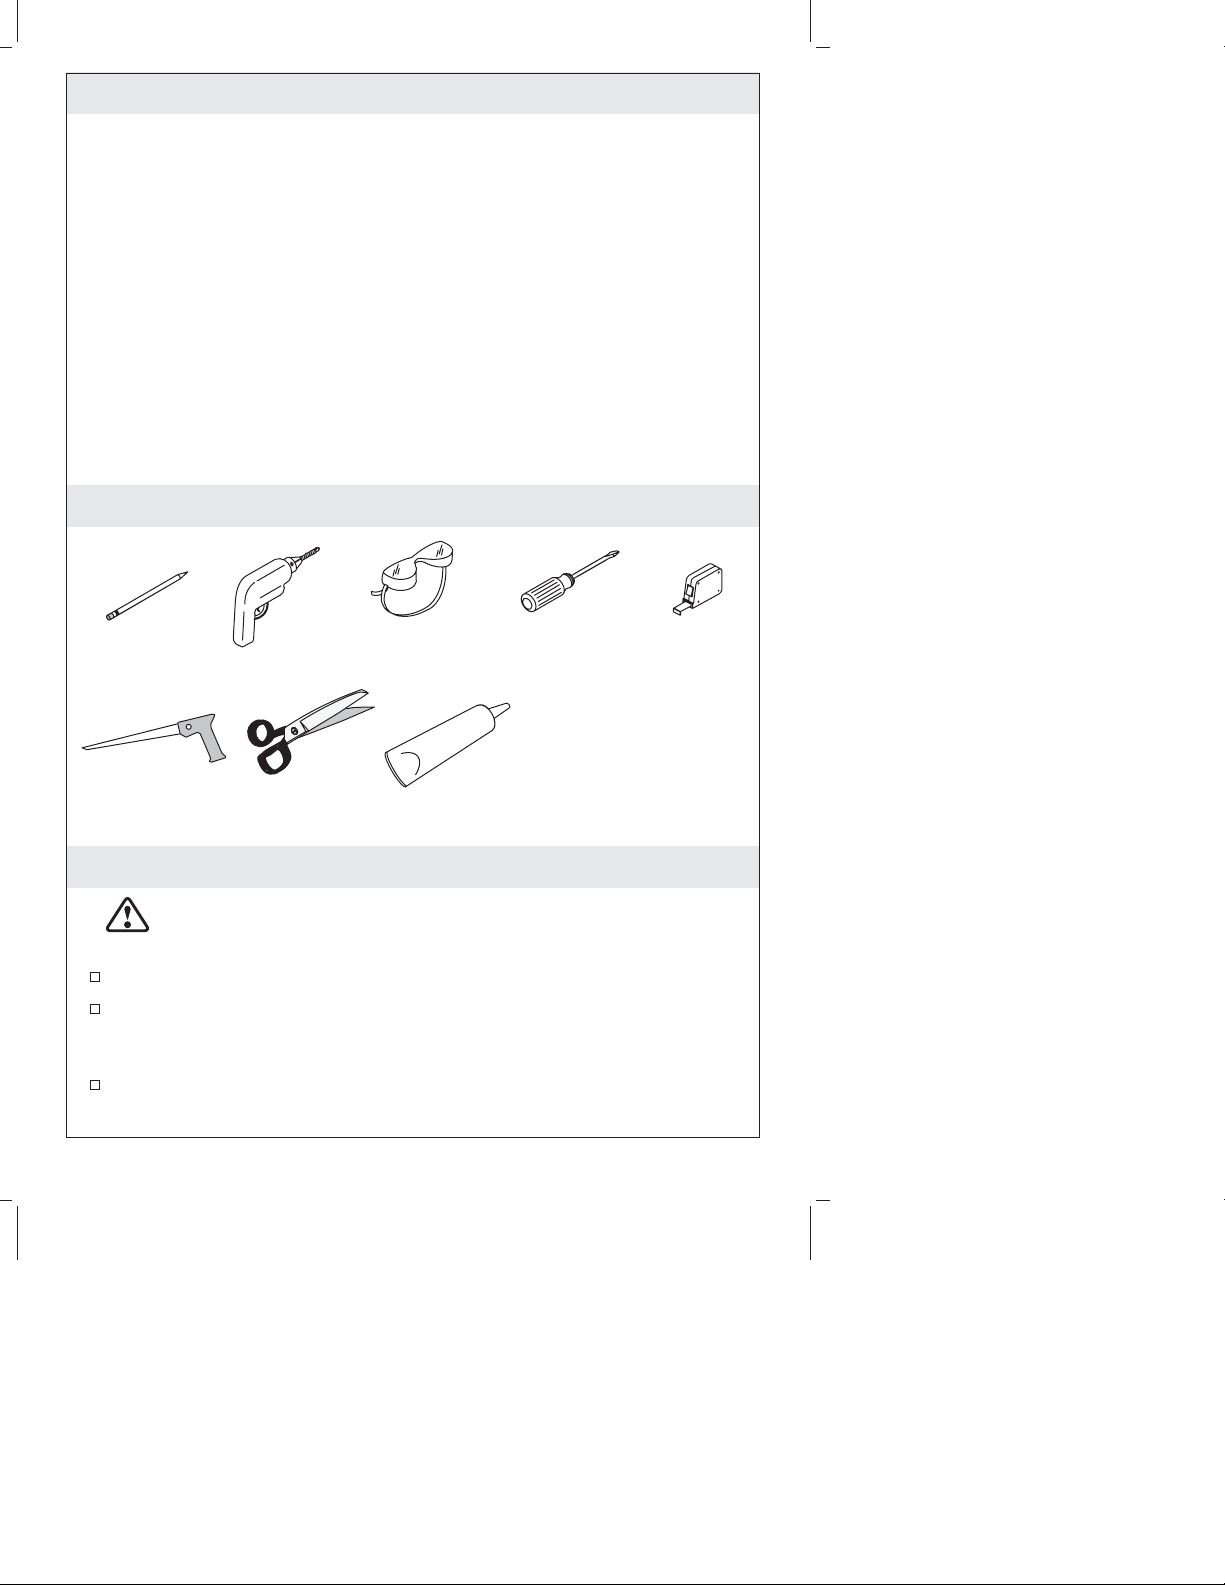
Tools and Materials
Pencil
Keyhole Saw
Drill
Scissors
Safety Glasses
Sealant
Screwdriver
Plus:
• 1/2" drill bit
• Hole Saw
• Safety Shoes
Tape
Measure
Before You Begin
CAUTION: Risk of personal injury or product damage.
Handle with care. Vitreous china can break or chip if the
product is handled carelessly.
Observe all local plumbing and building codes.
Prior to installation, unpack the new lavatory and inspect it for
damage. Return the lavatory to its protective carton until you are
ready to install it.
Inspect the existing drain and supply tubing. Replace if necessary.
1018373-2-C 2 Kohler Co.

Before You Begin (cont.)
These instructions are for installing the lavatory to wood frame
construction. For other installations, supply suitable bracing and
fastening devices of sufficient size and strength.
Use the template supplied with the lavatory.
For replacement installations, make sure the existing cutout is the
same size or smaller than needed for the new lavatory.
Use these instructions for wall-mount, self-rimming and above
counter installations. Follow only the instructions that apply to
your installation.
You can choose between a wall-mount or countertop faucet
installation, depending upon the setting and styling you desire. A
wall-mount faucet is recommended.
Kohler Co. reserves the right to make revisions in the design of
products without notice, as specified in the Price Book.
Kohler Co. 3 1018373-2-C

Spout
Centerline
Cut-out Line
Backsplash
1" (2.5 cm)
Minimum
Clearance
Outside
Edge of
Lavatory
1. Preparation
Install the water supplies and drain piping according to the
roughing-in information.
NOTE: The lavatory displayed in the illustration may differ from
your actual product.
Wall-Mount Bracket Installations
NOTE: The K-2191 and K-2200 lavatories can be installed on this
wall-mount bracket. The K-2203 is not suitable for wall-mount
bracket installation.
Install the lavatory according to the instructions packed with the
bracket.
Countertop Installations
Position the template on the countertop.
For Wall-Mount Faucets: Provide sufficient spout overhang into
the lavatory basin. The faucet spout length must be at least 5″
(12.7 cm) to provide proper performance.
For Countertop Faucets: Pay special attention to the spout and
handle fit clearance when locating the faucet. Use the template to
locate the faucet spout hole centerline on the countertop. This
centerline is recommended to provide adequate clearance
between the edge of the lavatory and the spout.
1018373-2-C 4 Kohler Co.

Preparation (cont.)
Check for adequate clearance between the backsplash, faucet
spout and handles, and lavatory. Kohler Co. recommends a
clearance of at least 1″ (2.5 cm).
Refer to the faucet installation instructions for required clearance,
and mark the preferred faucet hole locations using a soft lead
pencil.
Trace the template on the countertop.
Kohler Co. 5 1018373-2-C
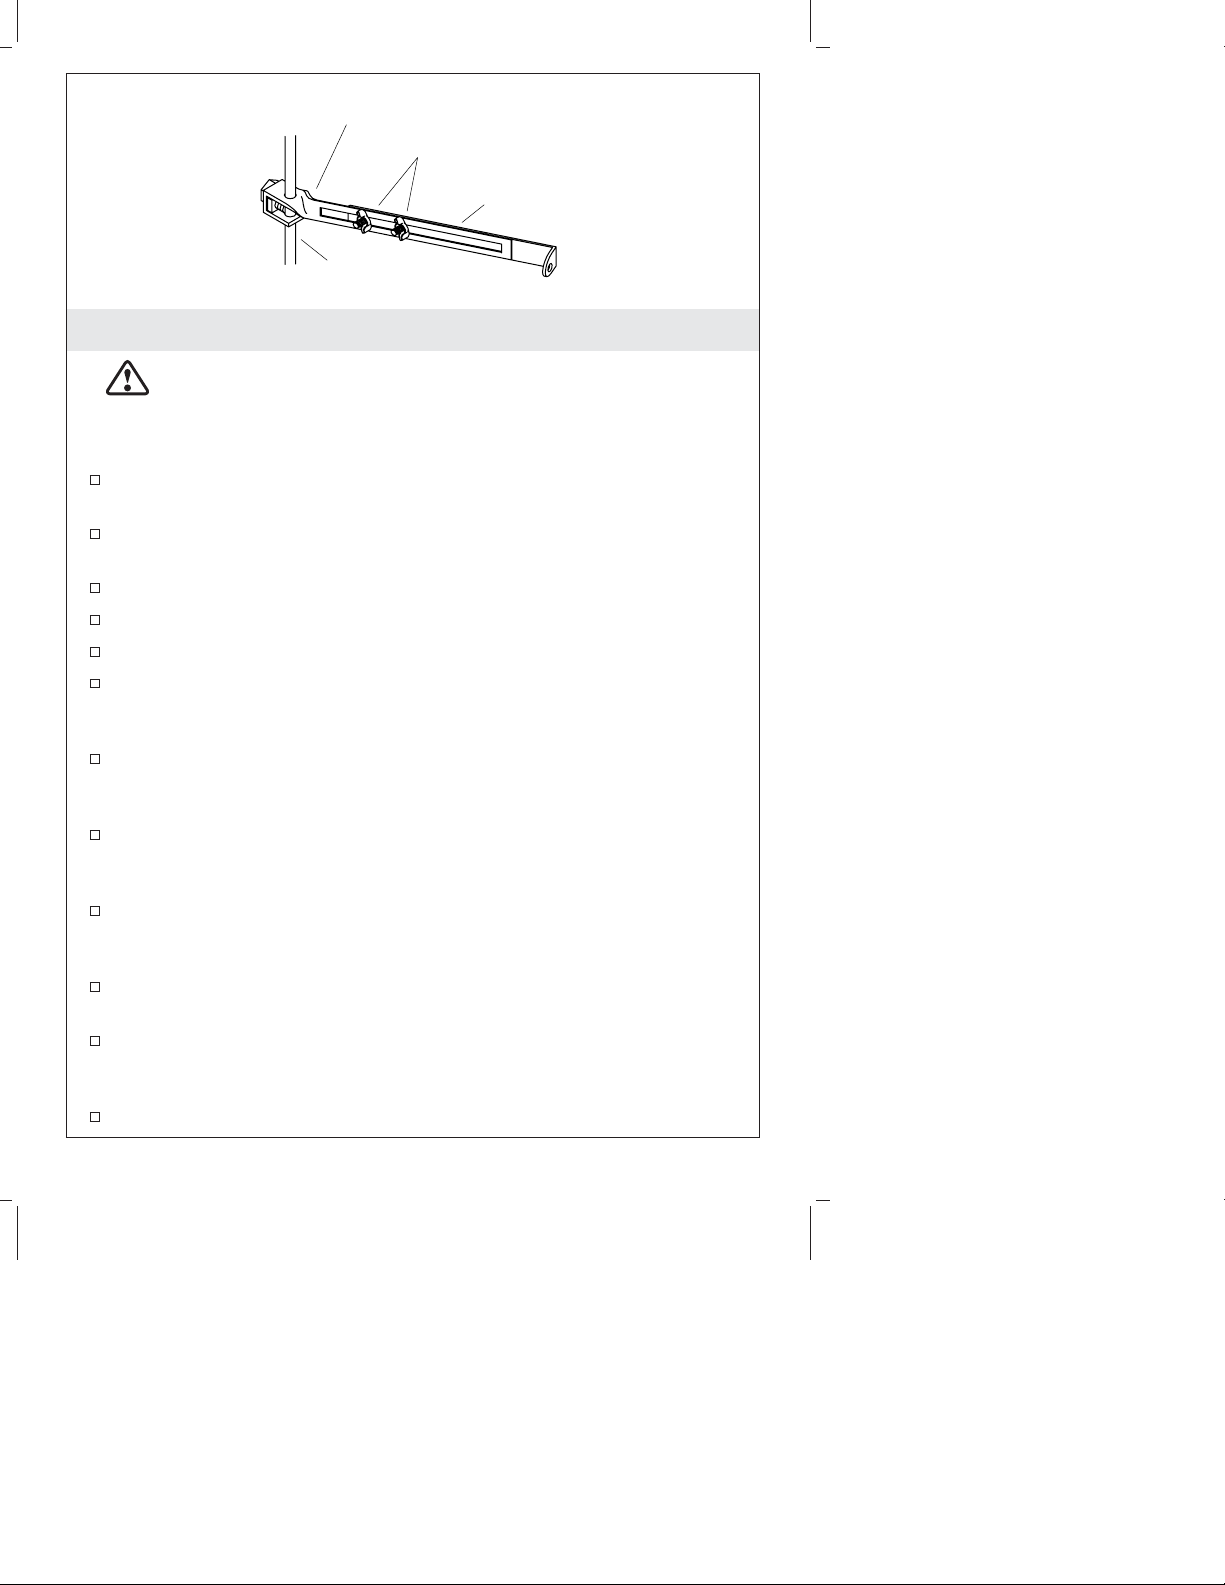
Bend here only.
Adjust here.
Custom Linkage
Lift Rod
2. Install the Lavatory
CAUTION: Risk of personal injury or product damage.
Handle with care. Product can break, chip or cause injury if
handled carelessly. Get help lifting the lavatory.
Countertop Installations
Cut out the opening by carefully following the pencil line traced
from the template.
Temporarily set the lavatory into the countertop cutout to check
for fit.
Remove the lavatory from the countertop.
Drill the faucet holes.
Install the faucet according to the manufacturer’s instructions.
Install the drain. For pop-up drains, use the custom linkage
provided with this lavatory instead of the linkage supplied with
the drain.
Install the custom linkage as shown. Adjust and/or bend the
linkage as required to achieve smooth, effective pop-up drain
operation. Only bend the linkage at the location shown.
Apply a 1/8″ (3 mm) bead of sealant around the countertop
cutout hole. Apply the sealant approximately 1/4″ (6 mm) away
from the cutout hole edge.
Set the lavatory into the countertop cutout. Use care to avoid
smearing the sealant bead. Wipe away any excess sealant with a
clean cloth.
Follow the instructions listed on the sealant label. Allow the
sealant to set for 30 minutes or more before proceeding.
Connect and tighten the trap to the drain, and complete the water
supply connections to the faucet according to the instructions
packed with the faucet.
Run water into the lavatory and check for leaks.
1018373-2-C 6 Kohler Co.
 Loading...