

Page 1
Calibration Quick-Start Guide
Kodak Professional 8500 Digital Photo Printer
This document will help get you started using the Kodak Printer Calibration Utility with your
Kodak Professional 8500 Digital Photo Printer and will show you how to download the default
calibration table to the printer. This guide assumes that you have already successfully installed
the Calibration Utility software on your system. While the procedure and screen captures shown
are for Windows operating systems, the same procedure will work with Macintosh systems.
Select the 8500 Printer:
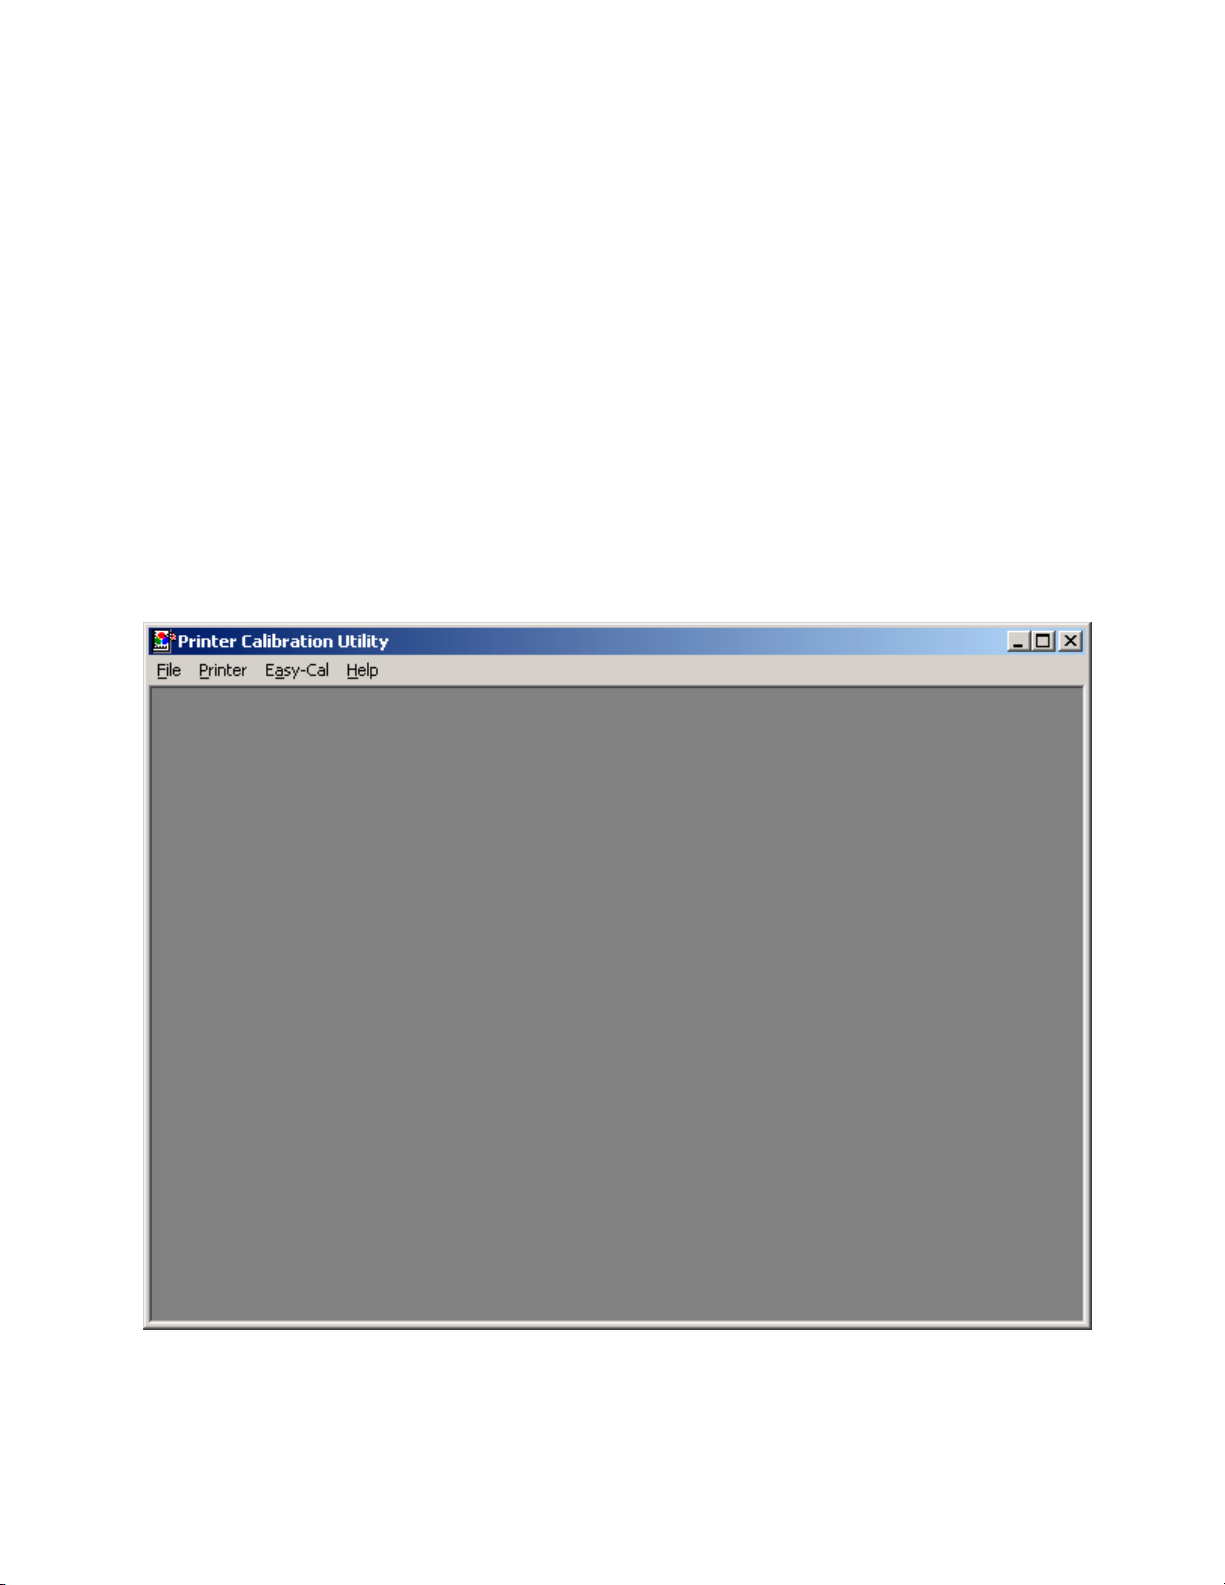
Upon launching the Kodak Printer Calibration Utility software, you will be presented with a
blank window as shown in Figure 1 below.
Figure 1
-1-
Page 2
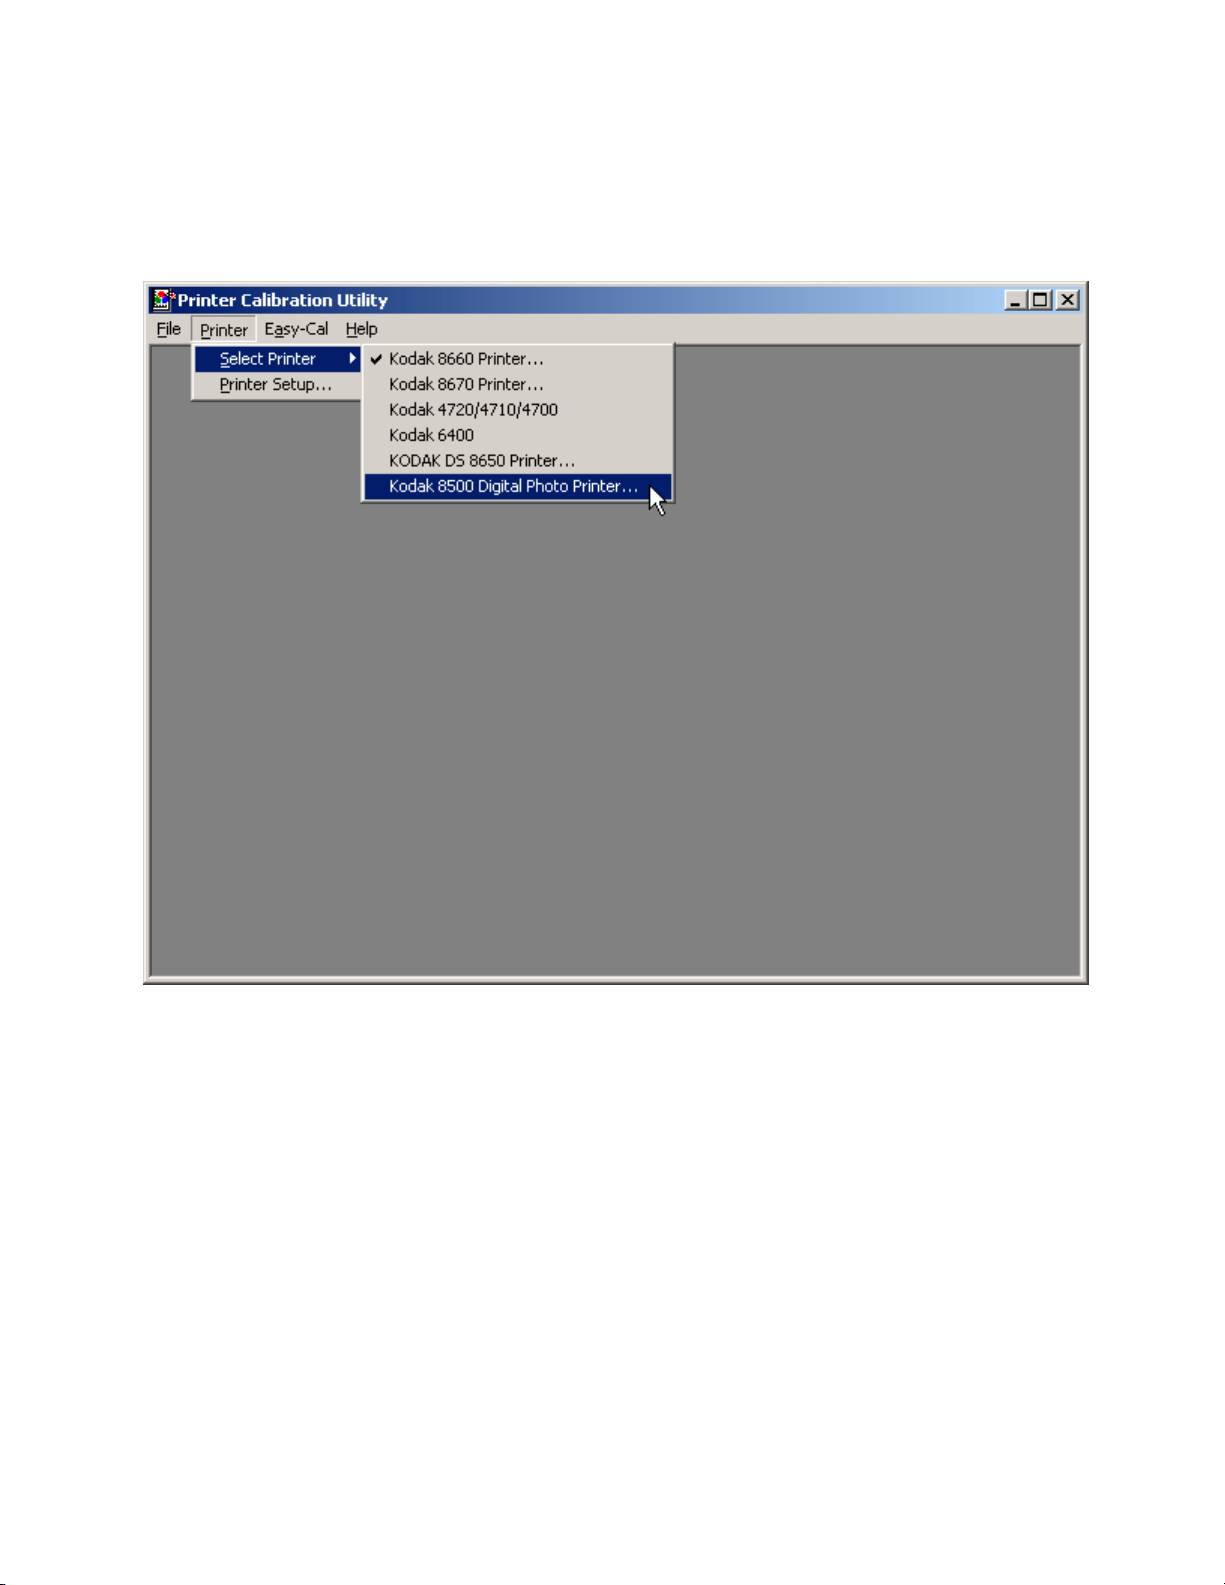
The first step is to select the Kodak 8500 Digital Photo Printer. This is done by clicking on the
Printer menu item and moving to Select Printer. Select the Kodak 8500 Digital Photo Printer as
shown in Figure 2 below.
Figure 2
After selecting the Kodak 8500 Digital Photo Printer, another dialog box will appear asking you
to confirm the Printer ID of 1. This is done by clicking on the radio button as shown in Figure 3.
After doing this, click on the OK button to dismiss the dialog box.
-2-
Page 3

Figure 3
Create a New Calibration Document:
The next step in the calibration procedure is to create a new calibration document. This is done
by clicking on the File menu item and selecting New. A new dialog box will appear entitled
“Create a new calibration table with these settings?” as shown below in Figure 4. This will
create a calibration table using the printer’s default settings. Click on the OK button to dismiss
the dialog box.
Figure 4
-3-
Page 4

Send the Calibration Table to the Printer:
The last step in downloading the default printer calibration table to the printer involves sending
the table to the printer. This is done by clicking on the Send button as shown in Figure 5.
Figure 5
After clicking on the Send button, a dialog box will appear as shown in Figure 6, confirming
your decision to send the table to the selected printer. Click on the Send button to send the table.
A dialog box will appear confirming that the table was sent to the printer as shown in Figure 7.
Click on the OK button to dismiss the dialog box.
Figure 6 Figure 7
-4-
Page 5

At this point, you have successfully downloaded the default calibration table to your 8500
printer. In most cases this should give satisfactory results. However, if you desire to further
calibrate your printer, you can do so by performing a Densitometer Calibration (if you have a
densitometer), or a Visual Gray Balance (Easy Cal) Calibration if you don’t have a densitometer.
Consult the “Calibration Utility User’s Guide” for more information on calibrating the printer.
The Calibration Utility User’s Guide is available in PDF format from the Kodak web site at:
http://download.kodak.com/professional/manuals/8650/1h9659.pdf
-5-
 Loading...