

Page 1

IF YOU PREFER, YOU CAN NOW REGISTER ONLINE AT WWW.KLIPSCH.COM
For multiple speaker purchases, please fill out only one warranty card.
Name:
Street Address:
City/State/Zip:
Home Phone:
Work Phone:
E-mail Address:
Would you like to receive the latest product updates and news via e-mail? q Yes q No
Product Purchase
Model and serial number must be included to honor your warranty card. For multiple speaker
purchases, please fill out only one warranty card.
Model Serial Number
Model Serial Number
Model Serial Number
Model Serial Number
Model Serial Number
Model Serial Number
What store did you purchase your Klipsch products from?
Store Name: State:
How did you hear about Klipsch? q Audio/Home Theater Magazine q Other Magazine q TV
q Radio q Newspaper q Trade Show q Friend q Retail Dealer q Direct Mail
Have you purchased Klipsch products before? q Yes q No
If yes, what products?
Product Name(s):
When do you hope to purchase additional loudspeakers? q 6 mos. – 1 yr. q 1–2 yrs. q 2–4 yrs.
How likely are you to consider Klipsch products for your upcoming purchases? q Very likely
q Somewhat likely q Doubtful
If doubtful, why? q Don’t carry product I’m looking for q Too expensive
q Klipsch dealer too far away q Other
Please tell us about you!
q Married q Single q Student
q Male q Female
Age: q 15-17 q 18-24 q 25-35 q 36-45 q 46-55 q 55-64 q 65+
Annual Household Income: q Under $25,000 q $25-35,000 q $35-50,000
q $75-100,000 q $100,000+
Page 2
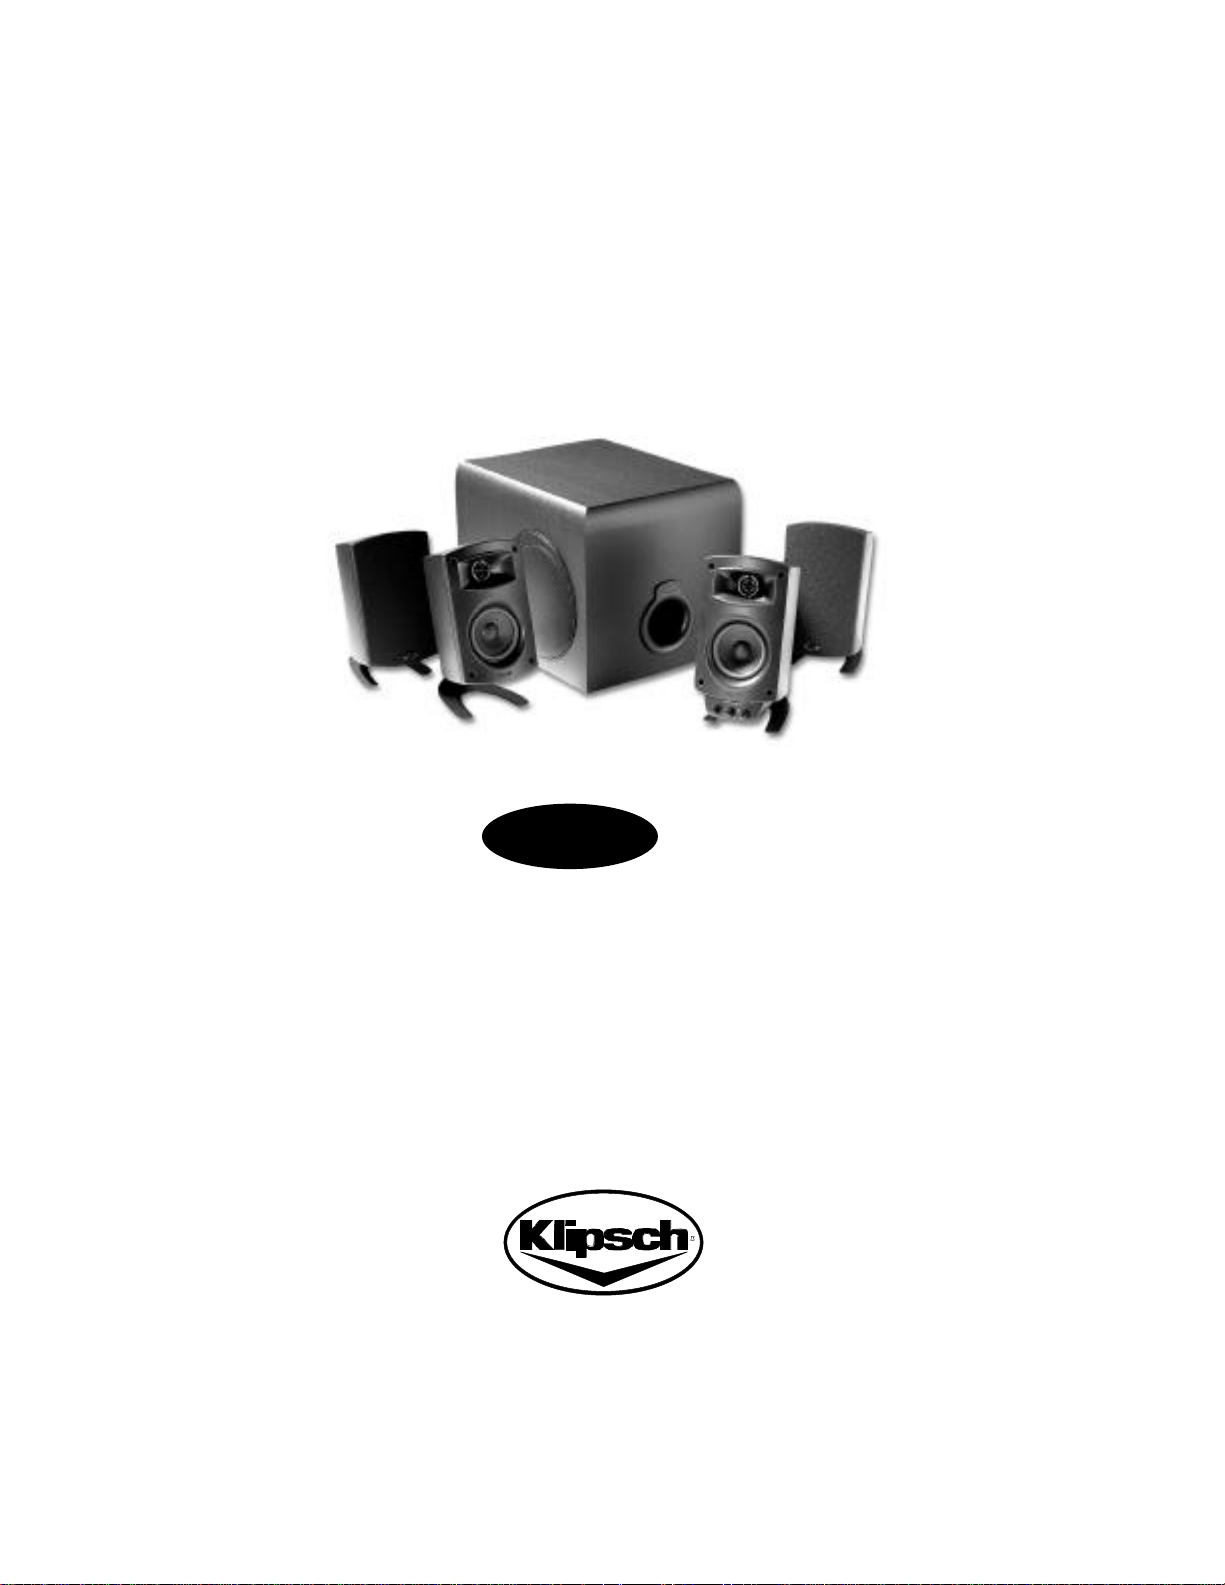
Klipsch ProMedia
™
v. 2 - 4 0 0
O w n e r’s Manual and Wa rr a n t y
Page 3
DE S C R I P T I O N
The hallmarks of the Klipsch design philosophy have always been
breathtaking dynamics, high efficiency and low distortion. With these
principles in mind, Klipsch engineers have applied their years of audio
expertise to create the best possible high performance, compact multimedia
sound system. The Klipsch ProMedia™v.2-400 overcomes the challenges of
tight space limitations and small speaker requirements to bring full surround
sound fidelity to the PC desktop, matching the quality and effects now
possible in computer visual and gaming technologies.
The THX Certified Klipsch ProMedia v.2-400 uses advanced materials technology to deliver four discrete audio channels for true
surround sound, as well as the deep bass enhancement only a dedicated subwoofer can provide.
WE WANT YOUR NEW SPEAKER SYSTEM TO LOOK AS GOOD AS IT DID LEAVING THE FACTORY!
PLEASE CHECK PROMPTLY FOR TRANSIT DAMAGE.
Carefully unpack your new speaker system and check the components against the packing list. In extreme circumstances, items may
have become damaged in transit. If any damage is discovered, notify the delivery service and/or dealer where the system was purchased.
Make a request for inspection, and follow their instructions for evaluation. Be sure to keep the product with its original shipping carton.
Klipsch also recommends that you save your packing material to aid in future transportation.
A C K I N G LI S T
P
4 Satellite speakers with pedestals attached
1 Control Pod, attached to one Satellite speaker
1 Subwoofer
1 Packet of four individual speaker interconnects
1 Owner’s manual packed with rubber isolation feet
1 Warranty registration card
I R I N G IN S TA L L AT I O N
W
Before beginning the wiring hookup, determine whether or not you will be connecting the multimedia speaker system to a two- or
four-channel soundcard. If your soundcard has only one output jack, it is a two-channel soundcard. Most current PCs are set up with
two-channel soundcards, and although the v.2-400 has four channels and a subwoofer, it can easily be adapted to deliver two-channel
stereo through all four dedicated satellites. This requires an 1/8"mini-plug Y-adapter, readily available at your local Radio Shack®store
(catalog no: 274-879) or stereo, appliance or computer retail outlet. The necessary Y-adapter has one 1/8"male three-conductor mini-plug
and two female 1/8"mini three-conductor jacks, and is used to split a common “stereo” signal two ways. DO NOT use a Y-adapter that
breaks apart a stereo signal (three-conductor) into separate left and right mono (two-conductor) signals.
Page 4

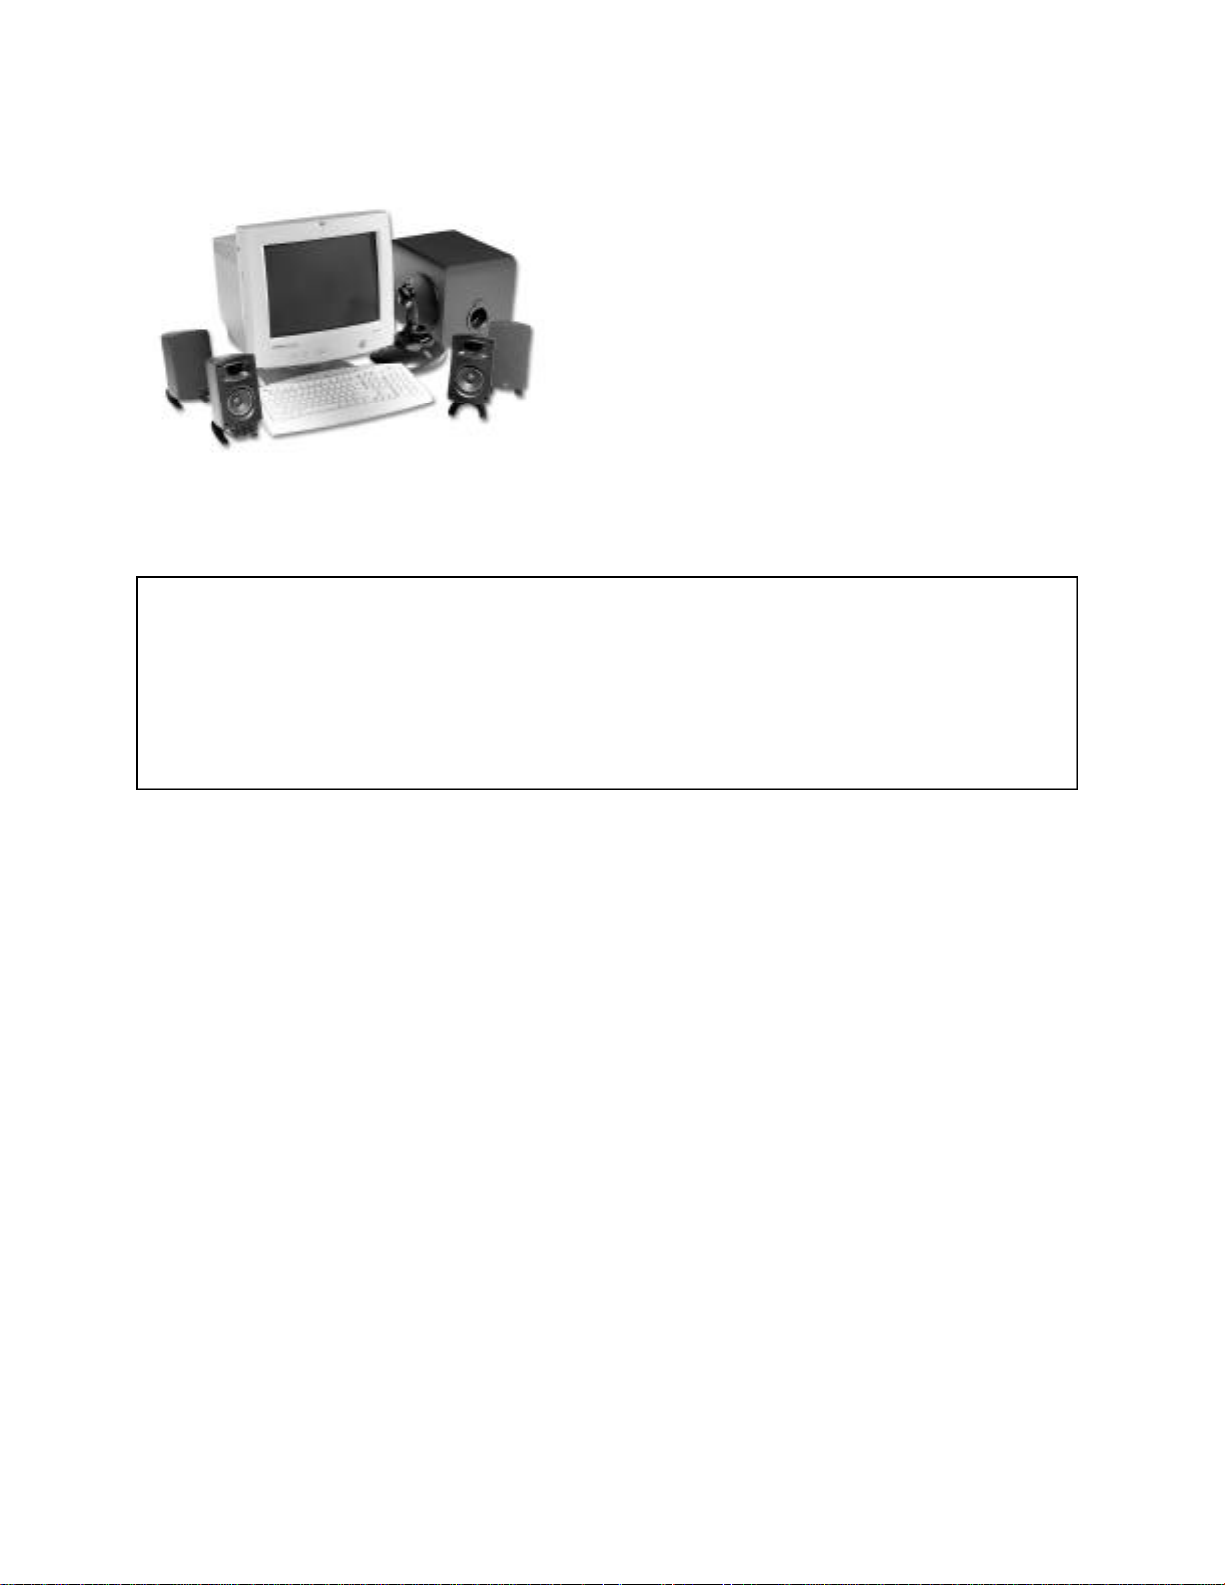
SP E A K E R PL A C E M E N T
To guarantee the best fidelity and surround sound effect from your new Klipsch multimedia speaker system, the following placement locations
in your PC environment are recommended:
1) First, attach the supplied rubber feet to the bottom of all loudspeakers to reduce vibration, movement and marring of the desktop or
floor surface.
2) Two of the satellite speakers should be symmetrically positioned on either side of your computer video monitor to balance the sound in
the front “soundstage.” One of these speakers must be the Control Satellite with the attached Control Pod, necessary for volume
balancing and fine tuning.
3) Position the remaining two surround channel satellite speakers symmetrically to the rear of the seating position. The satellites may be
placed on a bookshelf, desk or table. If rear positioning is impossible, place the speakers as far back, to the left and right, as possible.
Avoid putting the speakers on the floor, as this will impair the rear soundfield from adding a seamless sense of surround ambiance. If no
other rear placement option is available, the pedestal stands may be removed by unscrewing the threaded bolt to allow the rear speakers
to be wall mounted. This 1/4"
appliance stores nationwide. All satellite speakers are magnetically shielded, and should not cause interference with the computer monitor.
4) Locate the subwoofer either directly under your computer desk, or close to the front satellite speakers, allowing access to a 117 volt AC
outlet. The subwoofer’s proximity to a wall or the floor will greatly enhance the low frequency content of the system. It is important,
though, not to cover up the side speakers or front vent port of the enclosure. Also, be sure to provide enough ventilation to the rear of
the subwoofer, as the amplifier resides inside its enclosure. The subwoofer should be no closer than 10"to the computer monitor to
avoid interference.
5) Position the speakers with safe routing of the interconnection cables in mind. Speaker or power cables which might be run across an
area of foot traffic should be positioned against a wall or corner and taped down. Special “cable troughs” are available from stereo,
appliance and computer stores to assist in covering cables which may fall underfoot or across walkways. The front satellite speaker
interconnects are three meters in length. The rear satellite speaker interconnects are six meters in length.
20
threadbolt pattern was chosen to accommodate a wide variety of wall brackets available at stereo and
S
I G N A L CO N N E C T I O N
TW O-C H A N N E L SO U N D C A R D
Some computers have more than one type of output from the soundcard. Several computer styles have a “Speaker Out Connection” and a
“Line Out” connection. The speaker out connector may be designed to connect directly to a passive loudspeaker. Since the Klipsch v.2-400 has
its own internal amplifier, it was designed to hook into the line out connector. Hooking into the speaker level out connector may result in poor
quality sound.
1) Attach the Y-adapter’s male plug end into the soundcard output jack on your computer.
2) Connect both the GREEN and PURPLE 1/8"mini-plug cables from the v.2-400 Control Pod to the two remaining “Y” ends of the adapter.
3) Proceed with the normal setup procedure as follows, skipping step #1:
F
O U R-C H A N N E L SO U N D C A R D
1) Plug the v.2-400 Control Pod input cables into the two four-channel soundcard output jacks on the rear of the PC. These cables send the
proper front and rear surround signals to the Control Pod section on the Control Satellite speaker. Connect the Green plug to soundcard
output number one, and the Purple plug to output number two. This will ensure that the front and rear channel signals are positioned and
routed properly.
2) Connect the Control Pod output, which is the round DIN multi-pin plug into the v.2-400 subwoofer “Preamp Input.” This cable attaches
the Control Pod to the five-channel power amplifier inside the subwoofer. One of the five amplifier channels powers the subwoofer itself,
while the other four amplifier sections feed the satellite speakers through their own speaker cables.
3) From the subwoofer, connect the remaining four individual speaker interconnects to each of the four satellites. The front satellite speaker
interconnects are three meters long, and the rear satellite speaker interconnects are six meters long. The plug ends attach to the satellite
speakers. Be sure to observe the polarity (+/-) settings for the tinned wire ends that connect to the subwoofer. To ensure proper bass
response and aural imaging, it is VERY IMPORTANT that all of the positive terminals are connected in proper polarity. In other words,
avoid having the positive (+) bare lead from a satellite speaker connected to the negative (-) terminal on the subwoofer enclosure. Route the
speaker cables safely, to avoid tripping danger.
Note: Do not plug the AC power in before setting up your system.
Page 5

SE T- UP PR O C E D U R E
SO F T WA R E A N D HA R D WA R E GA I N CO N T R O L S
SO F T WA R E VO L U M E CO N T R O L
You can change the volume within the game by going to the Audio Settings. To do this:
.
Choose Settings from the main game menu and click on Audio Settings on the in-game menu bar.
.
Choose the Volume Control that you wish to adjust.
V
O L U M E LE V E L S
With some soundcards, you may need to use the Windows®control panel to adjust the volume in the game. You will need to exit the game
to adjust the volume through Windows. If you do not have the Volume Control icon on your taskbar:
.
Click the Start button on your taskbar
.
Choose Accessories
.
Windows 95: Choose Multimedia
.
Windows 98: Choose Entertainment
.
Click on Volume Control
.
Adjust the Wave Volume slider to halfway
V
O L U M E CO N T R O L PR O G R A M
Some soundcard and/or PC manufacturers may have proprietary software that must be adjusted separately from the Windows Volume
Control. Consult your hardware documentation for more information.
HA R D WA R E VO L U M E CO N T R O L
Before turning the system on (by plugging in the AC line cord on the subwoofer), make sure the main volume is set to minimum.
.
Set the surround level to mid-position (12 o’clock)
.
Set the sub level to the mark at 10 o’clock
.
Switch on the system by plugging in the AC line cord (NOTE: The system has an auto standby mode and does not need to be switched off
when not in use.)
C
H A N N E L CH E C K
To make sure all channels are connected correctly:
1. Click on the Start button
2. Go to Programs
3. Select “Monster Sound II”
4. Go to Control Panel
5. Click on Configuration Tab
6. Make sure that the four-channel mode is set to quad
7. Click on Begin Test to hear test/calibration voice
8. Make sure that when the voice says, "LEFT CHANNEL" it is coming out of the front left speaker, and so on...
F
R O N T/ SU R R O U N D BA L A N C E
Using a recorded four-channel voice test signal provided with a four-channel card (such as the Monster MX300 soundcard), advance the
Control Pod Main Volume knob to the middle position to initiate surround level balancing. Adjust the Surround level until the voice appears
equally loud in the front and rear channels.
S
U B W O O F E R LE V E L
For CD or DVD, the optimum position will be indicated by the mark at 10 o’clock on the sub level control.
For games, the optimum sub level varies from game to game and on the preference of the listener. In general, a high bass level will be
preferred, especially at low listening levels. Remember to reset the control before playing CDs or films on DVD.
Min Max
Min Max
Min Max
Page 6
FE AT U R E S
.
4.1 discrete channel capability complements modern four-channel soundcards and applications
.
Compatible with existing two-channel soundcards
.
High power five-channel built-in amplifier offers 400 watts of total audio power using advanced BASH (Bridged Amplifier/Switching
Hybrid) design
.
MicroTractrix horn-loaded tweeter design delivers precise soundstage imaging via controlled directivity
.
THX-Certified performance for “theater-quality” sound from film in DVD
.
Optimum performance from music on CD, PC games and Internet applications
.
Separate Control Pod preamplifier provides discrete, precise level control of total system, subwoofer and
surround channels
.
Twin, active, 6.5"subwoofer drivers within a single enclosure employ tuned flared port design for low air turbulence, high output bass response
.
High dynamic range and output levels—up to 110dB peak SPL
.
Dolby®Digital ready (with appropriate computer hardware and software)
SP E C I F I C AT I O N S
Total system frequency response: 29-20,000Hz
Maximum acoustic output: 110dB SPL at listening position
Amplifier headroom: 4 x 60 watts, Satellites
1 x 160 watts, Subwoofer
Satellite impedance: 4 ohms minimum
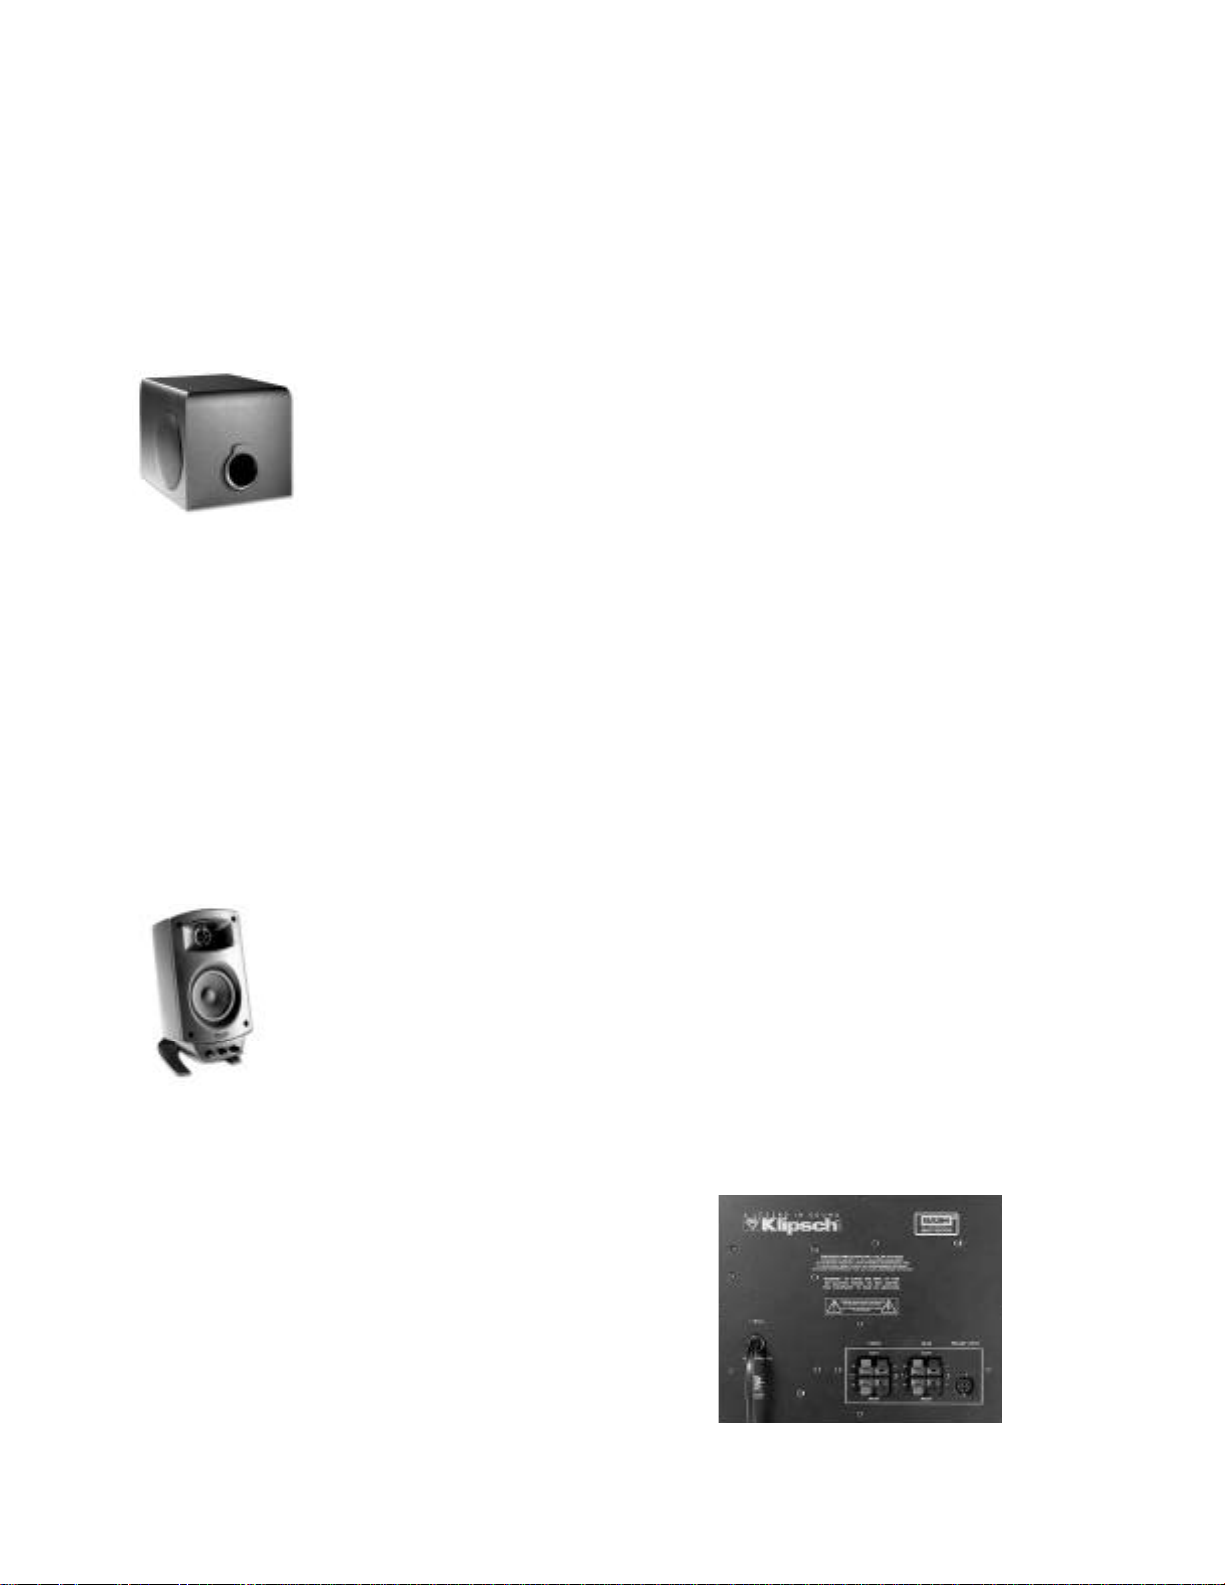
AT E L L I T E SP E A K E R S
S
Sealed elliptical enclosure two-way system with 0.75" polymer dome tweeter mated to Micro Tractrix Horn. Midbass
driver is 3" long throw with advanced fiber composite cone and urethane surround for high output.
U B W O O F E R EN C L O S U R E
S
Bass-reflex MDF enclosure with front port and dual side-firing active 6.5”drivers (long throw design). Flared tuned
port for enhanced bass coupling and deepest system tuning. Sixth-order design allows for high output, low distortion
bass while minimizing excursion.
M P L I F I E R
A
BASH (Bridged Amplifier/Switching Hybrid) design with high efficiency/high output power. Discrete MOSFET output power section
for high current, maximum dynamic headroom.
Dimensions:
Satellite(including bracket): 8.5"H x 4.2"W x 5.67"D
Subwoofer: 9.25 H x 10.25 W x 13 D
Net Weight:
System: 28.2lbs.(12.8kg)
Satellites (each): 2.1lbs.(.95kg)
Satellites w/ volume control: 3.31lbs.(1.49kg)
Subwoofer: 17.5lbs.(7.95kg)
Page 7

T
R O U B L E S H O O T I N G
WA R R A N T Y
No Sound:
.
Power, input, speaker cables and connectors all attached and “seated?”
.
Soundcard properly installed and functioning?
.
Appropriate software properly installed and operating?
.
Computer’s sound (control panel) volume turned up?
One or more speakers have no or low sound level:
.
Cables all connected properly?
.
Connectors fully “seated” in soundcard, speakers or Y-adapter
(for two-channel cards)?
.
Surround, Main and Subwoofer level controls properly adjusted on
Control Pod?
.
Computer software settings adjusted for proper use?
.
Computer system’s sound (control panel) volume turned up?
Distortion or “buzzing” quality to total sound or subwoofer:
.
Turn down computer’s sound (control panel) volume, and increase
Control Pod volume.
.
Turn down Subwoofer volume, as program signal may be too strong.
Noise or hiss; signal not loud enough with Main Volume turned up:
.
Turn up computer’s sound (control panel) volume.
.
Turn down Main Volume on Control Pod to compensate.
.
Appropriate software or hardware installed and operating?
.
Is this sound part of the program material being played?
.
Is software adjusted and set properly?
Computer Video Monitor Interference:
.
Is the Subwoofer too close to the computer monitor? Try 10"distance.
.
Are one or both of the satellite speakers too close to the
computer monitor?
KLIPSCH, L.L.C. (“KLIPSCH”) warrants this product to be free
from defects in materials and workmanship (subject to the terms
set forth below) for a period of one (1) year from the date of
purchase. During the warranty period, KLIPSCH will repair or
replace (at KLIPSCH’s option) this product or any defective parts.
Proof of purchase in the form of a bill of sale or receipted invoice,
which is evidence that this product is within the warranty period,
must be presented or included to obtain warranty service. This
warranty does not cover damage due to misuse, abuse, negligence,
acts of God, accident, commercial use or modification of, or to any
part of this product. This warranty does not cover damage due to
improper operation, maintenance or installation, or attempted
repair by anyone other than Klipsch or someone authorized by
Klipsch to do warranty work. Any unauthorized repairs will void
this warranty. This warranty does not cover product sold AS IS
or WITH ALL FAULTS. This warranty is invalid if the factory
applied serial number or date stamp has been altered or removed
from this product.
REPAIRS OR REPLACEMENTS AS PROVIDED UNDER THIS
WARRANTY ARE THE EXCLUSIVE REMEDY OF THE CONSUMER.
KLIPSCH SHALL NOT BE LIABLE FOR ANY INCIDENTAL OR
CONSEQUENTIAL DAMAGES FOR BREACH OF ANY EXPRESS OR
IMPLIED WARRANTY ON THIS PRODUCT. EXCEPT TO THE
EXTENT PROHIBITED BY LAW, THIS WARRANTY IS EXCLUSIVE
AND IN LIEU OF ALL OTHER EXPRESS AND IMPLIED
WARRANTIES WHATSOEVER, INCLUDING BUT NOT LIMITED TO,
THE WARRANTY OF MERCHANTABILITY AND FITNESS FOR A
PRACTICAL PURPOSE.
Some States do not allow the exclusion or limitation of incidental
or consequential damages or implied warranties so the above exclusions
may not apply to every customer. This warranty gives you specific legal
rights, and you may have other rights which vary from State to State.
To o btain warrant y service, p lease fo llow these dire c t i o n s :
1. If you purchased this product from a retail store, please return this
product to such store in its original packaging along with proof
of purchase.
2. If you purchased this product from the Compaq Computer Corporation,
please see the Compaq Technical Support telephone numbers listed in
the Limited Warranty Statement that accompanies your computer. If
you need further technical support, visit the Compaq site at:
www.compaq.com
Note: Locate the model and serial numbers for your
computer before you call technical support.
3. In all other cases, please call Klipsch Customer Service at
1-800-KLIPSCH. Product may only be returned to Klipsch after a
Return Authorization number has been obtained from Klipsch.
Returned product must be shipped, freight prepaid to Klipsch in either
its original packaging or packaging affording an equal degree of
protection along with proof of purchase.
Page 8

 Loading...