

Page 1
www.kleintools.com
For Professionals...Since 1857
®
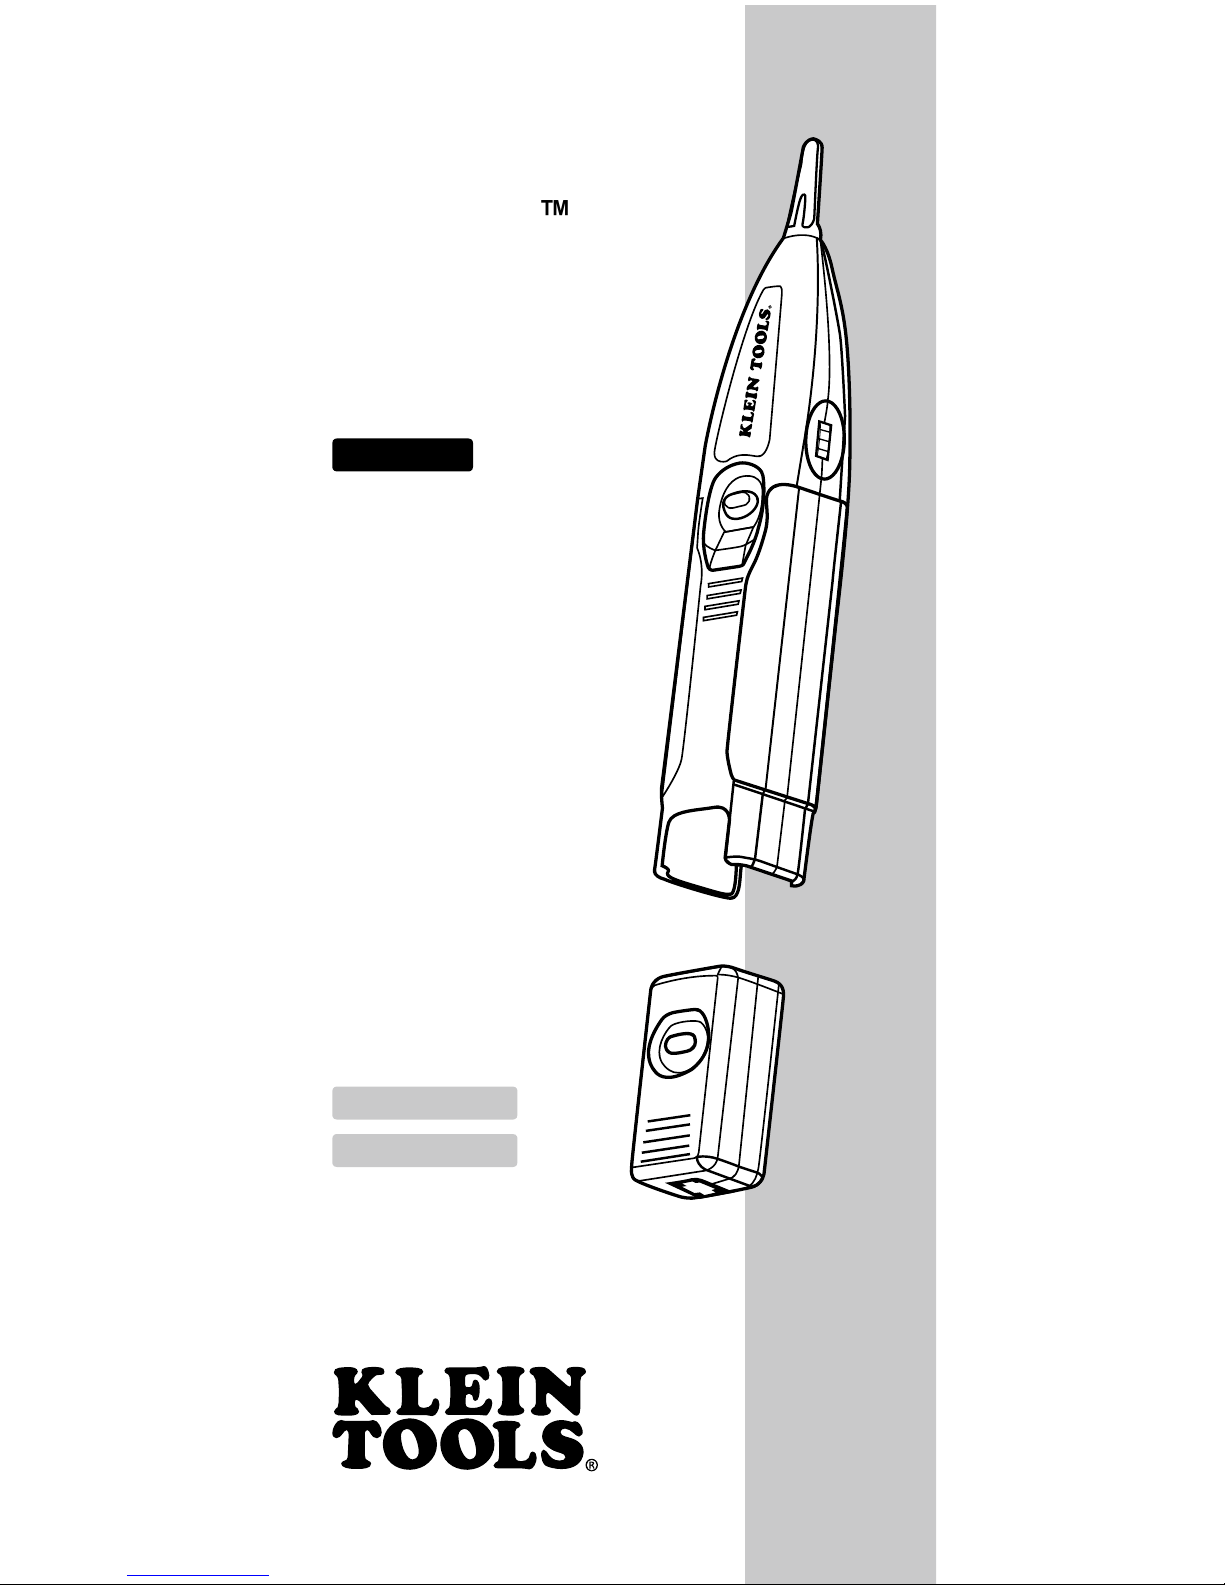
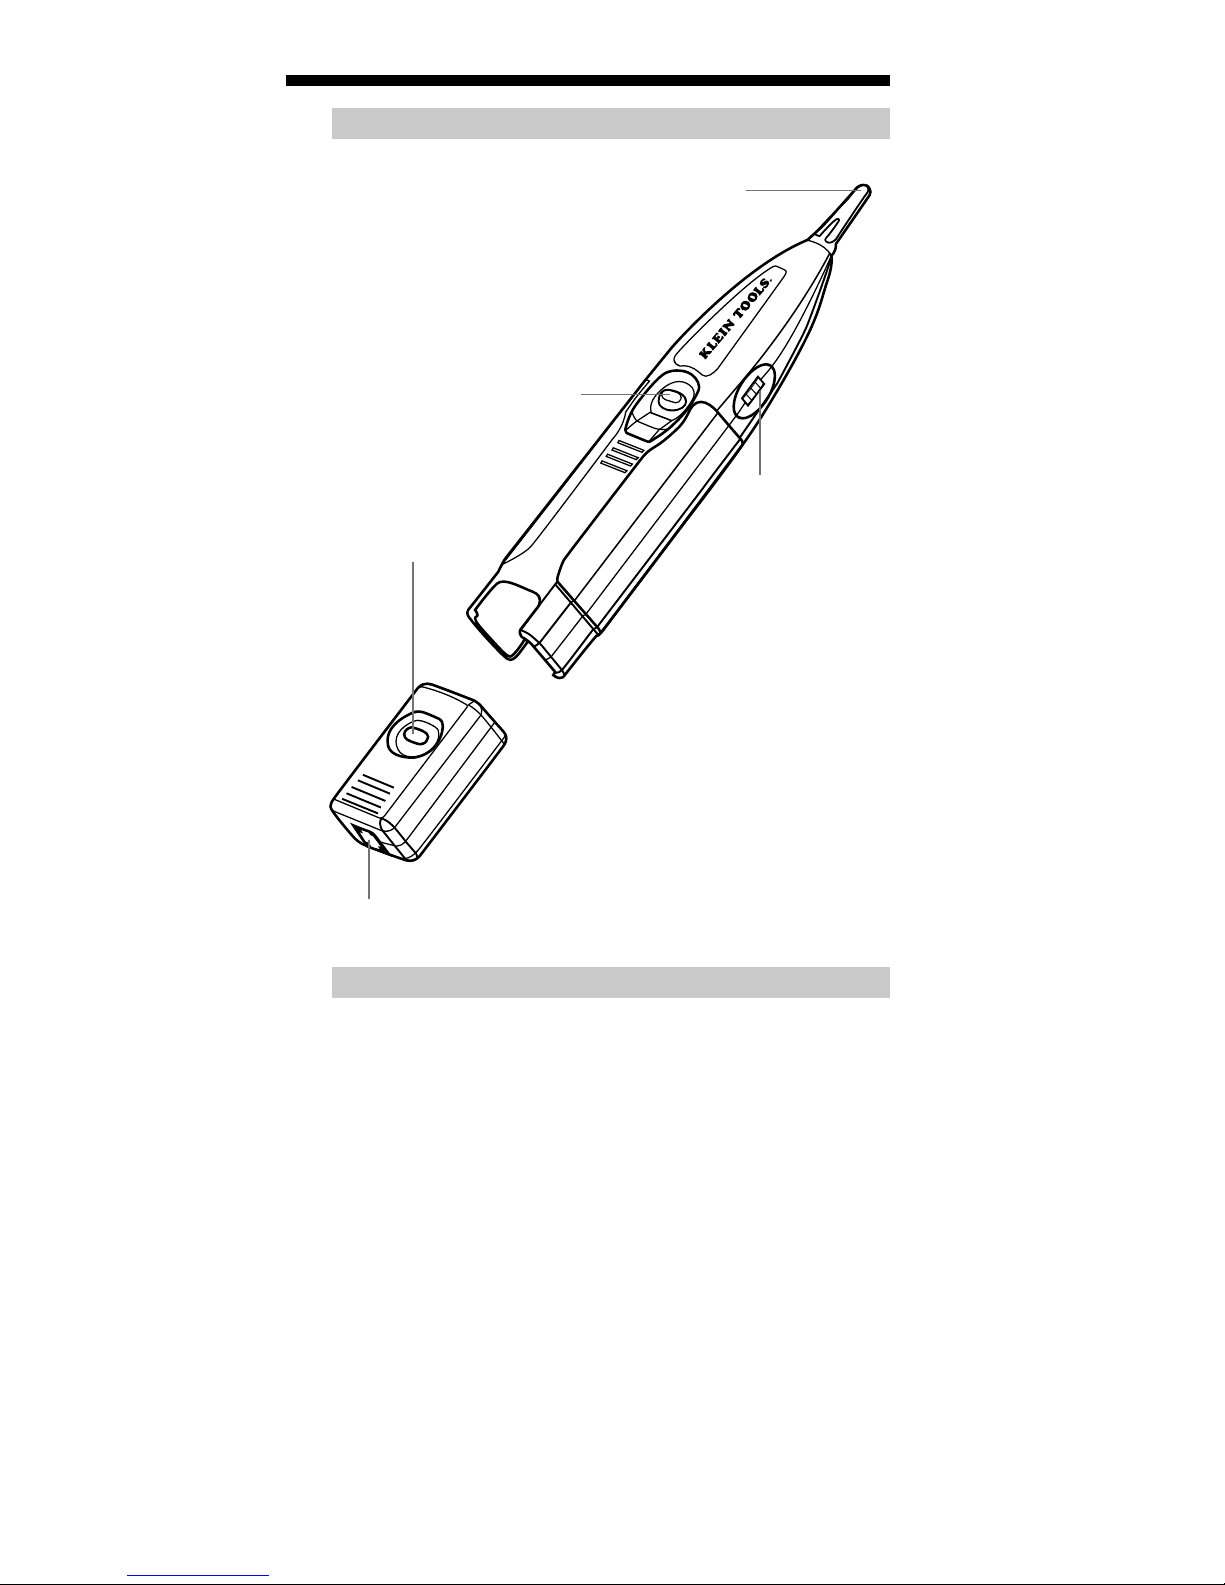
TraceAll
Tone & Probe
VDV526-054
ENGLISH
Español pg. 6
Français pg. 12
•
ADJUSTABLE
VOLUME
•
•
STORAGE
•
TWO TONE STYLES
•
AUTO POWER OFF
•
Page 2
2
ENGLISH
TraceAll
Tone & Probe
The Klein Tools TraceAll™ Tone & Probe is a portable device that assists in
tracing. It includes a tone generator that places a low voltage signal on the
Dimensions:
8.9” x 1.7” x 1.2” (22.6 x 4.3 x 3.0 cm)
Weight:
5.0 oz. (140 grams) with battery and remote
Operating Temperature:
0°C/32°F to 50°C/ 122°F
Storage Temperature:
-20°C/-4°F to 60°C/140°F
Humidity:
10% to 90%, non-condensing
Externally Applied Voltage
without damage:
DC:
250V
AC:
Battery Life (typical)
Tracer:
Generator:
50 hours
Tone Voltage:
12 volts peak-to-peak no load, new battery
Tone Power:
8.9 dBm into 600 ohms, new battery; 7.2dBm average
Tone Frequencies:
•
Probe Replacement Tip:
Cat No. VDV999-058
WARNINGS
To ensure safe operation and service of the tester, follow these instructions.
Failure to observe these warnings can result in severe injury or death.
•
Connecting the TraceAll™ to live AC power may damage it and pose a
safety hazard for the user.
the TraceAll™. Visually inspect a RJ plug before inserting it into the
generator. The contacts should always be recessed into the plastic
WARNINGS:
Always wear approved eye protection.
Do NOT use on energized circuits.
Page 3
3
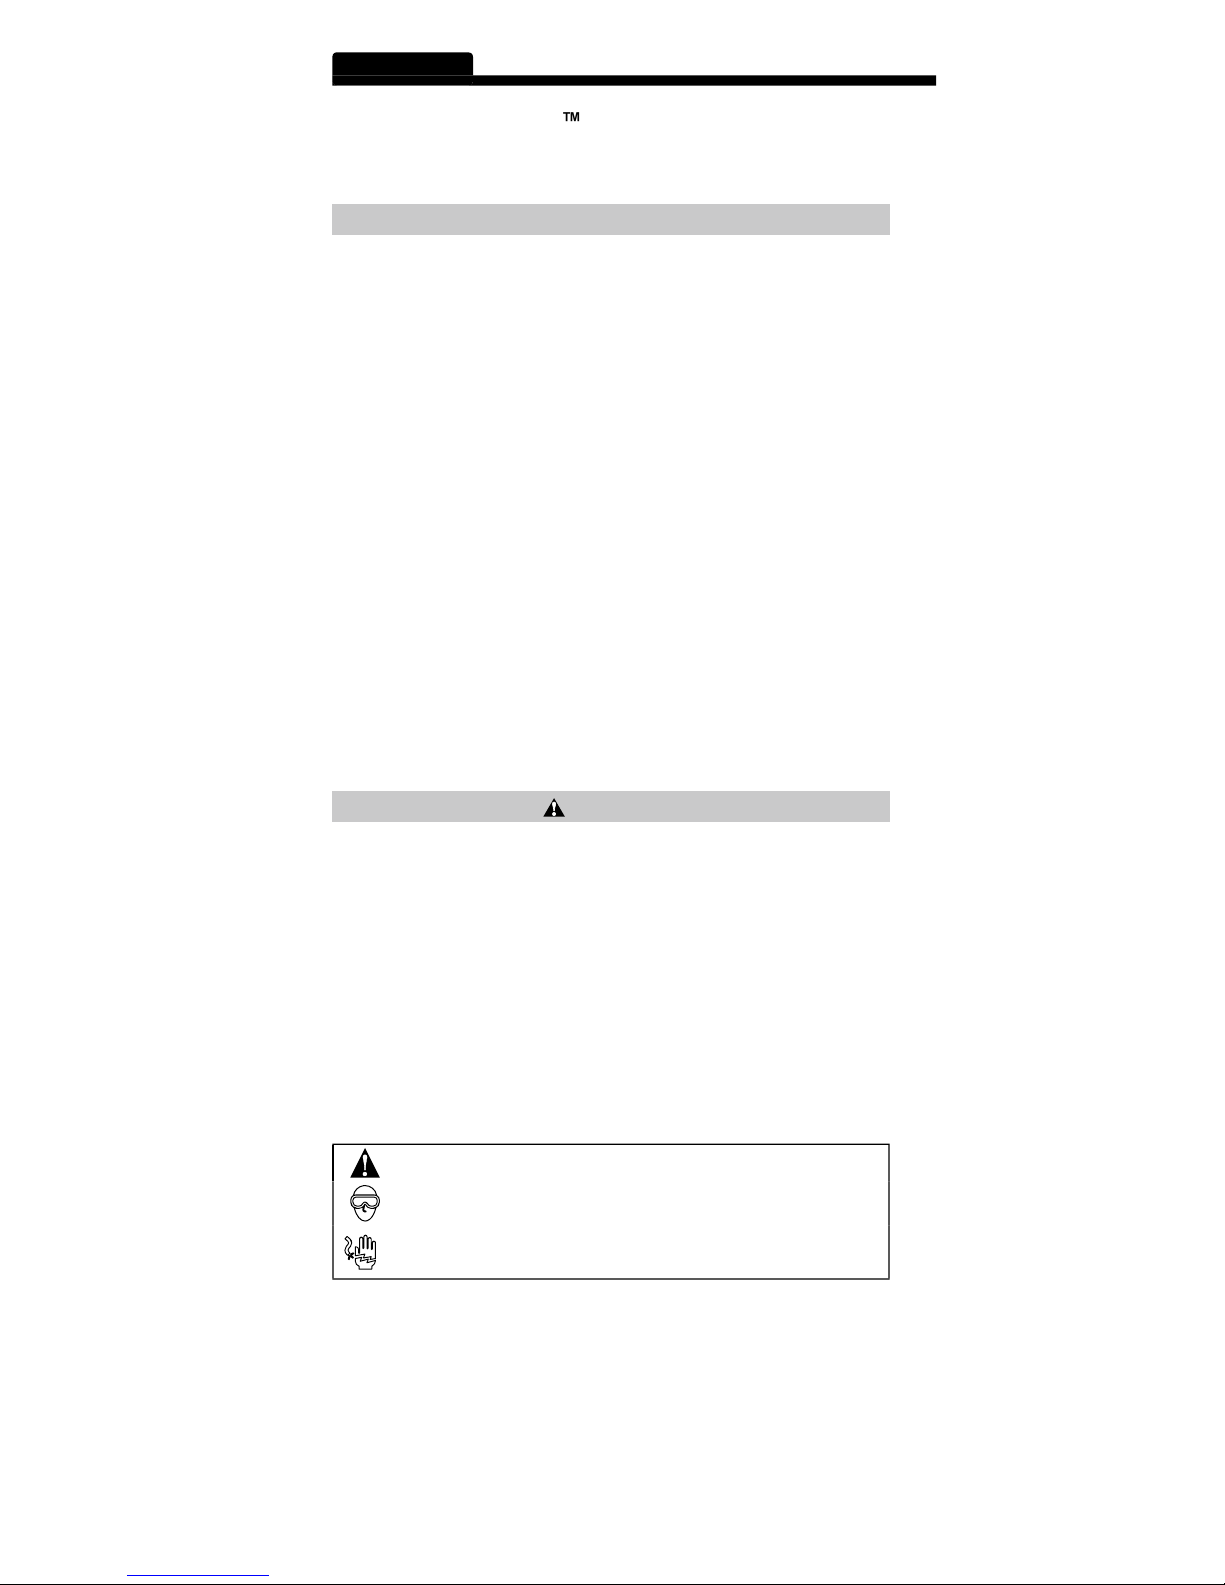
ATTRIBUTES
Volume
Tracer On Button
Generator On,
TRACING A TONE
1. Remove generator from tracer
the tracer and pulling out the generator.
2. Connect the TraceAll™ generator
to the cable being traced using the
directly or connect any other cable type using the included alligator
clips adapter.
3. Press the button on top of the generator.
The button will fl ash to
the tone cadence. Another short press will turn off the generator.
The fl ash rate is different between the two cadences.
4. Turn on the probe
5. Adjust the volume on the probe
to a comfortable level by turning
the dial on the side (clockwise raises the volume). If the signal
overloading the TraceAll™. When the probe is overloaded, small
6. Hold the tip of the probe near the cable to be identifi ed.
The signal will be loudest on the wire or cable attached to the
generator. Separating the wires or cables may help in isolating
the correct cable.
Page 4

4
ENGLISH
APPLICATION HINTS
When tracing wires terminated to a terminal block such as a "66 block",
attach both generator leads to the cable or pair tends to contain the signal
within the cable or pair. This causes cancellation of the radiated signal. The
tracer must nearly touch the end of the cable to detect the signal, which is
Connecting one lead of the generator to a wire is normally suffi cient to
trace the cable. The more wires in a cable connected in parallel to the
generator, the stronger the radiated signal.
When necessary to maximize radiated signal, connect one lead of the
generator to the wire or cable and the other end to ground (case of an
electrical box, electrical conduit, metallic water pipe or ground rod).
Connect the generator to the ungrounded shield of a coax cable for the
strongest signal. If the generator is connected to the center lead, the shield
will do its job and shield the signal from being radiated.
The probe tip can be replaced if it is worn out or damaged with TraceAll™
1. Remove the screw
on the back of the probe nearest to the probe tip
2. Pull the tip
out of the probe.
3. Push the new tip
the probe can only be inserted completely in one orientation.
4. Replace the screw
and tighten, being careful not to over-tighten.
To check the tone generator for low batteries, watch its fl ashing
To check the tracer for low batteries, connect the alligator clips adapter to
the tone unit and turn it on. Turn the volume down to the minimum on the
tracer and place it near the adapter. If there is a quiet, distorted tone or no
tone at all from the tracer, you should replace the batteries.
1. Remove the screw
2. Recycle
exhausted batteries. Hitting the palm of your cupped hand
with the back of the probe will usually dislodge the batteries from the
compartment.
3. Acquire
4 x IEC LR44 1.5 volt alkaline batteries (Energizer A76,
4. Insert
5. Replace
Page 5

5
This product is warranted to be free from defects in materials and work-
warranty period, Klein Tools has the option to repair or replace or refund
the purchase price of any unit which fails to conform to this warranty
which occurs in shipment or failure which results from al¬teration,
tampering, accident, misuse, abuse, neglect, or improper maintenance.
w\ warranty. A purchase receipt or other proof of original purchase date
will be required before warranty repairs will be rendered.
Any implied warranties, including but not limited to implied warranties
of merchantability and fi tness for a particular purpose, are limited to the
express warranty. Klein Tools shall not be liable for loss of use of the
economic loss, or for any claim or claims for such damage, expenses or
economic loss.
Some states or countries laws vary, so the above limitations or
exclusions may not apply to you. This warranty gives you specifi c
to state. If your Klein product requires repair or for information on how
to exercise your rights under the terms of this warranty, please contact
Turn instrument off and disconnect test leads. Clean the instrument by
STORAGE
operating conditions before using it.
Caution:
This symbol indicates that equipment and its
accessories shall be subject to a separate collection and
correct disposal.
450 Bond Street Lincolnshire, IL 60069
1-800-553-4676 •
www.kleintools.com
Page 6
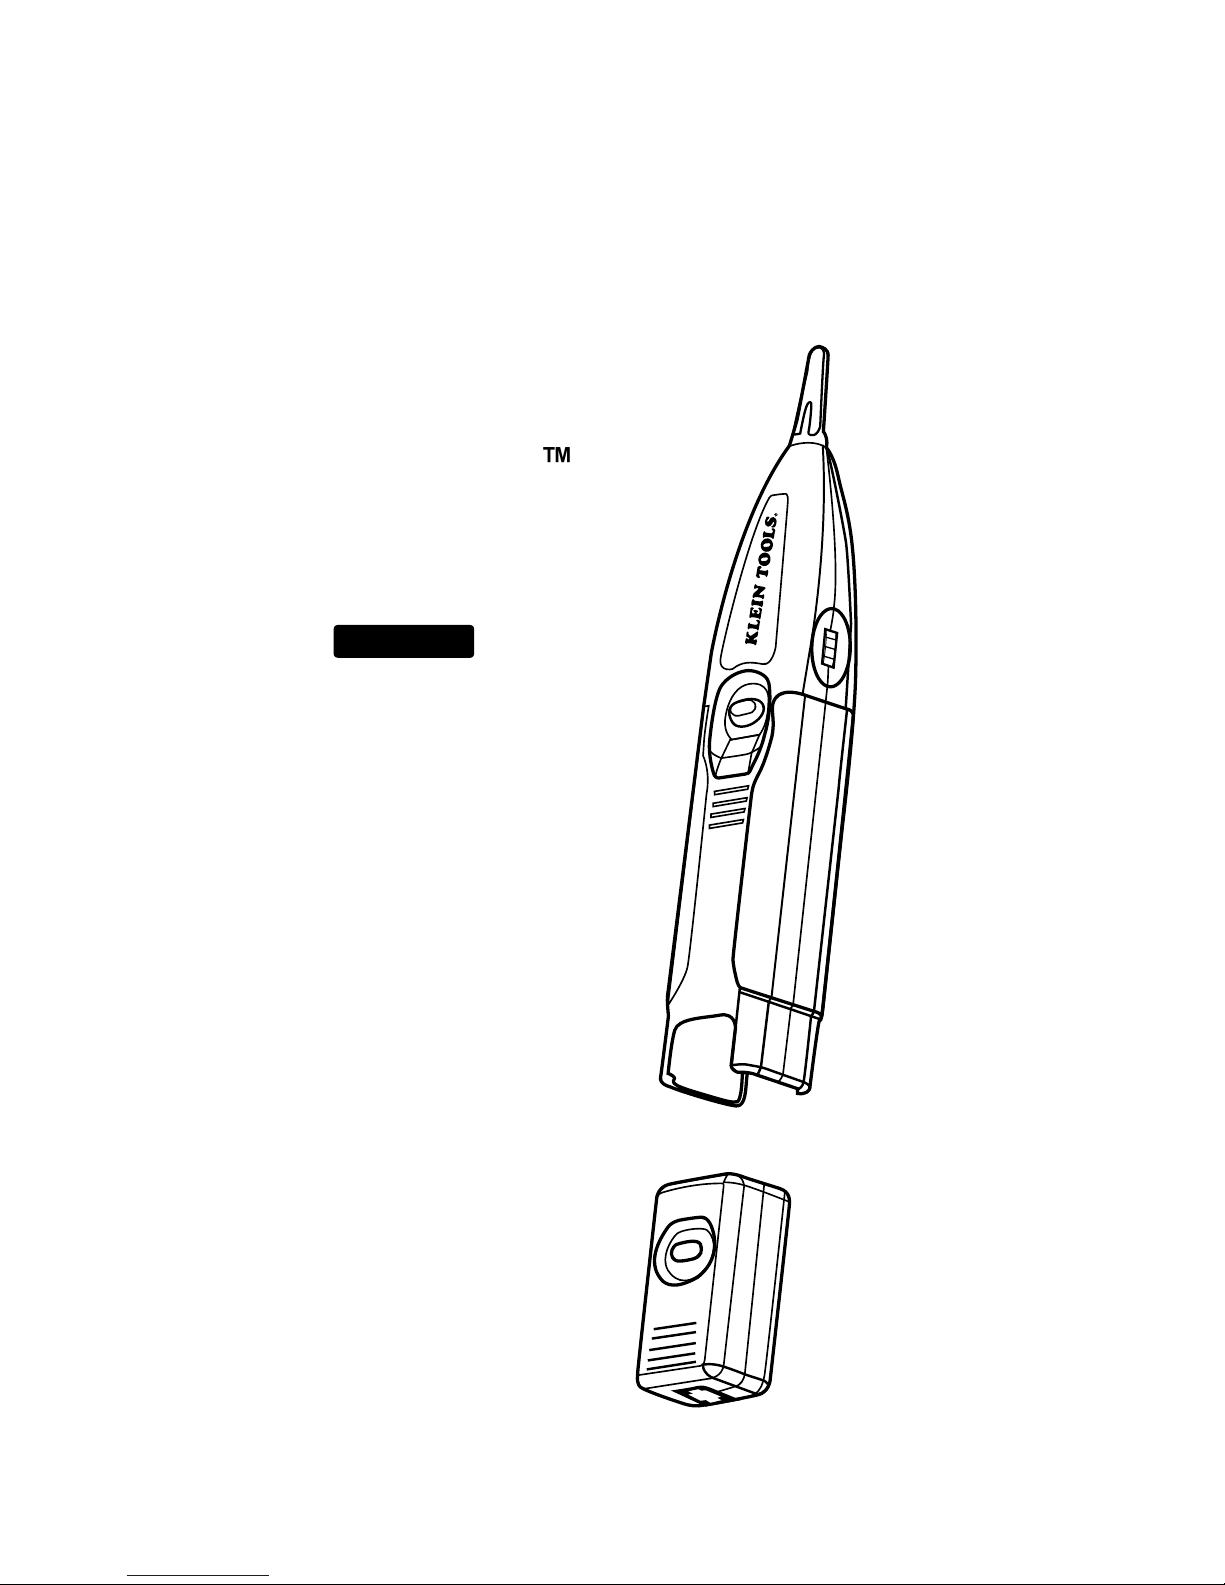
tonos y probador
TraceAll
VDV526-054
ESPAÑOL
•
VOLUMEN AJUSTABLE
•
•
ÁREA DE ALMACENAMIENTO
•
•
AUTOAPAGADO
•
CONECTOR HEMBRA RJ11/12
Para Profesionales… Desde 1857
®
Page 7

dispositivo portátil que ayuda a rastrear. Incluye un generador de tonos
que pone una señal de tensión en la línea y un rastreador que detecta y
amplifi ca la señal.
Dimensiones:
8,9 x 1,7 x 1,2 pulgadas (22,6 x 4,3 x 3,0 cm)
Peso:
5,0 onzas (140 gramos) con pila y unidad remota
Temperatura de funcionamiento:
0 °C / 32 °F a 50 °C / 122 °F
Temperatura de almacenamiento:
-20°C/-4°F to 60°C/140°F
Humedad:
Tensión aplicada externamente
sin daños:
CC:
250V
CA:
Vida útil de las pilas:
Rastreador:
Generador:
50 horas
Tensión de tono:
Potencia del tono:
8,9 dBm a 600 ohm, pila nueva; 7.2dBm promedio
Frecuencias de tono:
•
Punta de repuesto del probador:
ADVERTENCIAS
Para asegurar un funcionamiento y un servicio seguros del probador, siga
estas instrucciones. Si no se hace caso de estas advertencias, el resultado
puede ser lesiones graves o la muerte.
Si se conecta el TraceAll™ a corriente CA cargada, es posible que
el usuario.
en el generador. Los contactos siempre deben estar embutidos en la
carcasa de plástico del conector macho.
ADVERTENCIAS:
Use siempre protección visual adecuada.
NO utilice la unidad en circuitos con corriente.
ESPAÑOL
Page 8

8
ESPAÑOL
ATRIBUTOS
Volumen
del rastreador
de generador
encendido
Conector hembra RJ11/12
1. Retire el generador del rastreador
oprimiendo los agarres digitales
2. Conecte el generador TraceAll™
al cable que esté siendo rastreado,
Conecte un cable con terminación RJ11/12 directamente, o conecte
cualquier otro tipo de cable utilizando el adaptador de pinzas de
cocodrilo incluido.
3. Presione el botón ubicado en la parte de arriba del generador.
encendido. Una pulsación prolongada cambiará la cadencia del tono.
Otra pulsación corta apagará el generador. La velocidad de parpadeo
es diferente entre las dos cadencias.
4. Encienda el probador
Page 9

9
5. Ajuste el volumen del probador
dial ubicado en un lado (el giro en el sentido de las agujas del reloj
eleva el volumen). Si la señal es tiene un volumen muy alto cuando
se está cerca del cable, reduzca el volumen para evitar sobrecargar
el TraceAll™. Cuando el probador esté sobrecargado, los pequeños
aumentos o disminuciones de la señal en la punta no se pueden oír.
6. Sostenga la punta del probador cerca del cable que se vaya a
cable conectado al generador. Si se separan los alambres o
cables, es posible que se ayude a aislar el cable correcto.
Cuando rastree cables que fi nalizan en un bloque terminal, como por
ejemplo un "bloque 66 ", si se conectan ambos hilos del generador al cable
o par, se tenderá a contener la señal dentro del cable o par. Esto causa
cancelación de la señal irradiada. El rastreador casi debe tocar el extremo
del cable para detectar la señal, lo cual es útil cuando los alambres están
cerca unos de otros o cuando tienen terminaciones.
sufi ciente para rastrear el cable. Cuantos más alambres de un cable se
conecten en paralelo al generador, más fuerte será la señal irradiada.
Cuando sea necesario maximizar la señal irradiada, conecte un hilo del
generador al alambre o cable y el otro extremo a una conexión a tierra (la
carcasa de una caja eléctrica, un conducto eléctrico, una tubería de agua
Conecte el generador al blindaje no conectado a tierra de un cable coaxial
The punta del probador se puede reemplazar si está desgastada o dañada
con la punta de repuesto del probador TraceAll™ No. de catálogo VDV999-
059.
1. Retire el tornillo
cercano a la punta del probador utilizando un destornillador
2. Jale la punta
3. Empuje la punta nueva
al interior del probador. El cuerpo del
4. Reinstale el tornillo
y apriételo, teniendo cuidado de no apretarlo
excesivamente. Asegúrese de que la punta del probador esté
fi rmemente sujeta en su posición correcta jalando suavemente
de ella. Si no lo está, apriete ligeramente el tornillo.
Page 10

ESPAÑOL
Se garantiza que este producto estará libre de defectos de materiales
y fabricación durante un período de dos años a partir de la fecha de
compra. Durante este período de garantía, Klein Tools tiene la opción de
dad que no cumpla con esta garantía bajo uso y servicio normales. Esta
garantía no cubre los daños que ocurran durante el envío ni las fallas
que ocurran debido a alteración, manipulación indebida, accidente, uso
de la fecha de compra original antes de que se realicen las reparaciones
Todas las garantías implícitas, incluyendo pero sin estar limitadas a las
garantías implícitas de comerciabilidad e idoneidad para un propósito
específi co, están limitadas a la garantía expresa. Klein Tools no será
que las limitaciones o exclusiones que anteceden no tengan aplicación
en el caso de usted. Esta garantía le confi ere a usted derechos legales
específi cos y es posible que usted tenga también otros derechos que
varían de un estado a otro. Si su producto Klein requiere reparación,
o para obtener información sobre cómo ejercer sus derechos bajo los
términos de esta garantía, sírvase contactar a Klein Tools llamando al
están bajas, observe si su luz LED parpadeante pierde intensidad.
adaptador de pinzas de cocodrilo a la unidad generadora de tonos y
enciéndala. Reduzca el volumen hasta el mínimo en el rastreador y
colóquelo cerca del adaptador. Si hay un tono silencioso y distorsionado o
1. Retire el tornillo
ubicado en el centro de la parte trasera del
compartimiento de las pilas.
2. Recicle
con la parte trasera del probador generalmente se soltarán las pilas
del compartimiento.
3. Adquiera
4 pilas alcalinas de 1,5 V IEC LR44 (Energizer A76,
4. Inserte
carcasa (el contacto de resorte es negativo y el contacto de botón
es positivo). La manera más fácil de realizar esta operación es
5. Reinstale
la puerta del compartimiento de las pilas y el tornillo
correspondiente, teniendo cuidado de no apretarlo excesivamente.
Page 11

SERVICIO AL CLIENTE
450 Bond Street
1-800-553-4676
www.kleintools.com
Apague el instrumento y desconecte los conductores de prueba. Limpie
el instrumento utilizando un paño húmedo. No use limpiadores abrasivos
ALMACENAMIENTO
temperaturas o humedad. Después de un período de almacenamiento en
condiciones extremas que excedan los límites mencionados en la sec-
ción Especifi caciones, deje que el instrumento regrese a las condiciones
de funcionamiento normales antes de utilizarlo.
Precaución:
accesorios estarán sujetos a una recogida separada y
Page 12

FRANÇAIS
TraceAll
VDV526-054
• • •
AUTORANGEMENT INTÉGRÉ
SUR LE GÉNÉRATEUR
•
•
AUTOMATIQUEMENT
•
Pour les professionnels … depuis 1857
®
Page 13

FRANÇAIS
Sonde & générateur de tonalité
TraceAll™
SPÉCIFICATIONS GÉNÉRALES
est un appareil portatif qui aide à contrôler le cheminement des fi ls. Il
comprend un générateur de tonalité qui place un signal de faible tension
sur la ligne et un traceur qui détecte ce signal et l’amplifi e.
Dimensions:
8,9 po x 1,7 po x 1,2 po (22,6 x 4,3 x 3,0 cm
Poids:
5,0 oz. (140 grammes) avec la pile et la télécommande
Température de fonctionnement:
0 °C/32 °F à 50 °C/ 122 °F
Température de stockage:
-20 °C/-4 °F à 60 °C/140 °F
Humidité:
10 % à 90 %, sans condensation
Tension appliquée depuis une source externe
sans dommage:
c.c. :
250V
c.a. :
Durée de vie de la pile:
Piles alcalines de 6 V - 4xLR44 typ
Traceur:
Générateur:
50 heures
Tension de la tonalité:
12 volts crête-à-crête sans charge, pile neuve
Puissance de la tonalité:
8,9 dBm en 600 ohms, pile neuve; 7,2 dBm
Fréquences des tonalités:
•
Pointe de remplacement de la sonde:
Cat. N° VDV999-058
AVERTISSEMENTS
Pour assurer un fonctionnement et un service sans danger du testeur,
suivez les instructions ci-après. Le non-respect des ces avertissements
risquerait de causer des blessures graves ou même la mort.
tension risque de l’endommager et pose un danger pour la
sécurité de l’utilisateur.
d’endommager la prise sur l’appareil TraceAll™. Inspectez
visuellement une fi che de connecteur RJ avant de l’introduire dans
AVERTISSEMENTS:
Porter toujours des équipements agréés de protection des yeux.
NE PAS UTILISER sur des circuits sous tension.
Page 14

FRANÇAIS
ATTRIBUTS
Volume
du traceur
Générateur
activé, voyant
TRAÇAGE D’UNE TONALITÉ
TRAÇAGE D’UNE TONALITÉ
1. Retirez le générateur du traceur
en comprimant la poignée à
2. Connectez le générateur TraceAll™
au câble suivi par le traceur en
type de câble en utilisant l’adaptateur pour pince crocodile inclus.
3. Appuyez sur le bouton sur le dessus du générateur.
clignotera pour indiquer que le générateur de tonalité est sous
tension. Un enfoncement prolongé du bouton entraînera le
changement de la cadence de la tonalité. Un autre enfoncement
court entraînera la mise hors tension du générateur. Le rythme
du clignotement n’est pas le même pour les deux cadences.
4. Mettez la sonde
sous tension en appuyant sur le bouton noir et
en le maintenant enfoncé.
5. Réglez le volume sur la sonde
à un niveau confortable en tournant
que la sonde se rapproche du câble, réduisez le volume pour éviter
de surcharger l'appareil TraceAll™. Lorsque la sonde est surchargée,
de petites augmentations ou réductions de la puissance du signal au
Page 15

SUGGESTIONS POUR L’APPLICATION
tendance à contenir le signal à l’intérieur du câble ou de la paire. Ceci cause
suffi sante pour effectuer le repérage du câble. Plus il y a de fi ls dans un
câble qui sont connectés en parallèle au générateur, plus le signal rayonné
est fort.
contenant de l’eau ou tige de mise à la terre).
Connectez le générateur au blindage non mis à la terre d’un câble coaxial
connecté au conducteur central, le blindage fera ce qu’il est censé faire,
c’est-à-dire qu’il empêchera le rayonnement du signal.
Si elle est usée ou endommagée, la pointe de la sonde peut être remplacée
1. Retirez la vis
à l’arrière de la sonde qui est la plus proche de la
2. Tirez sur la pointe
pour la faire sortir de la sonde.
3. Enfoncez la nouvelle pointe
à l’intérieur de la sonde. Le corps de la
sonde a une rainure de clavetage de telle sorte que la sonde ne peut
être insérée complètement que dans un seul sens.
4. Remettez la vis en place
et serrez, en faisant attention de ne pas
serrer excessivement. Assurez-vous que la pointe de la sonde est
tenue fermement en place en tirant doucement dessus. Si ce n’est
6. Maintenez la pointe de la sonde à proximité du câble à identifi er.
attaché au générateur. La séparation des fi ls ou des câbles peut aider
à isoler le câble correct.
Page 16

FRANÇAIS
Ce produit est garanti sans défauts de matériau ou de fabrication pen-
dant une période de deux ans à compter de la date de l’achat. Pendant
cette période de garantie, à son choix, Klein réparera ou remplacera tout
Cette garantie ne couvre pas les dommages qui surviennent pendant
fi cation, d’un accident, d’un emploi inapproprié ou abusif, de négligences
ou de maintenance inadéquate. Les piles et les dommages résultant de
ou un autre justifi catif indiquant la date de l’achat initial sera exigé avant
que des réparations ne soient effectuées dans le cadre de la garantie.
Toutes les garanties implicites, y compris, entre autres, les garanties
aucune responsabilité au titre de la perte d’utilisation de l’instrument ou
accessoires, ou en cas de réclamation ou de réclamations pour de tels
dommages, frais ou pertes économiques.
ou exclusions ci-dessus ne s’appliquent peut-être pas à vous. Cette ga-
aussi avoir d’autres droits, qui varient d’un État à l’autre. Si votre produit
tions sur la façon de faire valoir vos droits en vertu des termes de la
Si les piles du générateur de tonalité sont excessivement déchargées, sa
de pince crocodile à l’unité de tonalité et allumez cette dernière. Abaissez le
volume jusqu’au minimum possible sur le traceur, et placez celui-ci près de
vous n’entendez rien du tout, il convient de remplacer les piles.
1. Retirez la vis
au milieu de l’arrière de la sonde en utilisant un
tournevis à pointe cruciforme N° 0. Retirez la porte du compartiment
des piles.
2. Recyclez
avec la paume ou le creux de la main sur l’arrière de la sonde pour
déloger les piles du compartiment.
3. Procurez-vous
4 piles alcaline de 1,5 volt IEC LR44 (Energizer A76,
4. Insérez
5. Remettez
en faisant attention de ne pas trop serrer cette dernière.
Page 17

ou de produits de nettoyage abrasifs.
élevée. À la suite d'une période de rangement dans des conditions
extrêmes dépassant les limites mentionnées dans la section consacrée
aux Spécifi cations, laissez l'instrument retourner dans des conditions de
Mise en garde:
Ce symbole indique que l'équipement et ses
accessoires doivent faire l'objet d'une élimination distincte et
d'une mise au rebut conforme aux règlements.
SERVICE À LA CLIENTÈLE
450 Bond Street
1-800-553-4676
www.kleintools.com
Page 18

NOTES
Page 19

Page 20

1-800-553-4676
www.kleintools.com
450 Bond Street
139633T
139633T
Rev. 09/10
Rev. 09/10
© 2010 Klein Tools, Inc.
 Loading...