

KitchenAid YKMHP519ES User Manual
Thank you for Choosing KitchenAid® Appliances.
We hold our company to the highest quality standards and it is important to us that you have a positive experience owning a
KitchenAid
®
product.
Register your microwave oven at www.kitchenaid.com. In Canada, register your microwave oven at www.kitchenaid.ca.
For future reference, please make a note of your model and serial number located on the front facing of the microwave oven
opening, behind the door.
Model Number__________________________________________ Serial Number___________________________________________
Para obtener acceso a “Manual del usuario de la combinación microondas campana” en español, o para obtener información adicional
acerca de su producto, visite: www.kitchenaid.com
Tenga listo su número de modelo completo. Puede encontrar su número de modelo y de serie en la etiqueta ubicada en la parte
frontal de la abertura del horno de microondas, detrás de la puerta.
User Guide
Microwave Hood Combination
W10677487A
MICROWAVE HOOD COMBINATION SAFETY
You can be killed or seriously injured if you don't immediately
You
can be killed or seriously injured if you don't
follow
All safety messages will tell you what the potential hazard is, tell you how to reduce the chance of injury, and tell you what can
happen if the instructions are not followed.
Your safety and the safety of others are very important.
We have provided many important safety messages in this manual and on your appliance. Always read and obey all safety
messages.
This is the safety alert symbol.
This symbol alerts you to potential hazards that can kill or hurt you and others.
All safety messages will follow the safety alert symbol and either the word “DANGER” or “WARNING.”
These words mean:
follow instructions.
instructions.
DANGER
WARNING
When using electrical appliances basic safety precautions should be followed, including the following:
IMPORTANT SAFETY INSTRUCTIONS
SAVE THESE INSTRUCTIONS
WARNING: To reduce the risk of burns, electric shock, fire,
injury to persons, or exposure to excessive microwave energy:
■ Read all instructions before using the microwave oven.
■ Read and follow the specific “PRECAUTIONS TO AVOID
POSSIBLE EXPOSURE TO EXCESSIVE MICROWAVE
ENERGY” found in this section.
■ The microwave oven must be grounded. Connect only to
properly grounded outlet. See “GROUNDING INSTRUCTIONS”
found in this section and in the provided Installation Instructions.
■ Install or locate the microwave oven only in
accordance with the provided Installation Instructions.
■ Some products such as whole eggs in the shell and
sealed containers - for example, closed glass jars are able to explode and should not be heated in the
microwave oven.
PRECAUTIONS TO AVOID POSSIBLE EXPOSURE TO
EXCESSIVE MICROWAVE ENERGY
(a) Do not attempt to operate this oven with the door open
since open-door operation can result in harmful exposure
to microwave energy. It is important not to defeat or
tamper with the safety interlocks.
(b) Do not place any object between the oven front face and
the door or allow soil or cleaner residue to accumulate on
sealing surfaces.
(c) Do not operate the oven if it is damaged. It is particularly
important that the oven door close properly and that there
is no damage to the:
(1) Door (bent),
(2) Hinges and latches (broken or loosened),
(3) Door seals and sealing surfaces.
(d) The oven should not be adjusted or repaired by anyone
except properly qualified service personnel.
IMPORTANT SAFETY INSTRUCTIONS
SAVE THESE INSTRUCTIONS
■ Use the microwave oven only for its intended use as
described in the manual. Do not use corrosive
chemicals or vapors in the microwave oven. This type
of oven is specifically designed to heat, cook, or dry
food. It is not designed for industrial or laboratory use.
■ As with any appliance, close supervision is necessary
when used by children.
■ Do not operate the microwave oven if it has a
damaged cord or plug, if it is not working properly, or if
it has been damaged or dropped.
■ The microwave oven should be serviced only by
qualified service personnel. Call an authorized service
company for examination, repair, or adjustment.
■ Do not cover or block any openings on the microwave
oven.
■ Do not store this microwave oven outdoors. Do not
use the microwave oven near water - for example,
near a kitchen sink, in a wet basement, near a
swimming pool, or similar locations.
■ Do not immerse cord or plug in water.
■ Keep cord away from heated surfaces.
■ Do not let cord hang over edge of table or counter.
■ See door surface cleaning instructions in the
“Microwave Oven Care” section.
■ To reduce the risk of fire in the oven cavity:
– Do not overcook food. Carefully attend the
microwave oven when paper, plastic, or other
combustible materials are placed inside the oven to
facilitate cooking.
– Remove wire twist-ties from paper or plastic bags
before placing bags in oven.
– If materials inside the oven ignite, keep oven door
closed, turn oven off, and disconnect the power
cord, or shut off power at the fuse or circuit breaker
panel.
– Do not use the cavity for storage purposes. Do not
leave paper products, cooking utensils, or food in the
cavity when not in use.
■ Liquids, such as water, coffee, or tea are able to be overheated
beyond the boiling point without appearing to be boiling. Visible
bubbling or boiling when the container is removed from the
microwave oven is not always present. THIS COULD RESULT
IN VERY HOT LIQUIDS SUDDENLY BOILING OVER WHEN
THE CONTAINER IS DISTURBED OR A SPOON OR OTHER
UTENSIL IS INSERTED INTO THE LIQUID.
To reduce the risk of injury to persons:
– Do not overheat the liquid.
– Stir the liquid both before and halfway through heating it.
– Do not use straight-sided containers with narrow necks.
– After heating, allow the container to stand in the microwave
oven for a short time before removing the container.
– Use extreme care when inserting a spoon or other utensil into
the container.
■ Do not mount over a sink.
■ Do not store anything directly on top of the microwave oven
when the microwave oven is in operation.
■ Oversized foods or oversized metal utensils should not be
inserted in the microwave oven as they may create a fire or risk
of electric shock.
■ Do not clean with metal scouring pads. Pieces can burn off the
pad and touch electrical parts involving a risk of electric shock.
■ Do not use paper products when appliance is operated in
convection, combination, grill or “PAN BROWN” mode.
■ Do not store any materials, other than manufacturer's
recommended accessories, in this microwave oven when not in
use.
■ Do not cover racks or any other part of the microwave oven with
metal foil. This will cause overheating of the microwave oven.
■ Clean Ventilating Hoods Frequently - Grease should not be
allowed to accumulate on hood or filter.
■ When flambéing foods under the hood, turn the fan on.
■ Suitable for use above both gas and electric cooking equipment.
■ Intended to be used above ranges with maximum width of 36"
(91.44 cm).
■ Use care when cleaning the vent-hood filter. Corrosive cleaning
agents, such as lye-based oven cleaners, may damage the filter.
State of California Proposition 65 Warnings:
WARNING: This product contains one or more chemicals known to the State of California to cause cancer.
WARNING: This product contains one or more chemicals known to the State of California to cause birth defects or other
reproductive harm.
Electrical Requirements
Observe all governing codes and ordinances.
Required:
■ A 120 volt, 60 Hz, AC only, 15- or 20-amp electrical supply with a
fuse or circuit breaker.
Recommended:
■ A time-delay fuse or time-delay circuit breaker.
■ A separate circuit serving only this microwave oven.
Settings
Clock
The Clock is a 12-hour (12:00-11:59) or 24-hour (0:00-23:59) clock.
Touch SETUP/CLOCK to reach Clock submenu, and follow the prompts
to set the Clock. Clock format (12 hours with AM and PM or 24 hours)
may also be set in the Clock submenu.
Timer
With the microwave oven in standby mode, touch the Timer control,
enter time, then touch the Timer control or the Start control. Cook
functions may be entered while the Timer is counting down. To cancel
timer, touch Timer control while the Timer countdown is active in the
display.
Control Lock
Activate to avoid unintended start. Touch and hold the Cancel control
for about 3 seconds until 2 tones sound and padlock icon appears in
the display. Repeat to unlock control.
Setup/Clock
Ten options/settings may be adjusted: 1-Set Clock; 2-Scrolling Speed;
3-Sound; 4-Filter Reset; 5-Fan Timer; 6-Light Timer; 7-Language
(English or French); 8-Calibrate Temp; 9-Demo Mode; 10-Factory
Reset.
Scroll Speed
Scroll speed of the text may be adjusted. Touch the SETUP/CLOCK to
reach the Scrolling Speed submenu, and follow the prompts to set
speed.
Sound (Tones)
Programming tones and signals. Key beep tones may be turned off, or
all tones (including end-of-function signals) may be turned off. Touch
SETUP/CLOCK to reach the Sound submenu, and follow the prompts
to turn off or on the programming tones or all tones.
Filter Reset
Reset the filter status after replacing and/or cleaning the filters. Touch
SETUP/CLOCK to reach the Filter Reset submenu, and activate reset.
Vent Fan
Various speeds, ranging from high to low, and off. Comes on
automatically as cooling fan during any cook function.
Fan Timer: Set vent fan to run for exactly 30 minutes, or to run for only
30 minutes more (off after 30 minutes). The vent fan may be turned off
at any time using the Vent Fan control. Touch SETUP/CLOCK to reach
the Fan Timer submenu, and select the setting.
Light Timer
Set the cooktop light to turn on and off at certain times. Touch
SETUP/CLOCK to reach the Light Timer submenu, and follow the
prompts to set the light on time and light off time in hours and minutes,
or to cancel Light Timer.
NOTE: Light Timer uses 12-hour clock only.
Language (on some models)
Language of the display text may be changed. Touch the
SETUP/CLOCK to reach the Language submenu, and follow the
prompts to set language to English or French.
Calibration
The actual convection cooking temperature may be calibrated higher or
lower than the displayed temperature. For example, if you want the
microwave oven to be a bit hotter, you may try setting the calibration
to +10°. Touch SETUP/CLOCK to reach the Calibration submenu. Use
number pads to select temperature variations in degrees Fahrenheit:
1= ±0° (reset to default), 2= +5° (+2.8°C), 3= +10° (+5.6°C), 4= +15°
(+8.3°C), 5= +20° (+11.1°C), 6= -5° (-2.8°C), 7= -10° (-5.6°C), 8= -15°
(-8.3°C) and 9= -20° (-11.1°C).
Demo Mode
Activate to practice using the control without actually turning on the
magnetron. Touch SETUP/CLOCK to reach the Demo Mode submenu,
and follow the prompts to activate. The DEMO icon will light up in the
display. Repeat to deactivate.
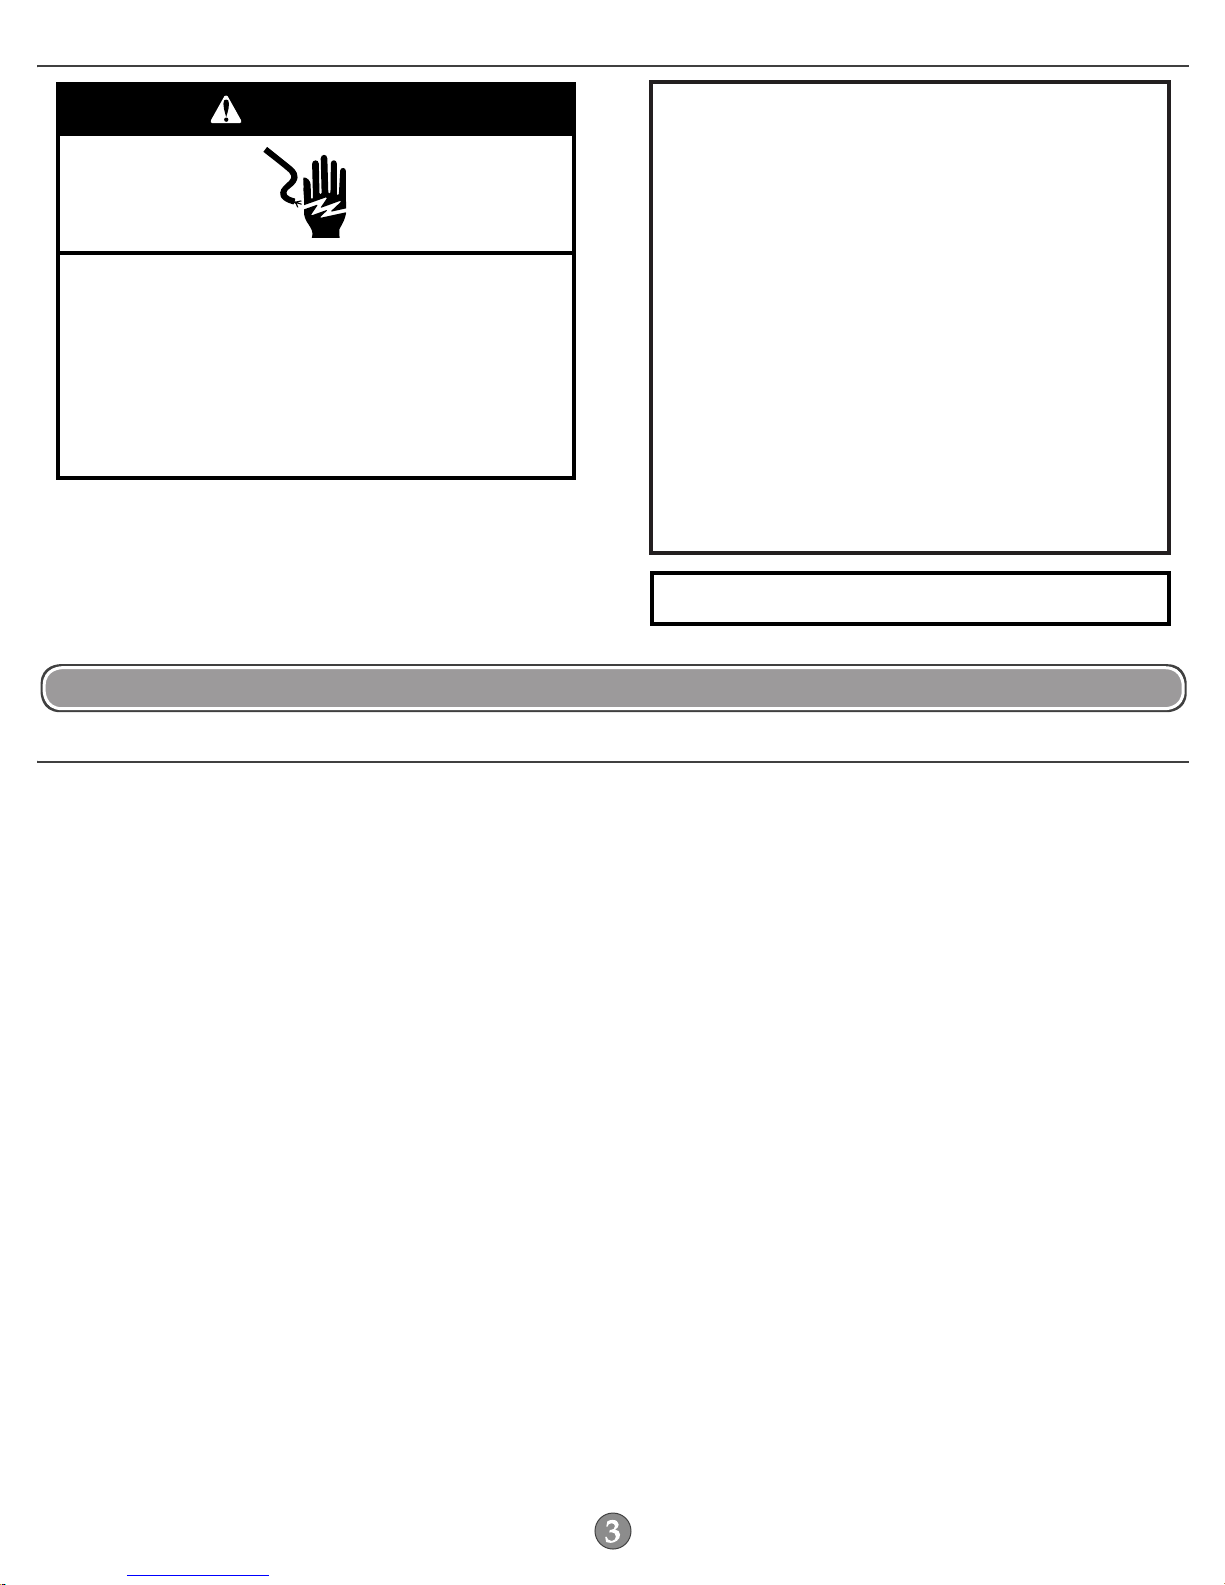
Electrical Shock Hazard
Plug into a grounded 3 prong outlet.
Do not remove ground prong.
Do not use an adapter.
Do not use an extension cord.
Failure to follow these instructions can result in death,
fire, or electrical shock.
WARNING
GROUNDING INSTRUCTIONS
SAVE THESE INSTRUCTIONS
■
For all cord connected appliances:
The microwave oven must be grounded. In the event of
an electrical short circuit, grounding reduces the risk of
electric shock by providing an escape wire for the electric
current. The microwave oven is equipped with a cord
having a grounding wire with a grounding plug. The plug
must be plugged into an outlet that is properly installed
and grounded.
WARNING: Improper use of the grounding plug can
result in a risk of electric shock. Consult a qualified
electrician or serviceman if the grounding instructions are
not completely understood, or if doubt exists as to whether
the microwave oven is properly grounded.
Do not use an extension cord. If the power supply cord is
too short, have a qualified electrician or serviceman install
an outlet near the microwave oven.
This device complies with Part 18 of the FCC Rules.
OPERATING YOUR MICROWAVE OVEN

Features
Convection Element and Fan
The convection element and fan are embedded in the wall of the
microwave oven cavity, behind the metal screen.
Grill Element
Depending on your model, the grill element has either one 1,000W
halogen bulb and one 500W quartz bulb, or two 600W quartz bulbs.
The halogen bulb glows very brightly, but the quartz bulb has a very
faint glow that might not be visible.
Cooking Rack
Use the rectangular cooking rack only for 2-level cooking. To avoid
damage to the microwave oven, always remove rack after 2-level
cooking. To avoid damage to the microwave oven due to soil buildup,
clean rack supports often.
Turntable
Turntable may be turned off (on some models) for manual cooking
only. This is helpful when cooking with plates that are bigger than the
turntable, or when cooking with plates that are side by side. Turntable
cannot be turned off during preset or sensor (on some models)
functions.
Accessories
Crisp Pan
Use the provided crisp pan for pan-frying (browning).
NOTE: To avoid arcing and damage to the crisp pan, do not use it with
convection or grill racks.
Grill Rack
Use the tall grill rack for grilling. Place food directly on the grill rack.
Use a microwave-safe, ovenproof dish or pan under the rack to catch
the drippings.
Convection Rack
Use the short convection rack for convection cycles (baking or
roasting). Place cookware directly on rack for bake functions and for
some roast functions. Some roast functions require that the food be
placed directly on the rack. Use a microwave-safe, ovenproof dish or
pan under the rack to catch the drippings.
Steamer Vessel
Use the steamer vessel base, insert and lid for steaming, or use just
the base and lid for simmering.
Cookware and Dinnerware
Microwave-Safe
■ Browning dish (Follow manufacturer recommendations.)
■ Ceramic glass, glass
■ China, earthenware (Follow manufacturer recommendations.)
■ Melamine (Follow manufacturer recommendations.)
■ Paper towels, paper plates, napkins (Use non-recycled paper.)
■ Plastic wraps, bags, covers, dinnerware, containers (Follow
manufacturer recommendations.)
■ Pottery and clay (Follow manufacturer recommendations.)
■ Silicone bakeware (Follow manufacturer recommendations.)
■ Wax paper
For Use With Grill Cycles (on some models):
■ Use ovenproof, microwave-safe cookware to catch drippings.
For Use With Convection/Combination Cycles (on some
models):
■ Metal bakeware may be used only during convection (bake)
cycles. Use ovenproof, microwave-safe cookware for all other
convection and combination cycles.
Do Not Use
■ Metal cookware and bakeware
■ Straw or wicker
■ Gold, silver or pewter
■ Non-approved meat thermometers, skewers
■ Twist ties
■ Foil liners, such as sandwich wrappers
■ Staples
■ Objects with gold or silver trim or with metallic glaze
Accessory Configurations
Crisping Grilling Roasting
A. Turntable
B. Crisp Pan
C. Microwave-safe, ovenproof dish
(not provided)
D. Grill rack
E. Convection rack
F. Cookie sheet (not provided)
G. Steamer base
H. Steamer insert
I. Steamer lid
Baking Steaming Simmering
A B
A C D
A C E
A E F
G H I
G I
To Test Cookware/Dinnerware: Place dish in microwave oven with 1 cup (250 mL) of water beside it. Program 1 minute of cook time at 100%.
If dish becomes hot and the water stays cool, do not use the dish in the microwave oven.
Microwave Oven Use
For list of preset programs, see the Quick Reference Guide provided with your model.
Manual Cooking/Stage Cooking
Touch COOK TIME/POWER, touch number pads to enter time, touch
COOK TIME/POWER again (if not 100%), touch number pads to enter
power level (10-90), and then touch the Start control.
If programming additional stages (up to three), touch SETUP/CLOCK
to enter programming for the next stage, enter the cook time and cook
power of each, and then touch the Start control.
Sensor Cooking
A sensor in the microwave oven detects moisture released from food
as it heats, and adjusts the cooking time accordingly.
Make sure microwave oven has been plugged in for at least 1 minute.
Use microwave-safe dish with loose-fitting lid, or cover microwavesafe dish with plastic wrap and vent. For optimal performance, wait at
least 30 minutes after convection cooking or grilling (on some models)
before sensor cooking.
Doneness
Adjust doneness for automatic cooking functions by touching COOK
TIME/POWER repeatedly to scroll through “NORMAL,” “MORE
DONE” or “LESS DONE” within the first 20 seconds of starting the
cook cycle. Doneness cannot be adjusted for Defrost functions.
Add More Time
At the end of any cycle using less than 100% cook power, “PRESS 0
TO ADD MORE TIME” scrolls in the display. Enter the additional time, if
desired, and start the microwave oven. The cook power for all nonsensor cycles will be the same as in the finished cycle, but may be
changed. If Add More Time is used after a sensor cycle, the cook
power will be 100%, but may be changed.
Keep Warm
Hot cooked food can be kept warm in the microwave oven. The Keep
Warm function uses 10% cook power. Keep Warm can be used by
itself or can be programmed to follow a cooking cycle. Opening the
door during Keep Warm will cancel the function.
General Cleaning
IMPORTANT: Before cleaning, make sure all controls are off and the
microwave oven is cool. Always follow label instructions on cleaning
products.
To avoid damage to the microwave oven caused by arcing due to soil
buildup, keep cavity, microwave inlet cover, cooking rack supports,
and area where the door touches the frame clean.
Clean with mild soap, water and a soft cloth or sponge, or as indicated
below.
■ Grease filter: mild soap and water or dishwasher.
■ Door and exterior: mild soap and water, or glass cleaner applied
to paper towel.
■ Control panel: sponge or soft cloth and water.
■ Stainless steel (on some models): mild soap and water, then rinse
with clean water and dry with soft cloth, or use stainless steel
cleaner.
■ Turntable: mild soap and water or dishwasher.
■ Racks: mild soap, water and washcloth. Dishwasher cleaning is
not recommended.
■ Pan and handle: mild soap, water and washcloth or dishwasher.
■ Steamer vessel: mild soap, water and soft brush or dishwasher.
Installing/Replacing Filters and Light Bulbs
NOTE: A filter status indicator (on some models) appears in the display
when it is time to replace the charcoal filter, and clean or replace the
grease filters. See “Settings” section to reset filter status.
■ Grease filters: Grease filters are on the underside of microwave
oven. Clean monthly, or as prompted by filter status indicator.
Slide the filter away from the tab area, and drop out the filter. To
reinstall, place end of the filter into the opening opposite the tab
area, swing up the other end, and slide it toward the tab area.
■ Charcoal filters: The charcoal filters are behind the vent grille at
the top front of the microwave oven. The charcoal filters cannot
be cleaned, and should be replaced about every 6 months, or as
prompted by filter status indicator. Remove two screws on the
vent grille, tilt the grille forward, lift it out, and remove filters. To
reinstall, place each filter into its slotted area – wire mesh side up,
replace vent grille, and secure with screws.
■ Cooktop light: The cooktop light is located on the underside of the
microwave oven, and is replaceable. Remove bulb cover screw,
and open the bulb cover. Replace bulb, close bulb cover, and
secure with screw.
■ Cavity light: The cavity light bulb is located behind the vent grille
at the top front of the microwave oven, under the bulb cover, and
is replaceable. Open door. Remove two screws on the vent grille,
tilt the grille forward, and lift it out. Remove right side charcoal
filter. Open bulb cover and replace bulb. Close bulb cover, replace
charcoal filter, replace vent grille, and secure with screws.
Following is a list of available parts and supplies which may be purchased separately. Please refer to the cover for contact and model
identification information.
Replacement Parts
■ Tur nt ab le
■ Turntable support and rollers
■ Turntable hub
■ Cooking rack
■ Rack clip
■ Rack support
■ Grease filter
■ Charcoal filter
■ Cooktop light bulb
■ Cavity light bulb
WARNING
Food Poisoning Hazard
Do not let food sit in oven more than one hour before
or after cooking.
Doing so can result in food poisoning or sickness.
MICROWAVE OVEN CARE
ACCESSORIES
 Loading...