

Page 1
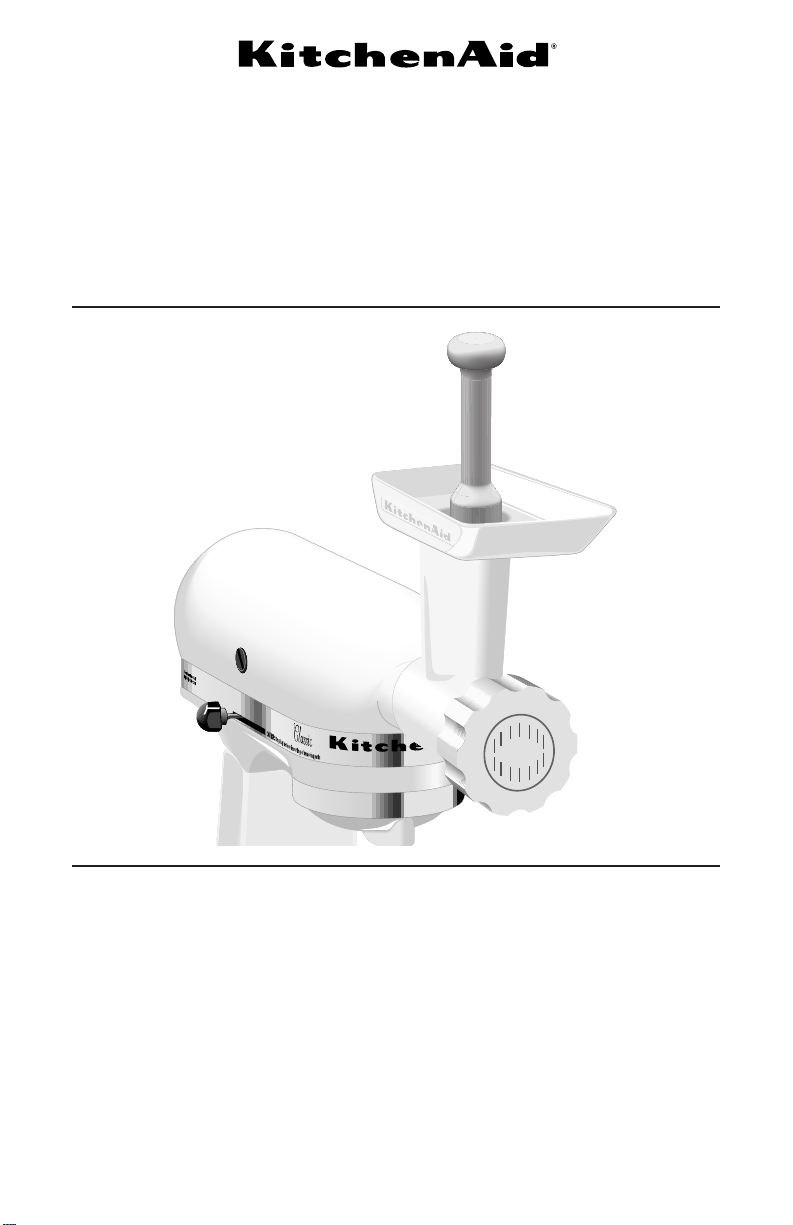
This attachment has been approved for use with
all KitchenAid
®
household stand mixers
KitchenAid
St. Joseph, Michigan USA
Off Stir 2 4 6 8 10
Solid State Speed Control
®
PASTA MAKER
*Pasta Maker Plates (Model SNPA) are available to convert a Model FGA Food
Grinder to a Pasta Maker.
SNFGA/SNPA
*
Page 2

2
arb
IMPORTANT SAFEGUARDS
When using electrical appliances, basic safety precautions should always be
followed including the following:
1. Read all instructions.
2. To protect against risk of electrical shock, do not put mixer in water or other
liquid.
3. Close supervision is necessary when any appliance is used near children.
4. Unplug from outlet when not in use, before putting on or taking off parts, and
before cleaning.
5. Avoid contacting moving parts. Keep fingers out of discharge opening.
6. Do not operate the mixer with a damaged cord or plug or after the mixer malfunctions, or is dropped or damaged in any manner. Return the mixer to the
nearest Authorized Service Center for examination, repair or electrical or
mechanical adjustment.
7. The use of attachments not recommended or sold by KitchenAid may cause
fire, electric shock or injury.
8. Do not use the mixer outdoors.
9. Do not let the cord hang over the edge of table or counter.
10. Never feed dough by hand. Always use food pusher.
11. This product is designed for household use only.
SAVE THESE INSTRUCTIONS
Your safety and the safety of others is very important.
We have provided many important safety messages in this manual and on
your appliance. Always read and obey all safety messages.
This is the safety alert symbol.
This symbol alerts you to hazards that can kill or hurt you and
others.
All safety messages will be preceded by the safety alert symbol
and the word “DANGER” or “WARNING.” These words mean:
You will
be killed or seriously injured
if you don’t follow instructions.
You can
be killed or seriously injured
if you don’t follow instructions.
All safety messages will identify the hazard, tell you how to reduce the chance
of injury, and tell you what can happen if the instructions are not followed.
ý
!
ý
WARNING
!
ý
DANGER
!
Page 3

3
arb
®
A
B
C
D
E
TO ASSEMBLE:
Insert the grind worm (A) into the grinder body (B). Place one of the pasta plates
(C) over the exposed end of the grind worm, matching the tabs of the plate with
the notches in the grinder body. Place ring (D) onto grinder body, turning by hand
until finger tight but not overtightened. Wooden food pusher (F). A storage case
(G) is provided to store pasta plates, bowl clips (H) and cleaning tool (I).
Note: Do not use wrench (E) to tighten ring.
TO ATTACH:
Before attaching accessory, turn off
and unplug unit.
Loosen attachment knob (1) by turning it counterclockwise. Remove
attachment hub cover. Insert attachment shaft housing (2) into attachment
hub (3) making certain that attachment power shaft fits into square hub
socket. Rotate attachment back and
forth if necessary. When attachment
is in proper position, the pin on the
attachment will fit into the notch on
the hub. Tighten attachment knob
until attachment is completely
secured to mixer.
FOR 5 QUART MODELS
**
Two, small, metal clips (H) have been
packed with this attachment. These
clips are to be used only when making
the pasta dough recipes.
To use clips
Once bowl has been
attached to the mixer,
place the clips over the
locating pins. These clips help keep
the bowl stationary during mixing.
2
3
1
**5 Quart models include K5SS, KSM5, KSM50P.
H
G F
I
Page 4
4
arb
TO USE:
Turn mixer to Speed 10. Slowly feed
walnut-size pieces of dough into the
hopper; dough should self-feed. The
grind worm should be visible before
adding the next piece of dough. Use
food pusher only if dough becomes
caught in hopper and no longer selffeeds.
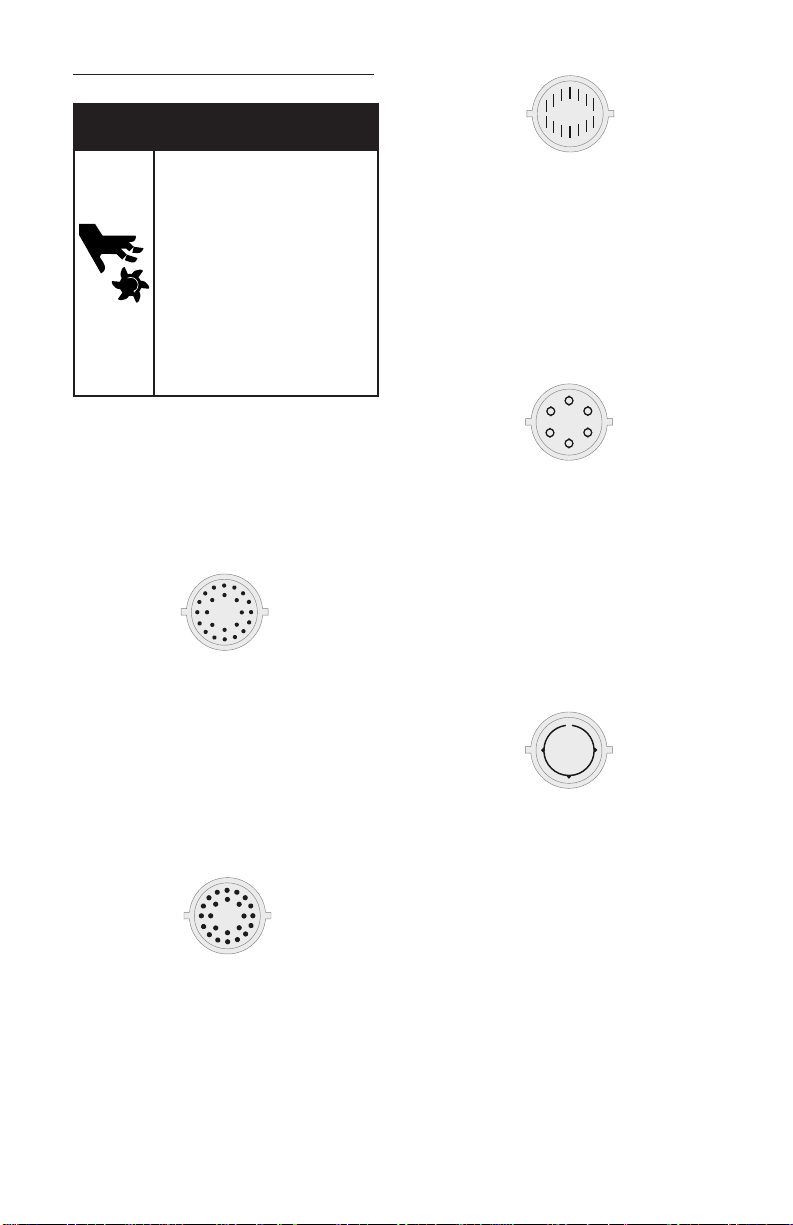
THIN SPAGHETTI (PLATE 1)
Extrusion Length — 24 cm; stop
mixer and gently pull noodles away
from plate.
Separation — Lay on flat surface
and separate immediately. Dry on a
towel in a single layer.
Storage — Use immediately or thoroughly air dry and store in a plastic
bag.
THICK SPAGHETTI (PLATE 2)
Extrusion Length — 24 cm; stop
mixer and gently pull noodles away
from plate.
Separation — Lay on flat surface
and separate immediately. Dry on a
towel in a single layer.
Storage — Use immediately or thoroughly air dry and store in a plastic
bag.
FLAT NOODLE (PLATE 3)
Extrusion Length — 24 cm; stop
mixer and gently pull noodles away
from plate.
Separation — Lay on flat surface and
separate immediately. Dry on a towel
in a single layer.
Storage — Use immediately or thoroughly air dry and store in a plastic
bag.
MACARONI (PLATE 4)
Extrusion Length - 15 to 20 cm; stop
mixer and gently pull noodles away
from plate.
Separation - Lay on flat surface and
separate immediately. Partially dry on
a towel in a single layer. When fairly
firm, crack by hand or cut with a knife
into smaller macaroni noodles.
Storage - Cook within 4 hours after
extrusion.
LASAGNA (PLATE 5)
Extrusion Length - 28 to 30 cm; stop
mixer and gently pull or cut strip with
knife away from plate.
Separation - Partially dry on a towel
in a single layer.
Storage - Cook within 4 hours or
freeze in aluminum foil.
Note: Pasta Maker Plates (Model
SNPA) are available to convert a
Model FGA Food Grinder to a Pasta
Maker.
Rotating Blade Hazard
Always use food
pusher.
Keep fingers out of
openings.
Keep away from
children.
Failure to do so can
result in cuts or other
injury.
WARNING
ý
!
Page 5

5
TO CHANGE THE PLATES:
Whenever you wish to change plates,
the unit must be completely disassembled, the dough cleaned out of the
grinder body, and the unit reassembled as stated on page 3.
Note: Pasta Maker Plates (Model
SNPA) are available to convert a
Model FGA Food Grinder to a Pasta
Maker.
TO LOOSEN THE RING:
If ring is too tight to remove by hand,
slip the wrench over the grooves.
Turn wrench handle counterclockwise.
Note: Never use wrench to attach ring
to grinder body. Damage to the
attachment may result.
TO CLEAN:
Completely disassemble unit. Use
cleaning tool to remove excess dough
from plates. Grinder body, grind
worm, pasta plates, ring, wrench and
storage stomper are dishwasher safe.
Wash wooden food pusher in warm
sudsy water.
ABOUT PASTA
• Learning to make homemade pasta
is simply a matter of practice. If
you have never made pasta, you
may have to prepare several batches
of dough before you feel comfortable. We recommend experimenting
with the Basic Egg Noodle Recipe.
• The ratio of liquid to flour in pasta
doughs is small, making them firm
and leathery, but still pliable. It is
extremely important to have the correct proportion of ingredients for
proper dough consistency, as doughs
which are too moist or too dry will
be difficult to work with. To help
you achieve consistent results, the
pasta recipe in this booklet specifies
sifted flour. To sift flour, follow this
procedure:
Place dry ingredient measuring cup
on a large piece of waxed paper and
arb
hold sifter directly above and close
to cup. Scoop flour into sifter and
sift until flour exceeds top of cup.
Using the flat edge of a spatula,
remove excess flour from measuring
cup.
Note: Mixer must rest at least 1 hour
after extruding 2 consecutive pasta
dough recipes.
• Occasionally, there may be unmixed
pieces of dough in the bowl after initial mixing with the flat beater.
These pieces will be sufficiently
incorporated by mixer kneading followed by hand kneading which firms
and smoothes the texture of the
dough. After kneading, the dough
should be allowed to rest, wrapped
in a dry towel, for 15 minutes before
extrusion.
• Experience has shown that very
humid conditions can cause the
dough to become sticky and difficult
to extrude. To help compensate for
this problem, start the initial mixing
process with only the sifted flour and
eggs. Check the dough for proper
consistency and then add water if
necessary.
• Spaghetti, flat noodles and macaroni
tend to curl in different directions as
they extrude through the plate. The
first 10 inches of curled noodles may
be pulled off and returned to the
hopper to be extruded again. Pasta
will extrude slowly at first, then
faster as more dough is extruded.
• Separate pasta immediately after
extrusion. Lay a group of noodles on
a flat surface and pull apart from
drier ends of strands. Dry on a
towel in a single layer.
• Homemade pasta behaves differently
than store purchased. Spaghetti and
flat noodles bend as they dry and are
more fragile, thus requiring careful
handling before cooking.
Page 6

6
BASIC EGG NOODLE PASTA
a~b
QQQQQQQQQQ s QQQQQQQQQQ
3 large eggs
2 tablespoons water
2
3
⁄4cups sifted all-purpose
flour
Break eggs into a glass measuring cup. Add
water. Carefully check to see that the total liquid
amount is
3
⁄4
cup. If less than
3
⁄4
cup, add
additional water 1 teaspoon at a time until that
amount is reached.
Place flour in bowl. Attach bowl and flat beater.
Turn to Speed 2 and gradually add eggs and
water. Mix for 30 seconds. Stop mixer and
exchange dough hook for flat beater. Turn to
Speed 2 and knead for 2 minutes.
Remove mixture from bowl and hand knead for
30 seconds to 1 minute. Cover with plastic wrap
and let dough rest for 15 minutes before
extruding through Pasta Maker.
Yield: about 1 pound dough
Per serving: About 184 cal, 7 g pro, 33 g carb,
2 g fat, 80 mg chol, 25 mg sod.
TO COOK PASTA
Add 1 tablespoon salt and 1 tablespoon oil to
6 quarts boiling water. Gradually add pasta and
continue boiling until pasta is tender. (Pasta
floats on top of water as it cooks, so stir occasionally to keep it cooking evenly.) Drain pasta in
colander.
For spaghetti, flat noodles, and macaroni, cook
entire recipe as directed. For lasagna noodles,
cook half of recipe at a time.
Tip: Pasta dough or fresh noodles can be stored
in plastic bags in refrigerator up to three days or
in freezer up to one month. Cooked noodles can
be stored in plastic bags in refrigerator up to
three days. Toss noodles with 1 tablespoon oil
before placing in bags.
Page 7

7
CONFETTI PASTA SALAD
a~b
QQQQQQQQQQ s QQQQQQQQQQ
Salad
4 cups broccoli florets
1
⁄2recipe Basic Egg Noodle
Pasta macaroni, cooked
and drained
1 medium red bell pepper,
coarsely chopped
1 medium yellow summer
squash,cut into thin strips
1
⁄4cup chopped green onions
1 can (15
1
⁄2oz.) kidney
beans, drained and rinsed
Dressing
1
⁄4cup olive oil
1
⁄4cup red wine vinegar
2 teaspoons lemon juice
1 teaspoon sugar
1
⁄2teaspoon salt
1
⁄2teaspoon dried basil
leaves
Cook broccoli in boiling water about 2 minutes;
drain.
Combine all Salad ingredients in large bowl.
Combine all Dressing ingredients in small bowl;
mix well. Add to Salad. Toss to coat. Refrigerate
until serving time.
Yield: 8 servings.
Per serving: About 248 cal, 9 g pro, 35 g carb,
9 g fat, 53 mg chol, 420 mg sod.
2 teaspoons margarine or
butter
1
⁄2cup finely chopped
onion
1
⁄2cup finely chopped red
bell pepper
1
⁄4cup fat-free egg
substitute or 1 egg
1 cup reduced-fat ricotta
cheese
1 package (10 oz.) frozen
spinach, thawed and
squeezed dry
1
⁄4cup shredded Parmesan
cheese
1
⁄2recipe Basic Egg
Noddle Pasta lasagna
noodles, cooked and
drained
1 jar (28 oz.) pasta sauce
1 cup shredded part-skim
mozzarella cheese
Melt margarine in medium skillet over mediumhigh heat. Add onion and bell pepper. Cook and
stir until softened. Cool slightly.
Place egg substitute and ricotta cheese in mixer
bowl. Attach bowl and flat beater to mixer. Turn
to Speed 2 and mix about 1 minute. Stop and
scrape bowl. Add spinach, Parmesan cheese, and
onion mixture. Turn to Speed 2 and mix about
1 minute.
Spread about
1
⁄
4
cup cheese mixture on each
lasagna noodle. Roll up tightly. Spoon about
1 cup pasta sauce over bottom of 13x9x2-inch
baking pan. Place lasagna rolls, seam side down,
on sauce. Spoon remaining sauce over rolls.
Cover with foil. Bake at 350°F for 40 to 45 minutes, or until hot and bubbly. Remove foil.
Sprinkle with mozzarella cheese. Bake 5 minutes
longer, or until cheese is melted.
Yield: 8 servings.
Per serving: About 312 cal, 17 g pro, 39 g carb,
10 g fat, 75 mg chol, 733 mg sod.
SPINACH LASAGNA ROLL-UPS
QQQQQQQQQQ s QQQQQQQQQQ
Page 8
9704319 Rev. A
Printed in U.S.A.
dZw(499)
Length of
Warranty:
One Year Full warranty
from date of purchase.
KitchenAid
Will Pay For:
Replacement parts and
repair labor costs to correct
defects in materials or
workmanship. Service must
be provided by an
Authorized KitchenAid
Service Center.
OR
Total Replacement
Warranty.
KitchenAid
Will Not Pay For:
A.Repairs when
attachment/accessory is
used in other than normal home use.
B. Damage resulting from
accident, alteration,
misuse or abuse.
C. Any incidental
shipping or handling
costs to deliver your
attachment/accessory to
an Authorized
KitchenAid Service
Center.
D.Replacement parts or
repair labor costs for
attachments/accessories
operated outside the
United States.
KITCHENAID DOES NOT ASSUME ANY RESPONSIBILITY FOR
INCIDENTAL OR CONSEQUENTIAL DAMAGES. Some states do not allow the
exclusion or limitation of incidental or consequential damages, so this exclusion or limitation may not apply to you. This warranty gives you specific legal rights and you may also
have other rights which vary from state to state.
HOW TO ARRANGE FOR SERVICE
To arrange for service, call the KitchenAid Customer Satisfaction Center, toll-free at
1-800-541-6390.
Missing a part? Call 1-800-541-6390 for immediate handling of your problem.
WARRANTY
St. Joseph, Michigan 49085 U.S.A
®KITCHENAID is a registered trademark of KitchenAid, U.S.A.
We’re so confident the quality of our products meets the exacting standards of
KitchenAid that, if your attachment/accessory should fail within the first year of ownership, KitchenAid will arrange to deliver a
replacement attachment/accessory to your
door free of charge and arrange to have
your “failed” attachment/accessory returned
to us. Your replacement unit is covered by
our one year full warranty. Please follow
these instructions to receive this quality
service.
If you reside in the United States and
your KitchenAid attachment/accessory
should fail within the first year of ownership, simply call our toll-free Customer
Satisfaction Center at 1-800-541-6390.
Give the consultant your complete shipping
address. (No P.O. Box Numbers, please.)
KitchenAid will arrange to deliver a
replacement attachment/accessory and have
your “failed” attachment/accessory returned
to us.
Put your “failed” attachment/accessory in
the original shipping carton along with a
sheet of paper with your name and address
on it, and proof of purchase (register
receipt, credit card charge slip, etc.)
TOTAL REPLACEMENT WARRANTY
 Loading...