

KitchenAid LAV2701RSS Installation Instructions
PRO LINE®PEDESTAL
Use &Care Guide
For questions about features, operation/performance, parts, accessories or service, call: 1-800-422-1230
In Canada, call: 1-800-807-6777 or visit our website at...
www.kitchenaid.com or www.KitchenAid.ca
PIÉDESTAL PRO LINE
Guide d’utilisation etd’entretien
Au Canada, composez le 1-800-807-6777
ou visitez notre site web à... www.KitchenAid.ca
Table of Contents /Table des matières
PEDESTAL SAFETY......................................... 2
INSTALLATION REQUIREMENTS.................. 2
Tools and Parts ............................................. 2
Location Requirements................................. 2
Before Installing Your Pedestal..................... 2
INSTALLATION INSTRUCTIONS.................... 4
Install Pedestal .............................................. 4
PEDESTAL USE ............................................... 5
WARRANTY...................................................... 6
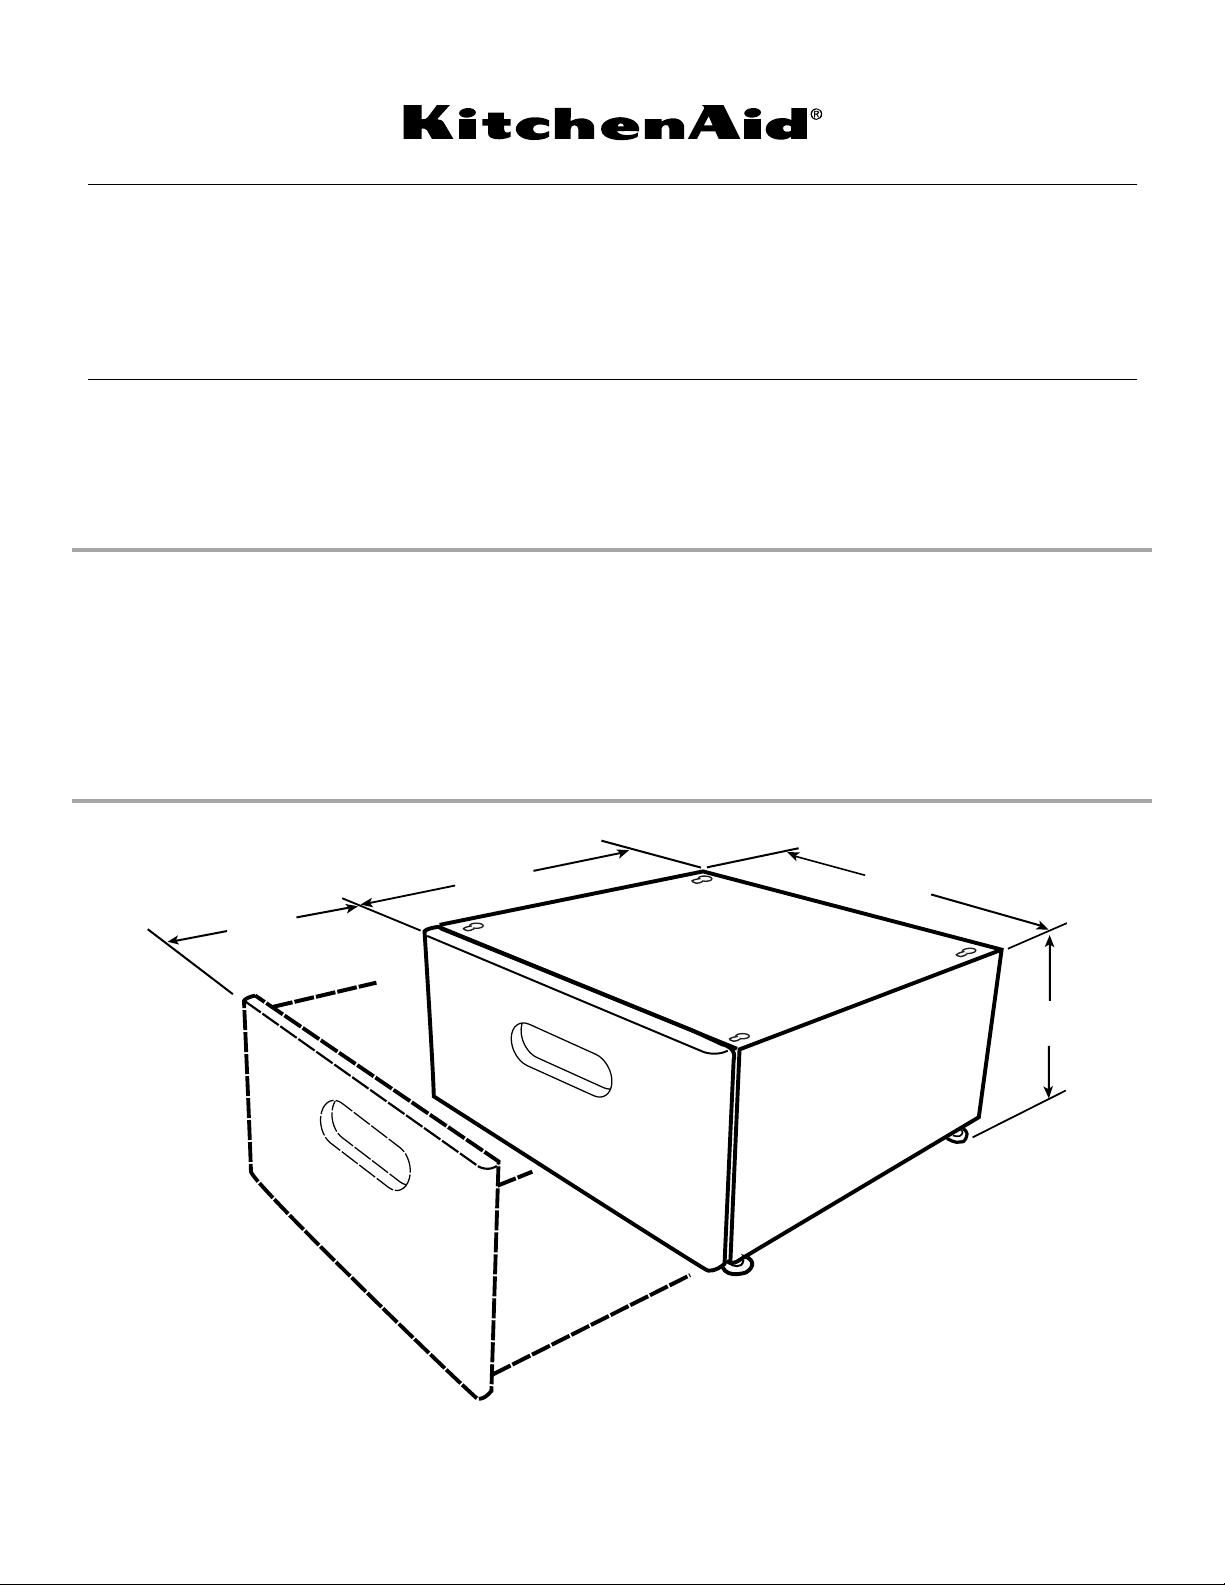
28 ³⁄₄"
(73.0 cm)
24"
(61.0 cm)
®
SÉCURITÉ DU PIÉDESTAL .............................7
EXIGENCES D'INSTALLATION.......................7
Outillage et pièces .........................................7
Exigences d'emplacement ............................7
Avant l'installation du piédestal.....................7
INSTRUCTIONS D'INSTALLATION.................9
Installation du piédestal .................................9
UTILISATION DU PIÉDESTAL.......................11
GARANTIE.......................................................11
27"
(68.6 cm)
3957657
12"
(30.5 cm)
PEDESTAL SAFETY
Your safety and the safety of others are very important.
We have provided many important safety messages in this manual and on your appliance. Always read and obey all safety
messages.
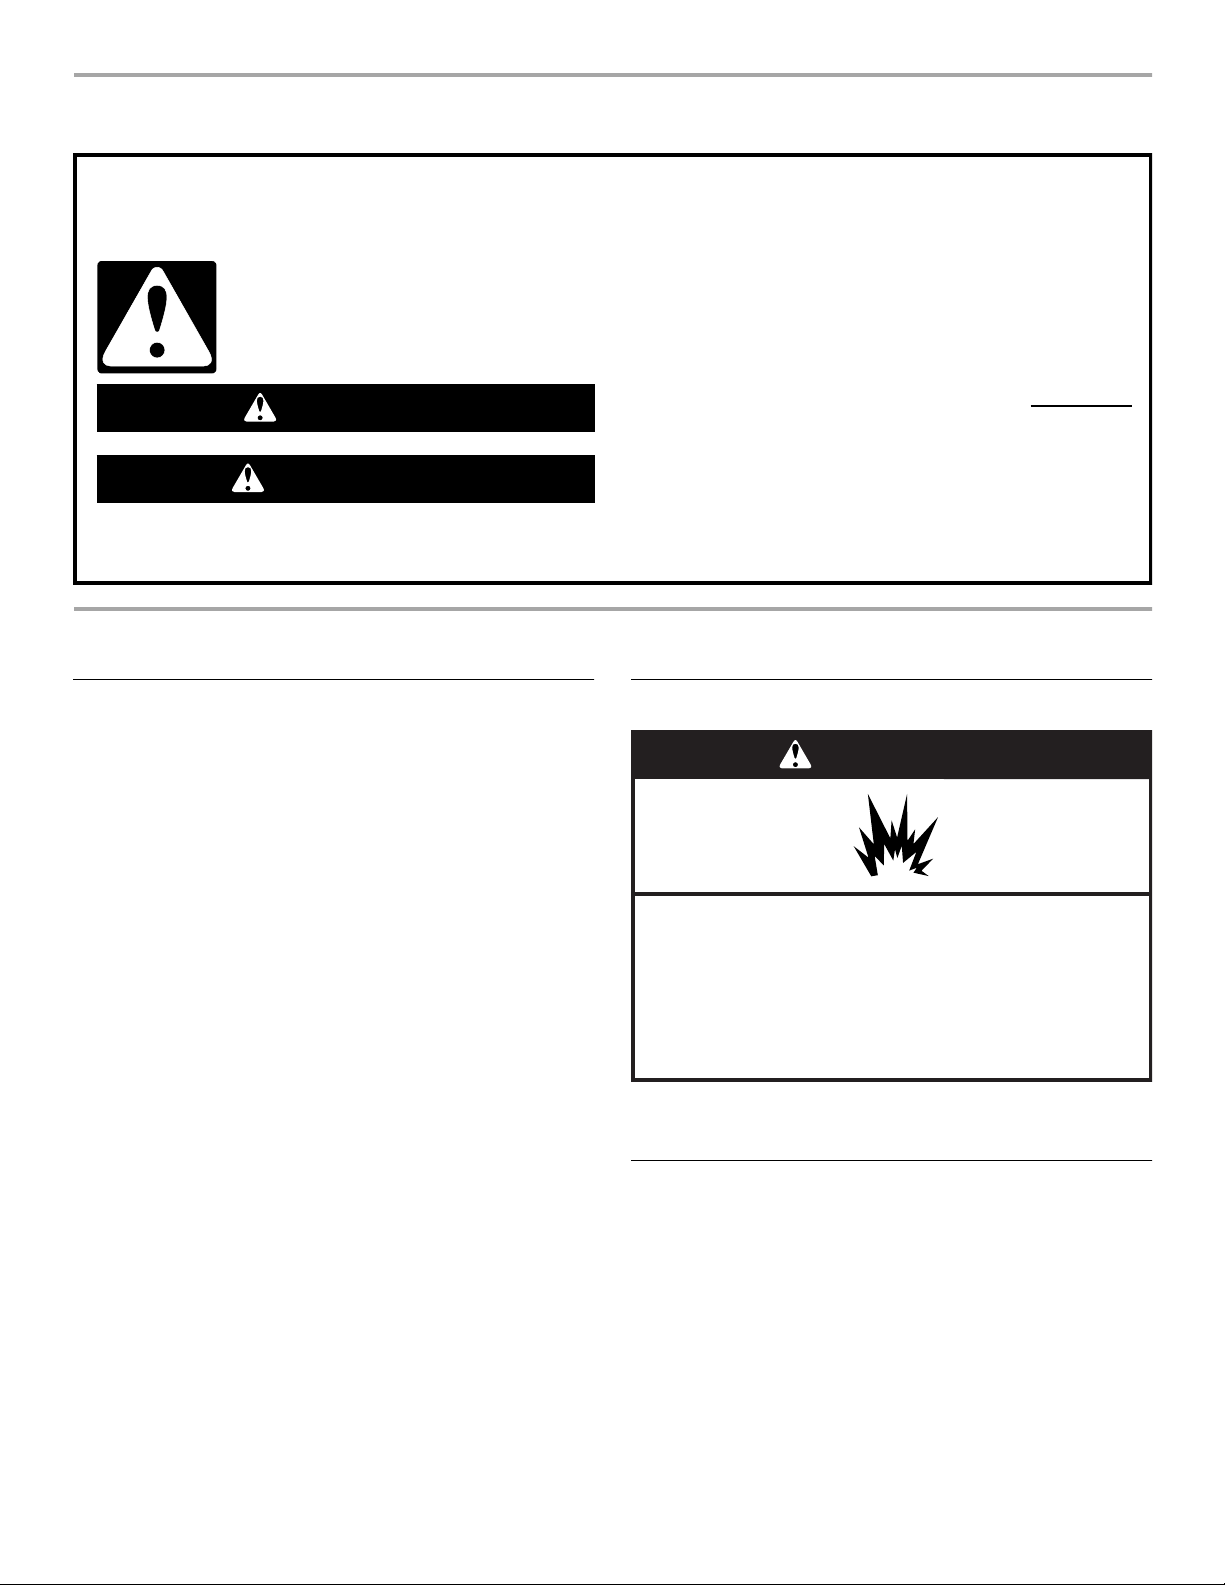
This is the safety alert symbol.
This symbol alerts you to potential hazards that can kill or hurt you and others.
All safety messages will follow the safety alert symbol and either the word “DANGER” or “WARNING.”
These words mean:
You can be killed or seriously injured if you don't immediately
DANGER
WARNING
All safety messages will tell you what the potential hazard is, tell you how to reduce the chance of injury, and tell you what can
happen if the instructions are not followed.
follow instructions.
can be killed or seriously injured if you don't
You
instructions.
follow
INSTALLATION REQUIREMENTS
Toolsand Parts
Gather the required tools and parts before starting installation.
Read and follow the instructions provided with any tools listed
here.
Too ls R equ ired
■ Ratchet with a ¼" socket
or open-ended wrench
(leveling legs)
■ Ratchet with a ⁹⁄₁₆"
(14 mm) socket or openended wrench (for
leveling leg locknuts and
attachment bolts)
Parts Supplied
Remove the parts package from pedestal carton. This package
contains 4 bolts and a drawer shelf. Check that all parts are
included.
■ Utility knife
■ Pliers or slip-joint pliers
(for drain and inlet hoses)
■ Level
■ Bucket
Location Requirements
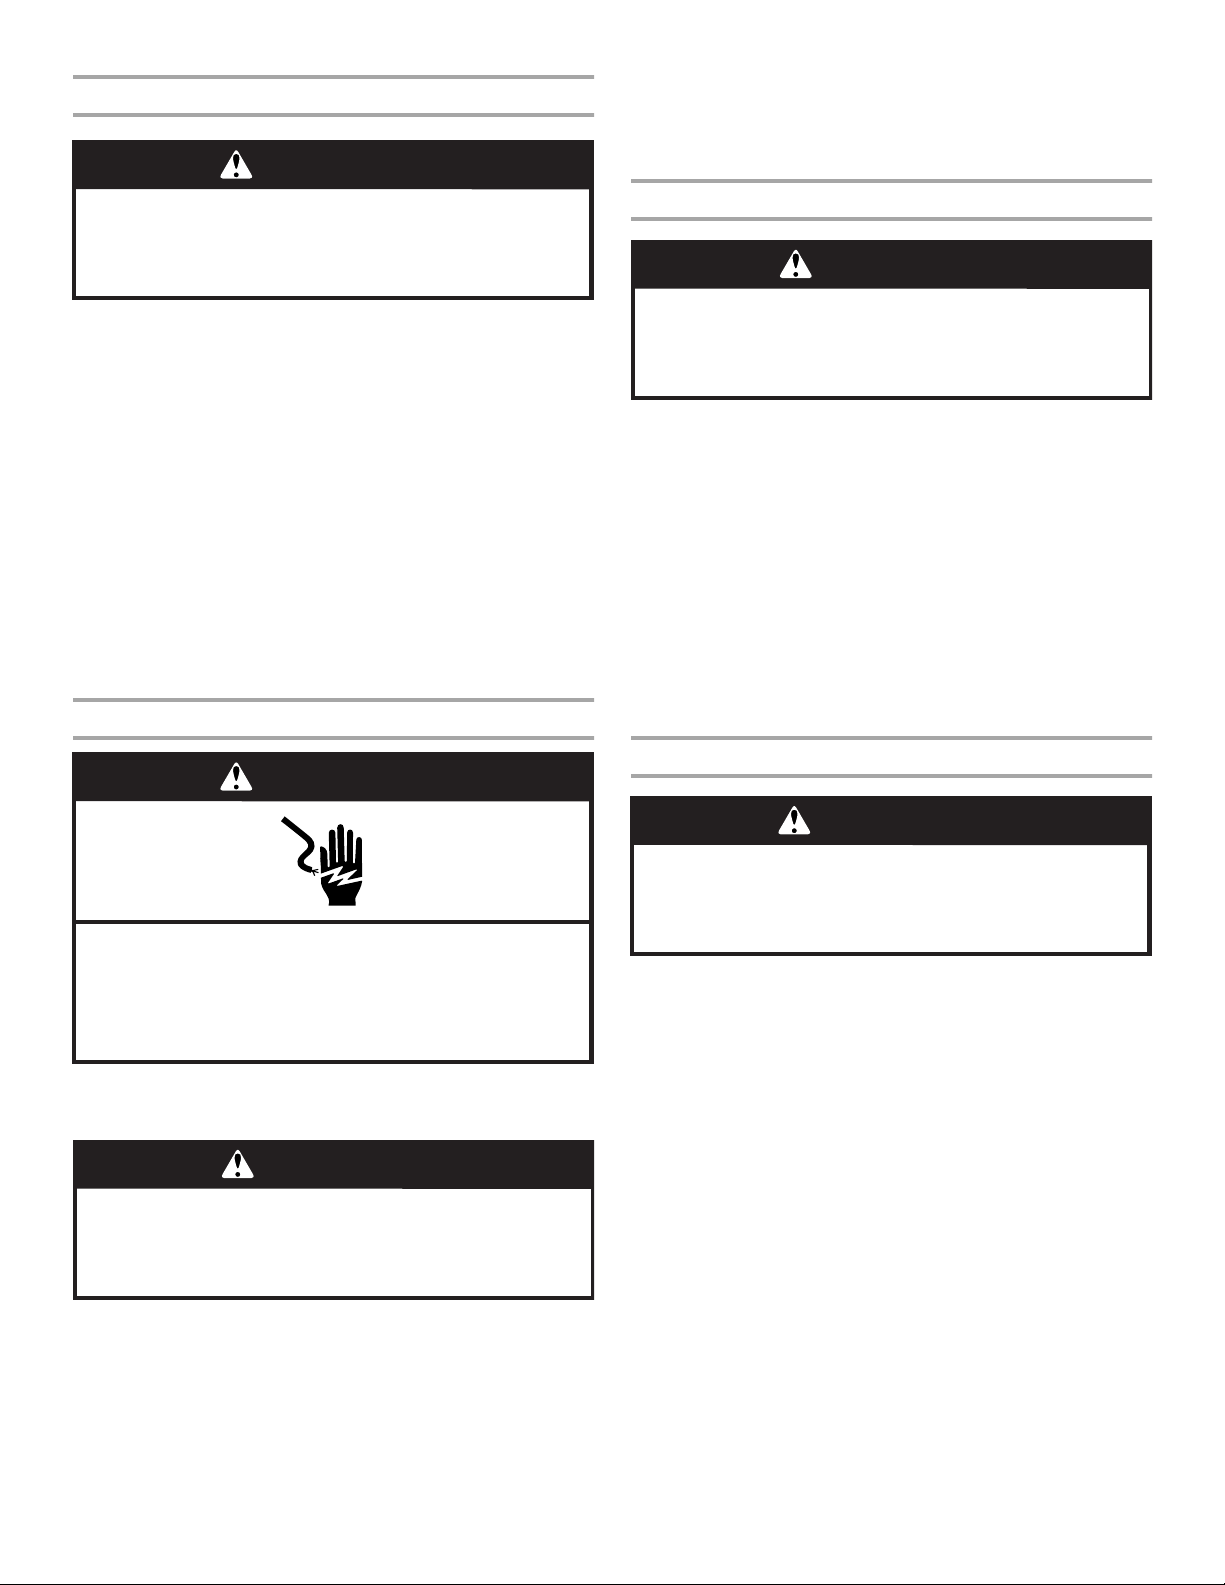
WARNING
Explosion Hazard
Keep flammable materials and vapors, such as
gasoline, away from dryer.
Place dryer at least 18 inches (46 cm) above the floor
for a garage installation.
Failure to do so can result in death, explosion, or fire.
NOTE: If dryer and pedestal assembly is located in a garage,
6" (15.2 cm) must be added under pedestal so that dryer is
18" (45.7 cm) above garage floor.
Before Installing Your Pedestal
IMPORTANT: If your washer and dryer are already installed, they
must be uninstalled.
If you need to uninstall your washer or dryer, see the Installation
Instructions that came with your model for tools required.
2
Uninstalling Your Washer
WARNING
Excessive Weight Hazard
Use two or more people to move and uninstall washer.
Failure to do so can result in back or other injury.
5. Protect the floor with a large piece of cardboard cut from the
pedestal carton. Lay the dryer on its back (make sure that the
power supply cord is not under the dryer) so that the
cardboard is under the entire back edge of the of the dryer.
6. Go to “Install Pedestal.”
Uninstalling Your Gas Dryer
WARNING
1. Turn off the hot and cold water faucets.
2. Unplug the power supply cord or disconnect power.
3. Slowly loosen the fill hoses at the faucets to relieve the water
pressure. Use a sponge or towel to absorb the released water.
4. Remove hot and cold fill hoses from the back of the washer.
Drain water in the hoses into a bucket.
5. Squeeze the ears of the drain hose clamp with pliers to open
and slide the clamp down the hose. Disconnect the drain hose
from the washer and drain any water in the hose into a bucket.
6. Pull the washer away from the wall so it can be tipped onto its
back.
7. Protect the floor with a large piece of cardboard cut from the
pedestal carton. Lay the washer on its back (make sure that
the power supply cord is not under the washer) so that the
cardboard is under the entire lower back edge of the washer.
An additional small amount of water will drain out of the
washer when it is tipped back.
8. Go to “Install Pedestal.”
Uninstalling Your Electric Dryer
WARNING
Electrical Shock Hazard
Disconnect power before servicing.
Replace all parts and panels before operating.
Failure to do so can result in death or electrical shock.
1. Unplug the power supply cord.
2. Disconnect wiring if dryer is direct wired.
WARNING
Excessive Weight Hazard
Use two or more people to move and uninstall dryer.
Failure to do so can result in back or other injury.
Excessive Weight Hazard
Use two or more people to move and uninstall dryer.
Failure to do so can result in back or other injury.
1. Unplug the power supply cord or disconnect power.
2. Turn off the gas supply.
3. Pull the dryer away from the wall enough to loosen the vent
clamp. Loosen the clamp and gently remove the exhaust vent
from the dryer exhaust outlet.
4. Disconnect the flexible gas supply line from the dryer. Put a
piece of tape over the open ends of the gas line connection
fittings.
5. Pull the dryer away from the wall so that it can be tipped onto
its back.
6. Protect the floor with a large piece of cardboard cut from the
pedestal carton. Lay the dryer on its back (make sure that the
power supply cord is not under the dryer) so that the
cardboard is under the entire back edge of the of the dryer.
7. Go to “Install Pedestal.”
Washer or Dryer Is in Its Packaging
WARNING
Excessive Weight Hazard
Use two or more people to move washer or dryer.
Failure to do so can result in back or other injury.
1. Position the packaged washer or dryer close to its final
location, leaving enough room to level the pedestal in the final
location.
2. Follow the Unpacking Instructions to unpack your washer or
dryer.
3. Protect the floor with a large piece of cardboard cut from the
pedestal carton. Lay the washer or dryer on its back (make
sure that the power supply cord is not under the washer or
dryer) so that the cardboard is under the entire back edge of
the of the washer or dryer.
4. Go to “Install Pedestal.”
3. Pull the dryer away from the wall enough to loosen the vent
clamp. Loosen the clamp and gently remove the exhaust vent
from the dryer exhaust outlet.
4. Pull the dryer away from the wall so that it can be tipped onto
its back.
3
INSTALLATION INSTRUCTIONS
Install Pedestal
Follow these instructions to install the pedestal on a washer or
dryer.
WARNING
Excessive Weight Hazard
Use two or more people to move and install pedestal.
Failure to do so can result in back or other injury.
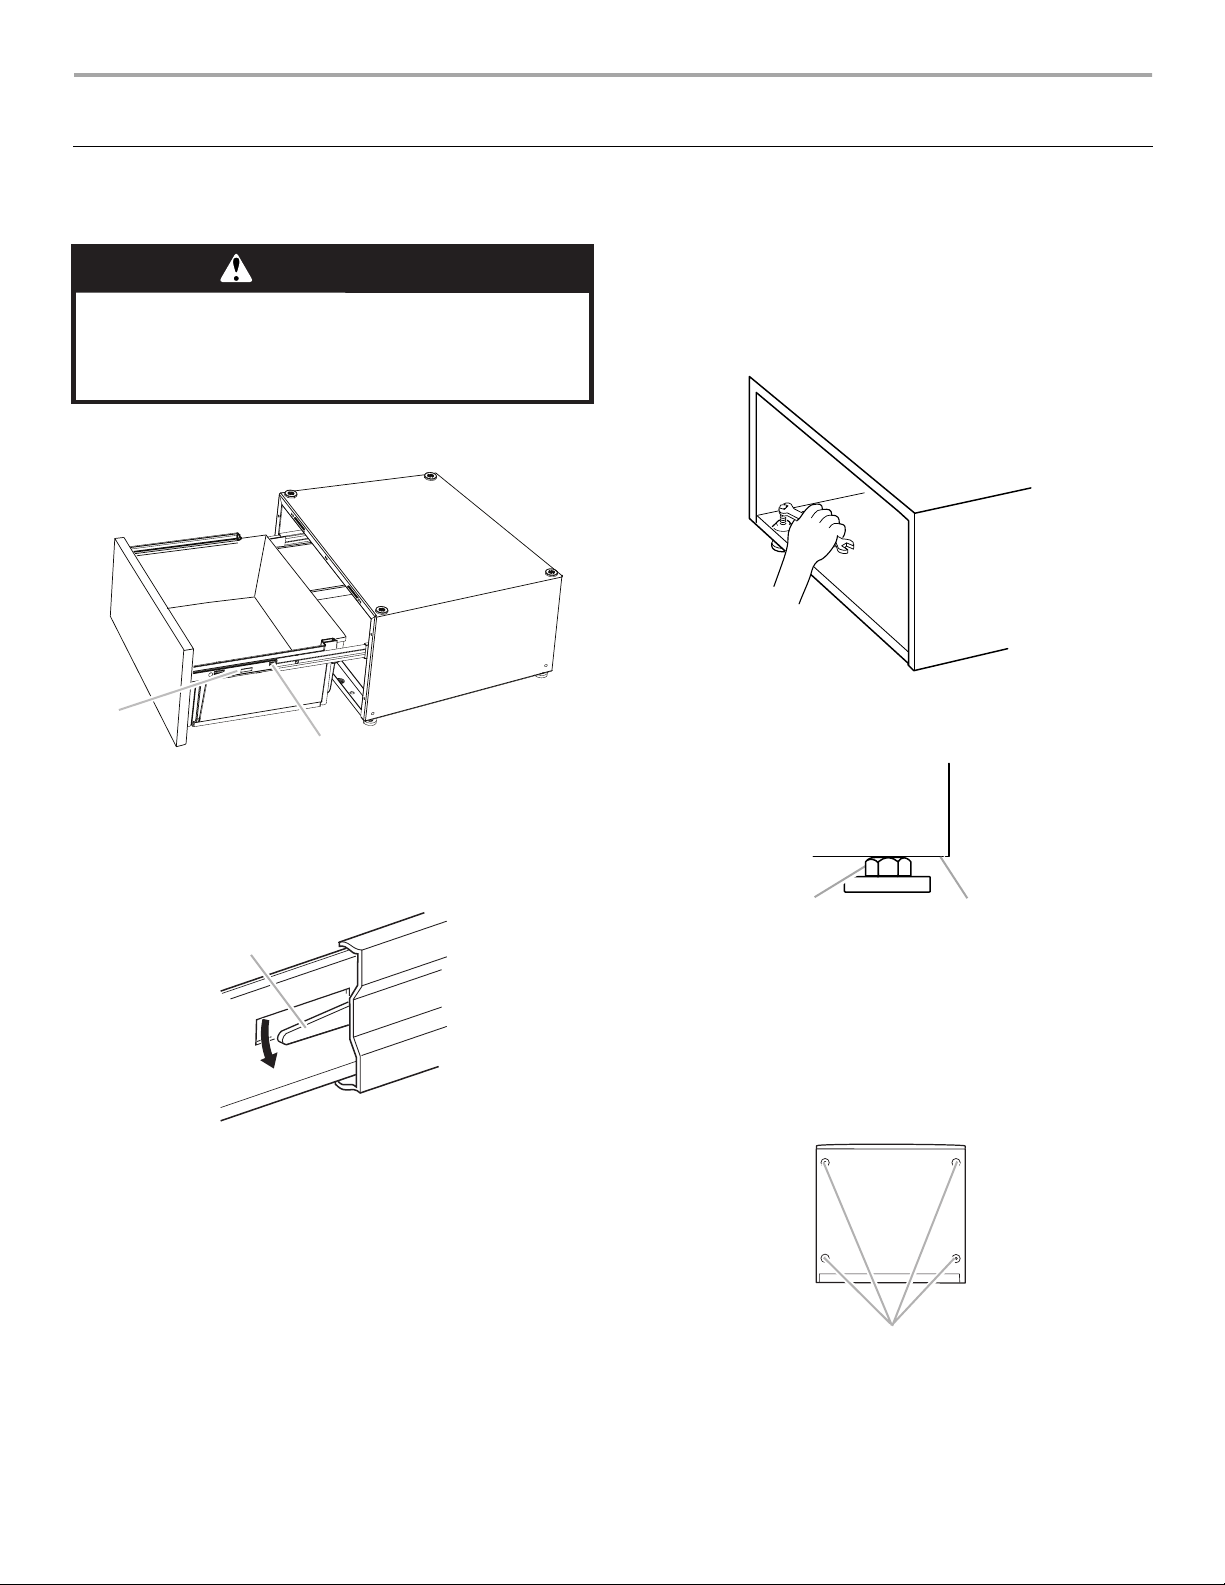
1. Locate the levers on the drawer slides on each side of the
drawer.
5. Level the pedestal from side to side and front to back.
NOTE: Make sure all 4 pedestal feet are in solid contact with
the floor.
Place a level on the top of the pedestal. Locate the ¼" hex
head screws on the top of each pedestal foot. Reach inside
the pedestal and use a ratchet with a ¼" socket or openended wrench to adjust the feet up or down as needed to level
the pedestal.
A
B
A. Drawer slide
B. Lever
2. Pull the lever up on the left side of the drawer and at the same
time, push the lever down on the right side. While holding the
levers in position, pull the drawer all the way out and set aside.
Push the slides back into the pedestal.
A
A. Lever (right side shown)
3. If your washer or dryer has feet installed, remove them. Do not
install the feet that came with a new washer or dryer.
4. Set the pedestal in its final location.
6. Once the pedestal is level, use a ⁹⁄₁₆" (14 mm) open-ended
wrench to tighten all 4 locknuts against the pedestal. The
locknuts must be tightened to avoid vibration.
A
A. Locknuts
B. Pedestal cabinet
7. Use a ratchet with a ⁹⁄₁₆" (14 mm) socket or open-ended
wrench to partially install the 4 attachment bolts in the proper
holes. Leave a space of about ³⁄₈" (1 cm) between the bolt
head and the bottom of the washer or dryer.
A
B
B
A. Washer/Dryer bottom
B. Attachment bolts
4
 Loading...