

KitchenAid KBRS36FMB02 Owner’s Manual
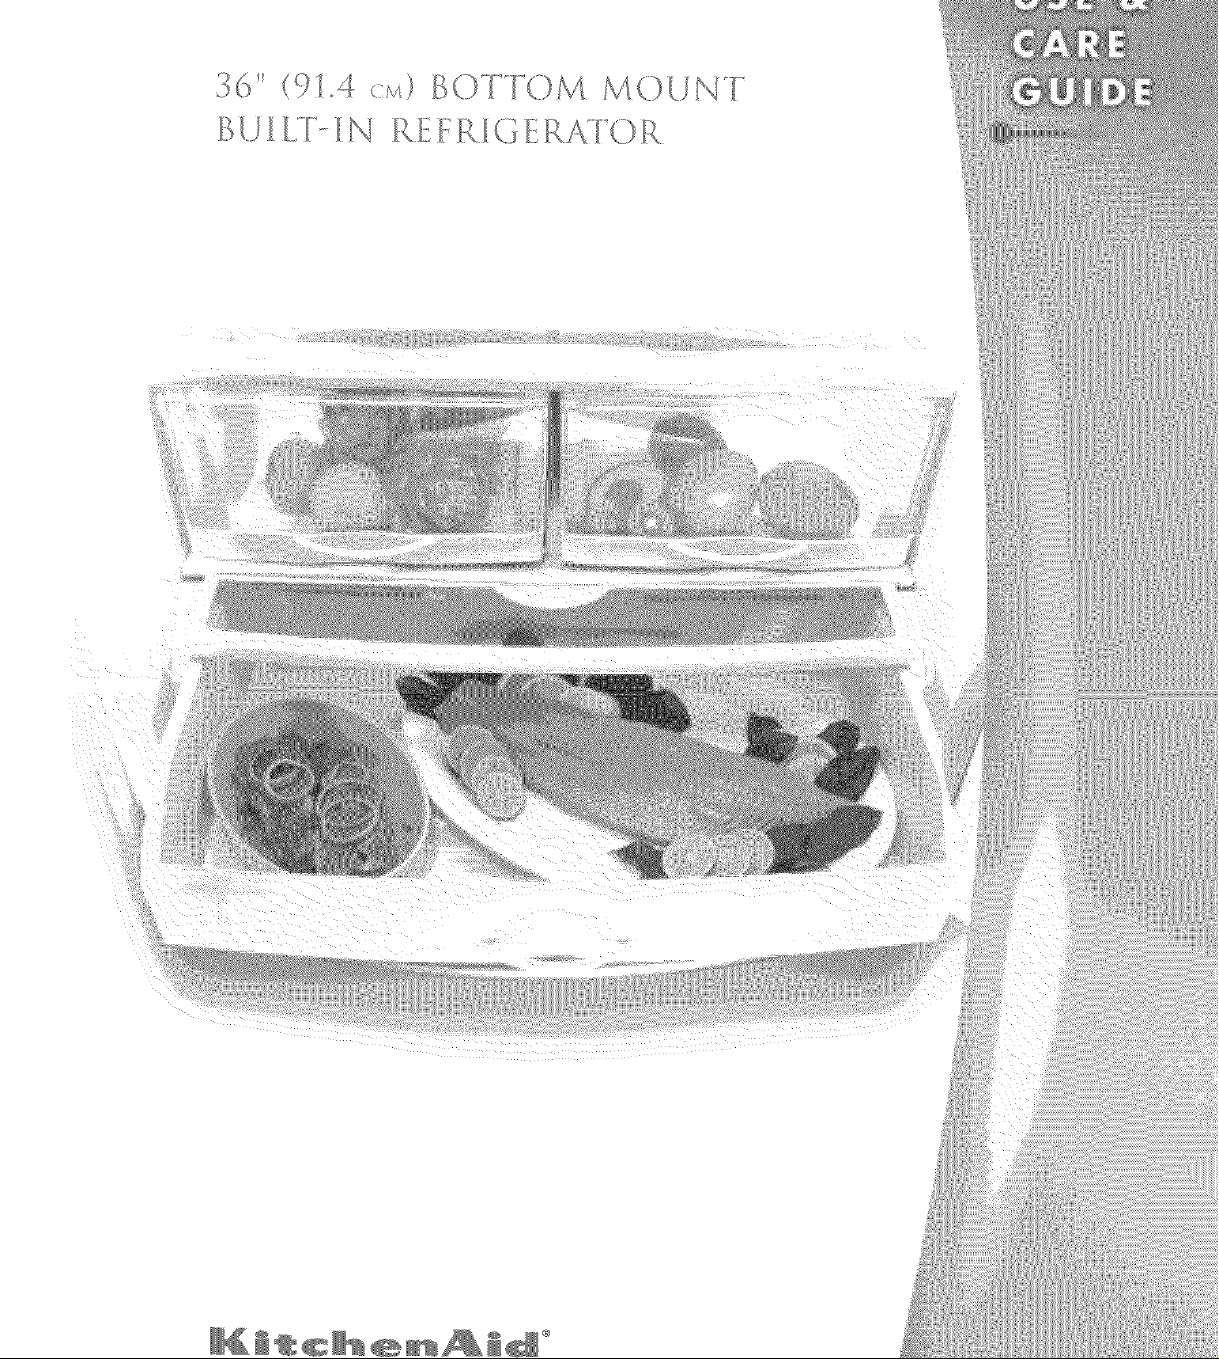
36 (91,4_,:>) B( 1 {.)M MO( N
I_U I I_'l_IN REI::R IG I:!R R
J_
Page
A Note to You ............................................................... 2
Refrigerator Safety ........................................................ 3
Proper disposal of your old refiigerator ................. 3
Parts and Features ........................................................ 4
Using Your Refrigerator ............................................... 5
Removing the lower ventilation panel .................... 5
Removing the upper ventilation panel ................... 5
Using the Power On/Off Switch .......................... 5
ExtendFresh I_'x
Temperature Management System ......................... 6
Setting temperature controls ................................. 6
Light bulbs ........................................................... 6
Refrigerator Features .................................................... 7
Slide 'N' Lock TM Door Bins and
Gallon Door Storage ..................................... 7
SpillClean TM glass refrigerator shelves ..................... 7
FreshChill TM Deli Locker ....................................... 7
ClearVue TM Humidity-controlled crispers ............... 8
ClearVue TM covered egg container ......................... 9
Wine rack .............................................................. 9
Freezer Features .......................................................... 10
Automatic ice maker ............................................ 10
A NOTE TO YOU
I(itchelvMd designs the best tools tbr the most important
room in your house. To ensure that you enjoy years of
trouble-tiee operation, we developed this Use and (;are
Guide. It contains valuable intbrmation about how to
operate and maintain your appliance properly and safely
Please read it carethlly.
Also, please complete and mail the Product Registration
Card provided with your appliance. The card helps us
notifi" you about any new information tbr your appliance.
Write down the tbllowing intbrmation about your
refiigerator to better help you obtain assistance or service
if you ever need it. xkm will need to know your complete
model number and serial number. "k_u can find this
intbrmation on the model and serial number label/plate.
Ifvou need assistance or service, first see the
'@roubleshooting" section of this book. At}er checking
"Troubleshooting," additional help can be fbund by
checking the "Requesting Assistance or Service" section.
lll_÷ss
Solving common ice maker problems ........... 10
Ice maker operating tips .............................. 11
Pull-out fieezer basket ......................................... 12
Base grille ........................................................... 13
Defiost pan ......................................................... 13
Light bulbs ......................................................... 13
Understanding the Sounds You May Hear ................ 14
Saving energy ...................................................... 14
Caring for Your Refrigerator ..................................... 15
Cleaning your refiigerator ................................... 15
Vacation and moving care ................................... 16
Power interruptions ............................................ 16
Food Storage Guide .................................................... 17
Storing fresh tbod ............................................... 17
Storing frozen tbod ............................................. 18
Troubleshooting Guide .............................................. 19
Requesting Assistance or Service ................................ 24
Requesting Assistance or Service in Canada .............. 25
Warranty ...................................................................... 26
I®_¢1%_÷ I%1®
(See the "Parts and Features" section t)r lnodel and serial
number label/plate location.)
Keep this book and your sales slip
together for future reference.
RE FR{GE OK SAFETY
Your safety and the safety of
others is very important,
We have provided many important safety messages
in this manual and on your appliance. Always read
and obey all safety messages.
This is the safety alert symbol. This
symbol alerts you to hazards that can kill
or hurt you and others. All safety
messages will be preceded by the safety alert
symbol and the word "DANGER" or "WARNING".
These words mean:
You will be killed or seriously injured if you don't
follow instructions.
Suffocation Hazard
Remove doors from your old refrigerator.
Failure to do so can result in death or brain
damage.
©
You can be killed or seriously injured if you
don't follow instructions.
All safety messages will identify the hazard, tell you
how to reduce the chance of injury,and tell you
what can happen if the instructions are not
followed.
IMPORTANT SAFETY INSTRUCTIONS
WARNING: To reduce the risk of fire, electrical
shock, or injury when using your refrigerator,
follow these basic precautions:
• Plug into grounded 3-prong outlet.
• Do not remove ground prong.
• Do not use an adapter.
• Do not use an extension cord.
• Disconnect power before servicing.
• Remove doors from your old refrigerator.
• Use nonflammable cleaner only.
• Do not install the refrigerator near an oven,
radiator, or other heat source.
• Keep flammable materials and vapors, such as
gasoline, away from refrigerator.
• Use two or more people to move or install
refrigerator.
• Unplug refrigerator before installing ice maker.
IMPORTANT: Child entrapment and suftbcation are
not problems of the past. Junked or abandoned
refiigerators are still dangerous.., even if they will sit tbr
"just a ti:w days." If you are getting rid of your old
refiigerator, please tbllow the instructions below to help
prevent accidents.
N@N @N NNNNXNNo
• Take off the doors.
• Leave the shelves in place so that children may not
easily climb inside.
- SAVE THESE INSTRUCTIONS -
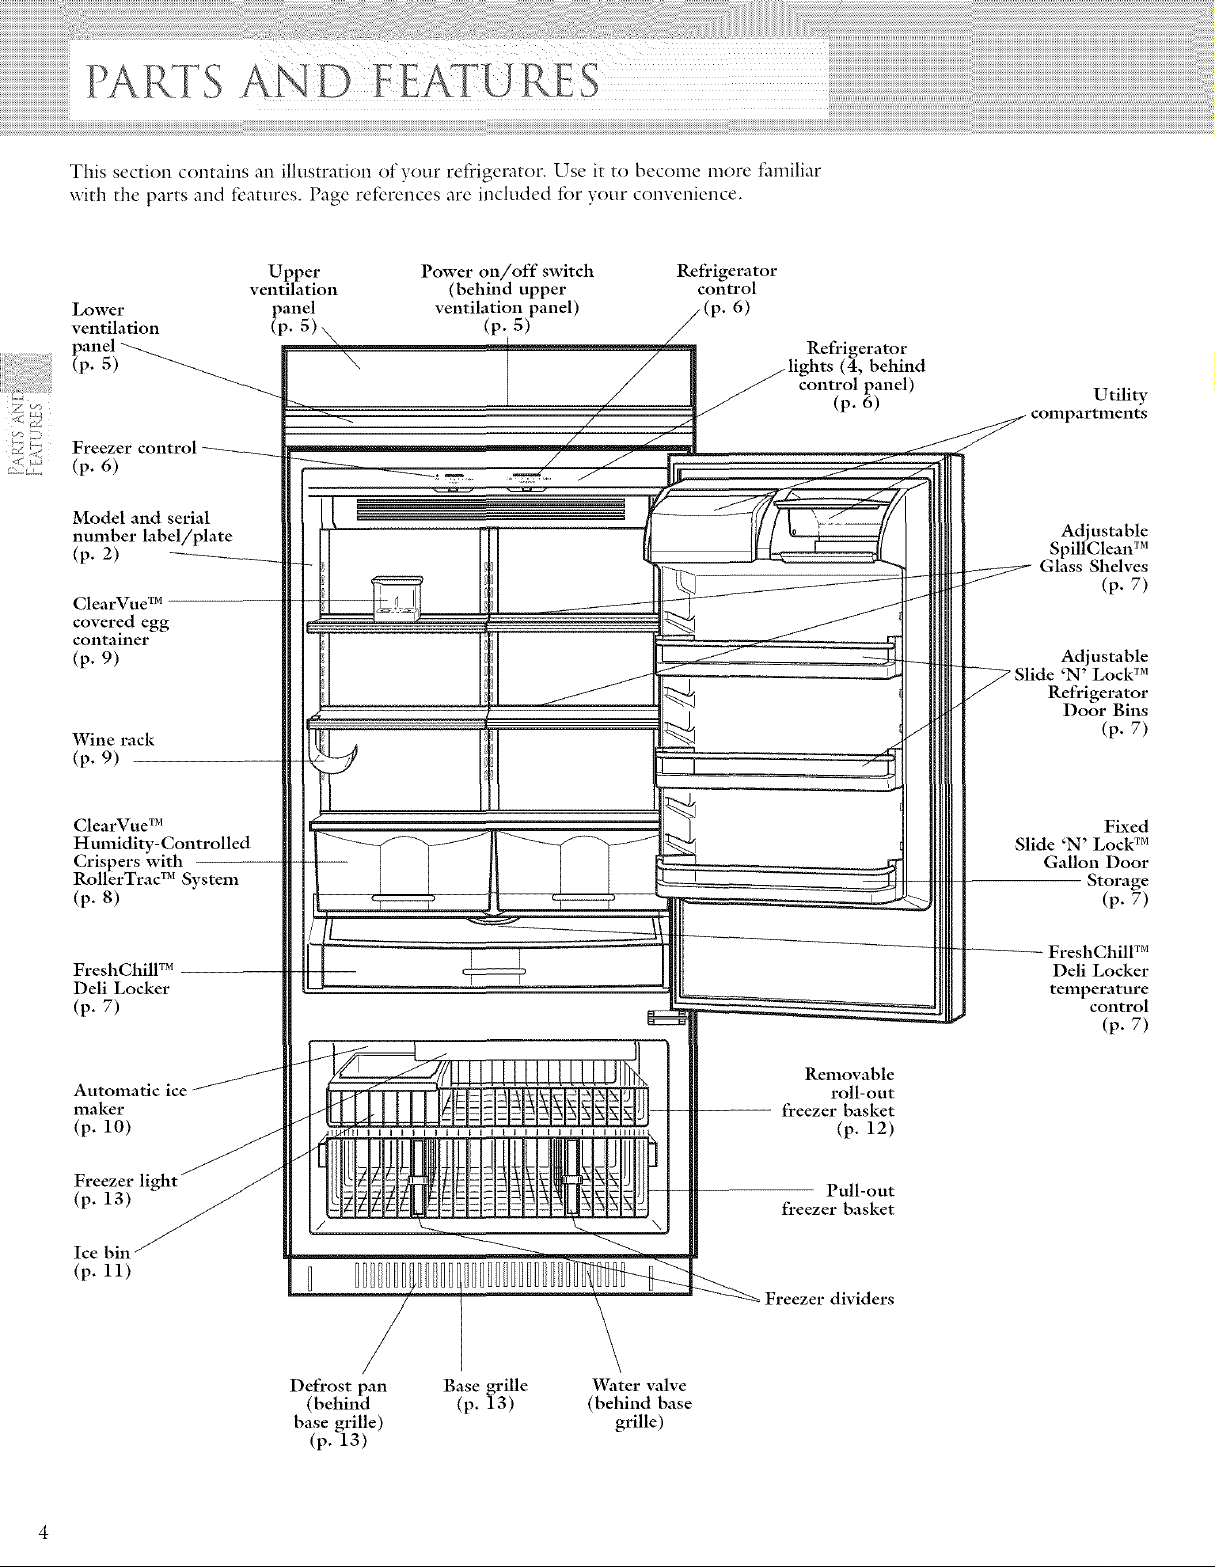
This section contains an illusmttion of your refrigerator, Use it to become more familiar
with the parts and fcatures. Page references are included tbr your convenience,
Lower
ventilation
panel
(p. 5)
Model and serial
number label/plate
(p. 2)
ClearVue TM
covered egg
container
(p. 9)
Wine rack
(p. 9)
ClearVuC M
Humidity-Controlled
Crispers with
RollerTrac TM System
(p. 8)
Upper
ventilation
anel
Power on/off switch Refrigerator
(behind upper conn'ol
ventilation panel) _. 6)
(p. 5)
Refrigerator
(4, behind
control panel)
(p. 6)
Utility
Adjustable
SpillClean TM
Glass Shelves
(p. 7)
Adjustable
'N' Lock TM
Refrigerator
Door Bins
(p. 7)
Slide 'N' Lock TM
Fixed
Gallon Door
Storage
(p. 7)
FreshChill TM
Deli Locker
(p. 7)
Automatic ice
maker
(p. 10)
Freezer light
(p. 13)
Ice bin
(p. 11)
/
Defrost pan Base grille
(behind (p. 13)
base grille)
(p. 13)
\
Water valve
(behind base
grille)
Removable
roll-out
freezer basket
(t'. 12)
Pull-out
freezer basket
Freezer dividers
FreshChill TM
Deli Locker
temperature
control
(p. 7)
________________________________________________________________________________
u NG
To obtain the best possible results ti'om your refrigerator,
it is important that you operate it properly. This section
tells you how to set the controls, remove and adjust the
features in your refrigerator, and how to save energy.
Electrical Shock Hazard
Plug into a grounded 3-prong outlet.
Do not remove ground prong.
Do not use an adapter.
Do not use an extension cord.
Failure to follow these instructions can result in
death, fire, or electrical shock.
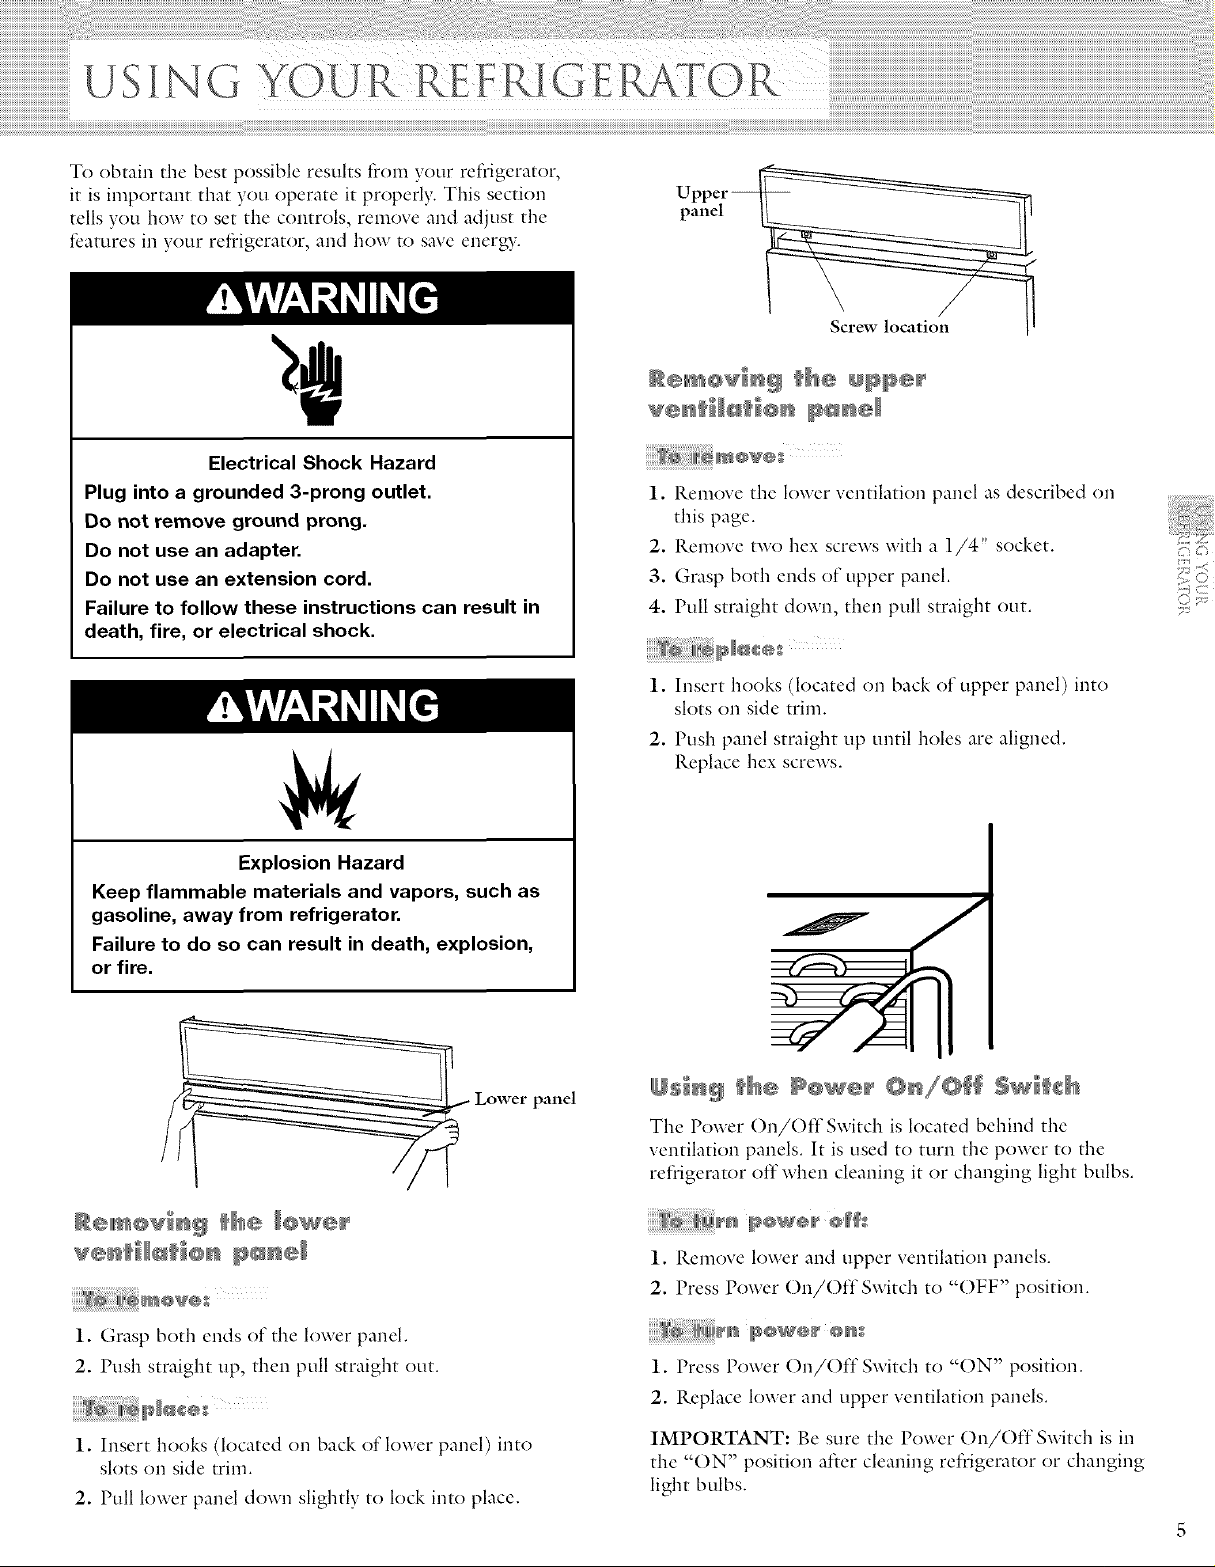
Upper A
panel
I. Remove the lower ventilation panel as described on
this page.
2. Remove two hex screws with a 1/4" socket.
3. Grasp both ends of upper panel.
4. Pull straight down, then pull straight out.
1. Insert hooks (located on back of upper panel) into
slots on side trim.
2. Push panel straight up until holes are aligned.
Replace hex screws.
Explosion Hazard
Keep flammable materials and vapors, such as
gasoline, away from refrigerator.
Failure to do so can result in death, explosion,
or fire.
Lower panel
1. Grasp both ends of the lower panel,
2. Push straight up, then pull straight out.
1. Insert hooks (located on back of lower panel) into
slots on side trim.
2, Pull lower panel down slightly to lock into place,
The Power On/Off Switch is located behind the
ventilation panels. It is used to turn the pouer to the
refiigerator off when cleaning it or changing light bulbs.
1. Remove lower and upper ventilation panels.
2. Press Power On/Off Switch to "()FF" position.
1. Press Power ()n/()ff Switch to "()N" position.
2. Replace lower and upper ventilation panels.
IMPORTANT: Be sure the Power On/Off Switch is in
the "ON" position after cleaning refrigerator or changing
light bulbs.
iiiiiiiiiiiiiiiiiiiiiiiiiiiiiiiiiiiiiiiiiiiiiiiiiiiiiiiiiiiiiiiiiiiiiiiiiiiiiiii
us.lncYOuRRE E o
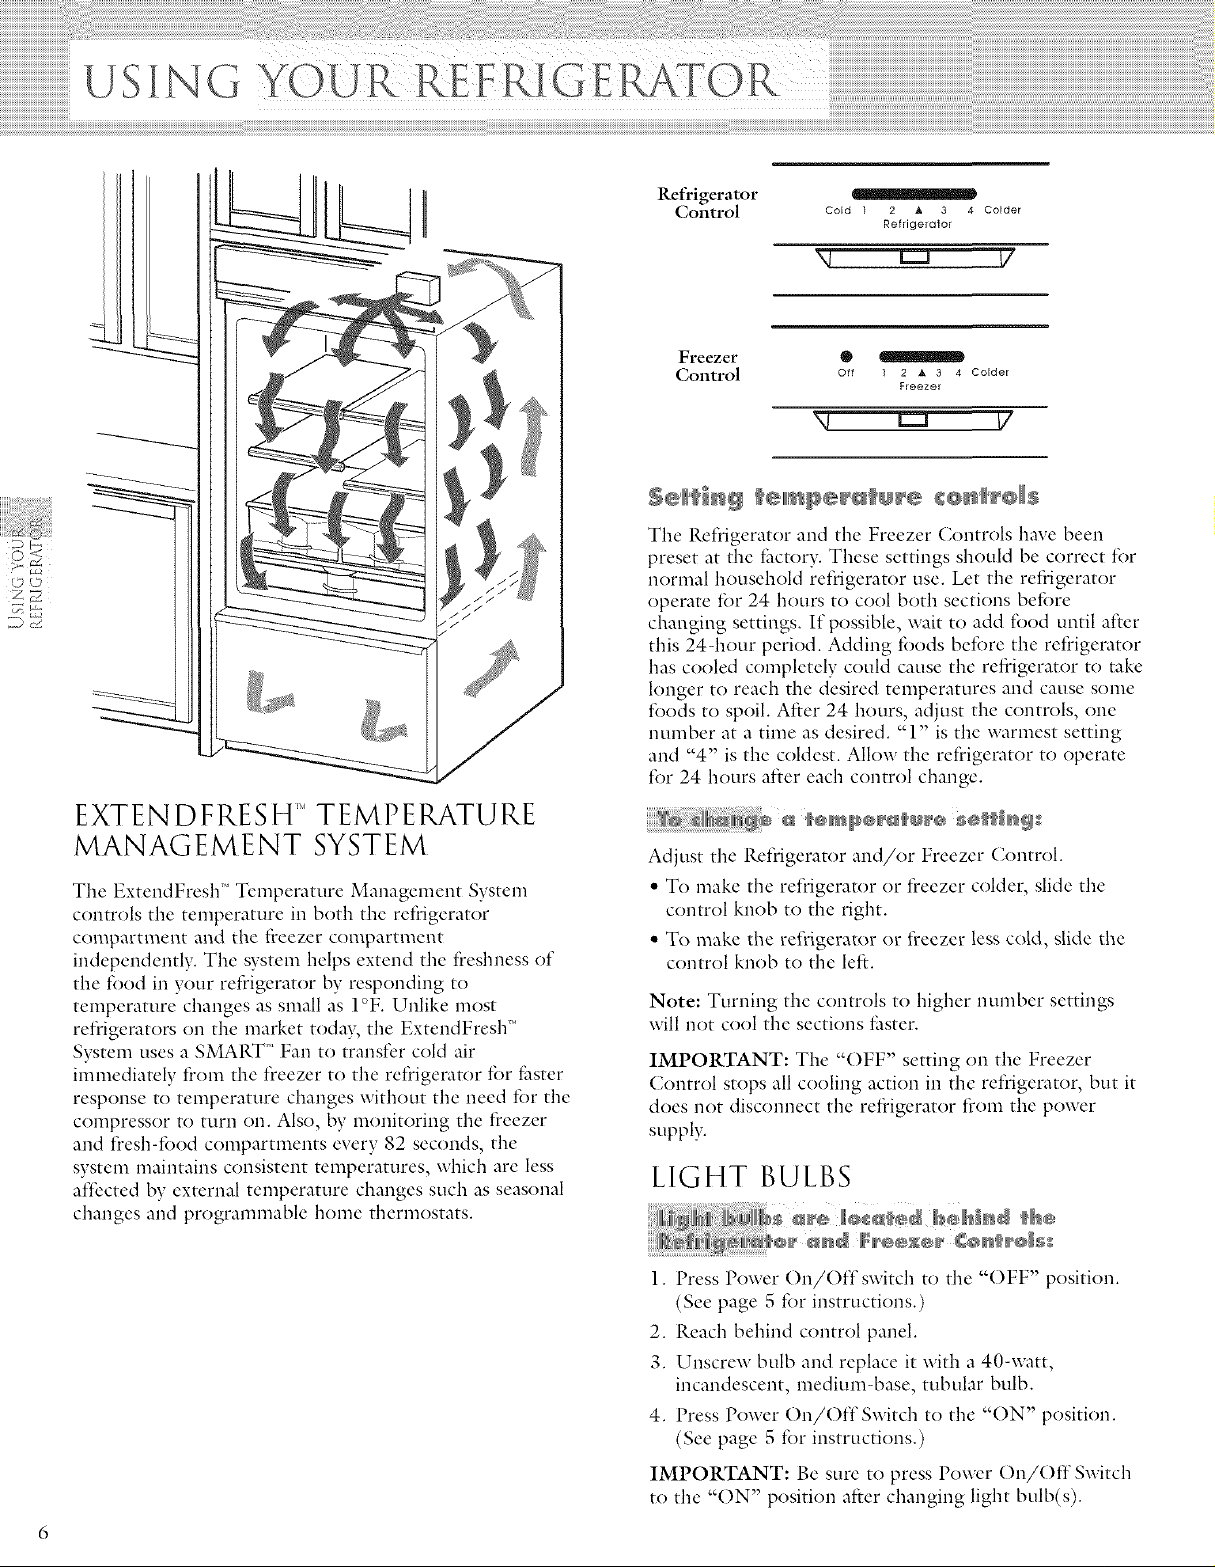
Re@igerator
Control Cold 1 2 A 3 4 Colder
Refrigerator
'4 ' ' I/
2....._
//
,//
EXTEN D FRES H TEMPE RATU RE
MANAGEMENT SYSTEM
The ExtendFresh" Temperature Management System
connols the temperature in both the refrigerator
compartment and the fieezer compartment
independently. The system helps extend the fi'eshness of
the food in your refrigerator by responding to
temperature changes as small as I°F. Unlike most
refiigerators on the market today,, the ExtendFresh"
System uses a SMAll.T" Fan to transfer cold air
immediately ti'om the tieezer to the retiqgerator tbr fhster
response to temperature changes without the need tbr the
compressor to turn on. Also, by monitoring the freezer
and ffesh-fbod compartments every 82 seconds, the
system maintains consistent temperatures, which are less
affected by external temperature changes such as seasonal
changes and programmable home thermostats.
Freezer •
CoNtrol off 1 2 at 3 4 Colder
The Refrigerator and the Freezer Controls have been
preset at the thctory. These settings should be correct for
normal household refrigerator use. Let the reti'igerator
operate tbr 24 hours to cool both sections befbre
changing settings. If possible, wait to add food until after
this 24-hour period. Adding tbods betbre the refrigerator
has cooled completely could cause the refiqgerator to take
longer to reach the desired temperatures and cause some
foods to spoil. Afrer 24 hours, adjust the controls, one
number at a time as desired. "1" is the warmest setting
and "4" is the coldest. Allow the refrigerator to operate
for 24 hours alter each control change.
Adjust the Refrigerator and/or Freezer Control.
• To make the refrigerau)r or freezer colder, slide the
control knob to the right.
• To make the rei_igerator or freezer less cold, slide the
control knob to the left.
Note: Turning the controls to higher number settings
will not cool the sections fhster.
IMPORTANT: The "()FF" setting on the Freezer
Control stops all cooling action in the refrigerator, but it
does not disconnect the reti'igerator ti'om the power
supply.
Freezer
LIGHT BULBS
l. Press Power On/Off switch to the "()FF" position.
(See page 5 tbr instructions.)
2. Reach behind control panel.
3. Unscrew bulb and replace it with a 40-watt,
incandescent, medium-base, tubular bulb.
4. Press Power On/()ffSwitch to the "()N" position.
(See page 5 tbr instructions.)
IMPORTANT: Be sure to press Power ()n/()ff Switch
to the "()N" position aider changing light bulb(s).
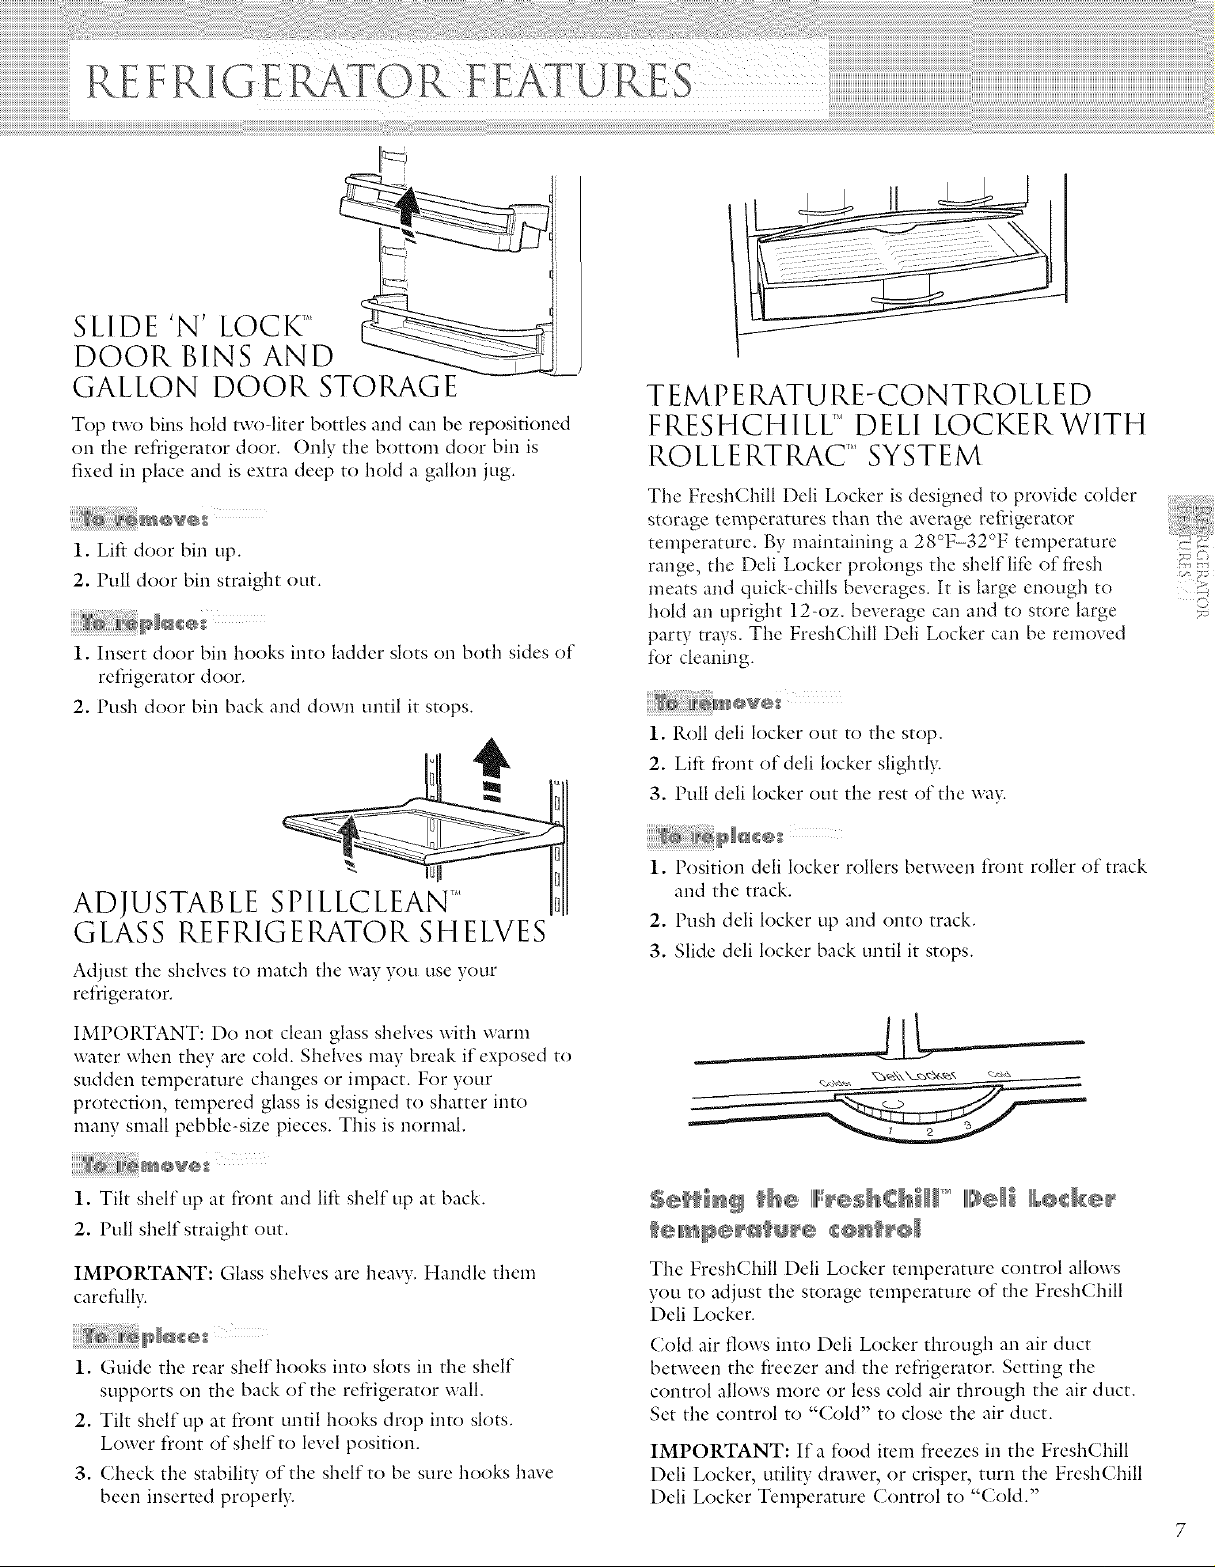
SLIDE 'N' LOCK ',:
DOOR BINS AND
GALLON DOOR STORAGE
Top tx_o bins hold Bvo-liter bottles and can be repositioned
on the refrigerator door. ()nly the bottom door bin is
fixed in place and is extra deep to hold a gallon jug.
1. Lift door bin up.
2. Pull door bin straight out.
1. Insert door bin hooks into ladder slots on both sides of
refrigerator door,
2. Push door bin back and down until it stops.
lira
ADJUSTABLE SPILLCLEAN
GLASS REFRIGERATOR SHELVES
Adjust the shelves to match the way you use your
refrigerator,
TEMPERATURE-CONTROLLED
FRESHCHILU DELl LOCKERWITH
ROLLE RTRAC SYSTEM
Tile FreshChill Deli Locker is designed to provide colder iiili%c_
storage temperatures than the average refrigerator
temperature. By maintaining a 28°F-32°F temperature 0-:*
range, tile Deli Locker prolongs tile shelf life of ti'esh ........
meats and quick-chills beverages. It is large enough to _££_
hold an upright ]2-oz. beverage can and to store large <
party trays. The FreshChill Deli Locker can be removed
for cleaning.
1. Roll deli locker out to the stop.
2. Lift front of deli locker slightly.
3. Pull deli locker out the rest of the wa>
1. Position deli locker rollers between front roller of track
and the track.
2. Push deli locker up and onto track.
3. Slide deli locker back until it stops.
£ )f5
IMPORTANT: Do not clean glass shelves with warm
water when they are cold. Shelves may break if exposed to
sudden temperature changes or impact. For your
protection, tempered glass is designed to shatter into
many small pebble-size pieces. This is normal.
P }£8¸¸¸¸¸¸¸}ii;ii}[¢Lii
1. Tilt shelf up at front and lift shelf up at back.
2. Pull shelf straight out.
IMPORTANT: Glass shelves are heavy. Handle them
caretiAlv.
1. Guide the rear shelf hooks into slots in the shelf
supports on the back of the refrigerator wall.
2. Tilt shelf up at front until hooks drop into slots.
Lower front of shelf to level position.
3. Check the stability of the shelf to be sure hooks have
been inserted properly.
The FreshChill Deli Locker temperature control allows
you to adjust the storage temperature of the FreshChill
Dell Locker.
Cold air flows into Deli Locker through an air duct
between the freezer and the refrigerator. Setting the
control allows more or less cold air through the air duct.
Set the control to "Cold" to close the air duct.
IMPORTANT: If a food item freezes in the FreshChill
Deli Locker, utility drawer, or crisper, turn the FreshChill
Deli Locker Temperature Control to "Cold."
iiiiiiiiiiiiiiiiiiiiiiiiiiiiiiiiiiiiiiiiiiiiiiiiiiiiiiiiiiiiiiiiiiiiiiiiiiiiiiiiiiiiiiiiiiiiiiiiiiiiiiiiiiiiiiiiiiiiiiiiiiiiiiiiiiiiiiiiiiiiiiiiiiiiiiiiiiiiiiiiiiiiiiiiiiiiiiiiiiiiiiiiiiiiiiiiiiiiiiiiiiiiiiiiiiiiiiiiiiiiiiiiiiiiiiiiiiiiiiiiiiiiiiiiiiiiiiiiiiiiiiiiiiiiiiiiiiiiiiiiiiiiiiiiiiiiiiiiiiiiiiiiiiiiiiiiiiiiiiiiiiiiiiiiiiiiiiiiiiiiiiiiiiiiiiiiiiiiiiiiiiiiiiiiiiiiiiiiiiiiiiiiiiiiiiiiiiiiiiiiiiiiiiiiiiiiiiiiiii i i i i i i i i i!i!i!i!i!i!i!i!i!iiiiiiiiiiiiiiiiiiiiiiii i i
iiiiiiiiiiiiiiiiiiiiiiiiiiiiiiiiiiiiiiiiiiiiiiiiiiiiiiiiiiiiiiiiiiiiiiiii
CLEARVUE ]" HUMI DITY-
CONTROLLED CRISPERS WITH
ROLLE RTRAC SYSTEM
The humiditv-controlled crispers are designed to keep
fresh vegetables and fruits longer. The crisper controls are
located on the front of the crisper shelves. The controls
adjust the humidity (moisture) in the drawers. Slide
control to "HIGH" tbr lettuce, cabbage and other
produce with leaves. Slide control to "LOW" fbr apples,
pears and other produce with skins.
The humiditv-controlled crispers are interchangeable.
The ClearVue areas allow you to see into the crispers
without opening them.
____
Center
support
t,
1. Roll crisper out It) the stop.
2, Lift front of crisper and pull out the rest of the way,
1. Place rear crisper rollers into front of track.
2. Push crisper straight back.
IMPORTANT: Occasionally; a tbod item may freeze in
the FreshChill '_'Deli Locker, utility drawer, or crisper.
When this occurs, turn the FreshChill Deli Locker
temperature control to "cold."
1. Remove tbod from crisper cover,
2. Pull both crispers out about tbur inches,
3. Reach under the glass shelf with both hands and lift
gently upwards until back of shelf is free,
4. Tilt shelf at an angle and remove shelf from refrigerator
being careful not r(} bump glass,
1. Holding glass shelf firmly with both hands, tilt shelf at
an angle and position it above support rails.
2. Place shelf gently on support rails on side wall.
3. Replace food on crisper cover.
 Loading...