

Kirisun Communication PT6700 User Manual

Two-way Radio
User Manual
Model: PT6700
FCC ID:
Q5EPT6700
Kirisun Communications Co., Ltd
Content
1. Unpacking and Checking
2. Preparation
2.1 Charging the Battery
2.2 Installing/Removing the Battery
2.3 Installing the Antenna
2.4 Installing the External Speaker/Microphone
2.5 Installing the Belt Clip
3. Radio Overview
4. Basic Operation
5. Functions of Programmable Buttons
6. Auxiliary Functions
7. Scan
8. Wired Clone Mode
8. Troubleshooting
9. Specifications
10. FCC Notice
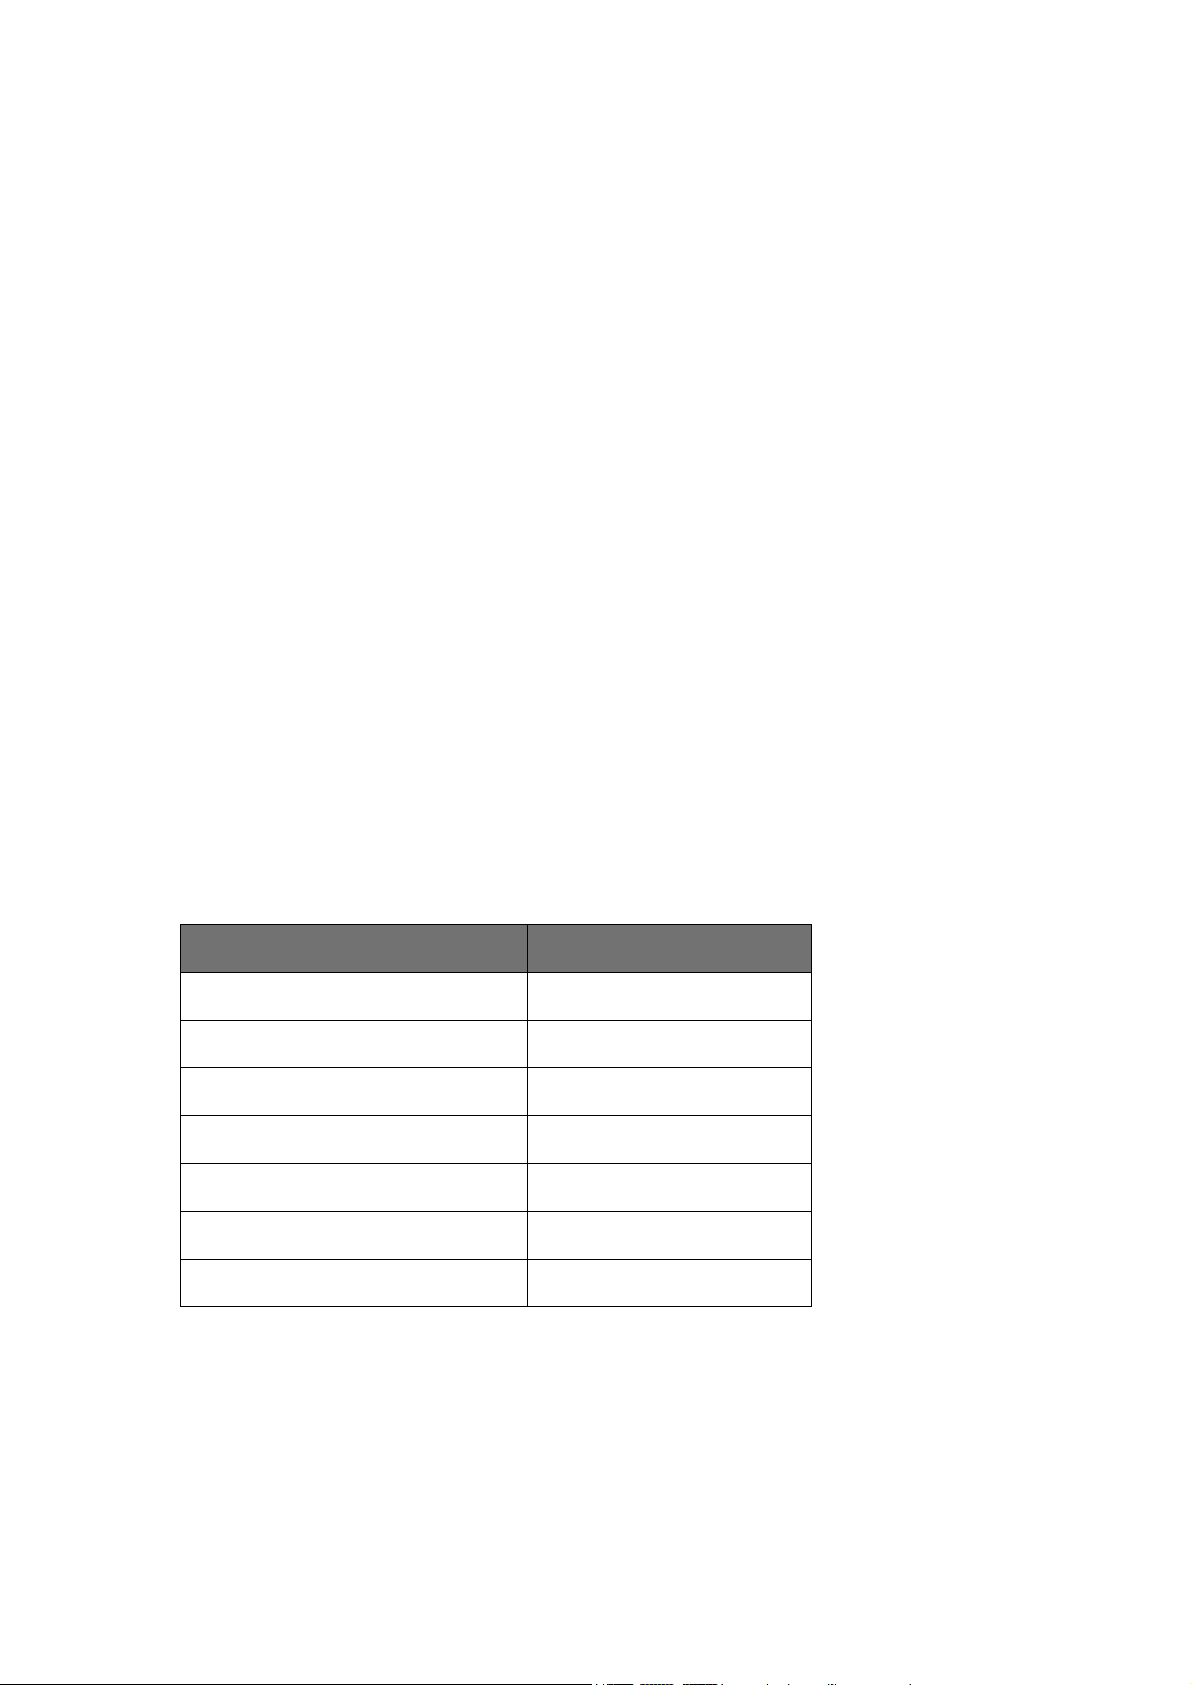
1. Unpacking and Checking
Unpack the radio carefully. We recommend that you check the radio and the supplied
accessories listed in the following table before discarding the packing material. If any damage or
loss has occurred during shipment, please contact the dealer without delay.
Supplied Accessories
Item Quantity
Antenna 1
Battery 1
Belt Clip 1
Charger 1
Power Adapter 1
Hand Strap 1
Instruction Manual 1
2. Preparation
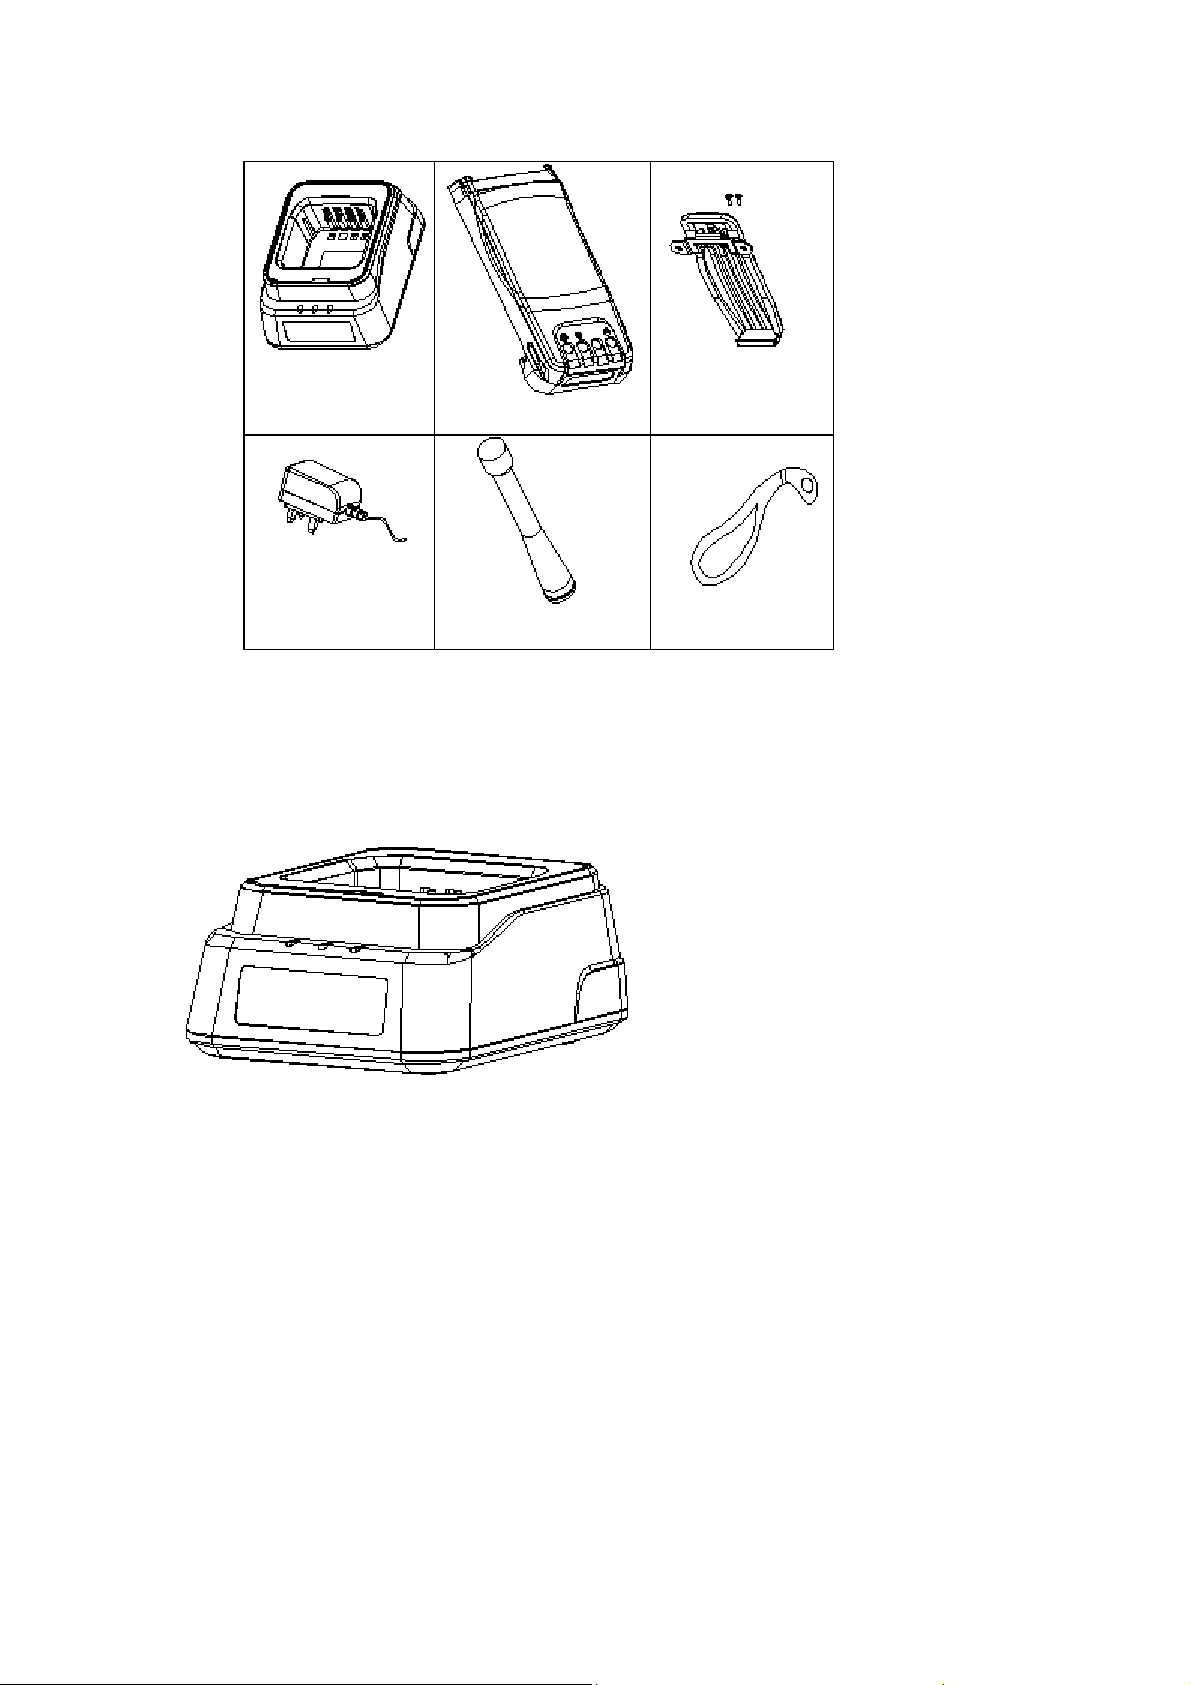
2.1 Charging the Battery
Plug the adapter into an applicable AC outlet and connect the power adapter to the battery
charger. Three LED indicators light up for 1s and then green LED lights up.
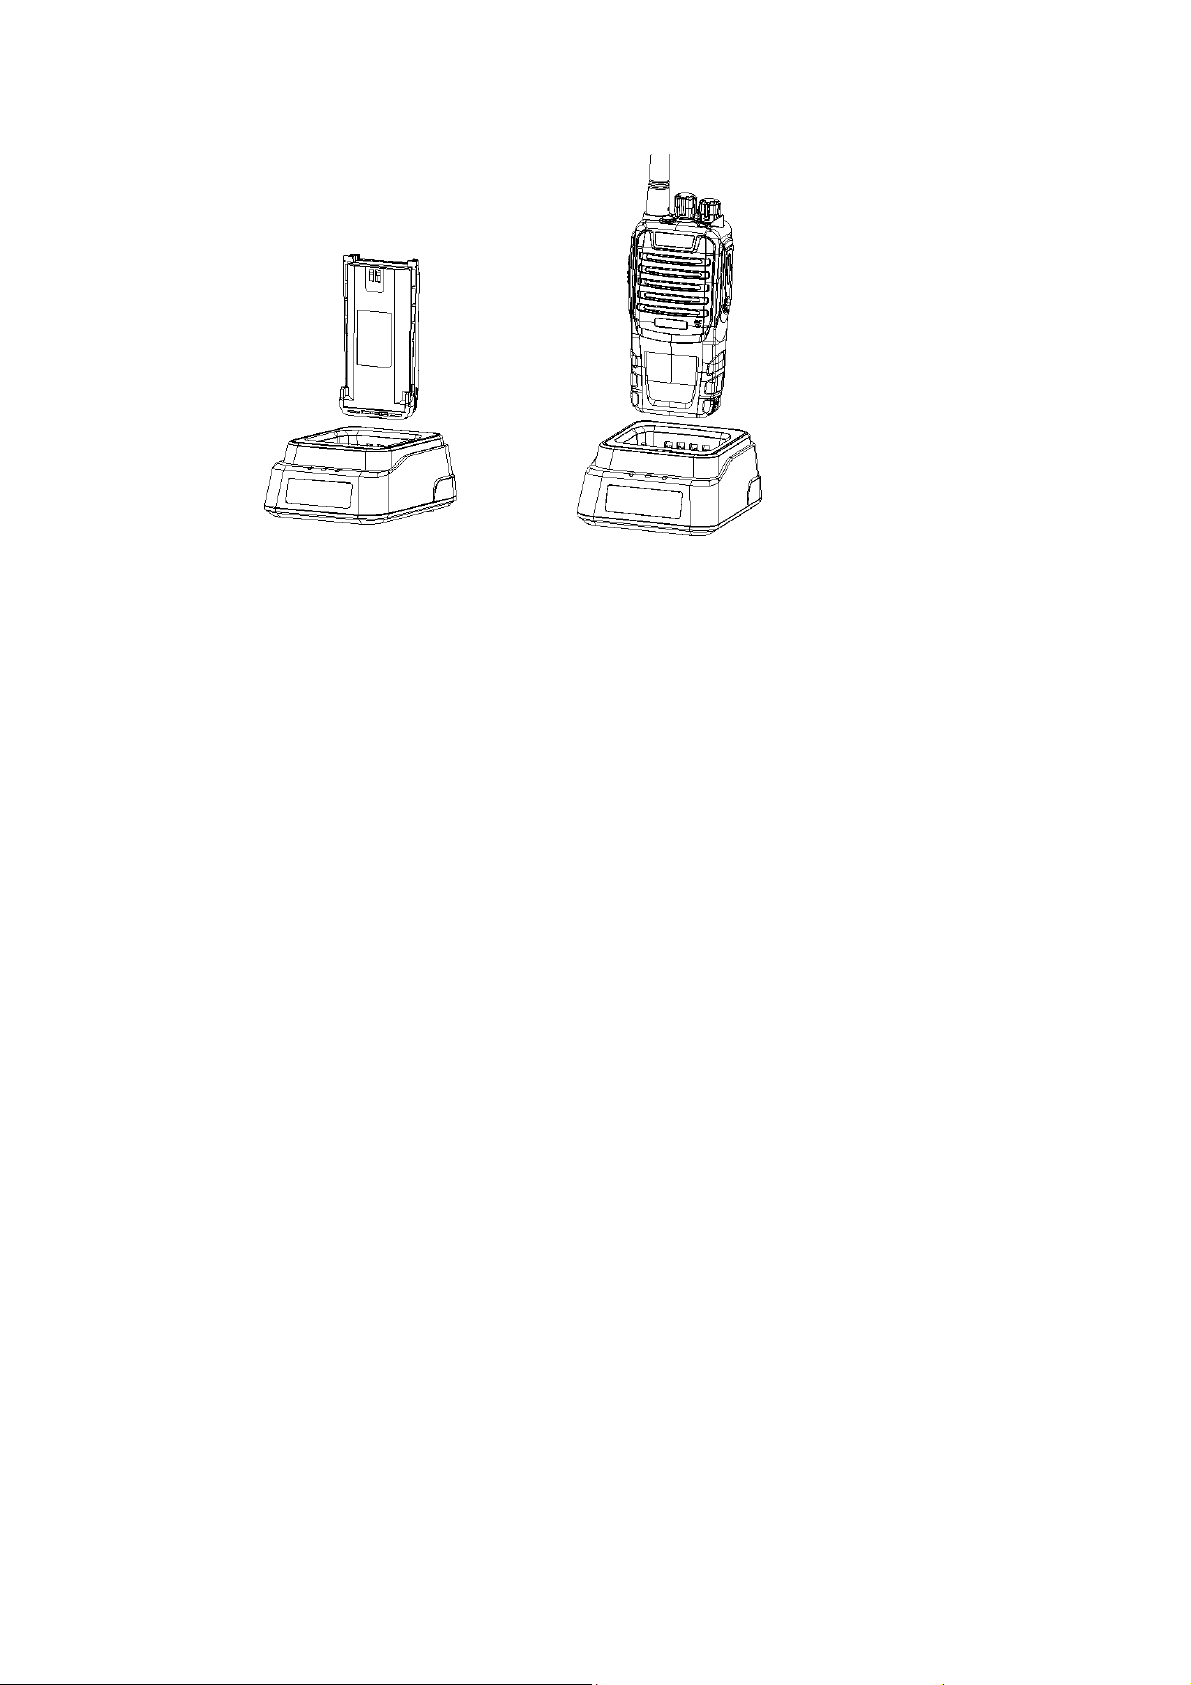
Plug the battery or radio into the charger slot, and make sure the radio has been turned off.
Make sure the battery is well connected with the charger. Then red LED lights up, which
indicates that the charging starts.
After about 5 hours of charging, red LED lights off, and green LED lights up. This indicates
that the battery is fully charged.
Before taking out the battery, keep it in this state for 1~2 hours to achieve its best performance.
Then plug off the adapter from AC outlet.
If the temperature or the circuit is abnormal, and the LED flashes yellow, the charger enters
protection mode. At this moment, do not charge the battery by force. Please remove the battery
and cut off the power supply of the charger.
Note:
* The radio battery is not fully charged in the factory. Before the initial use, please charge the new
battery.
* KB-56A Li-poly battery/KB-56B Li-poly battery of Kirisun is applicable to this radio.
* When charging the battery for the first time after purchase or long-time storage (over 2 months),
please repeat charging several times for the battery to achieve normal capacity. Meanwhile, please
make sure the battery is charged at least once every three months.
* Do not recharge the battery if it has been fully charged or the radio is not in the low battery
alarm state; otherwise, it will have bad effects on the battery’s service life and performance.
Remove the battery from the charger after charging.
* When the radio is in the low battery alarm state, please recharge the battery before use. Do not
turn the radio power on by force; otherwise, it will have bad effects on its service life and
performance.
* KB-56A/KB-56B has built-in protection circuit. When the battery voltage is too low, the battery
stops supplying power automatically. Plug the battery into the charger, red LED lights up after 1~5
minutes, and the charging begins.
2.2 Installing/Removing the Battery
Installing the Battery:
Press and hold the top of the belt clip; match the battery with the two slots on the radio and
push forward until a click is heard. Then the battery is fixed.
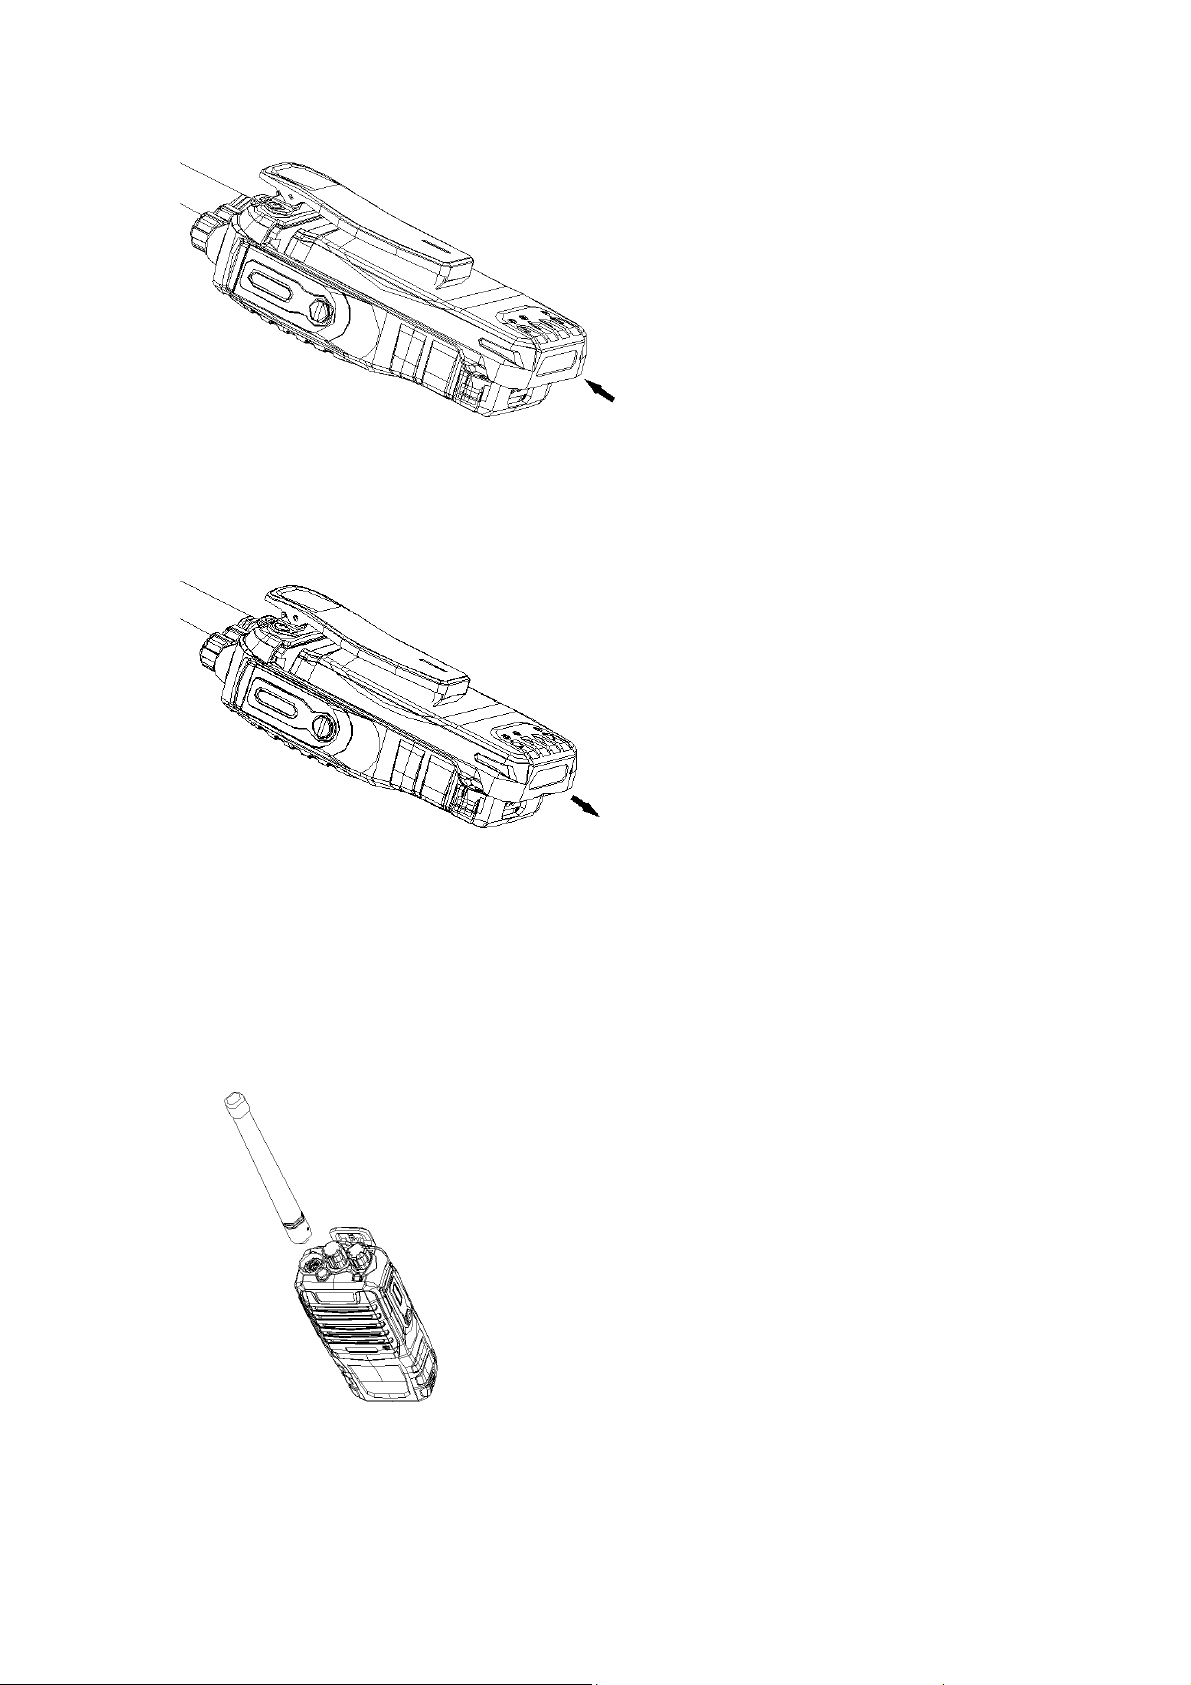
Removing the battery
Press down the battery latch, and push the battery pack downwards until it separates from the
radio.
Note:
* Do not short-circuit the battery terminals or dispose battery in fire.
* Do not disassemble the battery casing by yourself.
2.3 Installing the Antenna
Hold the bottom of the antenna and turn the antenna clockwise into the connector on the top of
the radio until secure.
2.4 Installing the External Speaker/Microphone
Open the cover for external speaker/microphone jack, and then insert the external
speaker/microphone plug into the jack on the radio.
 Loading...