

Kidco G4100, G4110, G4111, G4101 User Manual
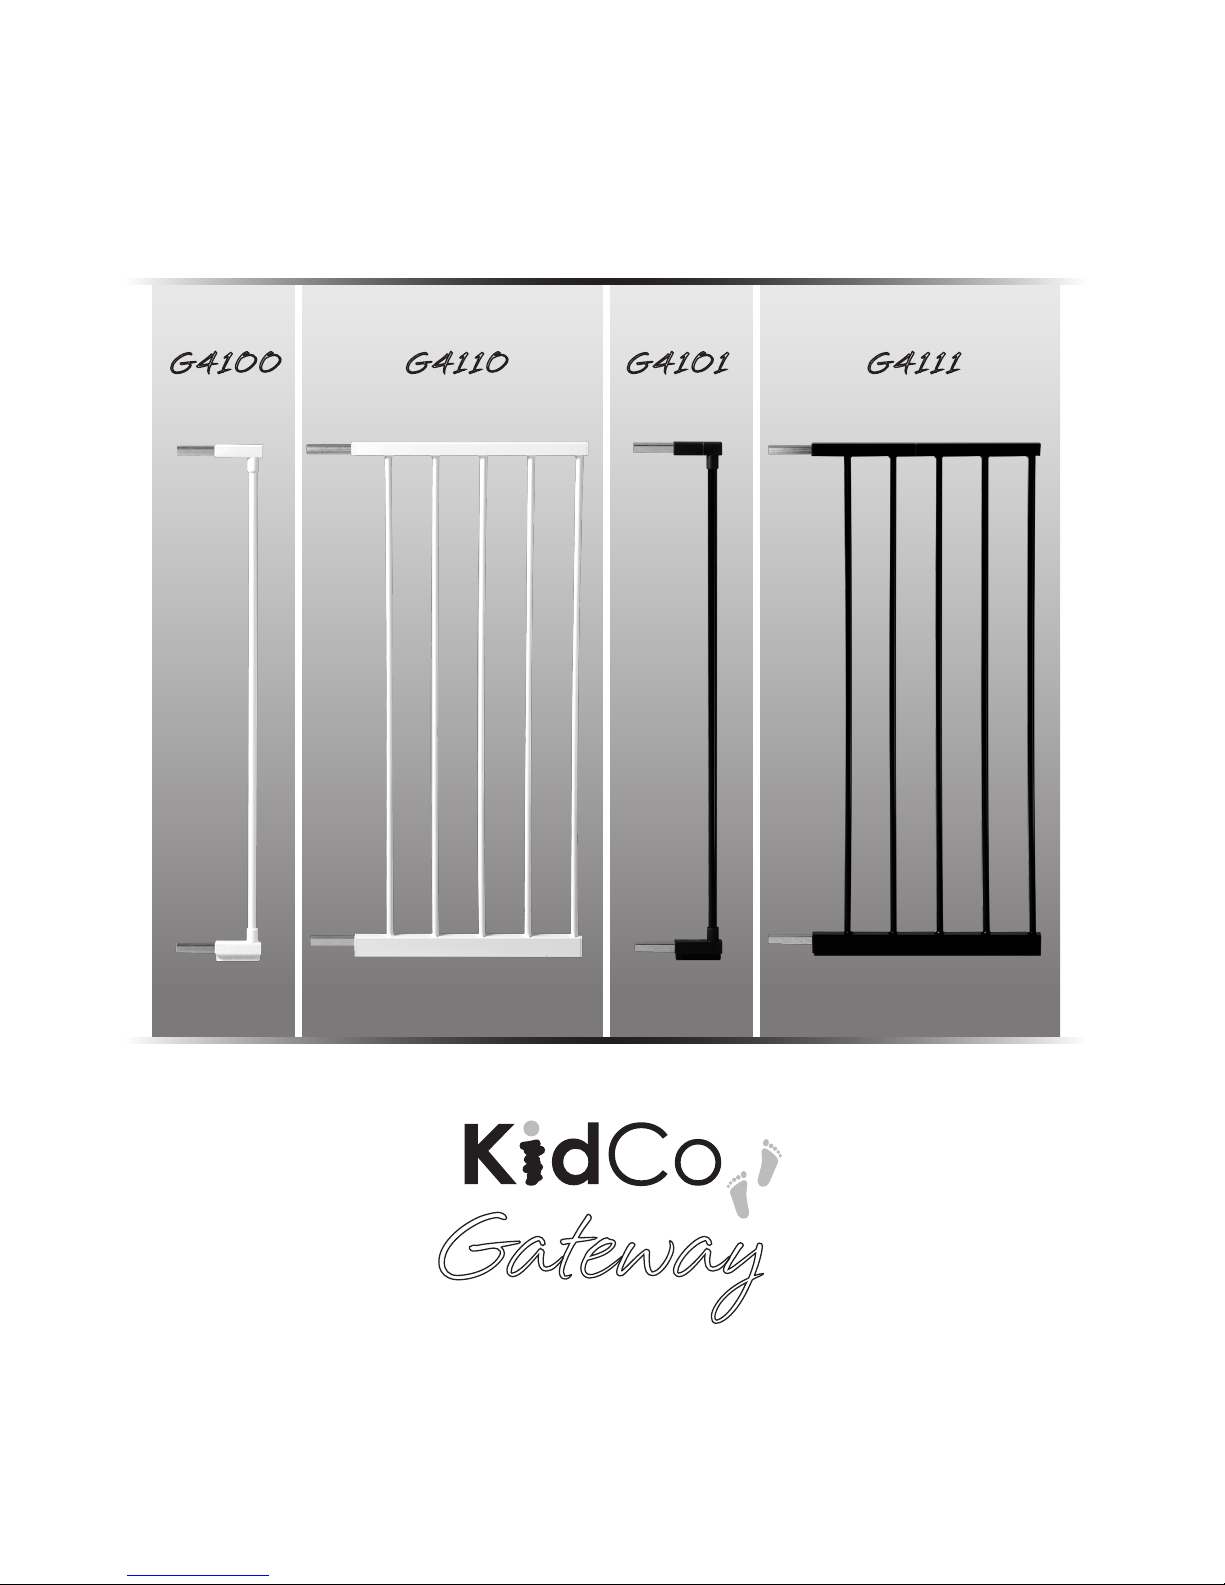
G4111G4110G4100 G4101
USER
GUIDE
®
Gateway
EXTENSION KITS
®
C3
C2
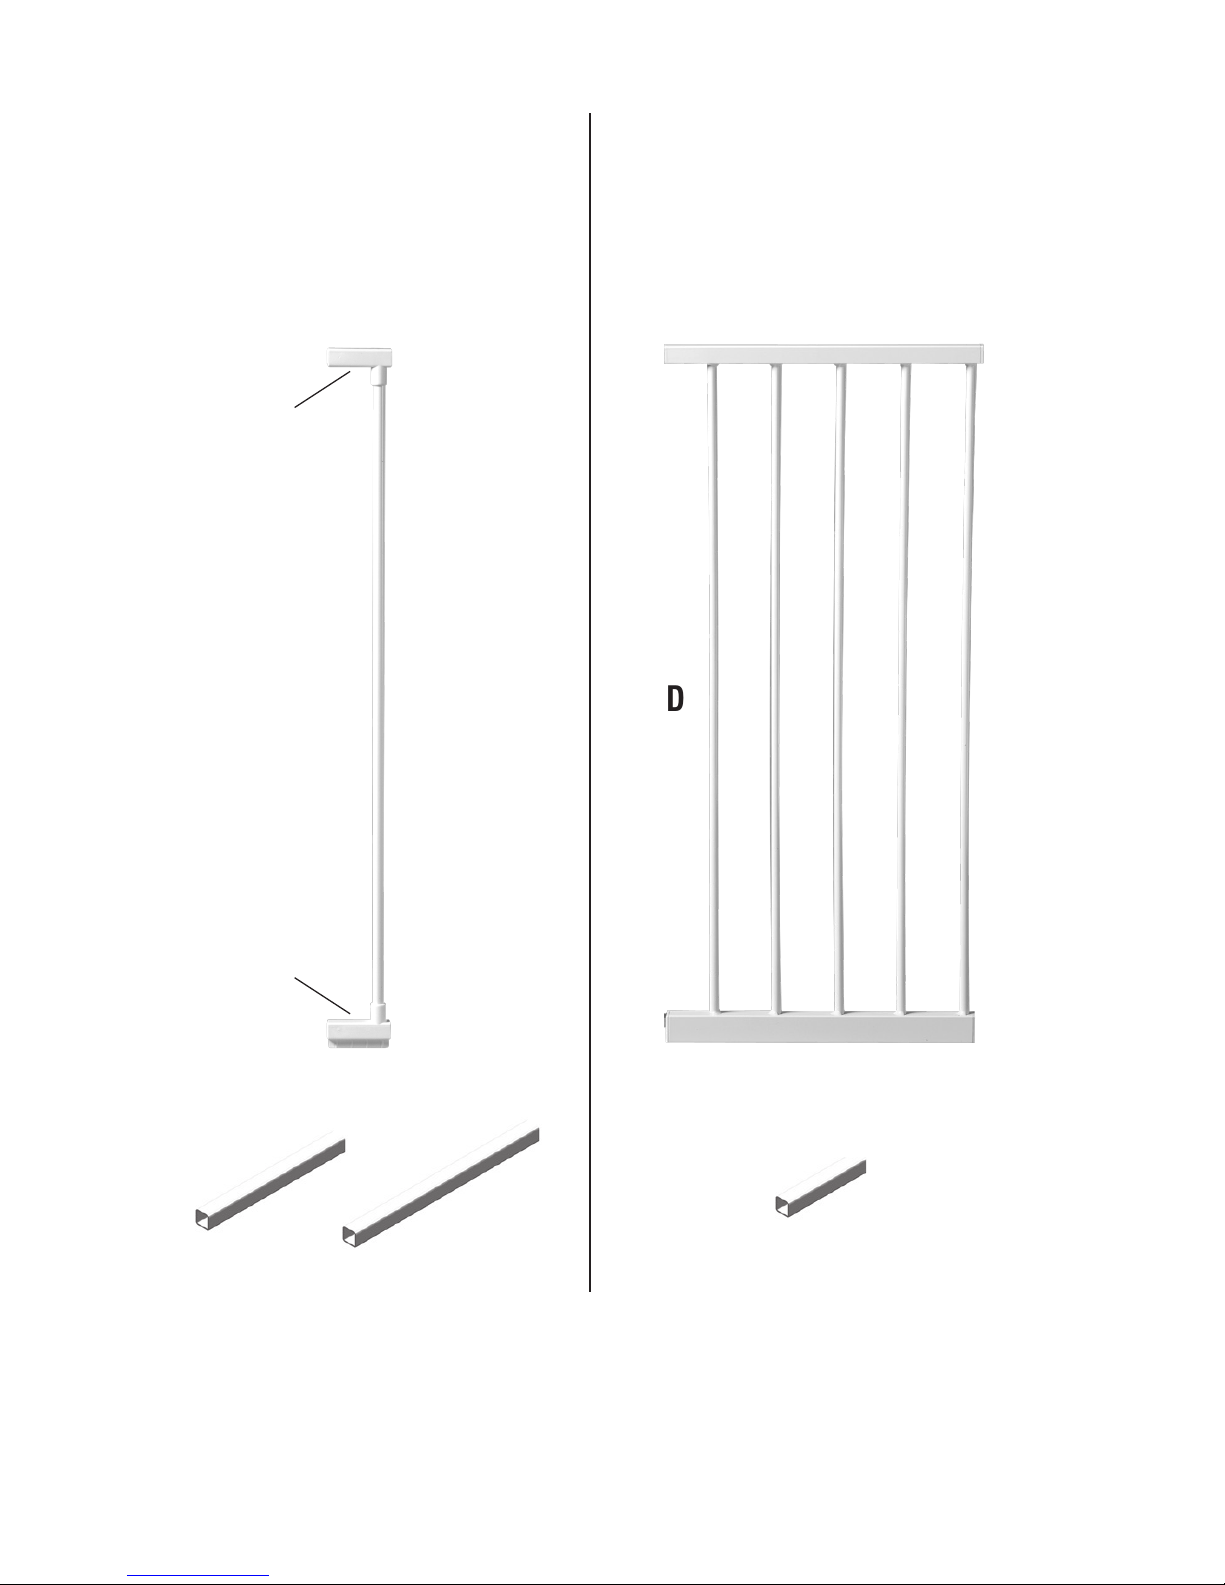
Parts list G4100/G4101
A Upper Extension Housing (2)
B Lower Extension Housing (2)
C1 Extension Tube 7 7/8” (2)
C2 Extension Tube 10 1/2” (2)
D Extension Bar (2)
Parts list G4110/G4111
C3 Extension Tube 4 3/4” (2)
D Extension
C1
D
A
B
D
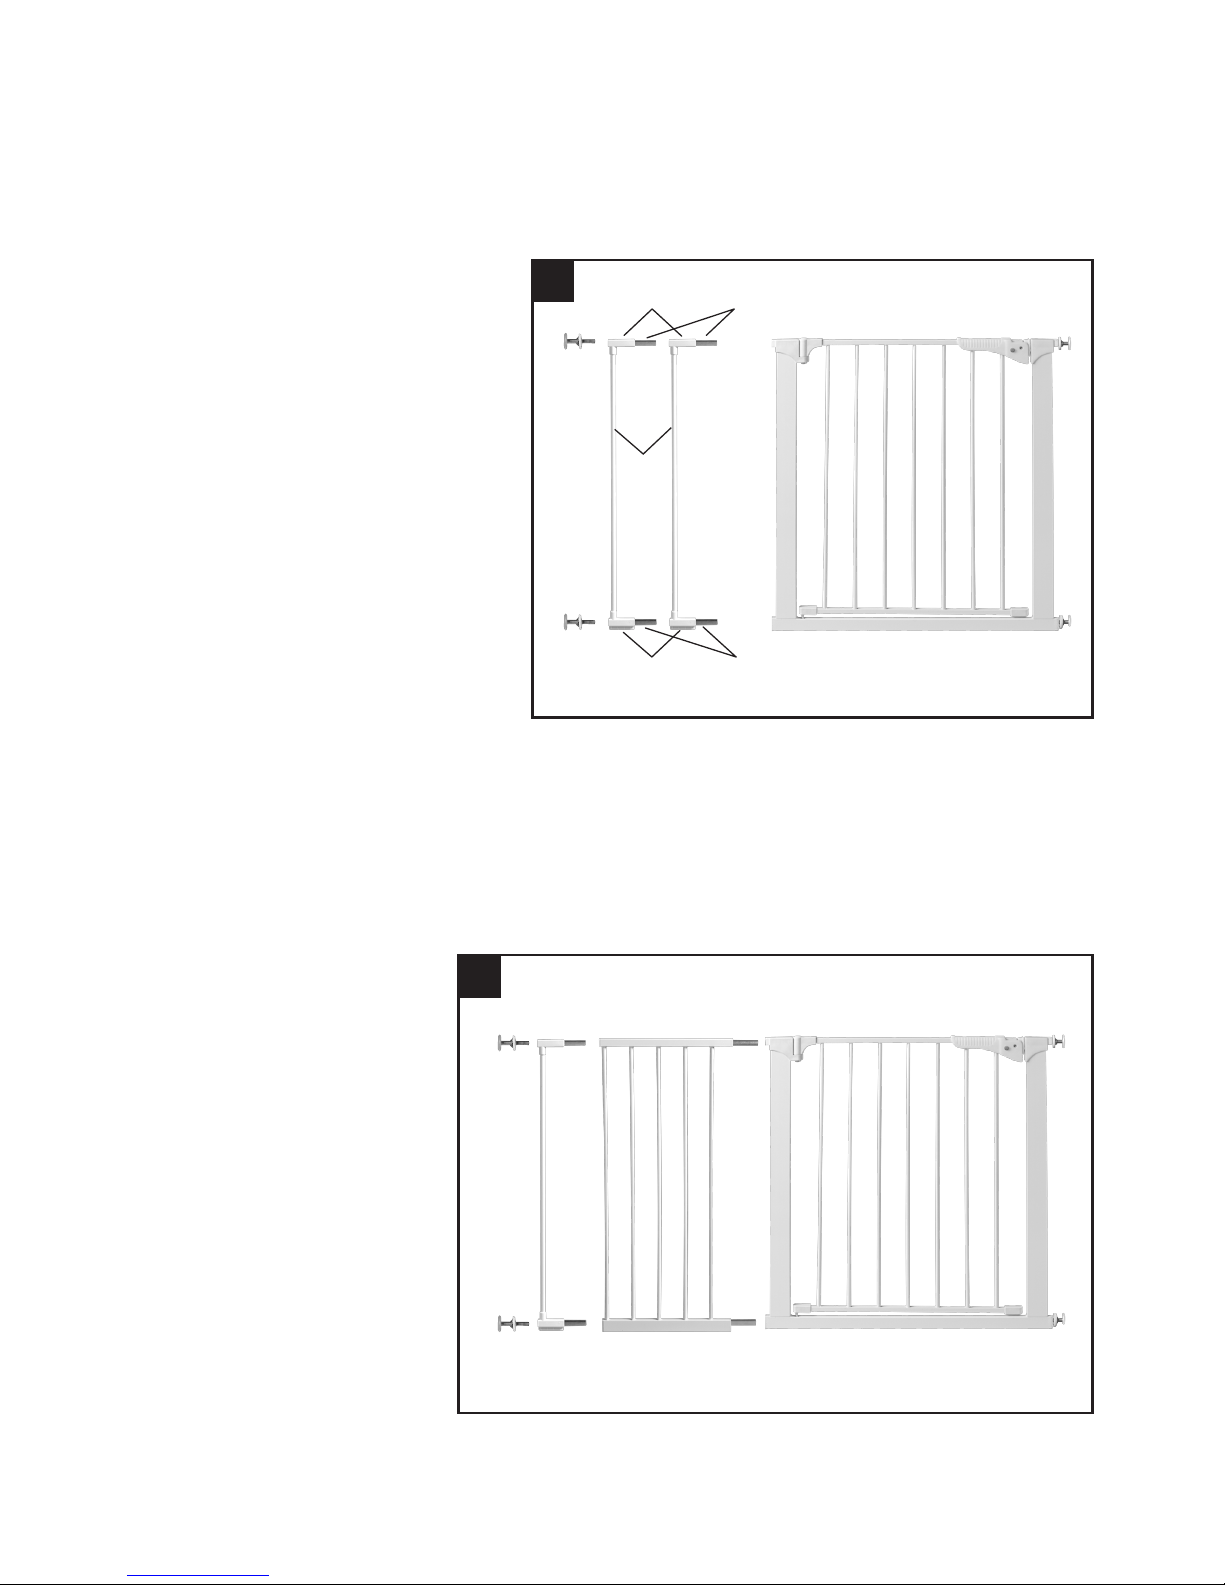
1 G4100/G4101 (Only)
Housings, bars and square
extension tubes (5
1
/8”) from gate
may be needed. Depending on how
many extensions are being added,
insert the appropriate square
extension tubes (c) into gate ends.
Connect the bar (d) to one upper
extension housing (a) and one
lower extension housing (b).
Push assembly over extension
tubes. There should be no metal
showing from extension tubes.
It may be necessary to apply
pressure to tubes to ensure they
are fully inserted into gate ends.
Slide spindles into extension tubes.
2 G4110/G4111 (with or
without G4100/G4101)
Insert 4
3
/4” square extension
tubes (c) into gate ends.
Connect the extension (d) to
gate. There should be no
metal showing. It may be
necessary to apply pressure.
Slide spindles into extension.
NOTE: If using additional
extensions, 12.5” extension
needs to be installed to
gate first.
See applicable Gateway
®
series user guide to
complete installation.
Installation
1
2
(d)
(c)
(a)
(b) (c)
(c)(c)
(c)(c)
(d)
 Loading...