

Kenwood Steba G 80/31 B Instructions For Use Manual
STEBA Elektrogeräte GmbH & Co. KG
Pointstraße 2 . 96129 Strullendorf / Germany
Tel.: 0 95 43 / 449-0 Fax: 0 95 43 / 449-19
eMail: elektro@steba.com Internet: http://www.steba.com
www.steba.com
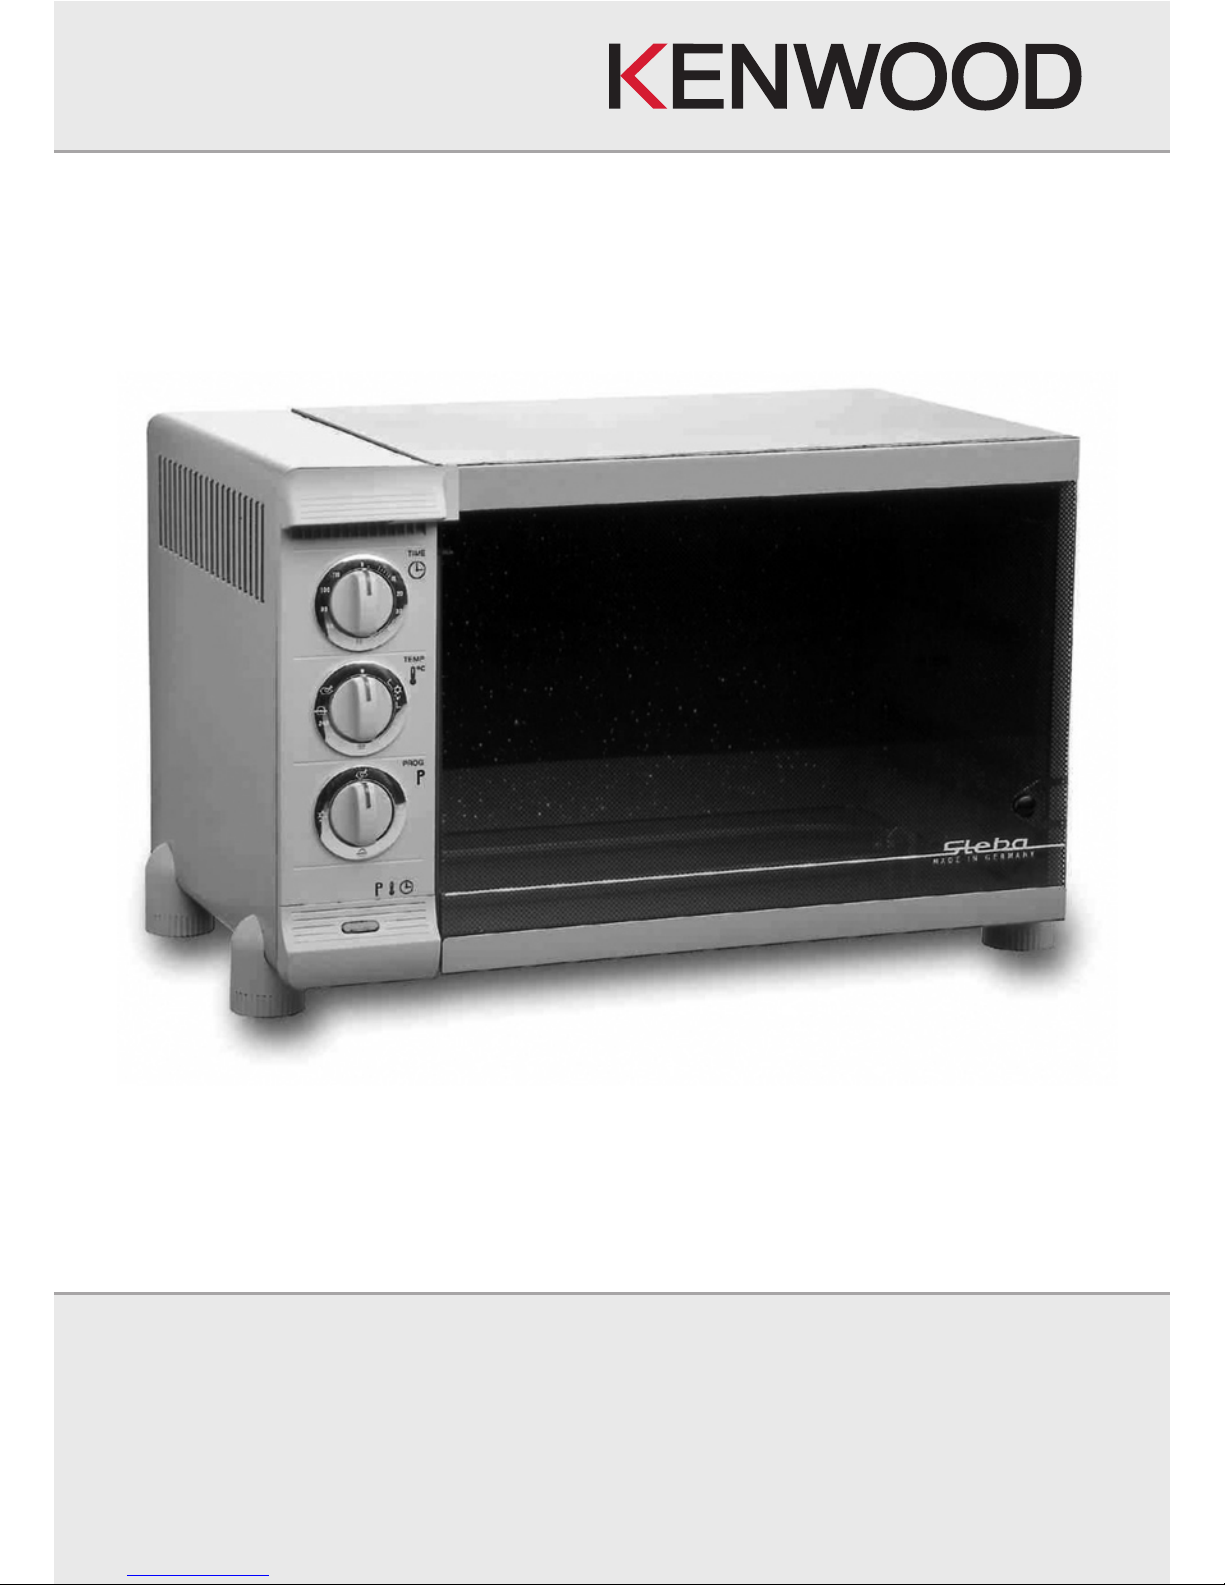
Rotisserie „exclusiv“
(Modell G 80/31 B)
Instructions for use
Bild noch neu?
2
3
2
3
After use, pull out the plug immediately, open the appliance and let it cool off. ∙
Let appliance cool off before transport. ∙
Carefully lock top and bottom plate before transport. ∙
Never immerse appliance in water for cleaning.
●This produc t satisfies the per tinent safety regulations for electrical appliances for ∙
example defective connection wires.
Repairs on electrical appliances must be performed by trained personnel only.
Considerable dangers can arise for the user from improper repairs.
∙
Appliance Description
The rotisserie type G 80/31 B is equipped as follows:
Glass door and removable appliance cover. ∙
One rotary button for operation (programme), one for temperature regulator and ∙
one for timer.
Heating elements for lower heating, upper heating / grilling ∙
Interior with 3 ledges, inside lighting and integrated spit drive. ∙
Side walls and rear of the appliance with catalytic cover
Accessories: Drip tray, grilling pan grid, handle for grid and Pan, rotary spit with 2
meat hooks, handle for rotary spit, set for mixed skewer disches (consisting 2 sup porting disks and 4 skewers)
Use
The appliance is suited for grilling, frying, stewing, baking, warming food, defrosting
frozen food and cooking fast food disches.
On the driven rotary spit you can easily grill crunchy chicken, duck and roast meat.
The appliance is also excellently suited for „barbecue“: On the open grid on top of
the appliance you can grill to your´s heart content, for example steaks, chops, sausages, fisch, tomatoes, onions, fruit etc.
The timer will switch off the appliance automatically
when the adjusted time has passed.
Before using
Before using the appliance for the first time, please
clean all accessories thoroughly:
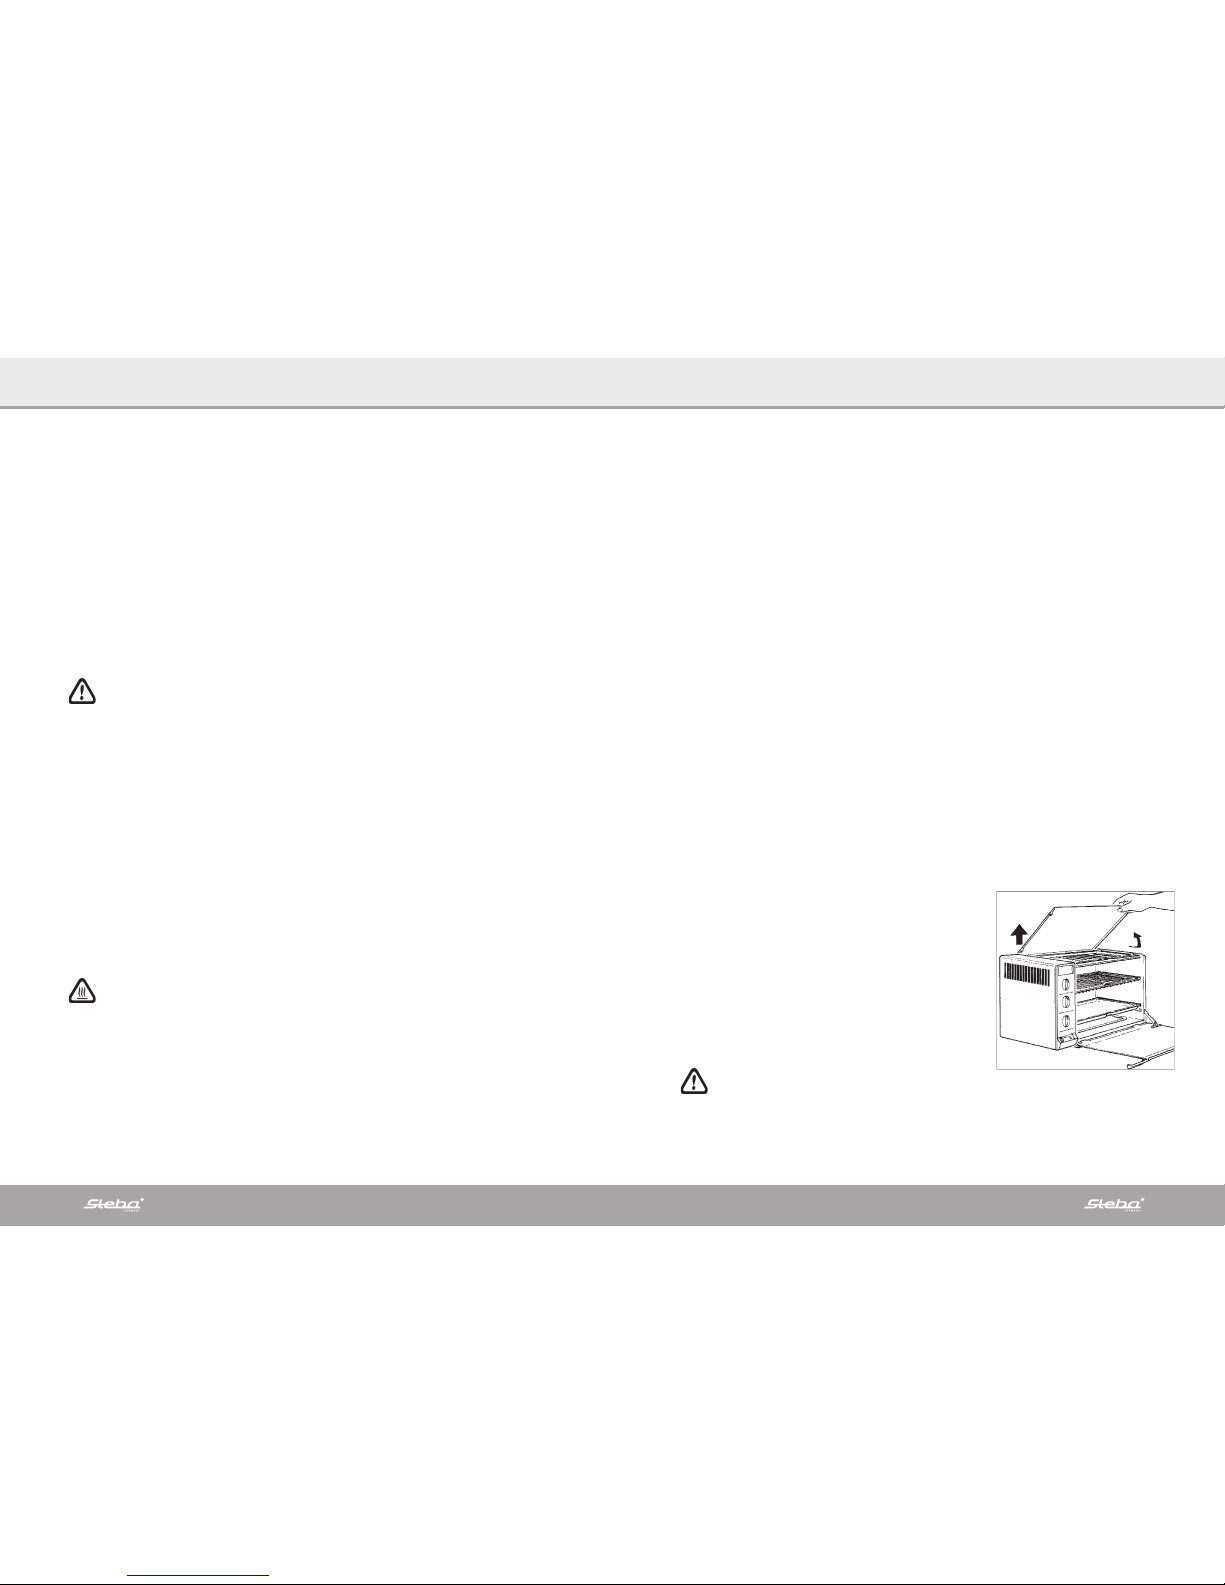
For opening the glass door seize the handle at the ∙
upper left hand side and pull the door open. After
you have passed the notch, the door can be put down
completely.
∙ The double glass door is heav y.
Please open carefully and place it on the table top. Do not drop it!
Take out drip tray, grid and the other accessories. ∙
After you have pulled forward the dust cover slightly, it can be liftet up and the ∙
grilling pan can be teken out.
When the cover is half way closed, it can be removed
The dust cover must be kept open during the whole food preparation time. ∙
Generally
This appliance is for private use only and must not be used commercially. Please read
the instruction manual carefully and keep it at a safe place. When the appliance is
given to another person the instruction manual should be passed to that person, too.
Only use the appliance as described in the instruction manual and pay attention to
the safety information. No liability for damages or accidents will be accepted, which
are caused by not paying attention to the instruction manual.
Safety instructions!
The appliance must only be plugged in at a socket with the same specifications ∙
shown on the rating label. The appliance is not suitable for build in use and must
not be used in such a way.
Only use the appliance when there is no damage at the appliance or the power ∙
cord. Please check before each use.
∙ This appliance is not intended for use by persons (including children)
with reduced physical, sensory, or mental capacities, or lack of experience
and knowledge, unless they have been given supervision or instruction concerning
use of the appliance by a person responsible for their safety
Children should be supervised to ensure that they do not play with the appliance. ∙
The appliance is not intended to be operated by means of an external timer or ∙
separate remote control system.
Unplug the appliance after each use or in the case of a malfunction. ∙
Never pull at the power cord. Never scour the power cord over edges and do not ∙
squeeze the power cord.
Keep the power cord away from hot parts. ∙
Never leave the appliances unattended during usage. ∙
Never place anything on the top of the appliance or cover any ventilation wholes. ∙
Never keep the appliance outdoor or in a damp area. ∙
Never immerse the appliance into water. ∙
The appliance must not be used after a malfunction, e.g. when it fell down or was ∙
damaged in any other different way.
The supplier is not liable for wrong use which occurs by ignoring the instruction ∙
manual.
∙ Attention! Appliance gets hot! Danger of burns!
During the use the temperature of touchable surfaces can get very high.
Place the appliance on a plane and stable surface. The surface should not be
on a sensitive surface and there should be at least 70cm distance from any
burnable surfaces (e.g. curtains).
The appliance must be placed at a wall with the back side. ∙
Always remove the wire grill and pans with the handle. ∙
The appliance may not be operated unless the hot plates are in place. ∙
Be sure that the hot plates are firmly engaged.
Before turning the plates, let the appliance cool off, pull out mains plug. ∙
Do not bend the connection cable or bring it into contact with hot parts of the ∙
appliance.
4
5
4
5
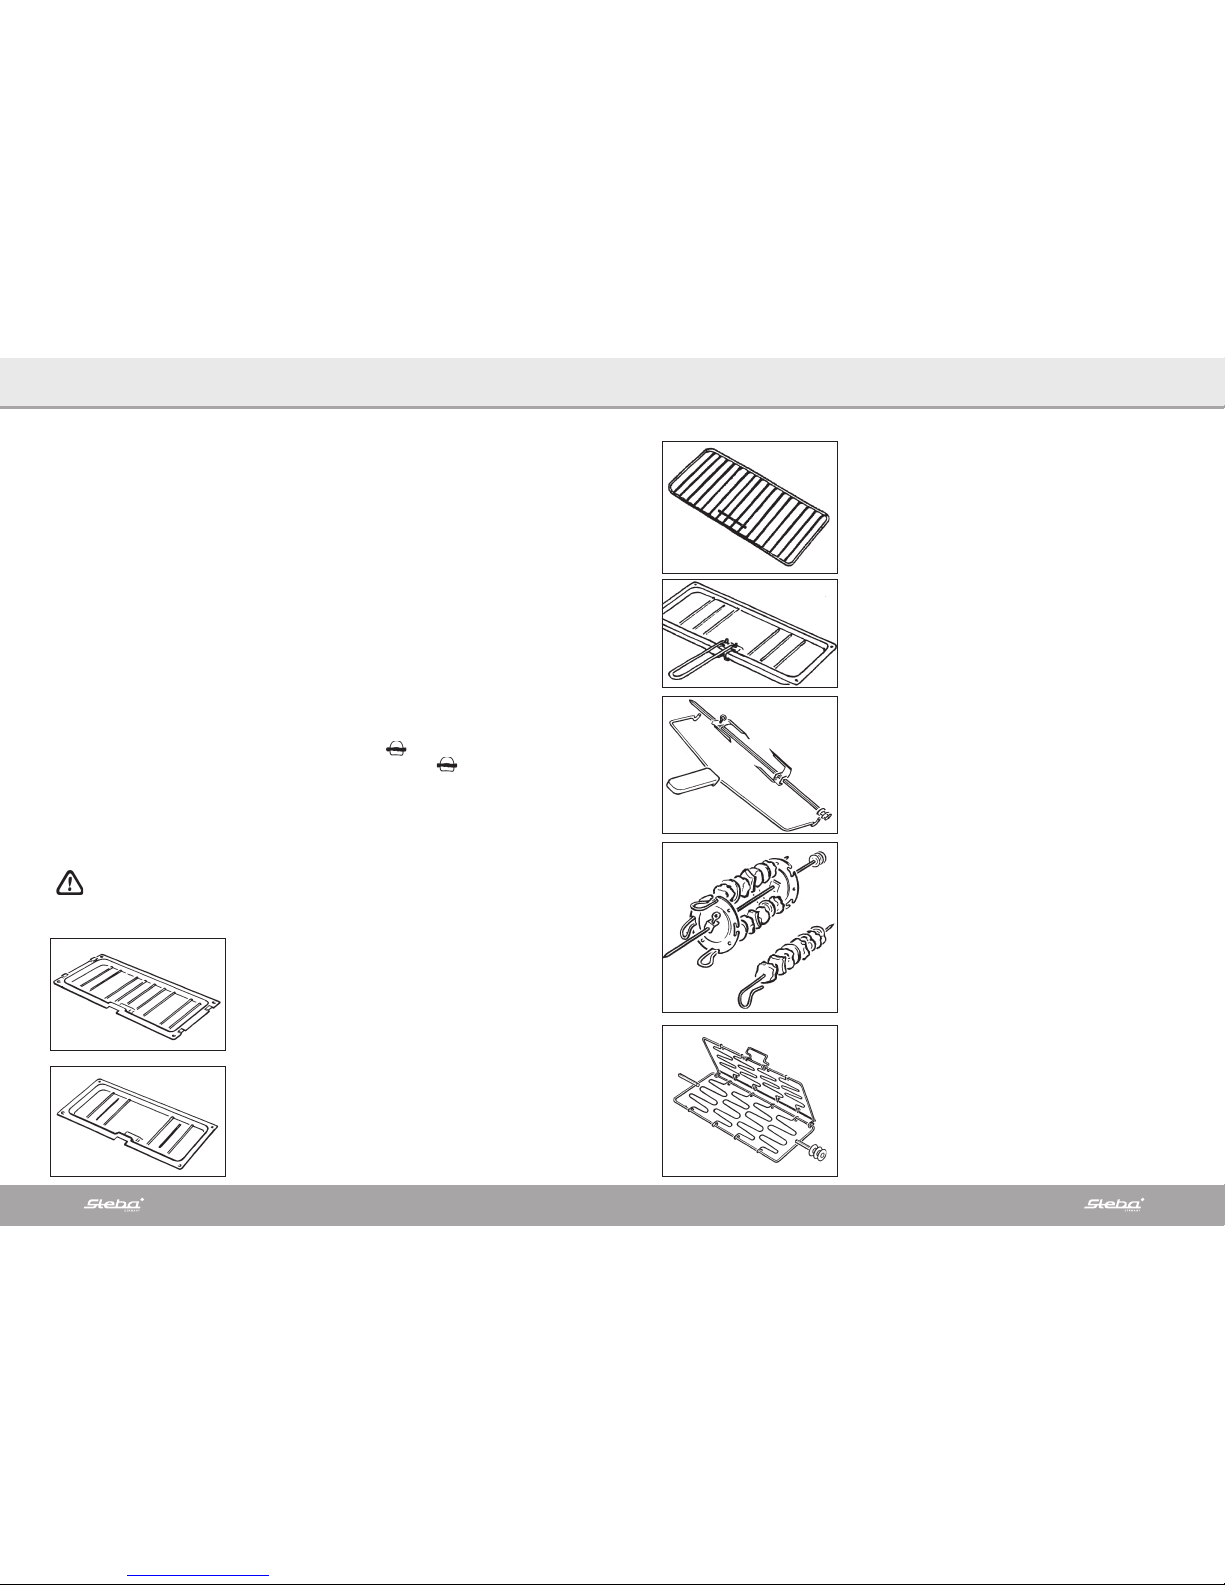
Grid
When baking, the baking forms are put onto the grid.
When grilling in the interior the grid is used as support
for the food to be grilled.
For „barbecue“ the grid is placed above the upper
heating elements in a way that it lies upon both pins
on the rear of the appliance.
Handle for pan
Always use the handle to insert and to take out the
drip tray and the grilling pan
Rotary spit
On the driven spit you can grill excellently for example
chicken (up to 2 pcs), ducks, roast meat.
The food on the spit will be fixed with both meat
hooks.
With the handle for the spit it is possible to insert
the spit with the food into the hot rotisserie wirhout
danger.
Set for mixed skewer disches
(Special equipment - not delivered with the rotisserie)
With this set it is possible to grill 4 skewer dishes together on the rotating spit.
Both supporting disks are slided onto the spit and
fixed wirh the setscrews in the correct distance.
The top of the skewers filled with meat is put into the
boring of one disk. The other end of the skewers is
layed into the notch of the second disk. The bow must
be turned in a way that the elastic end also snappes
into the notch.
Meat holder
(Special equipment - not delivered with the rotisserie)
With this accessory it is possible to grill each type of
meat from trout to roast meat, rotating like on a spit.
The meat has not to be speared. It is easily put onto
the open holder. When closed, the elastic wire bows
keep the meat in each position.
The meat holder is inserted in the rotisserie exactly like
the rotary spit.
Please clean all accessories in hot water with some cleanser and dry them, or wash
them in the dischwasher.
Then slide the grid and the drip tray into the appliance. The larger grilling pan must
be inserted from the top onto the holding angles above the upper heating elements.
During grilling food can be prepared on the larger grilling pan at the same time.
The dust cover stays open all the time during food preparation.
Installation of the appliance
When the oven is installed, ensure thet at the left and the right side of the appliance
there will be free space of 10 cm, the free space over the top edge of the appliance
must be at least 20 cm. The oven must be placed with its black at a wall.
Heat up the empty rotisserie in order to eliminate the smell of new material:
Switch on the appliance ∙
Close the glass door ∙
Set lower rotary butten (operation switch) to position ∙
Set medium rotary button (temperature regulator) to position ∙
Set upper rotary butten (timer) to 10 minutes. The inside lighting goes on. the ∙
heating procedure starts.
Some smoke and smell mey be produced when heating up the appliance for the first
time. This is normal and stops after a shor t while.
Attention! Cusing and glass door of the appliance become hot.
Danger of burning!
Use of the accessories
Grilling pan
During each heating procedure the grilling pan must
be inserted as heat protection on the top of the oven.
Only for „barbecue“ the grilling pan is inserted as drip
tray directly beneath the grill element.
Drip tray
When grilling on the grid or on the rotary spit, the drip
tray must be always inserted below.
It can, however, also be used as frying pan or baking
pan.
 Loading...