

Page 1
Remote Control Instruction Manual
Preset Remote Control Quick Start Guide
Remote Control Instruction Manual
Quick start guide ................................................ 1
Getting the most from your remote control ................. 3
Setup code chart ................................................ 4
In case of difficulty ............................................. 5
Remote operation of other components..................... 6
This quick start guide explains how to setup the remote
control to operate audio and video components other
than the receiver.
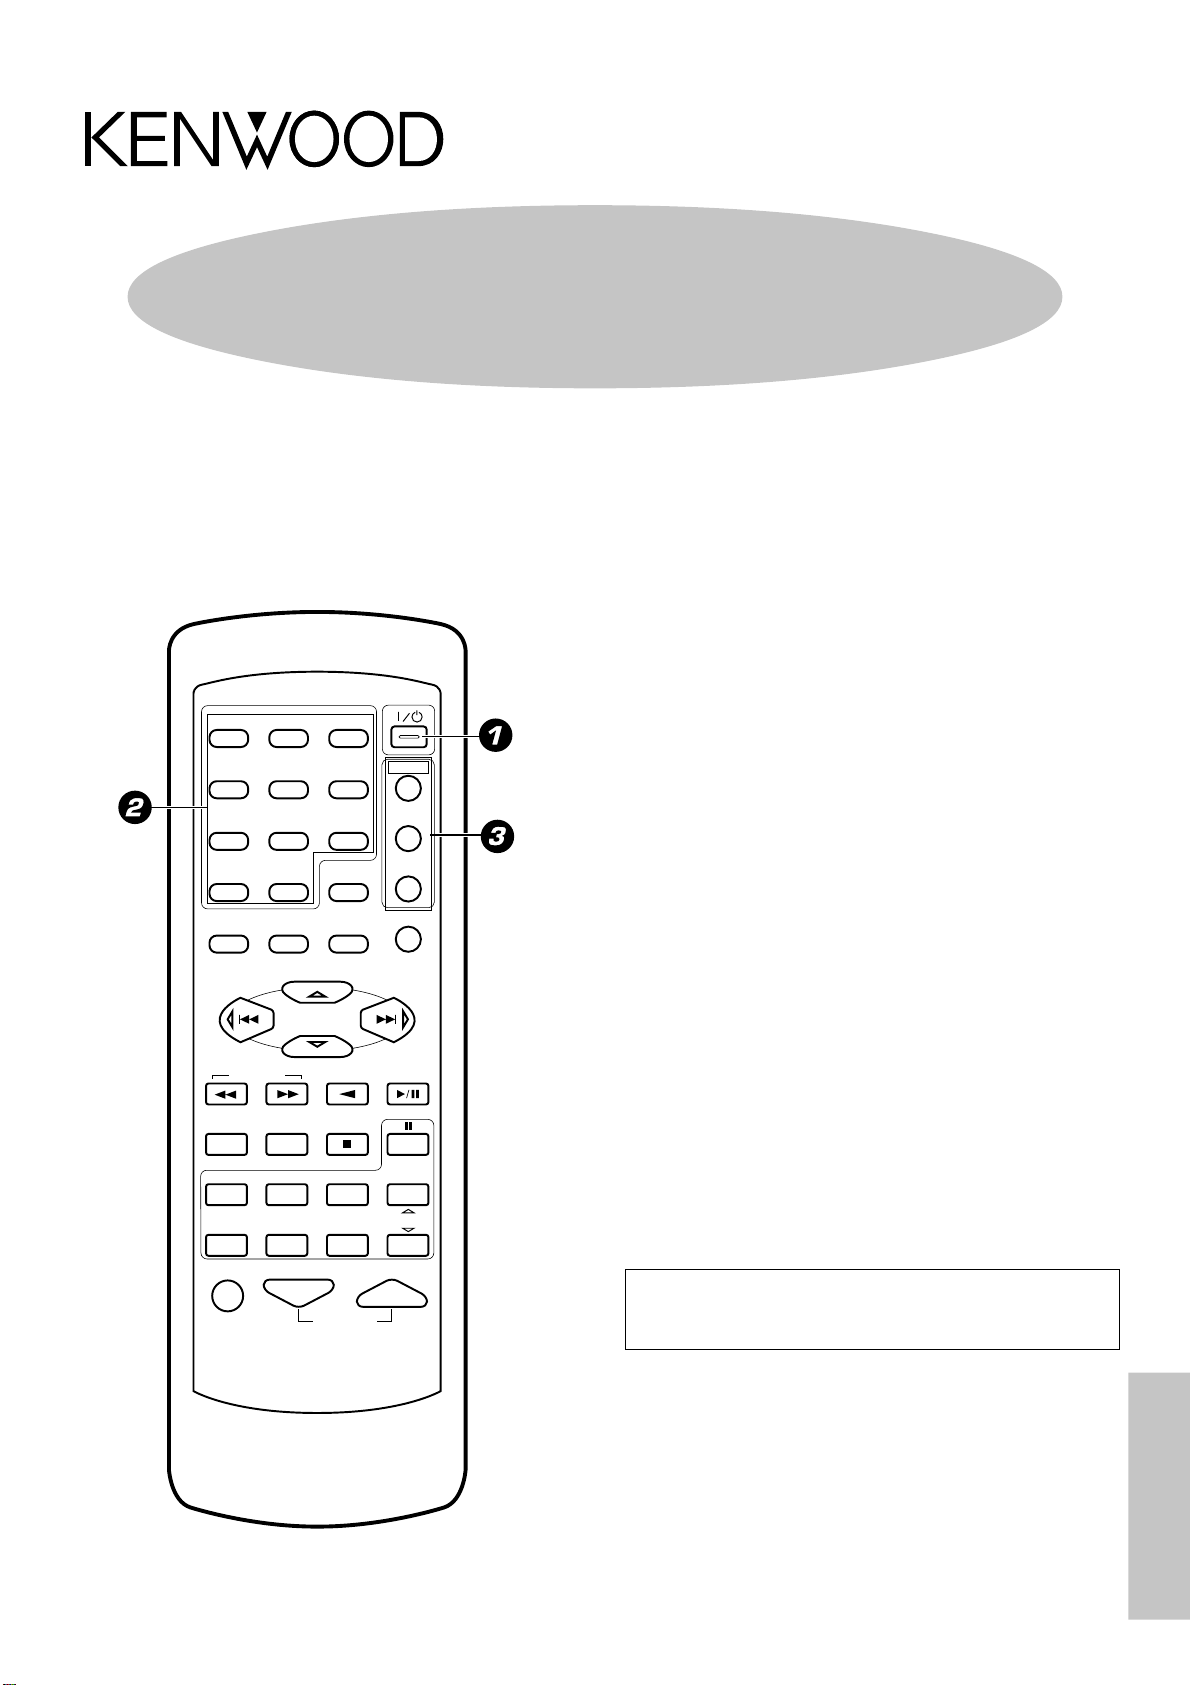
POWER
1
23
POWER
456
789
RETURN
0 +10
SET UP SOUND
P.CALL
TUNING
B.BOOST
RECEIVER
PHONO
VIDEO1 VIDEO2 VIDEO3 AV AUX
A/B+100
DISC SKIP
TITLE
CD/DVD
LSTN.M
OSDMENU
PTY
CDR
MULTI CONTROL
CD
ENTER
AUTO
INPUT SEL.
TUNER
TV SEL.
TV
VCR/CDR
DVD
DISPLAY
P.CALL
BAND
DVD
MD/TAPE
CHANNEL
In order to make full use of the functions of the remote
control, be sure to read the section of this manual
entitled “Getting the most from your remote control”.
It contains a detailed explanation of how to operate the
remote control and make the necessary settings.
The quick start guide describes the operation of the
following keys:
1 POWER key
During pressing this key, you can enter the code numbers
that let you control your components.
2 Numeric keys
During pressing the POWER key, use these keys to enter
the code numbers that let you control your components.
3 Source POWER (TV, VCR/CDR, DVD) keys
Once you have entered the setup code for another
component, you can press these keys to turn power to
that component on or off. This lets you confirm that you
entered the code properly.
MUTE VOLUME
RC-R0610
This instruction manual is for some models.
Model availability and features (functions) may differ depending on the
country and sales area.
Remote Control
B60-4624-00 (EN)
Page 2
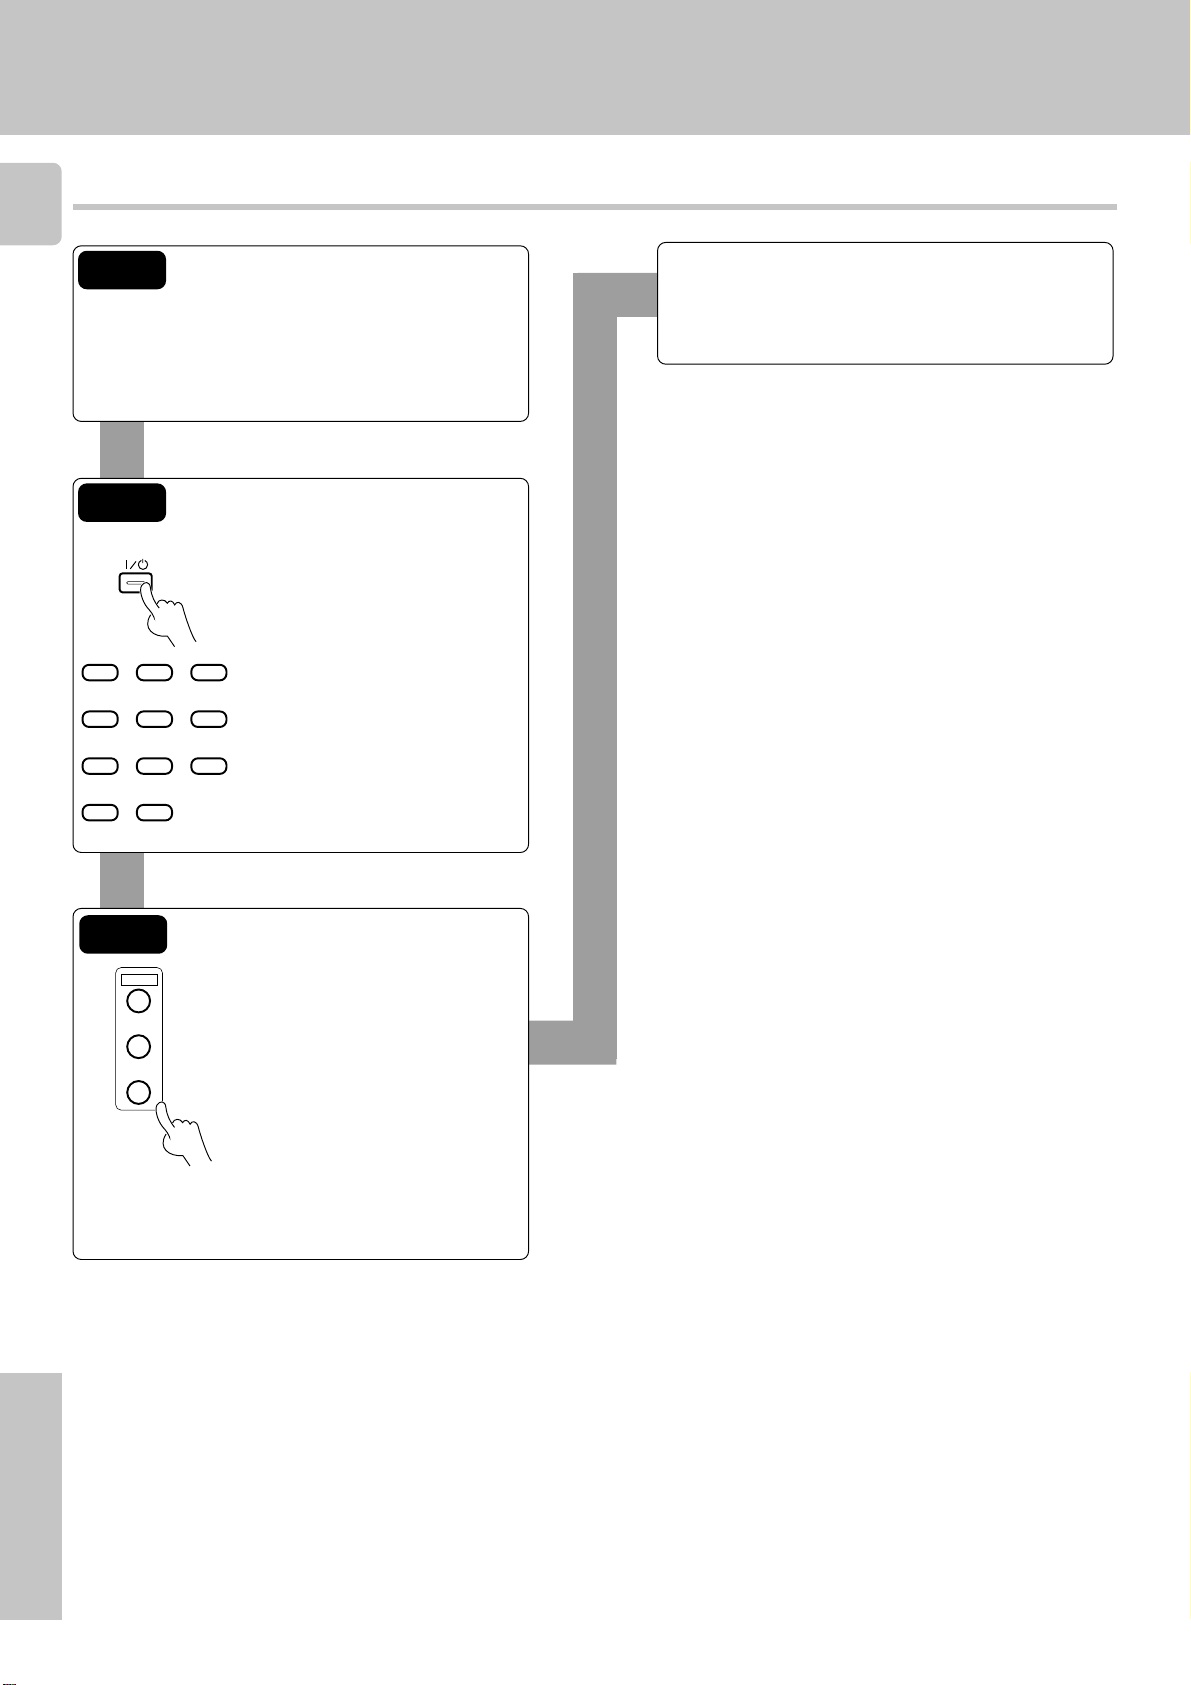
Register the setup codes for your audio and video components
2
Quick Start Guide
Step 1
Look up the setup code for the component you want
to control. RC4
Write down all the applicable setup codes.
(This step is very important.)
Step 2
POWER
123
456
789
0 +10
Hold down POWER key and press
the numeric keys to enter the 3-digit
setup code for the component.
Proceed to the next step within 15
seconds.
If the component does not respond when you try to
control it, return to step 2 and enter the next setup
code on the list. Repeat this procedure until you find
the code that matches the component.
Repeat steps 2 and 3 to enter the codes for each component you want to control.
If you accidentally exit the registration mode by pressing the
wrong key, you will not lose any setup codes you have
already saved.
Step 3
POWER
TV
VCR/CDR
DVD
Remote Control
Press the source POWER (TV,
VCR/CDR, DVD) key for more than
2 seconds to select the input you
registered.
Make sure if you can turn the component on and off. (If the component you want to control has a mechanical power key that cannot be
operated by remote control, press
the 6 key or the TUNING 1/
¡ key to test it.)
Page 3
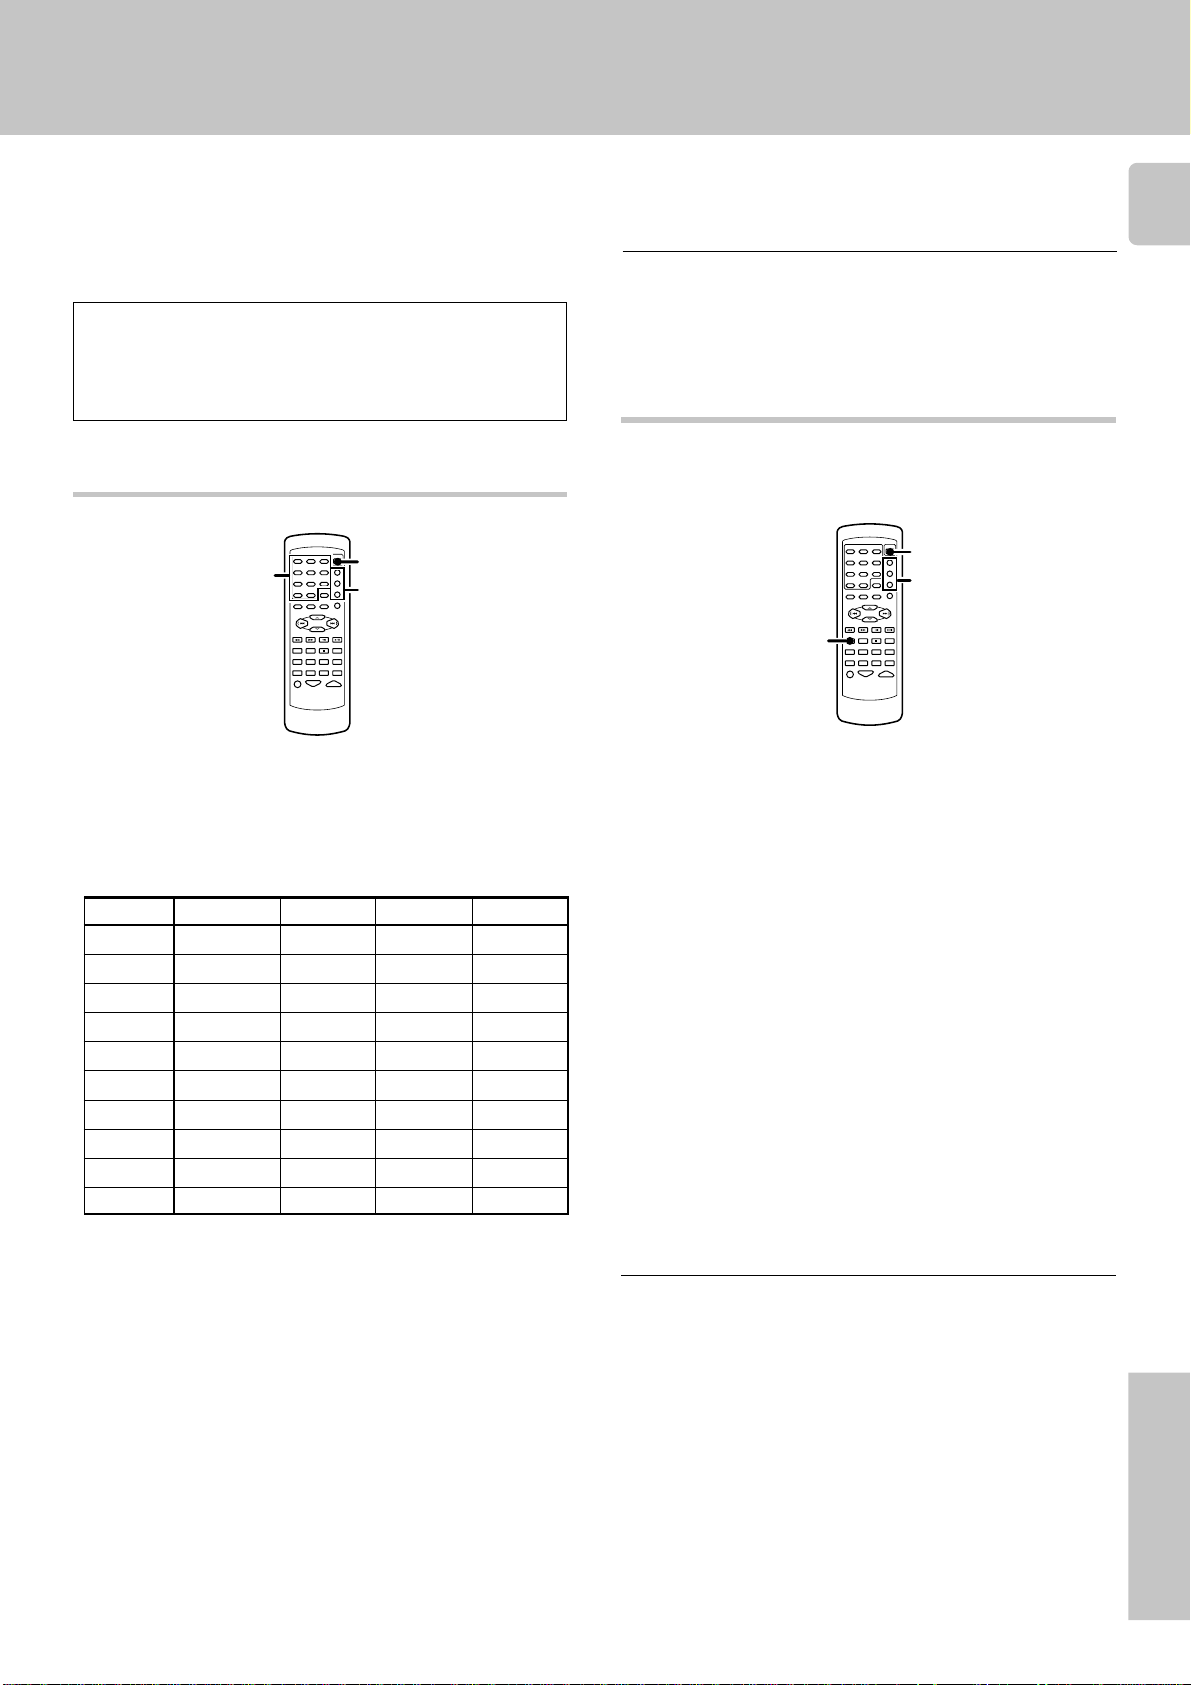
Getting the most from your remote control
POWER
RECEIVER
Source
POWER
keys
The remote control supplied with this receiver is also
capable of controlling components from a variety of manufacturers once you register the appropriate setup codes
into the remote control unit.
Refer to "Remote operation of other components" for details about the operations available for each component.
Low battery warning
Replace all four batteries with new ones when you notice a shortening
of the distance from which the remote control will operate. The remote
control is designed to retain setup codes in memory while you change
batteries.
Registering setup codes for other components
Numeric keys
POWER
Source
POWER
keys
Repeat steps 2 to 3 to register additional components
4
until all components have been registered.
Note
Although each setup code is designed to work with a number of different
models, certain codes may not work with some models. (Also, certain
codes may only operate some of the functions available on a given
model.)
Operating other components
This operation lets you operate the registered components.
KENWOOD audio components with system control turn on and off
automatically with the receiver via the system control connections.
3
Find the setup code of the component to be registered.
1
• Refer to the setup code lists to find the setup code for the component
to be registered. RC4
Example: To register a DVD made by KENWOOD, you would enter
"805".
Input Component Maker Code Key
(DVD) DVD player KENWOOD 804,805,808 DVD
Hold down the POWER key and press the numeric keys to
2
enter the setup code.
• Example: Press "805" to register a DVD player made by KENWOOD.
• If you push an invalid key, the remote will exit the setup mode.
Press the source POWER (TV, VCR/CDR, DVD) key for
3
more than 2 seconds, and check to see that the component you want to control turns on.
If the component does not react, and there is more than one
setup code, enter another setup code and try again.
Use the input selector keys to select the component you
1
desire.
• Pressing the input selector keys also changes the input selector on
the receiver.
• When you operate your registered TV, VCR, CDR, or DVD
player, go to step 2.
• When you operate the CD player, Cassette deck, MD player, or
Tuner with system control connection, go to step 3.
Press the source POWER key.
2
Press the operation keys you desire.
3
• See "Remote operation of other components" for a list of keys
available with each component. RC6
• To return to the receiver operation mode, press the RECEIVER key.
The remote control mode returns to the receiver operation mode
when you do not operate for more than 15 seconds.
Note
Be sure to point the remote control at the remote sensor on the receiver
when you want to operate KENWOOD components connected by
system control cords. Otherwise, point the remote control at the component you want to operate.
• 6, TUNING 1/¡, or MULTI CONTROL key(s) can also be used
instead of the POWER key.
• If the component is already on, pressing the source POWER keys will
turn it off.
Remote Control
Page 4

Setup code chart
TV Setup codes
4
Maker Setup codes
BLAUPANKT 401
GRUNDIG 402
MIVER 401
NOKIA 403
NORDMENDE 404, 405
PHILIPS 406
SABA 404, 407
SCHNEIDER 408
TELEFUNKEN 407, 409, 410
THOMSON 411
AKAI 408
FENNER 412
FISHER 413
HITACHI 414, 415
INNO-HIT 416
IRRADIO 408
JVC 417
MAGNAVOX 406
OKANO 416
ORION 418
PANASONIC 419, 420
SAMSUNG 421
SANYO 413
SHARP 422
SONY 423, 424, 425,
TOSHIBA 428
426, 427
VCR Setup codes
Maker Setup codes
BLAUPANKT 501
GRUNDIG 502
LOEWE 503, 504
NOKIA 505
NORDMENDE 506, 507, 508
PHILIPS 509
SABA 510
SIEMENS 502
TELEFUNKEN 511, 512
AIWA 513
BELL+HOWELL 514
CGM 514, 515
DIGTAL 515
FISHER 514
G.E. 516
HITACHI 517, 518
JVC 519
MAGNAVOX 501, 515
MITUBISHI 520, 521, 522,
523
PANASONIC 524
PHONOLA 515
SAMSUNG 525, 526
SANYO 514
SHARP 527, 528
SONY 529, 530, 531
TOSHIBA 532
DVD Setup codes
Maker Setup codes
JVC 801
SONY 802
PIONEER 803
PANASONIC 804
KENWOOD 804, 805, 808
TOSHIBA 806
PHILIPS 807
CDR Setup codes
Maker Setup codes
KENWOOD 533
PHILIPS 533
PIONEER 534
Remote Control
Page 5

In case of difficulty
Remote control unit
Symptom
Cause
Remedy
5
Certain inputs cannot be selected using the
remote control.
Remote control operation is not possible.
• No setup codes registered at for the respective
input(s).
• The remote control is set to a different operation
mode.
• Batteries are exhausted.
• The remote control unit is too far away from the
main system, controlling angle is too large, or
there is an obstacle between the receiver and
the remote.
• The audio cords and system control cords are
not connected properly.
• No software is loaded in the source component.
• An attempt is made to play a tape which is being
recorded in the cassette deck.
• The remote control has not been set to the
operation mode for the component you wish to
control.
• The microprocessor of the remote control malfunctions.
• Register a setup code at the respective input(s).
RC3
• Press the source select keys or source POWER
keys to select the appropriate operation mode.
• Replace with new batteries.
• Operate the remote control unit within the controllable range.
• Connect properly referring to “Setting up the
system”.
• Place software in the source component you
want to play.
• Wait until recording has completed.
• Press the source select keys or source POWER
keys to activate the operation mode for the
component you want to control before operation. RC3
• Reset the microprocessor.
Remote Control
Page 6

Remote operation of other components
Refer to the following for the type of remote control operations available for each component.
The setup code for each component must be entered beforehand. RC3
6
1 Use the input selector keys or source POWER keys to select
the component you want to control.
2 Press the keys corresponding to the operations you desire.
• When pressing keys in succession, press each key firmly and be sure to
wait at least 1 second before pressing the next key.
• Numeric keys function the same as the numeric keys on the original
remote.
Refer to the following sections for details.
Notes
1. Although each setup code is designed to work with a number of different models, certain codes may not work with some models. (Also, certain codes may
only operate some of the functions available on a given model.)
2. The charts below show the typical functions available for each component. Some manufacturers use different key combinations to perform similar functions.
For that reason, we have programmed extra functions on some of the unused number keys to help you control your equipment.
Tuner operations
TUNING
TUNING
P.CALL P.CALL
MULTI CONTROL
4 (P.CALL –)
¢ (P.CALL +)
ENTER
AUTO
BAND
AUTO
BAND
DVD
Cassette deck operations
P.CALL P.CALL
MULTI CONTROL
4 (1 Rewind)
¢ (¡ Fast forward)
ENTER
BAND
AUTO
DVD
6 (3 Play)
2 (Play)
8 (Pause)
7 (Stop)
CD player operations
TUNING
¡ (Search)
1 (Search)
MD recorder operations
TUNING
Remote Control
¡ (Search)
1 (Search)
P.CALL P.CALL
MULTI CONTROL
4 (Skip back)
¢ (Skip forward)
P.CALL P.CALL
MULTI CONTROL
4 (Skip back)
¢ (Skip forward)
ENTER
BAND
AUTO
DVD
6 (Play/Pause)
7 (Stop)
ENTER
BAND
AUTO
DVD
6 (3 Play)
8 (Pause)
7 (Stop)
123
456
789
0 +10
Numeric keys
123
456
789
0 +10
Numeric keys
A/B+100
DISC SKIP
TITLE
DISC SKIP (Disc skip)
A/B+100
DISC SKIP
TITLE
+100 (+100)
Page 7

Remote operation of other components
TV operations
MD/TAPE
CHANNEL
AV AUX
CHANNEL %
(Channel +)
CHANNEL fi
(Channel –)
VCR operations
MD/TAPE
CHANNEL
AV AUX
CHANNEL %
(Channel +)
CHANNEL fi
(Channel –)
VOLUME
VOLUME %
(Volume +)
VOLUME fi
(Volume –)
P.CALL P.CALL
MULTI CONTROL
4 (1 Rewind)
¢ (¡ Fast forward)
123
456
789
0 +10
Numeric keys
ENTER
BAND
AUTO
DVD
6 (3 Play)
8 (Pause)
7 (Stop)
INPUT SEL.
TUNER
TV SEL.
VIDEO3
INPUT SEL.
(Input selector)
TV SEL.
123
456
789
0 +10
Numeric keys
MUTE
MUTE
(Mute)
ENTER
BAND
AUTO
DVD
ENTER
(Enter)
INPUT SEL.
TUNER
INPUT SEL.
(Input selector)
7
LD player operations
P.CALL P.CALL
MULTI CONTROL
4 (Skip back)
¢ (Skip forward)
DVD player operations
TUNING
¡ (Search)
1 (Search)
P.CALL P.CALL
MULTI CONTROL
% (Cursor »)
fi (Cursor «)
@ (Cursor |)
# (Cursor \)
ENTER
BAND
AUTO
DVD
6 (3 Play)
8 (Pause)
7 (Stop)
ENTER
AUTO
6 (3 Play)
ENTER (Enter)
BAND
DVD
8 (Pause)
7 (Stop)
123
456
789
0 +10
Numeric keys
123
456
789
0 +10
(OSD menu)
Numeric keys
OSD
SOUND
OSD
A/B+100
DISC SKIP
TITLE
A/B (A/B)
MENU
SET UP
MENU
(Menu)
OSD
SOUND
OSD
(OSD menu)
RETURN
LSTN.M
RETURN
(Return)
A/B+100
DISC SKIP
TITLE
TITLE
(Title)
Remote Control
Page 8

8
Remote operation of other components
CDR operations
MD/TAPE
CHANNEL
AV AUX
CHANNEL %
(Channel +)
CHANNEL fi
(Channel –)
P.CALL P.CALL
MULTI CONTROL
% (Cursor »)
fi (Cursor «)
@ (Cursor |)
# (Cursor \)
ENTER
BAND
AUTO
DVD
ENTER (Enter)
123
456
789
0 +10
Numeric keys
OSD
SOUND
OSD
(OSD menu)
MENU
SET UP
MENU
(Menu)
Remote Control
 Loading...