

Kenmore 79075742991, 79075747991, 79075748991, 79075741991 Installation Guide
For Models with 2 Standard and 2 Large Sealed Surface Burners
INSTALLATION AND SERVICE MUST BE PERFORMED BY
A QUALIFIED INSTALLER.
IMPORTANT: SAVE FOR LOCAL ELECTRICAL INSPECTOR'S USE.
READ AND SAVE THESE INSTRUCTIONS FOR FUTURE REFERENCE.
THIS CONVERSION KIT MUST BE INSTALLED BY A QUALIFIED SERVICE TECHNICIAN
IN ACCORDANCE WITH THE MANUFACTURER'S INSTRUCTIONS AND ALLAPPLICABLE CODES AND
REQUIREM ENTS OF TH E AUTHORITY HAVING JU RISDICTION. FAILURE TO FOLLOW INSTRUCTIONS
MAY RESULT IN FIRE, EXPLOSION OR PRODUCTION OF CARBON MONOXIDE CAUSING PROPERTY
DAMAGE, PERSONAL INJURY OR LOSS OF LIFE. THE QUALIFIED SERVICE AGENCY IS RESPONSIBLE
FOR THE PROPER INSTALLATION OF THIS KIT. THE INSTALLATION IS NOT PROPER AND COMPLETE
UNTIL THE OPERATION OF THE CONVERTED APPLIANCE IS CHECKED AS SPECIFIED IN THE
MANUFACTURER'S INSTRUCTIONS SUPPLIED WITH THE KIT.
BEFORE PROCEEDING WITH THE CONVERSION, SHUT OFF THE GAS SUPPLY BEFORE
DISCONNECTING ELECTRICAL POWER TO THE RANGE. BE SURE BOTH POWER SUPPLIES ARE OFF
BEFORE INSTALLING THE CONVERSION KIT. FAILURE TO DO SO COULD CAUSE SERIOUS BODILY
INJURY.
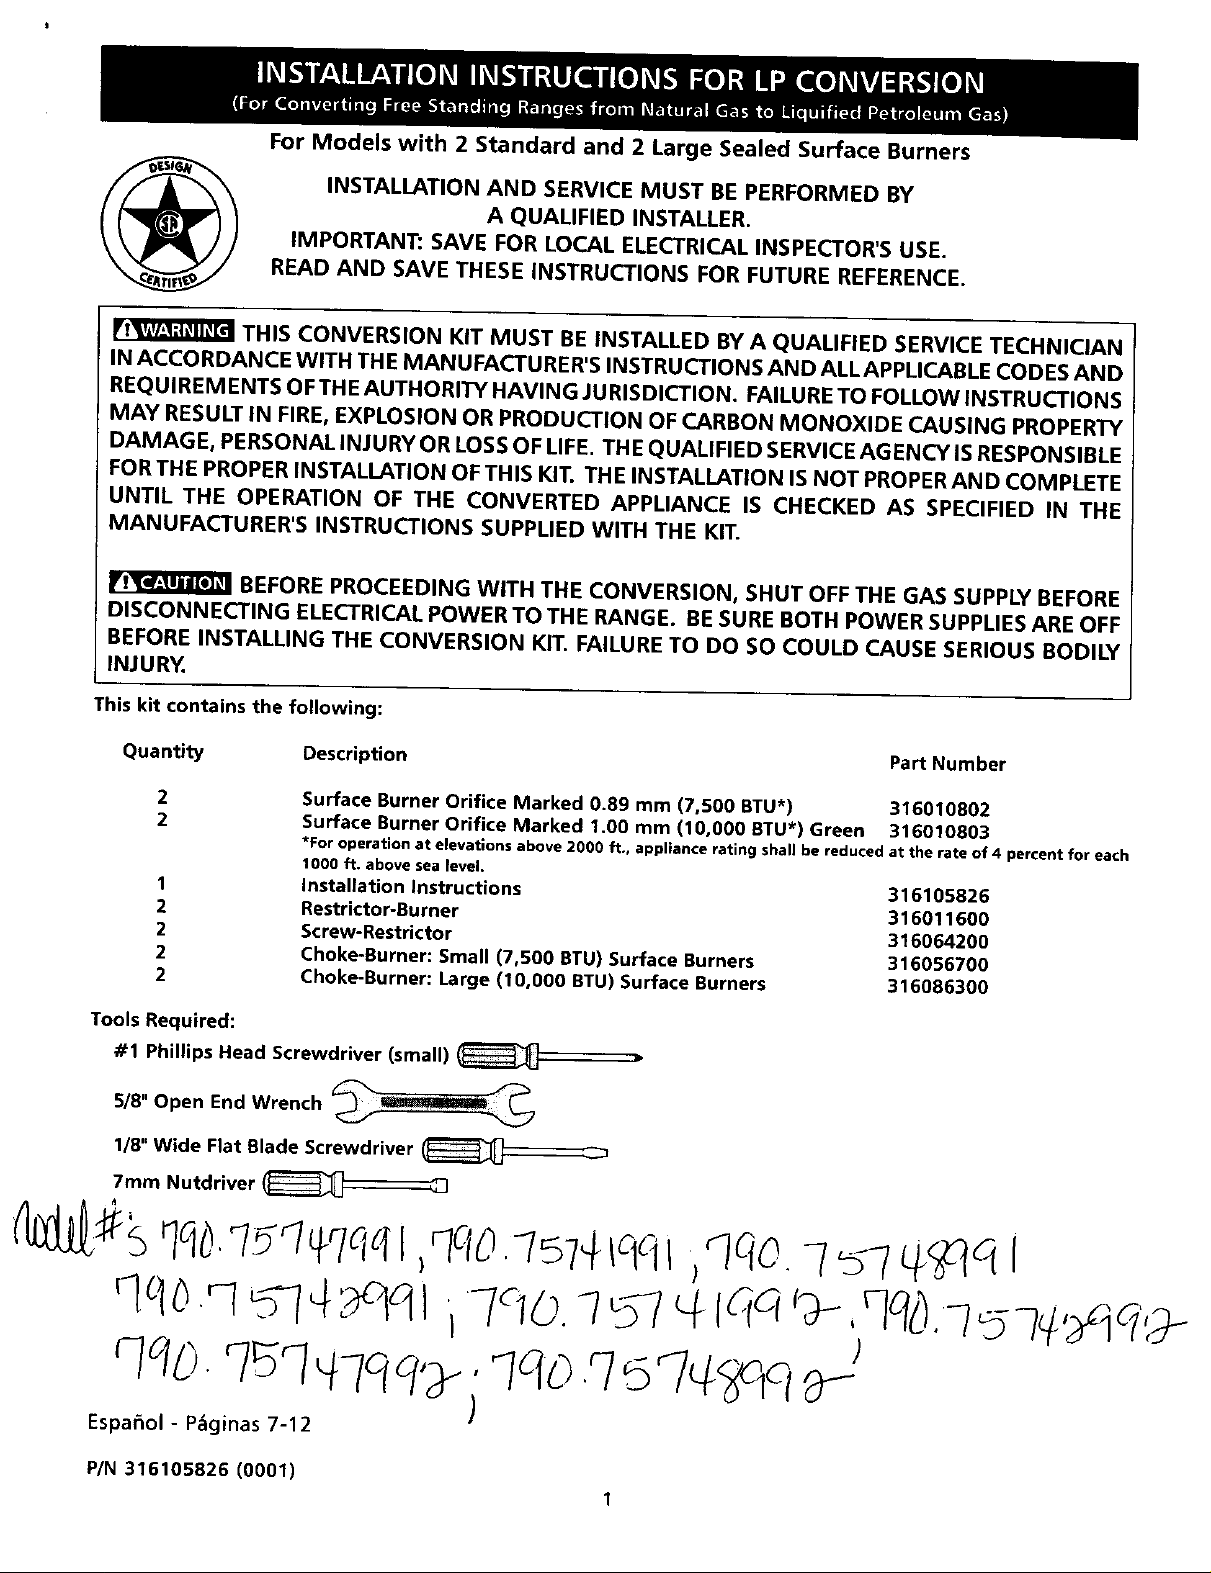
This kit contains the following:
Quantity Description Part Number
Surface Burner Orifice Marked 0.89 mm (7,500 BTU*) 316010802
Surface Burner Orifice Marked 1.00 mm (10,000 BTU*) Green 316010803
*For operation at elevations above 2000 ft., appliance rating shall be reduced at the rate of 4 percent for each
1000 ft. abovesealevel.
1
2
2
2
2
Tools Required:
#1 Phillips Head Screwdriver (small)
5/8" Open End Wrench ___j w_mmm_
1/8" Wide Flat Blade Screwdriver
7mm Nutdriver
installation Instructions
Restrictor-Burner
Screw-Restrictor
Choke-Burner: Small (7,500 BTU) Surface Burners
Choke-Burner: Large (10,000 BTU) Surface Burners
316105826
316011600
316064200
316056700
316O863O0
Espa_ol - P,_ginas 7-12
P/N 316105826 (0001)
J
J
1
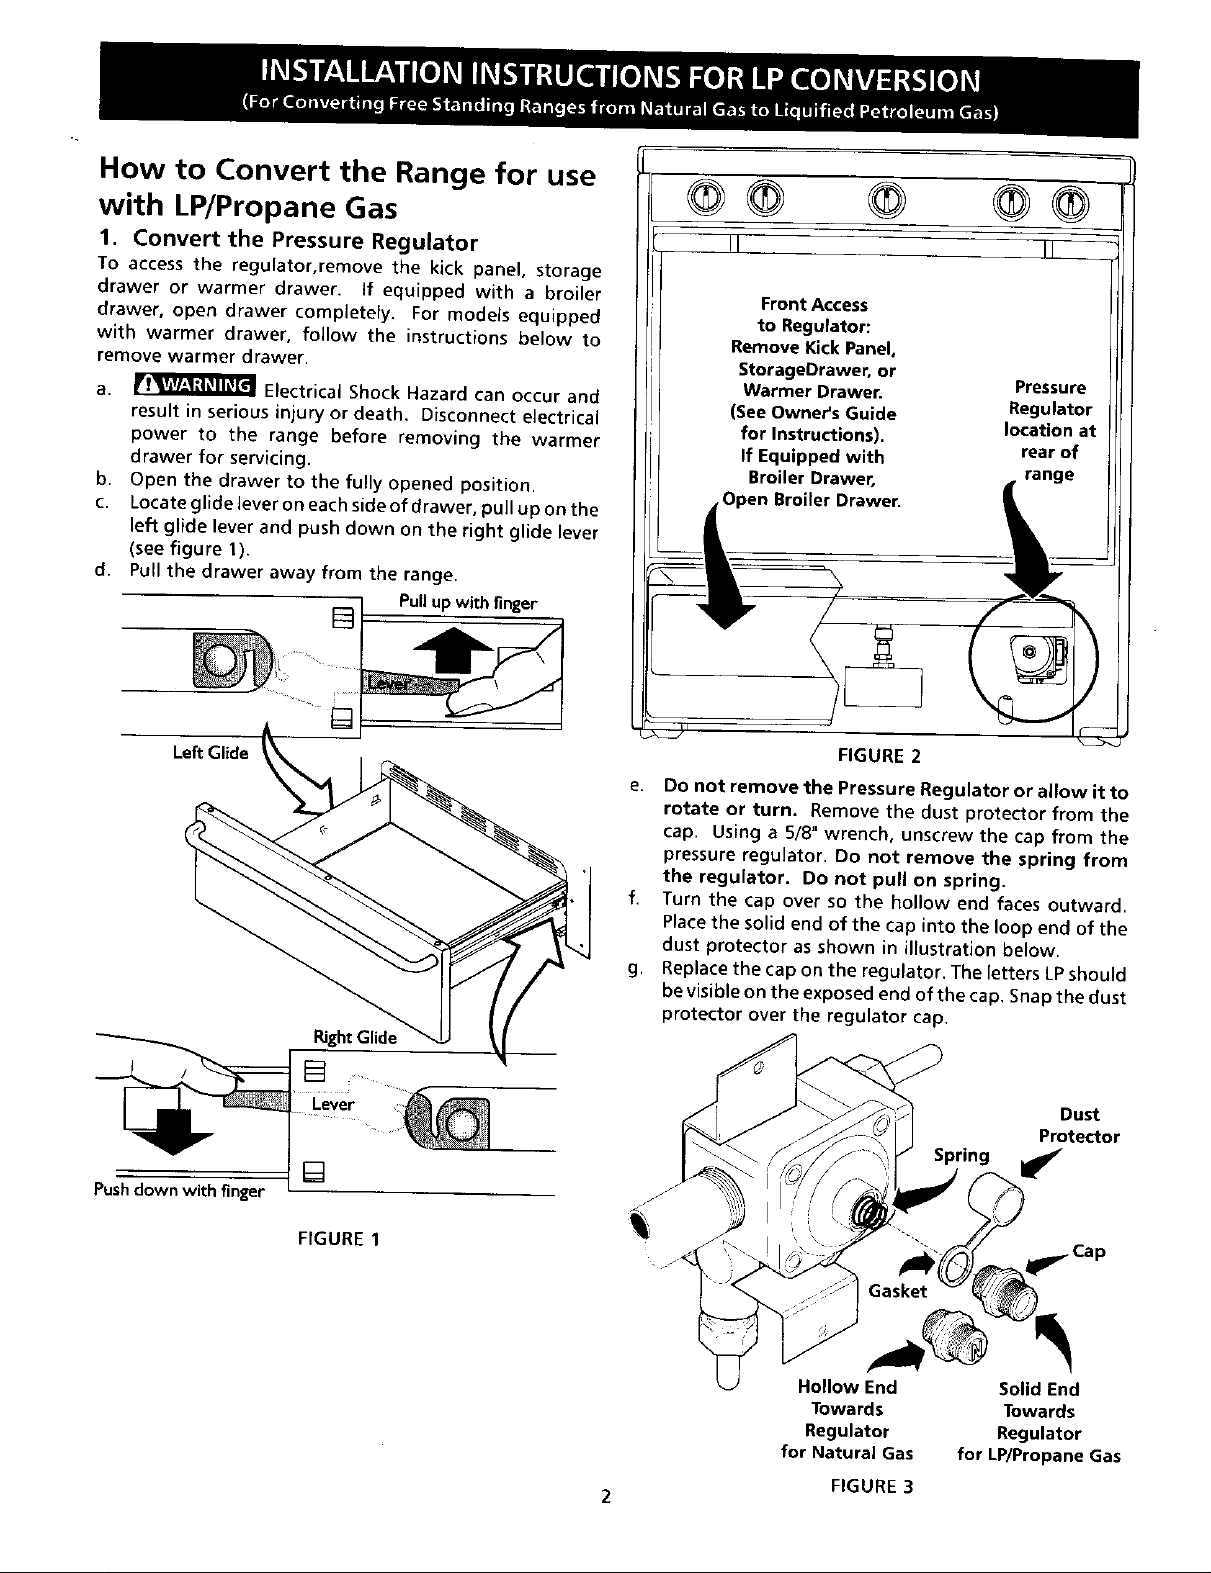
How to Convert the Range for use
with LP/Propane Gas
1. Convert the Pressure Regulator
To access the regulator, remove the kick panel, storage
drawer or warmer drawer. If equipped with a broiler
drawer, open drawer completely. For models equipped
with warmer drawer, follow the instructions below to
remove warmer drawer.
a, _ Electrical Shock Hazard can occur and
result in serious injury or death, Disconnect electrical
power to the range before removing the warmer
drawer for servicing.
b. Open the drawer to the fully opened position.
c, Locate glide lever on each side of drawer, pull up on the
left glide lever and push down on the right glide lever
(see figure 1).
d. Pull the drawer away from the range.
Pullup withfinger
Front Access
to Regulator:
Remove Kick Panel,
StorageDrawer, or
Warmer Drawer.
(See Owner's Guide
for Instructions).
If Equipped with
Broiler Drawer,
pen Broiler Drawer.
Pressure
Regulator
location at
rear of
range
Pus_
Left Glide
FIGURE 2
e. Do not remove the Pressure Regulator or allow it to
rotate or turn, Remove the dust protector from the
cap. Using a 5/8" wrench, unscrew the cap from the
pressure regulator. Do not remove the spring from
the regulator. Do not pull on spring.
f. Turn the cap over so the hollow end faces outward.
Place the solid end of the cap into the loop end of the
dust protector as shown in illustration below.
g. Replace the cap on the regulator. The letters LPshould
be visible on the exposed end of the cap, Snap the dust
protector over the regulator cap.
RightGlide
Dust
Protector
.....[]Lever
FIGURE 1
Hollow End Solid End
Towards Towards
Regulator Regulator
for Natural Gas for LP/Propane Gas
FIGURE 3
 Loading...