

Kenmore 417.4194 Series Installation Instructions Manual

Installation Instructions
Instrucciones de Instalación
English / Español
Models/Modelos: 417.4194*
Kenmore
®
Compact Condensing Dryer
Condensación Secadora Compacto
* = Color number, número de color
P/N: 13938011 (1809)
Sears Brands Management Corporation
Homan Estates, IL 60179 U.S.A.
www.kenmore.com
www.sears.com
Important Safety Instructions
Table of contents
WARNING
Please read all instructions before using this
appliance.
Recognize safety symbols, words
and labels
Safety items throughout this manual are
labeled with a WARNING or CAUTION
based on the risk type as described below:
Denitions
This is the safety alert symbol. It is used
to alert the user of potential personal injury
hazards. Obey all safety messages that
follow this symbol to avoid possible injury or
death.
DANGER
Important Safety Instructions ...................2-3
Installation Requirements .......................4-7
Installation Instructions ........................8-11
Accessories ............................................. 12
IMPORTANT
DO NOT INSTALL YOUR WASHER:
1. In an area exposed to dripping water
2. On carpet. Floor MUST be solid with a
or outside weather conditions.
maximum slope of 4%.
DANGER indicates an imminently
hazardous situation which, if not avoided,
will result in death or serious injury.
WARNING
WARNING indicates a potentially
hazardous situation which, if not avoided,
could result in death or serious injury.
CAUTION
CAUTION indicates a potentially
hazardous situation which, if not avoided,
may result in minor or moderate injury.
IMPORTANT
Indicates installation, operation, or
maintenance information which is
important but not hazard-related.
CAUTION
EXCESSIVE WEIGHT HAZARD
To avoid back or other injury, have more
than one person move or lift the dryer.
WARNING
EXPLOSION HAZARD
Do not install the dryer where gasoline
or other ammables are kept or stored.
If the dryer is installed in a garage, it
must be a minimum of 18 inches (45.7
cm) above the oor. Failure to do so can
result in death, explosion, re or burns.
2
Important Safety Instructions
WARNING
For your safety the information in this manual must be followed to minimize the risk of
re or explosion or to prevent property damage, personal injury or loss of life. Do not
store or use gasoline or other ammable vapors and liquids in the vicinity of this or any
other appliance.
WARNING - RISK OF FIRE
Read all the following instructions before installing and using this appliance.
• Destroy the carton and plastic bags after the dryer is unpacked. Children might use
them for play. Cartons covered with rugs, bedspreads, or plastic sheets can become
airtight chambers causing suocation. Place all materials in a garbage container or
make materials inaccessible to children.
• Clothes dryer installation and service must be performed by a qualied installer or
service agency.
• Install the clothes dryer according to the manufacturer’s instructions and local codes.
• The electrical service to the dryer must conform with local codes and ordinances and
the latest edition of the National Electrical Code, ANSI/NFPA 70, or in Canada, the
Canadian electrical code C22.1 part 1.
• The dryer is designed under ANSI Z 21.5.1 or ANSI/UL 2158 - CAN/CSA C22.2 No. 112
(latest editions) for HOME USE only. This dryer is not recommended for commercial
applications such as restaurants, beauty salons, etc.
• DO NOT stack a dryer on top of washer already installed on pedestal. Do not stack
dryer on top of another dryer. DO NOT stack washer on top of dryer. Do not stack
washer on top of another washer. DO NOT stack dryer on top of washer without use of
manufacturer approved and correctly installed stacking kit appropriate for your model.
The instructions in this manual and all other literature included with this dryer are not
meant to cover every possible condition and situation that may occur. Good safe practice
and caution MUST be applied when installing, operating and maintaining any appliance.
SAVE THESE INSTRUCTIONS FOR FUTURE REFERENCE.
3
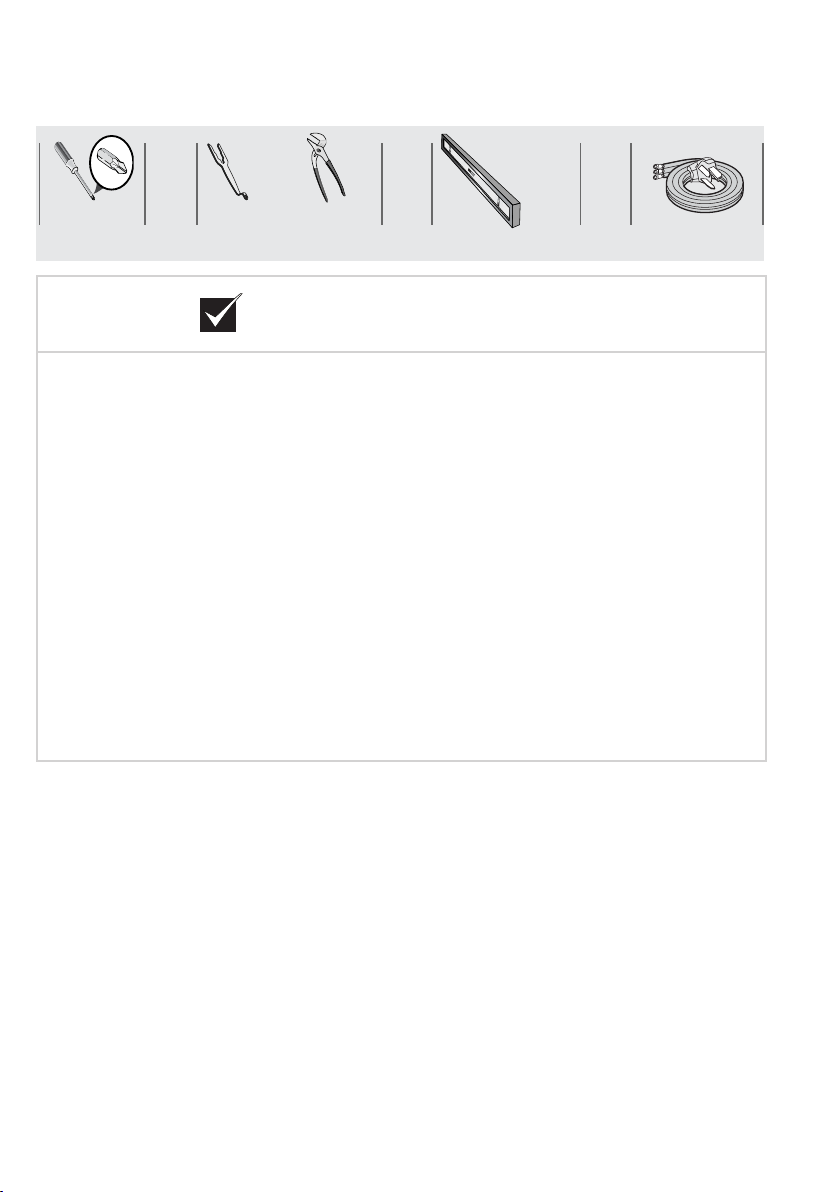
Installation Requirements
Tools and materials needed for installation:
OR
wrench
Phillips
screwdriver
AND AND
Optional
universal
INSTALLATION CHECKLIST
Unpacking
Plastic lm (lining drum interior) is
removed and discarded. See also
image below.
Leveling
Dryer is level, side-to-side and front-
to-back
Cabinet is setting solid on all corners
240v Electric Supply
Approved NEMA 10-30R or 14-30R
service cord with all screws tight on
terminal block
Terminal access cover/strain relief
installed before initial operation
Adjustable
pliers
AND
Carpenter’s level
3 or 4-wire
240 volt cord kit
Door Reversal
Follow detailed instructions in this guide
Test hinge and latch for function
Electrical Power
House power turned on
Dryer plugged in
Final Checks
Installation Instructions and Use and Care
Guide read thoroughly
Door latches and drum tumbles when cycle
starts
4
Installation Requirements
Electrical requirements for electric
dryer
NOTE
Because of potentially inconsistent volt-
age capabilities, the use of this dryer with
power created by gas powered generators,
solar powered generators, wind powered
generators or any other generator other
than the local utility company is not recommended.
CIRCUIT - Individual 30 amp. branch circuit
fused with 30 amp. time delay fuses or
circuit breakers. Use separately fused circuits
for washer and dryer. DO NOT operate a
washer and a dryer on the same circuit.
POWER SUPPLY - 3-wire or 4-wire, 208-240
volt, single phase, 60 Hz, Alternating Current.
IMPORTANT
This dryer is internally grounded to neutral
unless it was manufactured for sale in
Canada.
Only a 4-conductor cord shall be used
when the appliance is installed in a location where grounding through the neu-
tral conductor is prohibited. Grounding
through the neutral link is prohibited for: (1)
new branch circuit installations, (2) mobile
homes, (3) recreational vehicles, and (4)
areas where local codes do not permit
grounding through the neutral.
OUTLET RECEPTACLE - NEMA 10-30R or
NEMA 14-30R receptacle to be located so
the power supply cord is accessible when the
dryer is in the installed position.
GROUNDING CONNECTION - See
“Grounding requirements” in Electrical
Installation section.
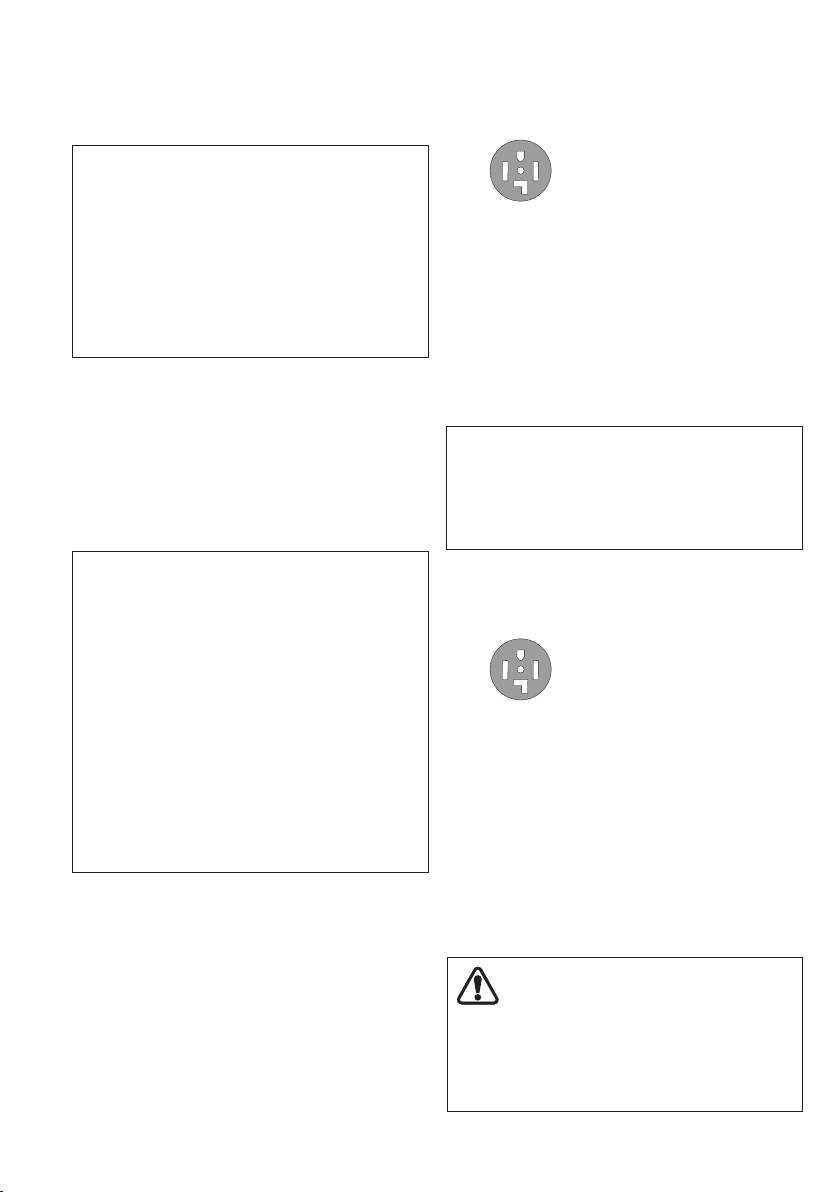
4-WIRE POWER SUPPLY CORD KIT
(not supplied)
4-wire receptacle
(NEMA type 14-30R)
The dryer MUST employ a 4-conductor
power supply cord NEMA 14-30 type SRDT
or ST (as required) rated at 240 volt AC
minimum, 30 amp, with 4 open end spade
lug connectors with upturned ends or closed
loop connectors and marked for use with
clothes dryers. For 4-wire cord connection
instructions see ELECTRICAL CONNECTIONS
FOR A 4-WIRE SYSTEM.
NOTE
Dryers manufactured for sale in Canada
have factory-installed, 4-wire power supply cord (NEMA 14-30R).
3-WIRE POWER SUPPLY CORD KIT
(not supplied)
3-wire receptacle
(NEMA type 10-30R)
The dryer MUST employ a 3-conductor
power supply cord NEMA 10-30 type SRDT
rated at 240 volt AC minimum, 30 amp,
with 3 open end spade lug connectors with
upturned ends or closed loop connectors
and marked for use with clothes dryers.
For 3-wire cord connection instructions see
ELECTRICAL CONNECTIONS FOR A 3-WIRE
SYSTEM.
WARNING
Improper grounding of the dryer may
cause serious injury or death. Check with a
licensed electrician if you are in doubt as to
whether the appliance is properly grounded.
5
Installation Requirements
Manufactured or mobile home
installation
Installation MUST conform to current
Manufactured Home Construction & Safety
Standard, Title 24 CFR, Part 32-80 (formerly
the Federal Standard for Mobile Home
Construction and Safety, Title 24, HUD Part
280) or Standard CAN/CSAZ240 MH.
Clearance requirements
MINIMUM INSTALLATION CLEARANCES
Inches (cm)
SIDES REAR TOP FRONT
Alcove
Under
Counter
0"
(0cm)
0”
(0 cm)
0”
(0 cm)
0”
(0 cm)*
0”
(0 cm)*
0”
(0 cm)
0”
(0 cm)
(0cm)
n/a
n/a
0"
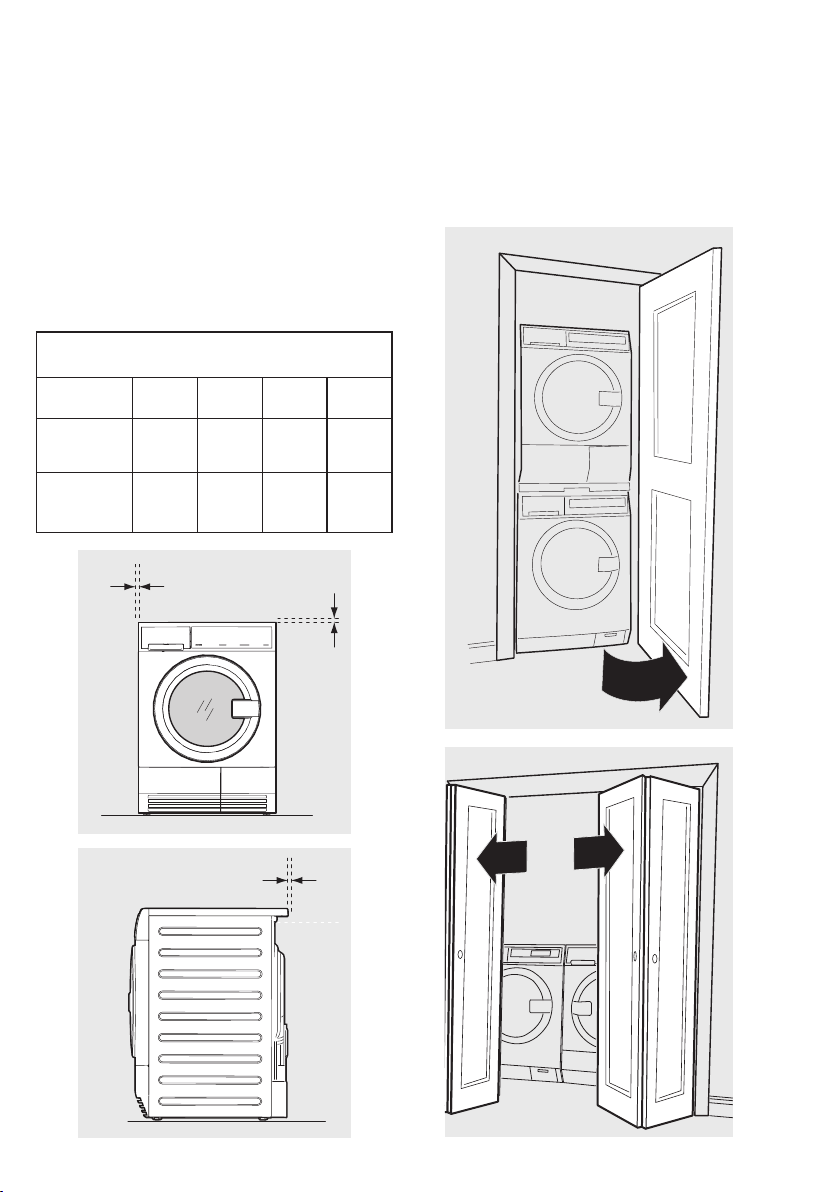
Closet installation
If installing the dryer in a closet, the unit
must only be operated with the closet door
in the open position to allow correct air
circulation. See Use and Care Guide for
more information.
0"
(0cm)
6
 Loading...