

Page 1
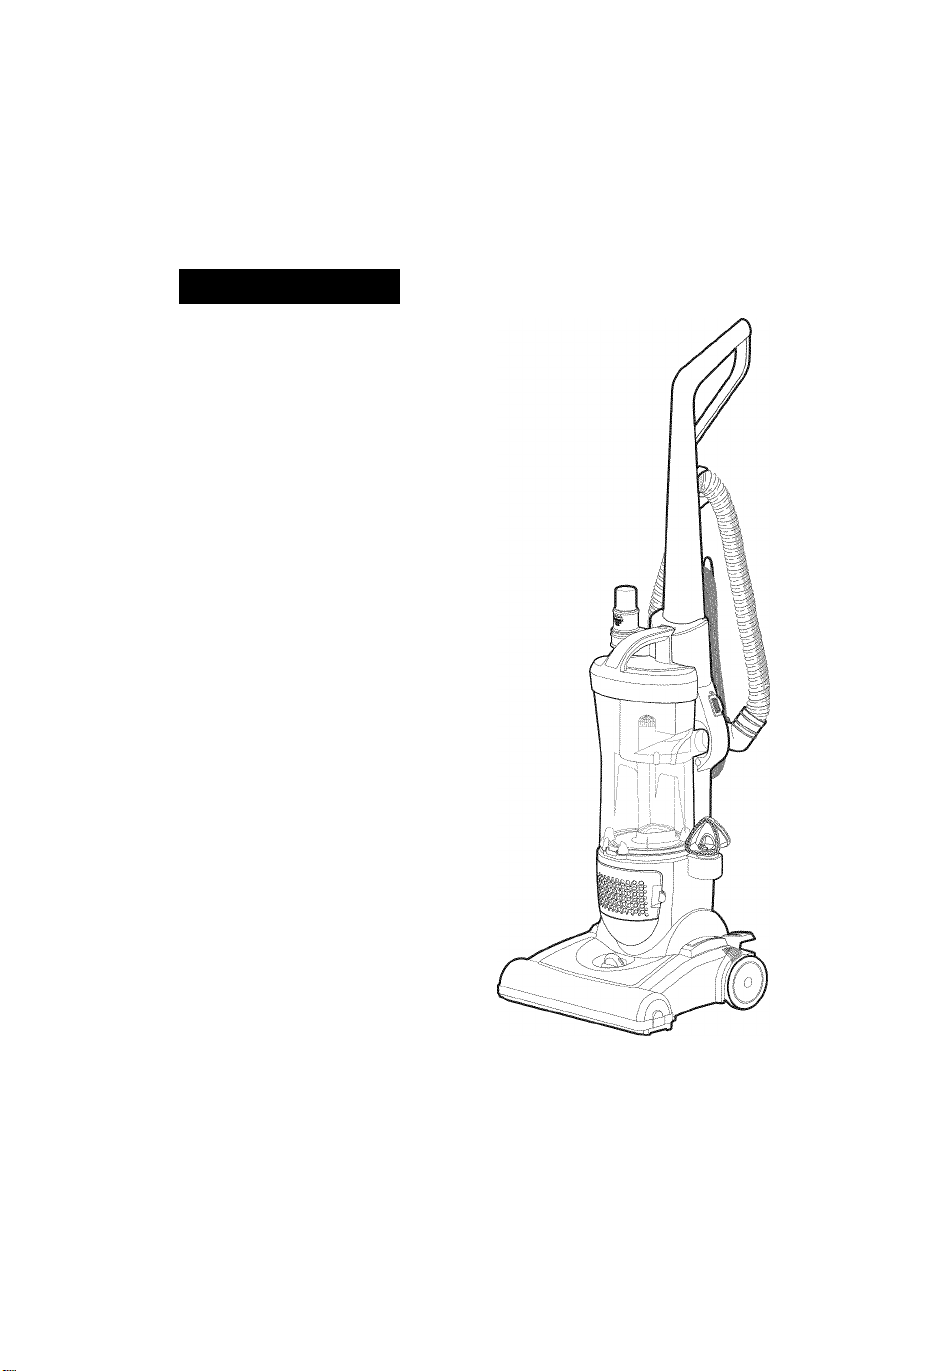
Use & Care Guide
Manual Del Propietario
Manuel Du Propriétaire
KcnmorG
Vacuum Cleaner
Aspiradora
Aspirateur
Model, Modelo, Modèle
401.39000 (U.S.)
CAUTION:
Read and follow all
safety and operating
instructions before first
use of this product.
CUIDADO:
Lea y sigue todas las
instrucciones de operación
y seguridad antes del uso de
este producto.
ATTENTION :
Veuillez lire toutes les
consignes de sécurité et le
mode d’emploi avant d’utiliser
ce produit.
Sears, Roebuck and Co., Hoffman Estates, IL 60179 U.S.A. Printed in Korea
www.sears.com Impreso en Korea
Imprimé en Korea
Page 2

TABLE OF CONTENT
M
Before Using Your New Vacuum
Cleaner
......................................
Kenmore Vacuum Cleaner
Warranty
....................................
Important Safety Instructions... 4-5
Parts and Features
........................
Assembly Instructions...................7-8
Operating Instructions..................8-9
Power Cord..................................8
Floor/ Carpet Cleaning....................9
2
3
6
Vacuum Cleaner Care
Dust Bin Removal and
Replacement
Motor Filter Removal and
Replacement
Exhaust Filter Removal and
Replacement
Belt or Brushroll Removal and
Replacement
Light Bulb Replacement
Troubleshooting
...............
..............................
..............................
..............................
..............................
..........................
.................
Master Protection Agreements ...15
Requesting Service
..........
BEFORE USING YOUR NEW VACUUM CLEANER
Please read this guide. It will help you assemble and operate your new Kenmore
vacuum cleaner in the safest and most effective way.
For more information about vacuum cleaner care and operation, call your
nearest Sears store. You will need the complete model and serial numbers when
requesting information.
Your vacuum cleaner’s model and serial numbers are located on the Model and
Serial Number Plate.
10-13
10
11
11
12
13
14
(back page)
Use the space below to record the model number and serial number of your new
Kenmore vacuum cleaner.
Model No.
Serial No.
Date of Purchase
Keep this book and your sales check (receipt) in a safe place for future reference.
Page 3

KENMORE VACUUM CLEANER WARRANTY
ONE YEAR LIMITED WARRANTY ON KENMORE VACUUM CLEANER
When installed, operated and maintained according to all instructions supplied
with the product, if this appliance fails due to a defect in material and workmanship
within one year from the date of purchase, return it to any Sears store. Sears
Parts & Repair Service Center, or other Kenmore outlet for free repair.
If this appliance is ever used for other than private family purposes, this warranty
applies for only 90 days from the date of purchase.
This warranty covers only defects in material and workmanship.
Sears will NOT pay for:
1. Expendable items that can wear out from normal use, including but not
limited to filters, belts, light bulbs, and bags.
2. A service technician to instruct the user in correct product installation,
operation or maintenance.
3. A service technician to clean or maintain this product.
4. Damage to or failure of this product if it is not installed, operated or
maintained according to the all instructions supplied with the product.
5. Damage to or failure of this product resulting from accident, abuse, misuse
or use for other than its intended purpose.
6. Damage to or failure of this product caused by the use of detergents,
cleaners, chemicals or utensils other than those recommended in all
instructions supplied with the product.
7. Damage to or failure of parts or systems resulting from unauthorized
modifications made to this product.
Disclaimer of implied warranties; limitation of remedies
Customer’s sole and exclusive remedy under this limited warranty shall be
product repair as provided herein. Implied warranties, including warranties of
merchantability or fitness for a particular purpose, are limited to one year or
the shortest period allowed by law. Sears shall not be liable for incidental or
consequential damages. Some states and provinces do not allow the exclusion or
limitation of incidental or consequential damages, or limitation on the duration of
implied warranties of merchantability or fitness, so these exclusions or limitations
may not apply to you.
This warranty applies only while this appliance is used in the United States or
Canada.
This warranty gives you specific legal rights, and you may also have other rights
which vary from state to state.
Sears, Roebuck and Co., Hoffman Estates, IL 60179
Sears Canada Inc., Toronto, Ontario, Canada MSB 2B8
Page 4

IMPORTANT SAFETY INSTRUCTIONS
Your safety is important to us. To reduce the risk of
A
WARNING precautions including the following:
fire, electrical shock, injury to persons or damage
when using your vacuum cleaner, follow basic safety
READ ALL INSTRUCTIONS IN
THIS MANUAL BEFORE
ASSEMBLING OR USING YOUR
VACUUM CLEANER.
Do not use outdoors or on wet
surfaces. Electrical shock could
occur.
Do not allow to be used as a toy.
Close attention is necessary when
used by or near children.
Use only as described in this manual.
Only use attachments designed for
this vacuum.
Do not use with damaged cord or
plug. If appliance is not working as
it should, has been dropped,
damaged, left outdoors, or dropped
into water, return it to a Sears or other
qualified service center for inspection.
Do not pull or carry by cord, use cord
as handle, close a door on a cord,
or pull cord around sharp edges or
corners. Do not run appliance over
cord. Keep cord away from heated
surfaces.
Do not unplug by pulling on cord.
To unplug, grasp the plug, not the
cord.
Do not leave appliance when
plugged in. Unplug from outlet when
not in use and before servicing.
Do not handle plug or
appliance with wet hands.
Do not put any objects into openings.
Do not use with any opening blocked;
keep free of dust, lint, hair, and
anything that may reduce air flow.
Keep hair, loose clothing, fingers, and
all parts of body away from openings
and moving parts.
Do not pick up anything that
is burning or smoking, such as
cigarettes, matches, or hot ashes.
Do not use without Dust Bin and
filters in place.
Turn off all controls before
unplugging.
Do not use to pick-up flammable or
combustible liquids, such as gasoline,
or use in areas where they may be
present.
Keep the vacuum cleaner on the
floor. Do not use on stairs.
Do not use an extension cord with
this vacuum cleaner.
Store the vacuum cleaner indoors.
Put vacuum cleaner away after use
to prevent tripping accidents.
Page 5

IMPORTANT SAFETY INSTRUCTIONS
Using improper voltage may result
in damage to the motor and
possible injury to the user. Proper
voltage is listed on the cleaner
plate.
WARNING : The cords, wires, and/
or cables supplied with this product
contains chemicals, including
lead or lead compounds, known
to the state of California to cause
cancer and birth defects or other
reproductive harm. Wash hands
after using.
SAVE THESE INSTRUCTIONS
Proper assembly and safe use of your vacuum cleaner are your
responsibilities. Your vacuum cleaner is intended only for Household
use. Read this Use & Care Guide carefully for important use and safety
information. This guide contains safety statements under warning and
caution symbols. Please pay special attention to these boxes and follow any
instructions given.
Page 6

PARTS AND FEATURE
It is important to know your vacuum cleaner’s parts and features
to assure its proper and safe use. Review these before using your
vacuum cleaner.
Item Part No.
Headlight DJ47-00004A
Belt 6602-001724
Handle
Carry Handle
(Dust Bin Handle)
Cyclone
Grille
Dust Bin
Exhaust Fil
(Exhaust Fil
is located behi
the doc
Tibination
Upholstery Tool
1 Handle
- ;ase
Accessories
Quick Reiea
Upper Cc
Power
Switch
Brush/
Crevice Tool
rr n
Dust Brush/ Extension
Upholstery Tool Wand
Wr
Cord Clip
Hose Clip
Vacuum
Hose
Crevice
Tool
Power NozzL Height Adjustment
Knob
Page 7

A
Please pay special attention to these hazard alert boxes, and follow any
instructions given. WARNING statements alert you to such dangers as fire,
electric shock, burns and personal injury. CAUTION statements alert you to
such dangerous personal injury and/or property damage.
ASSEMBLY INSTRUCTIONS
A
Before assembling the vacuum
cleaner, check the PACKING LIST
on the cover of the separate REPAIR
PARTS LIST or on the carton.
Use this list to verify that you have
received all the components of your
new Kenmore vacuum cleaner.
WARNING
Electrical Shock Hazard
Do not plug into the electrical
supply until the assembly is
complete. Failure to do so could
result in electrical shock or injury.
HANDLE ASSEMBLY
1. Stand the vacuum upright and slide
the base of the handle firmly into the
grooves at the top of the vacuum
body.
2. Check to be sure the handle is fitted
to the vacuum body. If there is a
gap, continue to push firmly until the
handle is flush.
3. Tighten securely with a screwdriver.
A
without the screws in place.
CAUTION
Do not overtighten.
Overtightening could strip the
screw holes.
Do not operate the vacuum cleaner
HOSE ASSEMBLY
1. Align tabs on end of hose with slots
in edge of hose attachment hole on
back of vacuum. Push hose end in
and turn clockwise to lock into place.
2. Slide the end of the hose wand onto
the hose wand base.
Note: The vacuum will not operate
properly unless the hose wand
is firmly attached.
3. Snap the hose into the hose clip on
the back of the vacuum handle.
4. Attach the lower cord wrap by lining
up the tab on the base with the
corresponding notch on the back of
the vacuum and turn it clockwise as
shown.
Page 8

ASSEMBLY INSTRUCTIONS
EXTENSION WAND
PLACEMENT
Place the crevice tool (A) in the top of
the extension wand. Place the
extension wand (B) in the wand holder
on the side of the vacuum cleaner.
OPERATING INSTRUCTIONS
POWER CORD
1. The power switch is located on the
side of the vacuum. Push the rocker
switch “ON” to vacuum, and “OFF”
when cleaning is complete.
!\ WARNING
A
To reduce the risk of electric shock,
this appliance has a polarized
plug (one blade is wider than
the other). This plug will fit in a
polarized outlet only one way. If the
plug does not fit fully in the outlet,
reverse the plug. If it still does not
fit, contact a qualified electrician
to install the proper outlet. Do not
change the plug in any way.
2. Unclip the power cord plug from the
power cord. Place the power cord into
the cord clip on the body as shown.
This helps keep the power cord
out from under the vacuum cleaner
nozzle.
3. Plug the polarized power cord into a
120 Volt outlet located near the floor.
4. To store cord, turn upper cord wrap to
the up position, then wrap cord.
!\ WARNING
A
Personal Injury and Product
Damage Hazard
• DO NOT plug in if switch is in the
ON position. Personal injury or
damage could result.
• DO NOT use outlets above
counters. Damage from cord to
items in surrounding area could
occur.
Page 9

FLOOR/CARPET CLEANIN
HEIGHT ADJUST KNOB
1. Upright
- For storage and above floor
cleaning with tools.
2. Normal Cleaning
- Press handle release pedal once.
Position used for most household
floor cleaning tasks.
3. Low Cleaning
- With the vacuum in normal cleaning
position, press handle release
pedal again. Use for reaching
under low furniture such as tables,
chairs or beds.
The power nozzle brushroll can be
adjusted to clean several floor surfaces.
Note : For optimal cleaning
performance, adjust to the lowest
practical setting. If your cleaner is
difficult to push, adjust to the next
higher setting.
1. Turn Height Adjustment Knob to
desired setting.
Lowest Setting
- For bare floors
Intermediate Setting
- For short and medium pile carpets
Highest Setting
- For plush pile carpet
CARRY HANDLE (DUST BIN HANDLE)
Use the dust bin handle to carry from
room to room.
Press the handle release pedal, located
on the lower left side of the vacuum,
with your foot to place your vacuum into
one of three cleaning positions.
Page 10

VACUUM CLEANER CARE
DUST BIN REMOVAL AND REPLACEMENT
A WARNING
Electrical Shock and Personal Injury
Hazard
Disconnect electrical supply before
servicing or cleaning the unit.
Failure to do so could result in
electrical shock or personal injury
from vacuum cleaner suddenly
starting.
EMPTY DUST BIN
To remove the dust bin from the cleaner
body, push the dust bin release button.
[3ZTL
If the suction is weak although the dust
bin is empty, open the cover and clean
the cyclone grille.
After emptying dust bin, ensure that
dust bin is attached to body properly.
Hold dust bin over waste receptacle and
push down on thumb button to release
contents.
After emptying dirt, fit the groove
located on the lower front side of the
dust bin to the hook located on the
cleaner body.
Attach the hook located on the dust bin
handle to the vacuum body.
10
Page 11

MOTOR FILTER REMOVAL AND REPLACEMENT
The motor filters(foam filter, micro
filter) are located underneath the
dust bin. If the filters become dirty,
remove and clean them.
The motor filters(foam filter, micro filter)
may be hand washed in cold water with
mild detergent. Rinse well and air dry
thoroughly before re-installing.
EXHAUST FILTER REMOVAL AND REPLACEMENT
A WARNING
Electrical Shock and Personal Injury
Hazard
Disconnect electrical supply before
servicing or cleaning the unit.
Failure to do so could result in
electrical shock or personal injury
from vacuum cleaner suddenly
starting.
Note : Inspect the exhaust filter
regularly for dust accumulation,
and clean if necessary.
Remove exhaust filter from cover. Hold
exhaust filter under running water to
wash. Allow exhaust filter to dry for at
least 24 hours.
Grasp tab on exhaust filter cover and
pivot forward to remove.
Return exhaust filter to cover and
reattach to cleaner.
11
Page 12

BELT OR BRUSHROLL REMOVAL AND REPLACEMENT
TO REPLACE BELT OR
/tv WARNING
Electrical Shock and Personal Injury
Hazard
Disconnect electrical supply before
servicing or cleaning the unit. Failure
to do so could result in electrical
shock or personal injury from vacuum
cleaner suddenly starting.
BRUSHROLL
Motor
Shaft
TO REMOVE BELT
Lay cleaner flat and flip cleaner to
expose nozzle base. Base should lay
flat and face up. To remove nozzle
guard, remove 6 screws.
Rotate/pivot the nozzle guard and pull
off.
Slide belt onto motor shaft.
Place new belt in area of brushroll
without bristles.
With new belt in place, pull and slide
brushroll into nozzle making sure that
the brushroll end caps are in the correct
orientation. Rotate brushroll manually to
make sure belt is properly aligned.
Reposition brush cover and 6 screws.
Tighten screws securely.
Lift and remove brushroll. Dispose of
old belt.
12
Page 13

LIGHT BULB REPLACEMEN
WARNING
A
Electrical Shock and Personal Injury
Hazard
Disconnect electrical supply before
servicing or cleaning the unit. Failure
to do so could result in electrical
shock or personal injury from vacuum
cleaner suddenly starting.
1. Using a screwdriver, remove a screw
as shown and lift off the lens.
2. Remove the bulb from the socket by
grasping bulb and pulling straight out.
3. Install the new bulb by pushing it
gently into the socket until the bulb
snaps into place.
TO REPLACE LIGHT BULB
4. Reposition lens and secure with
a screw.
13
Page 14

TROUBLESHOOTING
Review this table to find do-it-yourself solutions for minor performance problems.
Any service needed, other than maintenance described in this Use & Care Guide
should be performed by a Sears or other qualified service agent.
A
WARNING
Disconnect electrical supply before performing maintenance to the
unit. Failure to do so could result in electrical shock or personal injury.
PROBLEM
Cleaner won’t run
Cleaner won’t pick
up or low suction.
Dust escaping
from cleaner
Cleaner tools won’t
pick up
Headlight not
working
Cleaner is difficult
to push
POSSIBLE CAUSE
1. Power cord not firmly plugged
into outlet.
2. Blown house fuse or tripped
house circuit breaker.
1. Hose wand not firmly attached
to hose wand base.
2. Dust bin not installed correctly 2. Review dust bin removal and
3. Dust bin full. 3. Empty dust bin - Pg.10
4. Brushroll worn 4. Replace brushroll - Pg.12
5. Broken or worn belt. 5. Replace belt - Pg.12
6. One or both filters clogged. 6. Remove filters and clean - Pg.11
7. Carpet height setting is
incorrect.
1. Dust bin full. 1. Empty dust bin - Pg.10
2. Dust bin not installed correctly. 2. Review dust bin removal and
3. Hose not installed correctly. 3. Review hose placement - Pg.7
4. Exhaust filter clogged. 4. Replace exhaust filter.
5. Filter assembly not positioned
properly.
6. Motor filter clogged. 6. Clean motor filter
1. Hose clogged. 1. Check inlets, hose and dust bin
2. Dust bin full. 2. Empty dust bin - Pg.10
3. One or both filters clogged. 3. Remove filters and clean - Pg.11
1. Bulb burnt out. 1. Replace bulb - Pg.13
2. Loose electrical wires. 2. Take to sears service center.
1. Carpet height setting is
incorrect.
2. Broken or worn belt. 2. Replace belt - Pg. 12
POSSIBLE SOLUTION
1. Plug unit in firmly.
2. Check fuse or breaker in home,
replace fuse / reset breaker.
1. Make sure that hose wand is
securely attached to hose wand
base.
replacement - Pg.10
7. Set carpet height adjust lever
to appropriate setting for carpet
being cleaned - Pg.9
replacement - Pg.10
5. Ensure that filter assembly is
positioned properly.
for obstructions; remove. If clog
persists, take vacuum cleaner to
a sears or other qualified service
dealer.
1. Set carpet height adjust lever
to appropriate setting for carpet
being cleaned - Pg.9
14
Page 15

MASTER PROTECTION AGREEMENT
Congratulations on making a smart purchase. Your new Kenmore product is designed
and manufactured for years of dependable operation. But like all products, it may require
preventive maintenance or repair from time to time. That’s when having a Master Protection
Agreement can save you money and aggravation.
The Master Protection Agreement also helps extend the life of your new product. Here’s
what the Agreement* includes:
/ Parts and labor needed to help keep products operating properly under normal
use, not just defects. Our coverage goes well beyond the product warranty. No
deductibles, no functional failure excluded from coverage - real protection.
V Expert service by a force of more than 10,000 authorized Sears service
technicians, which means someone you can trust will be working on your product.
/ Unlimited service calls and nationwide service, as often as you want us, when
ever you want us.
_/ “No-lemon” guarantee - replacement of your covered product if four or more
product failures occur within twelve months.
/ Product replacement if your covered product can’t be fixed.
/ Annual Preventive Maintenance Check at your request - no extra charge.
7" Fast help by phone - we call it Rapid Resolution - phone support from a Sears
representative on all products. Think of us as a “talking owner’s manual.”
/ Power surge protection against electrical damage due to power fluctuations.
7” $250 Food Loss Protection annually for any food spoilage that is the result of
mechanical failure of any covered refrigerator or freezer.
7” Rental reimbursement if repair of your covered product takes longer than promised.
7 10% discount off the regular price of any non-covered repair service and related
installed parts.
Once you purchase the Agreement, a simple phone call is all that it takes for you to
schedule service. You can call anytime day or night, or schedule a service appointment
online.
The Master Protection Agreement is a risk free purchase. If you cancel for any reason
during the product warranty period, we will provide a full refund. Or, a prorated refund
anytime after the product warranty period expires. Purchase your Master Protection
Agreement today!
Some limitations and exclusions apply. For prices and additional information in the
U.S.A. call 1-800-827-6655.
* Coverage in Canada varies on some items. For full details call Sears Canada at
1-800-361-6665.
Sears Installation Service
For Sears professional installation of home appliances, garage door openers, water heaters,
and other major home items, in the U.S.A. or Canada call 1-800-4-MY-HOME®.
15
Page 16

Get it fixed, at your home or ours!
Your Home
For expert troubleshooting and home solutions advice:
www.managemyhome.com
For repair - in your home - of all major brand appliances,
lawn and garden equipment, or heating and cooling systems,
no matter who made it, no matter who sold it!
For the replacement parts, accessories and
owner’s manuals that you need to do-it-yourself.
For Sears professional installation of home appliances
and items like garage door openers and water heaters.
1-800-4-MY-HOME® Call anytime, day or night
{1-800~469"4663) (U.S.A. and Canada)
www.sears.com www.sears.ca
Our Home
For repair of carry-in items like vacuums, lawn equipment,
and electronics, call anytime for the location of the nearest
Sears Parts & Repair Service Center
1 -800-488-1222 (U.S.A.) 1 -800-469-4663 (Canada)
www.sears.com
www.sears.ca
To purchase a protection agreement on a product serviced by Sears:
1-800-827-6655 (U SA) 1-800-361-6665 (Canada)
Para pedir servicio de reparación
a domicilio, y para ordenar piezas:
1-888-SU-HOGAR®
(1-888-784-6427)
©Sears Brands, LLC
® Registered Trademark / ™ Trademark / Service Mark of Sears Brands, LLC
® Marca Registrada / ™ Marca de Fábrica / Marca de Servicio de Sears Brands, LLC
Marque de commerce / Marque déposée de Sears Brands. LLC
Au Canada pour service en français:
l-OOO-LE-FOYER«'^
(1-800-533-6937)
www.sears.ca
 Loading...