

Page 1
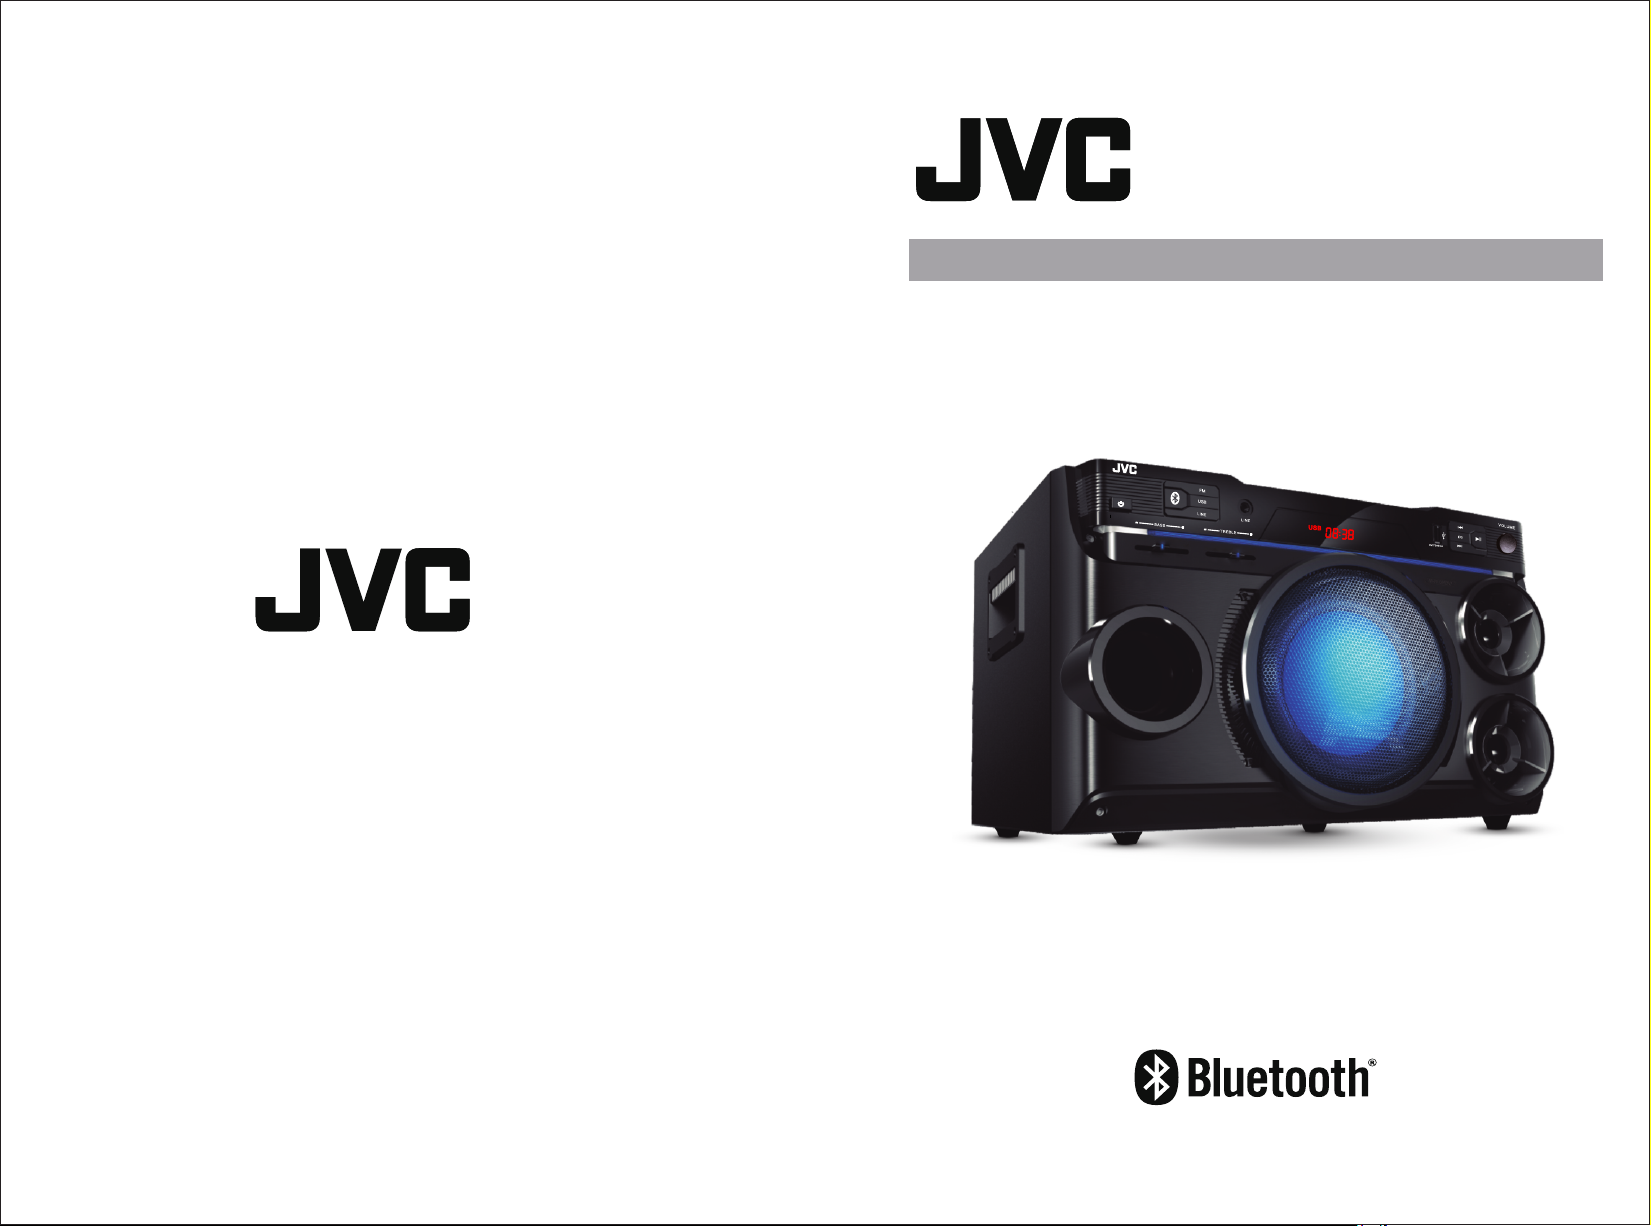
2.1 Ch Multimedia Speaker
XS-N438BA
Register your product at jvctv.com.au/warranty-registration
Page 2
INTRODUCTION
In order to ensure safety and efciency of the product, please read this manual carefully before operating.
Keep the manual in a safe place for future reference.
1.Use this apparatus in moderate climates only.
2.No naked ame sources, such as lighted candles, should be placed on the app aratu s.
3.To preserve our environment, dispose of used batteries according to your local laws or regulations.
4.To reduce the risk of re or electric shock, do not expose this apparatus to rain or moisture.
The a ppa rat us sh all n ot be e xpo sed t o dri ppi ng or s pla shi ng an d tha t obj ect s ll ed wi th li qui ds, s uch
as vases, shall not be placed on apparatus.
5.The battery shall not be exposed to excessive heat such as sunshine, re or the like.
6.The AC mains plug is used as the power disconnect device and it should remain readily accessible and
operable during intended use.
7.The ventilation should not be impeded by covering the ventilation openings with items such as
newspaper, table-cloths, curtains etc.
8.This equipment is a Class II or double insulated electrical appliance. It has been designed in such a
way that it does not require a safety connection to electrical earth.
9. Th is pr odu ct is n ot in ten ded f or us e by pe rso ns (i ncl udi ng ch ild ren ) wit h red uce d phy sic al, s ens ory
or mental capabilities, or lack of experience and knowledge, unless they have been given supervision
or instruction concerning use of the product by a person responsible for their safety.
10. This p rod uct i s not a t oy! C hil dre n sho uld b e sup erv ise d to en sur e tha t the y do no t pla y wit h the p rod uct .
PRECAUTIONS
The p ower co rd of the u nit
sho uld be un plugg ed from
the o utlet w hen the u nit
wil l not be us ed for a lo ng
tim e.
To clea n this un it, unp lug it fr om
the s upply a nd wipe i t with a
sof t cloth w ith a sma ll amou nt
of di luted d eterg ent.
Do no t use har sh chem icals o r abras ive
cle aners .
Do no t let wat er ente r the uni t. Make s ure
the u nit is co mplet ely dry b efore
rec onnec ting to t he supp ly.
Kee p the uni t away fr om heat
sou rces su ch as rad iator s,
ref riger ators , stove s or othe r
app lianc es that m ay radi ate
hea t.
SAFET Y WARNING
The u nit use s AC 10 0-240 V ~50/6 0Hz. If t he AC exce eds thi s range , the uni t will ge t damag ed.
If th e unit is i n need of r epair, p lease c ontac t a quali ed ser vice te chnic ian.D o not att empt to
To avoid the risk of electric
shock, do not open!
Pl eas e adh ere t o the a bove-m ent ion ed sa fety suggestio ns. I f the re are mal functions found during opera tio n,
pl eas e tur n off, unplug and contact cus tom er se rvi ce.
rep air it yo ursel f.
In or der to pr event h azard s such as re or ele ctric s hock, p lease k eep the u nit awa y from ra in.
To avoi d the ris k of elec tric sh ock, do n ot open t he unit .
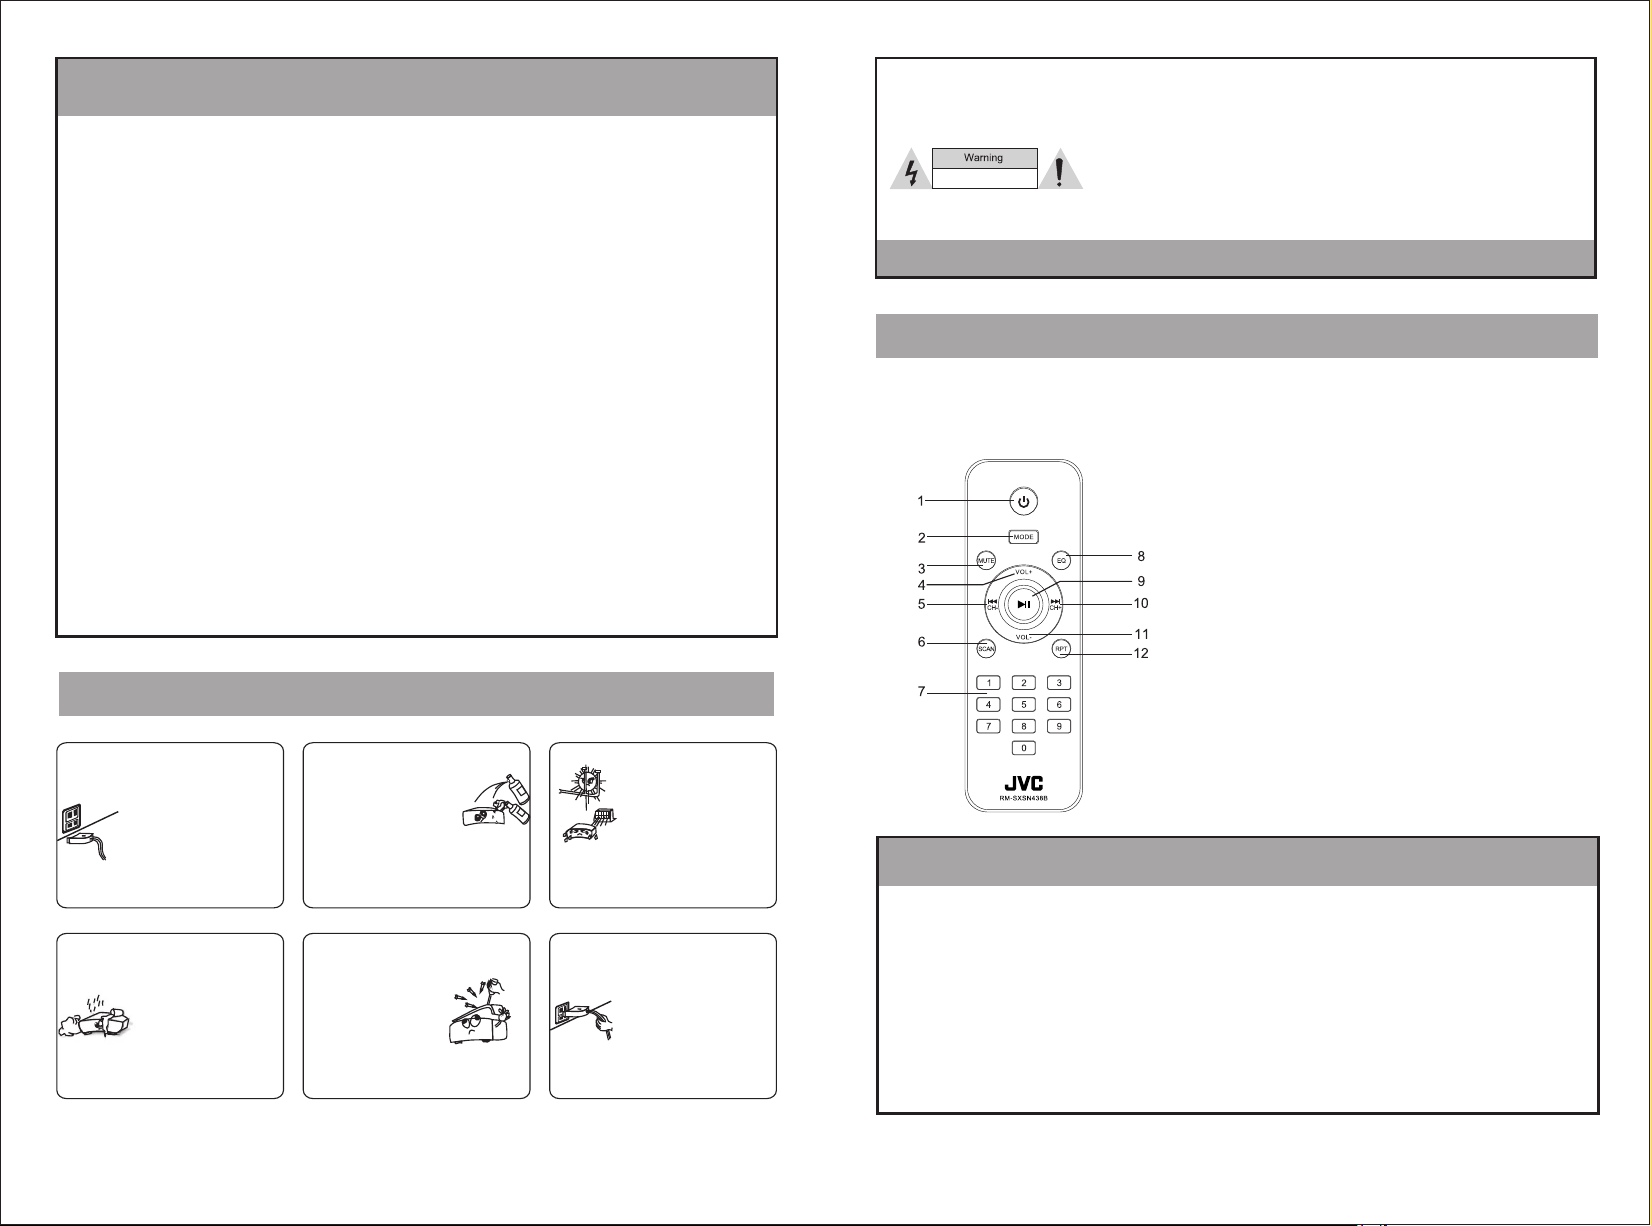
DESCRIPTION OF REMOTE CONTROL
Before rst use, please insert the 2 x AAA batteries
provided separately.
1.Pow er fu nct ion k ey
2.Mod e fun cti on( sw itc h between BT/FM /AU X/U SB)
3.Mut e fun cti on ke y
4.Volu me+ f unc tio n key
5.Pre vio us/ C han nel - f unction key
6.Sca n fun cti on ke y
7.0-9 f unc tio n key
8.EQ fu nct ion k ey
9.Pla y/P aus e fun cti on key
10.Ne xt/ C han nel + f unc tion key
11.Vo lume- functio n key
12.Re pea t fun cti on ke y(In USB mode, pr ess o nce t o rep eat
a song; p res s aga in to r epe at all songs; pre ss a th ird t ime
to canc el re pea t.)
SPECIFICATIONS
Do no t use thi s unit in a
hum id or dus ty envi ronme nt.
Obj ects co ntain ing wat er,
suc h as vase s, shou ld not
be pl aced on t he devi ce.
The u nit sho uld be re pai red by q uali ed
ser vice pe rsonn el
in th e follo win g case s:
a. Th e power p lug or ca ble
has b een dam aged;
b. Ob jec ts hav e fall en or
liq uid has b een spi lled
on th e appli ance;
c. Th e unit ha s been ex posed t o rain;
d. Th e unit is f unc tion ing ab norma lly.
1 2
Nev er pull t he plug f rom the
soc ket by me ans of ya nking
on th e cord. P ull the p lug fro m
the s ocket b y means o f a rm
gra sp on the p lug.
Satel lit e Spe ake rs Ou tput:
Outpu t Pow er: 2 x10 W
Subwo ofe r Out put :
Outpu t Pow er: 2 2W
FM: 87.5-1 08M Hz
Speak er Un it: 6 I nch +3 In ch*2
Frequ enc y Res pon se: 130Hz~18KHz
Subwo ofe r: 50 Hz~ 150 Hz
Input S ens iti vit y: 50 0mV
Power S upp ly: 1 00- 240 V ~50/60Hz
Separ ati on: 4 5dB
Page 3

SYSTEM CONNECTION
PANEL INSTRUCTION
Power O N/S tan dby B utt on
Volume D ial
PLAY/PAU SE: P ress to pause
the son g, pr ess a gai n to
resum e pla yba ck.
Previ ous :
Press t his k ey to g o to Pr evi ous
track i n BT/ USB m ode , or to
previ ous c han nel i n FM mo de.
Next:
Press t his k ey to g o to ne xt tr ack
in BT/U SB mo de, o r to
next ch ann el in F M mod e.
Aux inp ut: C onn ect t o the AU X
outpu t of yo ur ex ter nal d evice
to play c omp ati ble les ( aux
cable p rov ide d).
EQ: Pre ss fo r six d iff ere nt
sound e ffects (Pop / Roc k/
Jazz/ C las sic / Cou rt/ N ormal).
Note: E Q effects are a vai lab le
in BT and USB modes only.
Connect USB memory device to
play compatible mp3 les.
(The MAX memory size of USB:16G)
Bass Adj ust men t
Tre ble Ad jus tment
FM Radio Operating Instructions
1.Pre ss FM b utt on on t he un it (or MODE butto n on
the rem ote c ont rol ) to sw itch to FM Radio mo de.
2. Pres s SCA N on th e rem ote c ontrol to searc h
and sav e the c han nel s aut omatically.
3. Pres s SCA N aga in to s top t he search.
4.Press to select previous/next channel.
Bluet oot h Mod e: Pr ess t his
butto n to sw itc h to Bl ueo oth
mode di rec tly.
1. Pres s the B lue too th ic on button on the fr ont
contr ol pa nel o r MOD E but ton on the remote
contr ol to s wit ch to t he BL UETOOT H mode,
(bLUE )wi ll be d isp lay ed and blink on the
scree n.
2. Open t he Bl uet oot h on th e external devi ce
(must h ave B lue too th fu nction), sear ch th e
Bluet oot h dev ice n ame " XS-N438BA".
Selec t and p air w ith t his u nit.
3. Once c onn ect ed, y ou wi ll hear a connect ed
sound .
4. You can us e the / o r but ton o n
the fro nt pa nel t o con tro l the songs of the
exter nal d evi ce.
3 4
Page 4

Troubleshooting
Problem
1. Ensu re that t he AC powe r plug of t he spea ker in
conne cted pr operl y.
No Power
No sound or poor sound
2. Ensu re that t here is p ower at t he AC outl et.
1. Insp ect the f uncti on and ad just th e volum e.
2.Che ck if spe aker is o n Mute mo de.
Troubleshooting method
Responsible disposal
At the end of its working l ife , do no t thr ow this product out with your household rubbish. Electrical and
electronic produc ts co nta in su bst ances that can have a detrimental effect o n the e nvi ron men t and
human health if dispo sed o f ina ppr opr iately. Observe any local regulations r ega rdi ng th e dis posal
of electrical consu mer g ood s and d isp ose of it appropriately for recycling. Contact your local
authorities for adv ice o n rec ycl ing f acilities in your area.
Please keep the origi nal p ack agi ng ca rton and materials in a safe place. It will help to prevent any
damage if the product n eed s to be t ran sported in the future.
Please recycle all pa cka gin g mat eri al where possible.
Intermittent musi c in
Bluetooth mode
Remote control
does not work
USB file failure to play
Bluetooth can not sea rch
or connect
Check if the eff ectiv e conne ction d istan ce is exceeded or
wheth er ther e are obs tacle s betwe en the sp eaker a nd BT device.
1. Ensu re that t he righ t sourc e is sele cted.
2. Use th e remot e contr ol with in its ra nge wit hout an y objec ts
betwe en the re mote co ntrol a nd the un it.
3. Try rep lacin g the bat terie s ensur ing cor rect po larit ies as
marke d.
4. Aim the r emote c ontro l towar ds the re ceive r on the di splay
scree n of the un it.
1. The fo rmats o f these les are n ot supported.Only mp3 les
can be pl ayed.
2. The US B devic e is inco mpati ble wit h the spe aker or the
USB is da maged .
1. If oth er blue tooth d evice s are con necte d to your p hone, t ry
disco nnect ing the se rst , then se arch an d conne ct agai n.
2. Turn of f the spe aker an d turn on a gain, t hen swi tch to
bluet ooth mo de.
3. Turn of f and tur n on blue tooth o n your ex terna l device.
5 6
 Loading...