

Page 1
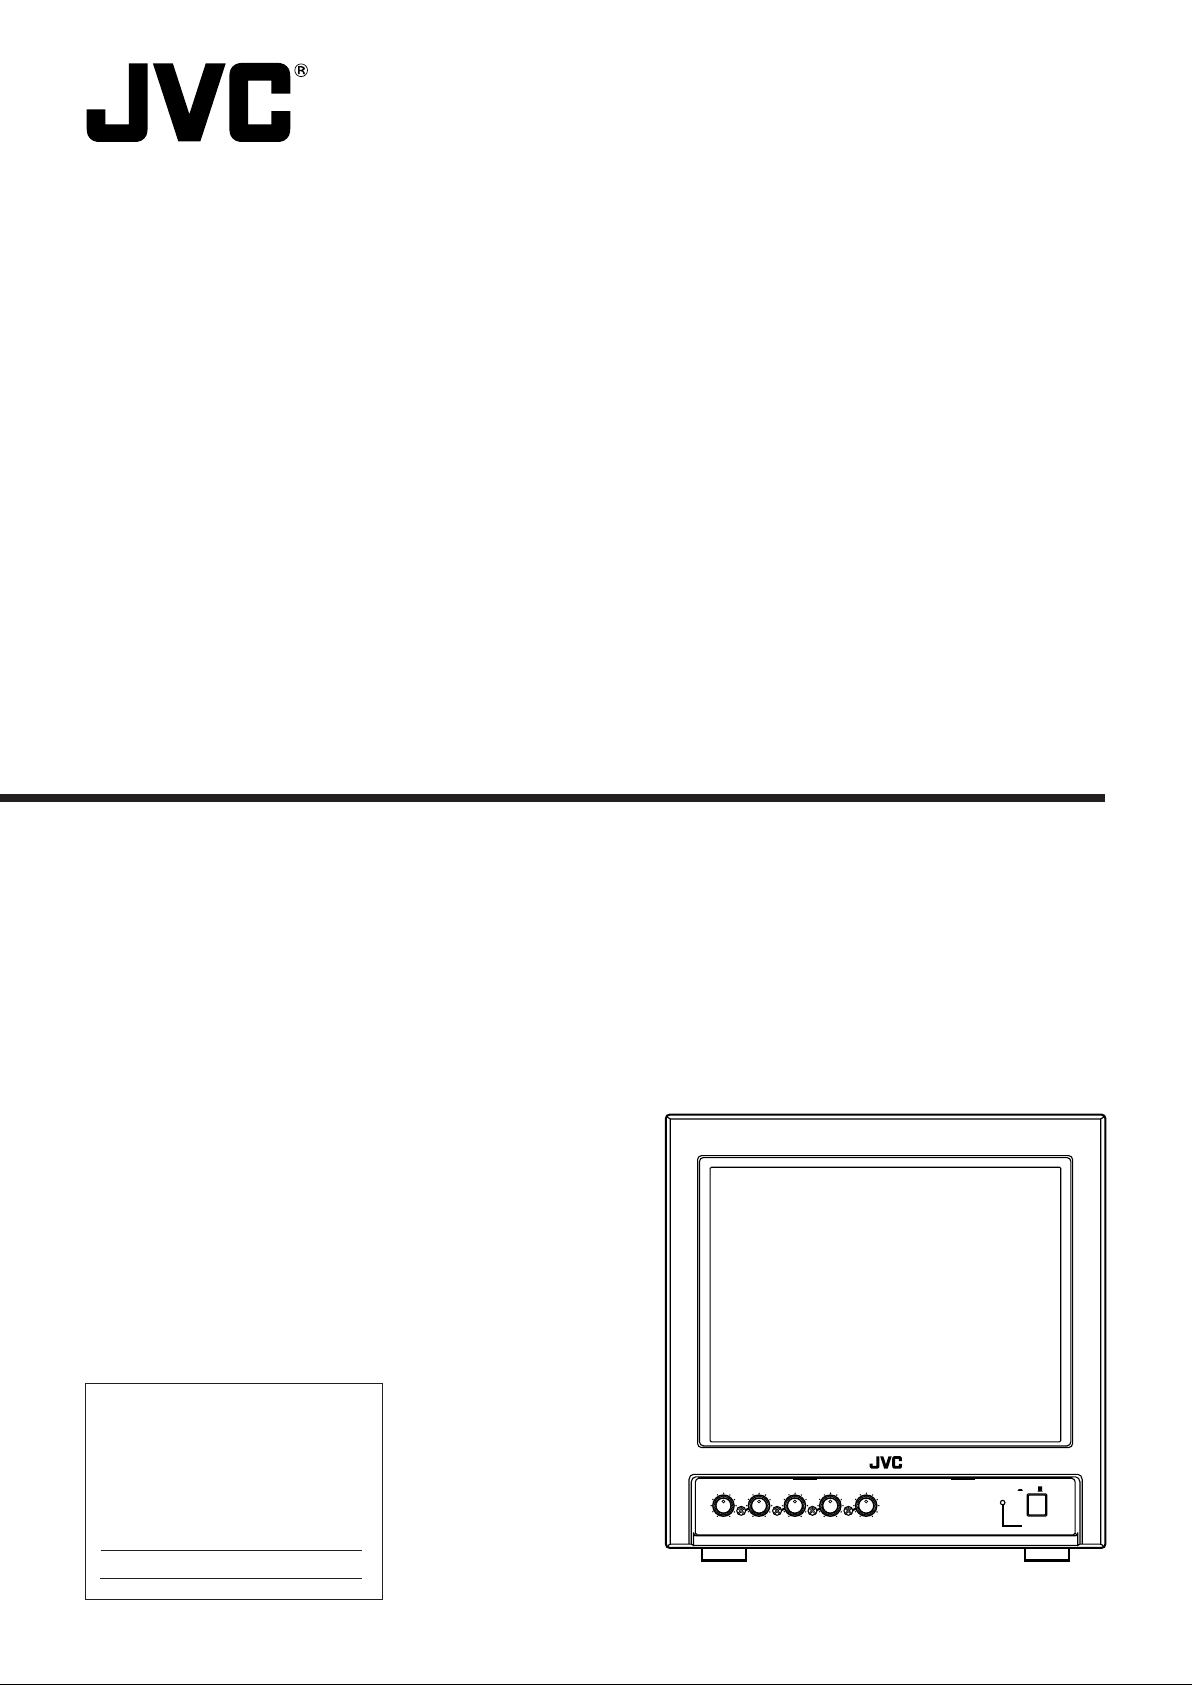
COLOR VIDEO MONITOR
POWER
CONTRASTBRIGHTCHROMAPHASEVOLUME
ON OFF
TM-A9U
TM-A9UCV
INSTRUCTIONS
For Customer Use:
Enter below the Model No. and
Serial No. which are located on
the rear of the cabinet. Retain this
information for future reference.
Model No.
Serial No.
(TM-A9U shown.)
Page 2

Thank you for purchasing this JVC color video monitor. Before using it, read and follow all
instructions carefully to take fullest advantage of the monitor’s performance.
SAFETY PRECA UTIONS
W ARNING:
TO PREVENT FIRE OR SHOCK HAZARDS, DO NOT
EXPOSE THIS APPLIANCE TO RAIN OR MOISTURE.
CA UTION:
To reduce the risk of electric shock, do not remove
cover. Refer sevicing to qualified service personnel.
䡵 PRECAUTIONS
● Use only the power source specified on the unit.
● Keep flammable material, water, and metal objects away
from the unit — especially the interior of the unit.
● This unit incorporates high voltage circuitry.
For your own safety and that of your equipment, do not
attempt to modify or disassemble this monitor.
There are no user-serviceable parts inside.
● Unplug the monitor when you’re not going to be using it
for a long period.
INFORMATION
CAUTION: Changes or modification not approved by
JVC could void the user’s authority to operate the
equipment.
NOTE: This equipment has been tested and found to
comply with the limits for a Class A digital device,
pursuant to Part 15 of the FCC Rules. These limits are
designed to provide reasonable protection against
harmful interference when the equipment is operated in
a commercial environment. This equipment generates,
uses, and can radiate radio frequency energy and, if not
installed and used in accordance with the instruction
manual, may cause harmful interference to radio
communications. Operation of this equipment in a
residential area is likely to cause harmful interference in
which case the user will be required to correct the
interference at his own expense.
䡵 HANDLING
● Avoid shocks or vibrations. These may damage the unit
and cause it to malfunction.
● Do not block the ventilation slots.
● Do not expose this unit to high temperatures.
Extended exposure to direct sunlight or a heater could
deform the cabinet or cause the performance of internal
components to deteriorate.
● Do not place the unit near appliances generating strong
electric or magnetic fields. These can generate picture
noise and instability.
● Keep the monitor clean by wiping the cabinet and CRT
screen with a piece of soft cloth. Do not apply thinner or
benzene. These chemicals can damage the finish and
erase printed letters. When the unit is excessively dirty,
use a diluted neutral cleanser, then wipe away the
cleanser with a dry cloth.
SCREEN BURN
● It is not recommended to keep a certain still image
displayed on screen for a long time as well a dispalying
extremely bright images on screen. This may cause a
burning (sticking) phemomenon on the screen of cathoderay tube.
This problem does not occur as far as displaying normal
video playback motion images.
2
Page 3

FEATURES
䡵 9-inch TV-grade cathode-ray tube
䡵 Horizontal resolution of 280 TV lines or more
䡵 Professional metal cabinet design
䡵 Bridge-connectable input terminals (1 line for video, 1 line for audio *1)
*1: The audio function can only be used with the TM-A9U.
It is not available with the TM-A9UCV.
CONTENTS
SAFETY PRECAUTIONS............................................................................................................ 2
FEATURES.................................................................................................................................. 3
CONTROLS AND FEATURES.................................................................................................... 4
CONNECTION EXAMPLE........................................................................................................... 5
BASIC OPERATION.................................................................................................................... 5
PICTURE ADJUSTMENTS ......................................................................................................... 6
TROUBLESHOOTING.................................................................................................................6
SPECIFICATIONS ....................................................................................................................... 7
3
Page 4

CONTROLS AND FEATURES
䡵 FRONT
(Front view of TM-A9U shown.)
ON OFF
CONTRASTBRIGHTCHROMAPHASEVOLUME
11
1 VOLUME control (TM-A9U only)
11
Turn to adjust speaker volume.
22
2 PHASE control
22
Turn to adjust picture hue, using natural skin color as a
reference.
33
3 CHROMA control
33
Turn to adjust picture color density according to your
requirements.
44
4 BRIGHT control
44
Turn to adjust picture brightness according to your
requirements.
POWER
[TM-A9U]
[TM-A9UCV]
CONTRASTBRIGHTCHROMAPHASEVOLUME
CONTRASTBRIGHTCHROMAPHASE
55
5 CONTRAST control
55
Turn to adjust picture contrast according to your
requirements.
66
6 Power indicator
66
Glows to indicate that power is on.
77
7 POWER switch
77
Press to turn the power on or off.
88
8 Speaker (TM-A9U only)
88
The built-in speaker is located on the side panel.
ON OFF
POWER
ON OFF
POWER
䡵 REAR
(Rear view of TM-A9U shown.)
99
9
VIDEO IN (video input), VIDEO OUT
99
(video output) terminals
These are the input and output (bridge-connected
output) terminals (BNC) for the video signal. When a
signal is input through the IN terminal, a bridgeconnected (looping) output can be obtained from the
OUT terminal.
Note:
● Confirm if the termination switch setting matches the
VIDEO terminal connection.
00
0 Termination switch
00
Set to OPEN for bridge connection; set to 75Ω for input
signal only.
4
V I D E O
A U D I O
I N
[TM-A9U]
V I D E O
I N
O U T
I N
O U T
7 5 Ω
O P E N
O U T
A U D I O
I N
7 5 Ω
O P E N
O U T
!!
! AUDIO IN (audio input), AUDIO OUT
!!
[TM-A9UCV]
V I D E O
I N
O U T
7 5 Ω
O P E N
(audio output) terminals (TM-A9U only)
These are the input and output (bridge-connected
output) terminals (RCA) for the audio signal. When a
signal is input through the IN terminal, a bridgeconnected (looping) output can be obtained from the
OUT terminal.
@@
@ Power cord
@@
Connect the power plug to an AC outlet (120 V AC,
60 Hz).
Note:
● The monitor may be equipped with a 3-blade grounding-type plug. If you are unable to insert the plug into
the outlet, contact your electrician.
Page 5

CONNECTION EXAMPLE
Equipment which outputs
video/audio signals
Video camera
ON OFF
POWER
CONTRASTBRIGHTCHROMAPHASEVOLUME
Monitor
Video recorder
V I D E O
From video
output terminal
O U T
Termination switch
Set to OPEN for bridge
connection.
A U D I O
I N
From audio
output terminal
(The TM-A9UCV is not
equipped with audio
terminals.)
IN
7 5 Ω
O P E N
O U T
To video
input terminal
To audio
input terminal
Equipment which inputs
video/audio signals
Video recorder
ON OFF
POWER
CONTRASTBRIGHTCHROMAPHASEVOLUME
Monitor
Notes:
● The illustration above only shows some possible connection examples, for reference. Terminal types and/or connections
may differ according to the component connected. Also refer to the Instruction Manual of the component to be connected.
● Before connecting, be sure to turn off the power of all the components.
● For video signal connection, use only a 75 Ω coaxial cable.
● Input and output terminals for video or audio (The TM-A9UCV is not equipped with audio terminals.) are bridge-connected.
Do not apply two input signals to both (input and output) terminals at the same time.
● For a bridge (loop) connection, connect each of input and output terminals on the monitor to separate video components.
For example, if both of them are connected to a video recorder, the picture will shake abnormally except when in the
recorder’s play mode. This phenomenon occurs due to a signal circulating around inside a certain component, and is not a
malfunction.
B ASIC OPERATION
1.To turn the power on:
Push the POWER switch.
The power indicator glows green. To turn off power, push the POWER switch
again, and the power indicator goes off.
2.To adjust the audio level: (TM-A9U only)
Turn the VOLUME control to the right to increase the level, or to the left to
decrease the level.
Note:
● The audio function can only be used with the TM-A9U.
It is not available with the TM-A9UCV.
5
Page 6

PICTURE ADJUSTMENTS
Turn a separate front panel control to adjust picture contrast, picture brightness, picture
color density and picture hue respectively:
䡲 CONTRAST (picture contrast) control
Softer
CONTRAST
Clearer
䡲 BRIGHT (picture brightness) control
Darker
Brighter
BRIGHT
䡲 CHROMA (picture color density) control
Thinner
Denser
CHROMA
䡲 PHASE (picture hue) control
Purplish
Greenish
PHASE
TROUBLESHOOTING
Before concluding a problem has occurred, check the following points. If the problem persists
after carrying out the checks, disconnect the power cord from the AC outlet and consult the
dealer from whom you purchased the monitor.
Note:
● The audio function can only be used with the TM-A9U.
It is not available with the TM-A9UCV.
Problems Points to be checked Measures
No power supply. Is the power plug connected to the
AC outlet?
Securely connect the power plug to the
AC outlet.
No picture or sound. Is the monitor turned on? Press the POWER switch to turn the
monitor ON (see pages 4 and 5).
Is an output signal coming in from a
source component?
Is the cable connected improperly? Connect both the video/audio signal
Normal picture but no sound. Is audio level set to the minimum? Adjust the VOLUME control (see
Is the audio signal cable connected
improperly?
Normal sound but no picture. Is the video signal cable disconnected
or connected improperly?
No color, wrong color, or dark
picture.
Shaking picture. Is there a device generating a strong
Have the picture settings been
changed?
magnetic field (motor, transformer,
etc.) near the monitor?
Perform required settings on the output
component.
cables securely and properly (see
pages 4 and 5).
pages 4 and 5).
Connect the audio signal cable
securely and properly (see pages 4
and 5).
Connect the video signal cable
securely and properly (see pages 4
and 5).
Adjust CHROMA, BRIGHT, CONTRAST
and/or PHASE controls (see pages 4
and 6).
Move it away from the monitor until the
picture becomes stable.
Unnatural, irregularly colored or
distorted picture.
6
Is there a speaker, magnet or any
other magnetized object near the
monitor?
After moving it away from the monitor,
turn the monitor’s power off. After 30
minutes or more, turn the power on
again.
Page 7

SPECIFICATIONS
Type : Color video monitor
Color system : NTSC
Picture tube : 9" measured diagonally,
90° deflection, in-line gun,
vertical stripe phosphor pitch
0.5 mm
Screen size (W x H) : 6-13/16" x 5-3/8" (173 x 136 mm)
Scanning frequency : (H) 15.734 kHz
(V) 59.94 Hz
Horizontal resolution : 280 TV lines or more
Video input : 1 line, BNC x 2 (with 1 bridge-
connected output),
1.0 V p-p, 75 Ω, negative sync,
bridge connection possible (termination switch provided)
Audio input : TM-A9U only
1 line (monaural), RCA x 2 (with 1
bridge-connected output), 0.5 V
rms, high impedance, bridge
connection possible
Audio power output : TM-A9U only
(effective) 1 W (monaural)
Built-in speaker : TM-A9U only
3-3/16" (8 cm) round, 8 Ω x 1
Operation : 0 – 40 °C (32 – 104 °F)
temperature
Relative humidity : 20 – 80 %
Power requirements : 120 V AC, 60 Hz
Power consumption : 0.66 A maximum [TM-A9U]
0.63 A maximum [TM-A9UCV]
Dimensions : 8-3/4" x 9" x 12-1/2"
(W x H x D) (222 x 227 x 317 mm)
Weight : 15.4 lbs (7.0 kg) [TM-A9U]
15.2 lbs (6.9 kg) [TM-A9UCV]
Dimensions
7-1/8" (178 mm)*
8-3/4" (222 mm)
*
5-5/8" (140 mm)
CONTRASTBRIGHTCHROMAPHASEVOLUME
6-1/2" (164 mm)
ON OFF
POWER
* The faceplate dimensions shown are larger than the visible portion of the screen (screen size).
12-1/2" (317 mm)
12-1/8" (305 mm)
9" (227 mm)
5-1/4" (131 mm)
3/8" (7 mm)
2-1/2" (63.5 mm)
1/16" (1.3 mm)
8-3/4" (222 mm)
3/8" (7 mm)
(TM-A9U shown.)
E. & O.E. Design and specifications subject to change without notice.
7
Page 8

TM-A9U/TM-A9UCV COLOR VIDEO MONITOR
䊚 1999 VICTOR COMPANY OF JAPAN, LIMITED
JVC PROFESSIONAL PRODUCTS COMPANY
DIVISION OF US JVC CORP.
1700 Vallery Road Wayne, NJ07470
JVC CANADA INC.
21 Finchdene Square, Scarborough Ontario M1X 1A7
Printed in Thailand
LCT0149-002A-H
0999-Tu-V-JMT
 Loading...