

Page 1

Instruction Manual
Soundbar
TH-W513B
Page 2

Page 3

Contents
Safety Warnings ...................................................................................................................4
Unpacking .............................................................................................................................6
Product Overview ................................................................................................................7
Main Unit .........................................................................................................................................................7
Remote Control ............................................................................................................................................8
Preparation ...........................................................................................................................9
First-time Use of Remote Control ..........................................................................................................9
Battery Replacement for the Remote Control .................................................................................. 9
Remote Control Operation Range ...................................................................................................... 10
Soundbar Placement ............................................................................................................................... 10
Wall Mounting .............................................................................................................................................11
Connections ........................................................................................................................12
Connecting to the TV ...............................................................................................................................12
Connecting to an External Audio Device .........................................................................................13
Connecting to the Mains Supply .........................................................................................................14
Basic Operating ..................................................................................................................14
Standby / ON ...............................................................................................................................................14
Setting Time in Standby mode .............................................................................................................15
Automatic Power O Function .............................................................................................................15
Selecting Modes .........................................................................................................................................15
Adjust the Speaker Level Settings and Eects ...............................................................................15
AUX / LINE IN / OPTICAL / COAXIAL Operation................................................................16
Bluetooth® Operation ........................................................................................................16
Maintenance .......................................................................................................................17
Hints and Tips .....................................................................................................................17
Product Fiche and Specifications .....................................................................................18
Others Information and Licences .....................................................................................19
Page 4

Safety Warnings
• Read all the instructions carefully before
using the unit and keep them for future
reference.
• Retain the manual. If you pass the unit
onto a third party make sure to include this
manual.
• Check that the voltage marked on the
rating label matches your mains voltage.
Damage
• Please inspect the unit for damage after
unpacking.
• Do not continue to operate the unit if you
are in any doubt about it working normally,
or if it is damaged in any way - switch o,
withdraw the mains plug and consult your
dealer.
Location of Unit
• The unit must be placed on a at stable
surface and should not be subjected to
vibrations.
• Do not place the unit on sloped or unstable
surfaces as the unit may fall o or tip over.
• The mains socket must be located near the
unit and should be easily accessible.
• This unit is designed for indoor, domestic
use only.
Temperature
• Avoid extreme degrees of temperature,
either hot or cold. Place the unit well away
from heat sources such as radiators or gas /
electric res.
• Avoid exposure to direct sunlight and other
sources of heat.
• Attention should be drawn to the use of
apparatus in moderate climates.
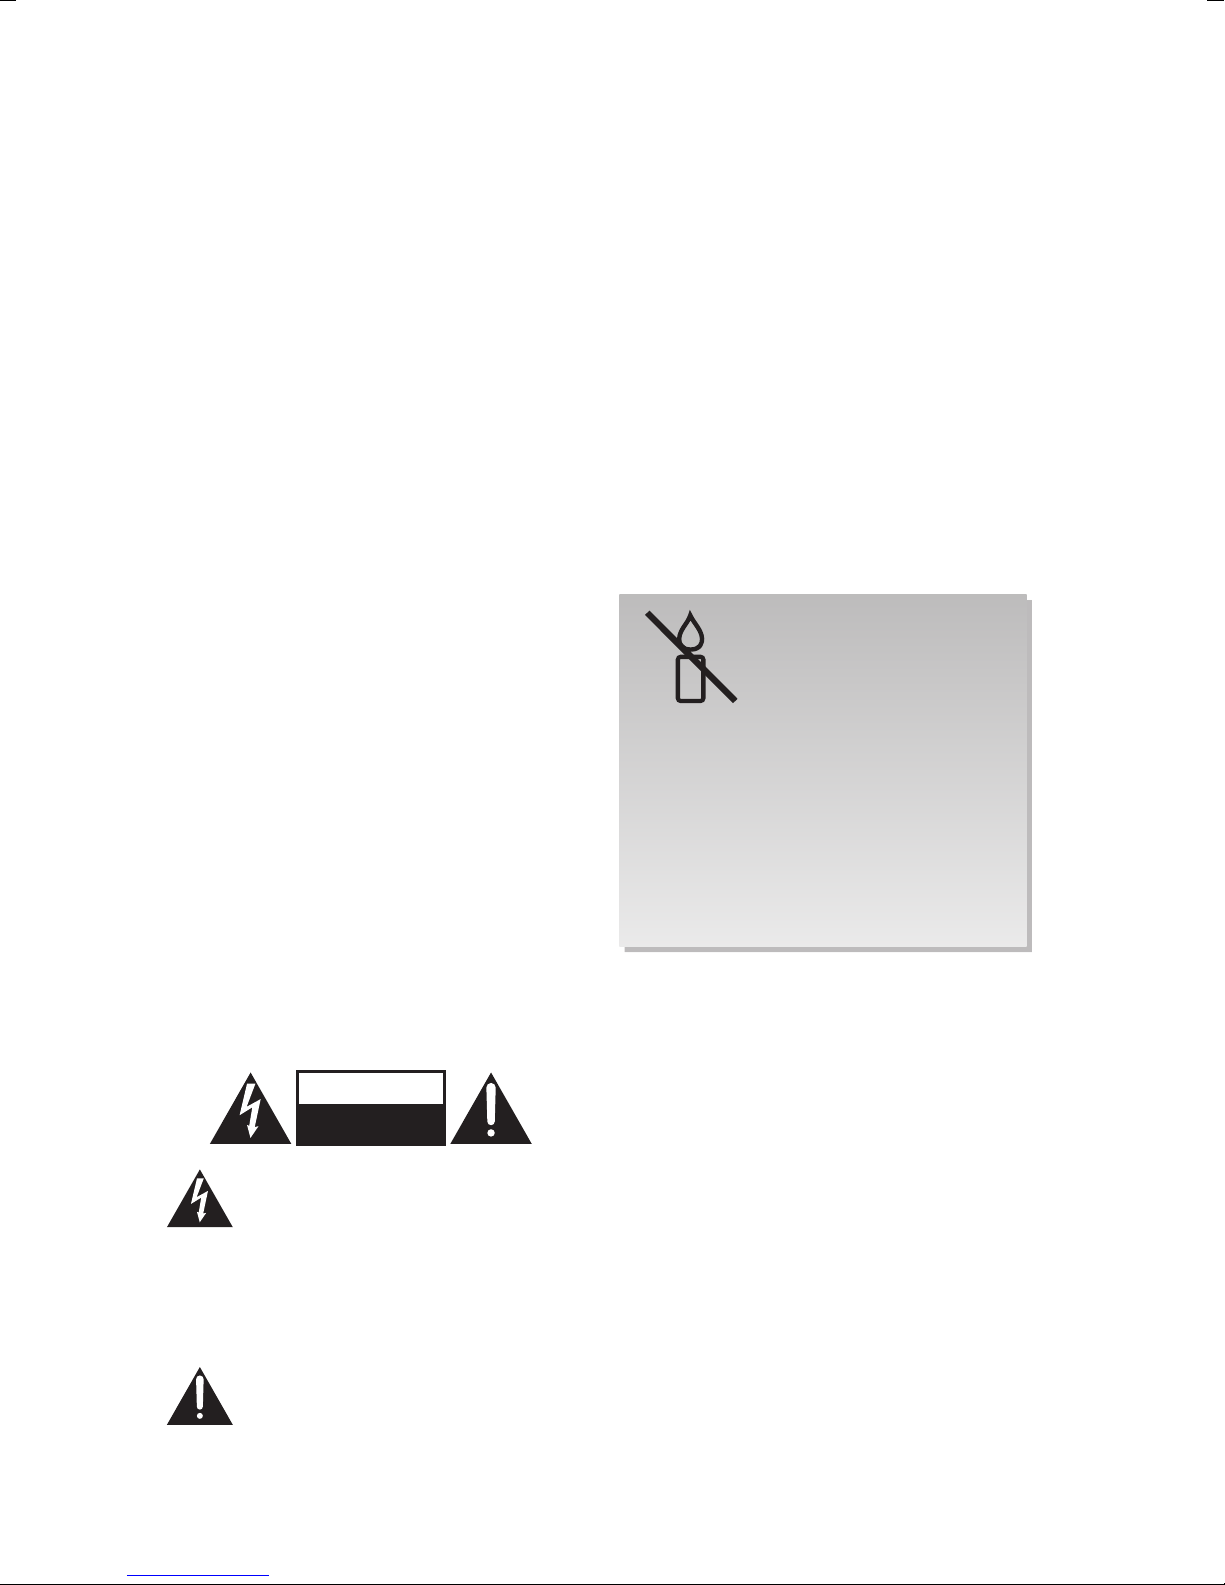
Naked Flames
• Never place any type of candle or naked
ame on the top of or near the unit.
Moisture
• To reduce the risk of re, electric shock or
product damage, do not expose this unit
to rain, moisture, dripping or splashing.
No objects lled with liquids, such as
vases, should be placed on the unit. Do
not operate the unit with wet hands, near
water or other liquid.
• If you spill any liquid into the unit, it can
cause serious damage. Switch it o at the
mains immediately. Withdraw the mains
plug and consult your dealer.
4
Ventilation
• To prevent the risk of electric shock or
re hazard due to overheating, ensure
that curtains and other materials do not
obstruct the ventilation vents.
• A minimum distance of 5 cm around the
unit should be maintained to allow for
sucient ventilation.
• Do not install or place this unit in a
bookcase, built-in cabinet or in another
conned space. Ensure the unit is well
ventilated.
Safety
• Always disconnect the unit from the mains
supply before connecting / disconnecting
other devices or moving the unit.
• Unplug the unit from the mains socket
during a lightning storm.
• In the interests of safety and to avoid
unnecessary energy consumption,
never leave the unit switched on while
unattended for long periods of time, e.g.
overnight, while on holiday or while out of
the house. Switch it o and disconnect the
mains plug from the mains socket.
Mains Cable
• Make sure the unit or unit stand is not
resting on top of the mains cable, as the
weight of the unit may damage the mains
cable and create a safety hazard.
• If the mains cable is damaged it must be
replaced by the manufacturer, its service
agent, or similarly qualied persons in
order to avoid a hazard.
Mains Adapter
• The mains adapter will continue to
draw electricity from the mains supply
when plugged in the mains socket.
In the interests of safety and to avoid
unnecessary energy consumption, never
leave the adapter plugged in the mains
socket while unattended for long periods
of time. Disconnect the adapter from the
power supply.
Use only power supplies listed
in the user instructions.
Interference
• Do not place the unit on or near appliances
which may cause electromagnetic
interference. If you do, it may adversely
aect the operating performance of the
unit, and cause a distorted picture or
sound.
Page 5
Batteries
• Batteries used in the remote control for this
unit are easily swallowed by young children
and this is dangerous.
• Keep loose batteries away from young
children and make sure that the battery
holder tray is secure in the remote control.
Seek medical advice if you believe a cell
has been swallowed.
• Please dispose of batteries correctly by
following the guidance in this manual.
• Do not expose the battery to direct
sunlight or sources of excessive heat.
• Do not ingest the battery, Chemical Burn
Hazard.
• The remote control supplied with this
product contains a coin/button cell battery.
If the coin/button cell battery is swallowed,
it can cause severe internal burns in just 2
hours and can lead to death.
• Keep new and used battery away from
children.
• If the battery compartment does not close
securely, stop using the product and keep
it away from children.
• If you think batteries might have been
swallowed or placed inside any part of the
body, seek immediate medical attention.
• Attention should be drawn to the
environmental aspects of battery disposal.
Supervision
• Children should be supervised to ensure
that they do not play with the unit and the
remote control.
• Never let anyone especially children push
anything into the holes, slots or any other
openings in the case - this could result in a
fatal electric shock.
Service
• To reduce the risk of electric shock, do not
remove screws. The unit does not contain
any user-serviceable parts. Please leave all
maintenance work to qualied personnel.
• Do not open any xed covers as this may
expose dangerous voltages.
Maintenance
• Ensure to unplug the unit from the mains
socket before cleaning.
• Do not use any type of abrasive pad or
abrasive cleaning solutions as these may
damage the unit’s surface.
• Do not use liquids to clean the unit.
To prevent the
spread of re,
keep candles
or other open
ames away
from this
product at all
times.
CAUTION
RISK OF ELECTRIC SHOCK
DO NOT OPEN
The lightning ash with arrowhead
symbol, within an equilateral
triangle, is intended to alert the
user to the presence of uninsulated
“dangerous voltage” within the
unit’s enclosure that may be of
sucient magnitude to constitute a
risk of electric shock.
The exclamation point within an
equilateral triangle is intended to
alert the user to the presence of
important operating and
maintenance (servicing)
instructions in the manual
accompanying the unit.
5
Page 6

Thank you for purchasing your new product.
We recommend that you spend some time reading this instruction manual
in order that you fully understand all the operational features it oers. You
will also nd some hints and tips to help you resolve any issues.
Read all the safety instructions carefully before use and keep this
instruction manual for future reference.
Unpacking
Remove all items from the packaging. Retain the packaging. If you dispose of it please do so
according to local regulations.
The following items are included:
Main Unit Remote Control
(battery included)
Mains Cable 3.5mm to 3.5mm
Stereo Audio Cable
Wall Mount x 2 Instruction ManualScrew × 4 Dowel × 4
Adapter for
Main Unit
Coaxial Cable
• To get the most from this product, you may need to buy an Optical cable.
• If items are missing, or damaged please contact Partmaster (UK only). Tel: 0344 800 3456 for assistance.
• If you require additional assistance:
For UK, please call our UK Call Centre on 0344 561 1234.
For Ireland, please call our Ireland Call Center on 1 890 818 575.
6
Page 7

Product Overview
Main Unit
Front View
1 4
2
3
5
6
1. EQ Button
Select a preset sound eect.
2. SOURCE Button
Select the Input source.
3. Button
Switch the unit between ON and
STANDBY mode.
Rear View and Sockets
1
4. / PAIR Button
• Play / pause / resume playback in
Bluetooth® mode.
• Press and hold to activate the pairing
function in Bluetooth® mode or
to disconnect the existing paired
Bluetooth® device in Bluetooth® mode.
5. VOL+/VOL– Button
Increase/decrease the volume level.
6. Display
4
2
3
1. DC 21V 3A Socket
2. COAXIAL Socket
3. OPTICAL Socket
4. LINE IN Socket
5. AUX Socket
5
6
6. SERVICE ONLY Socket
The USB socket is for service
only. It is not designed to charge
smartphones, tablets or similar
devices.
7
Page 8

Remote Control
1. Button
Switch the unit between ON and STANDBY
mode.
2. SOURCE Button
Select the Input source.
3. VOL+ / VOL– Button
Adjust the volume.
4. / Button
Skip backwards to the beginning of the track
or to the previous track or skip forwards to
the next track in Bluetooth® mode.
5. / PAIR Button
• Play / pause / resume playback in Bluetooth®
mode.
• Press and hold to activate the pairing
function or disconnect the existing paired
Bluetooth device in Bluetooth mode.
6. MUTE Button
Mute the unit or resume the sound.
10
1
3
6
8
2
4
5
7
9
11
7. MOVIE Button
Press to select MOVIE EQ eect.
8. CUSTOM Button
Press to select default EQ eect.
9. MUSIC Button
Press to select MUSIC EQ eect.
10. BASS Button
Press to activate bass setup in default EQ
mode.
11. TREBLE Button
Press to activate treble setup in default EQ
mode.
8
Page 9

Preparation
First-time Use of Remote Control
The unit has a pre-installed lithium CR2025 battery.
Remove the protective tab to activate the remote control
battery.
Battery Replacement for the Remote
Control
1. Gently push the tab of the battery tray in and
slide it free from the remote control.
2. Replace with a new CR2025 battery.
3. Slide the tray back into the remote control.
There will be a click once it is back in place.
Handling the Battery
• Improper or incorrect use of batteries may cause corrosion or battery leakage, which could cause re,
personal injury or damage to property.
• Install the battery correctly in the battery compartment. Normally the battery’s positive polarity (+)
will face up.
• Only use the battery type indicated in this manual.
• Do not dispose of used batteries as domestic waste. Dispose of them in accordance with local
regulations.
• Small button cell batteries such as the one used in the remote control are easily swallowed by young
children and this is dangerous. Keep loose button cells away from young children and make sure that
the battery is secure in the remote control. Seek medical advice if you believe a battery cell has been
swallowed.
Handling the Remote Control
• Take care of your ngernails when you slide and pull the battery release tab.
• Do not drop the remote control.
• Do not allow anything to impact the remote control.
• Do not spill water or any liquid on the remote control.
• Do not place the remote control on a wet object.
• Do not place the remote control under direct sunlight or near sources of excessive heat.
• Remove the battery from the remote control when not in use for a long period of time, as corrosion or
battery leakage may occur and result in physical injury, and / or property damage, and / or re.
• When the battery is exhausted, the remote control will not function.
9
Page 10

Remote Control Operation Range
• The remote control sensor on the front unit is
sensitive to the remote control’s commands up
to a maximum of 6 metres away and within a
maximum of a 60° arc.
• Please note that the operating distance may
vary depending on the brightness of the room.
Soundbar Placement
30° 30°
Max. 6 m
SOUNDBAR
Soundbar
Soundbar carries most of the dialog as well as music and eects.
• If your TV is placed on a table, you can place the soundbar on the table directly in front
of the TV stand, centered with the TV screen.
• If your TV is attached to a wall, you can mount the soundbar on the wall directly below
the TV screen.
10
Page 11

Wall Mounting
• Installation must be carried out by qualied personnel only. Incorrect assembly can result in severe
personal injury and property damage (if you intend to install this product yourself, you must check
for installations such as electrical wiring and plumbing that may be buried inside the wall). It is the
installer’s responsibility to verify that the wall will safely support the total load of the Soundbar and
wall brackets.
• Additional tools (not included) are required for the installation.
• Do not overtighten screws.
• Keep this instruction manual for future reference.
• Use an electronic stud nder to check the wall type before drilling and mounting.
1. Drill 4 parallel holes (Ø 3-8 mm each
according to wall type) in the wall.
The distance between the holes
should be 765 mm.
2. Firmly x 1 dowel (included) into
each hole in the wall if necessary.
3. Tighten the wall mount brackets on
the wall with screws (included) and
screwdriver (not included). Make sure
that they are securely installed.
765 mm
Dowel
Solid wall (i.e., Solid brick,
Solid concrete, Solid wood,
Solid wooden battens)
Drywall, Plaster wall,
Lath wall, etc.
4. Loosen the screws at the back of the
unit for 2 mm. Lift the unit onto the
wall mount brackets and slot into
place.
765 mm
Loosen the screws
2 mm
11
Page 12

Connections
Ensure the unit is disconnected from the mains socket before connecting it to other devices.
Connecting to the TV
Method 1: Optical / Coaxial Connection
Use an optical cable (not included) / coaxial cable (included) to connect the soundbar’s
OPTICAL / COAXIAL socket to the OPTICAL OUT / COAXIAL OUT socket of the external
device. The simplest option is to connect your soundbar directly to your TV. If you connect
the soundbar to another external device (e.g. Blu-Ray player), you will hear the sound from
that device through the soundbar.
Press on the unit or remote control and then press SOURCE repeatedly to select Optical
or Coaxial mode.
Rear View of the Soundbar
2
Coaxial cable (included)
TV
• If there is no sound output, the display will show “PLEASE CHANGE YOUR SOURCE DEVICE TO PCM
MODE UNDER AUDIO OUTPUT SETTING”. Ensure the audio setting of the input source (e.g. TV,
games console, DVD player, etc) is set to PCM (Refer to the user manual of the input source device for
its audio setting details) with optical / coaxial output.
• Before connecting the optical cable, remove the protective cap of the OPTICAL socket.
1
Optical cable (not included)
12
Page 13

Method 2: AUX Connection
This is a basic connection for connecting your TV to your soundbar.
Connect a RCA to 3.5mm stereo audio cable (not included) to AUX / LINE IN socket on your
soundbar and the AUDIO OUT L / R (white / red) sockets on your TV.
Press on the unit or remote control and then press SOURCE repeatedly to select AUX /
LINE IN mode.
Rear View of the Soundbar
TV
L
(WHITE)
AUDIO OUT
R
(RED)
RCA stereo audio cable (not included)
• Some TVs will have more than one AUDIO L / R sockets, ensure you use the sockets marked OUT. If
you don’t have an AUDIO OUT socket, this connection won’t allow sound to your soundbar.
• Ensure to match the colours on the cable plugs to the colours on the output sockets.
Connecting to an External Audio Device
Use a 3.5mm to 3.5mm stereo audio cable (included) to connect the soundbar’s AUX / LINE
IN socket to the headphone socket of the external devices.
Press on the unit or remote control and then press SOURCE repeatedly to select AUX /
LINE IN mode.
Mobile Devices
HEADPHONE
Rear View of the Soundbar
3.5mm to 3.5mm stereo audio
cable (included)
13
Page 14

Connecting to the Mains Supply
The soundbar is designed to operate with the supplied mains adapter and mains cables.
• The mains adapter and mains cable are designed for this JVC soundbar only. DO NOT use the mains
adapter and mains cable for other purposes. Connecting the unit to any other power source may
damage the unit.
• Ensure all audio connections of the unit are connected before connecting to the mains power socket.
• Make sure the mains plug is rmly inserted into the mains socket.
• To switch the unit o completely, remove the mains plug from the mains socket.
• Please turn the unit o completely to save energy when not in use.
Soundbar
Unwind the mains adapter cable to its full length. Connect the mains cable to the mains
adapter, and then connect the other end of the mains adapter to the DC 21V 3A
socket at the rear of the soundbar. Connect the mains plug to the mains socket.
Rear View of the Soundbar
To the mains
socket
This instruction manual explains the basic instructions for operating this unit. Unless otherwise stated, all
operations described are based on remote control use.
Basic Operating
Standby / ON
When you rst connect the unit to the mains socket, the unit will be in STANDBY mode.
• Press the Button on the unit or remote control to switch the main unit ON.
• Press the Button on the unit or remote control again to switch the main unit back to
STANDBY mode.
• Disconnect the mains plug from the mains socket if you want to switch the unit o
completely.
• If a TV or an external device is connected to AUX / LINE IN socket, the main unit will switch on
automatically when the TV or the external device is switched on.
BUT in the following case, the unit will not switch on automatically in AUX / LINE IN mode:
− after automatic power o function is activated. For details, please refer to the section “Automatic
Power O Function” below.
14
Page 15

Setting Time in Standby mode
In STANDBY mode, the display will show “--:--”, and then “PRESS AND HOLD PAIR BUTTON TO
SET TIME“. Press and hold / PAIR on the unit or remote control to set the time.
1. Press VOL+/VOL– Button on the unit or remote control to set the hours, then press /
PAIR on the unit or remote control to conrm.
2. Press VOL+/VOL– Button on the unit or remote control to set the minutes, then / PAIR
on the unit or remote control to conrm.
3. The time is now set. When you switch the unit to STANDBY mode, the unit will show
STANDBY and then the time clock.
Automatic Power O Function
The unit automatically turns to STANDBY mode after 15 minutes if the TV or the external unit is
disconnected or switched o in OPTICAL mode or the volume is too close to mute in COAXIAL,
AUX, LINE IN and BT mode.
• To switch the unit o completely, remove the mains plug from the mains socket.
• Please turn the unit o completely to save energy when not in use.
Selecting Modes
Press SOURCE repeatedly on the main unit or remote control to switch between BT, Optical,
Coaxial, AUX and LINE IN mode.
Adjust the Speaker Level Settings and Eects
Adjusting Volume
• Press VOL+/VOL– on the unit or remote control to adjust the volume.
• If you wish to turn the sound o, press MUTE. The display will show “MUTE”. Press MUTE
again, or press VOL+/VOL– to resume normal listening.
Select Equaliser (EQ) Eect
Press the EQ button on the unit or the CUSTOM/MOVIE/MUSIC button on the remote control
to select the preset equaliser eects (CUSTOM/MOVIE/MUSIC).
• While the unit is in COAXIAL, OPTICAL, or AUDIO IN mode, it will automatically switch into MOVIE
EQ eect.
• While the unit is in Bluetooth mode, it will automatically switch into MUSIC EQ eect.
Adjusting the Bass/Treble Level in CUSTOM EQ mode
1. Press EQ button on the unit repeatedly, or press CUSTOM button on the remote control to
select default EQ mode.
2. Press BASS/TREBLE on the remote control. The display will show the current BASS/TREB
level.
3. Press VOL+/VOL– on the unit or remote control to adjust the bass/treble level (–03 to +03).
The unit will exit from BASS/TREBLE setup after idle for about 5 seconds.
15
Page 16

AUX / LINE IN / OPTICAL / COAXIAL Operation
There are AUX / LINE IN / OPTICAL / COAXIAL socket located at the rear of the unit. Audio
sound signals from other sources can be connected to the unit through these sockets.
1. Before connecting to the mains socket, ensure all the connections are completed.
2. While in the ON mode, press SOURCE repeatedly to select AUX / LINE IN / OPTICAL /
COAXIAL mode.
3. Operate your audio device directly for playback features.
While using COAXIAL / OPTICAL mode, ensure the audio setting of the input source (e.g. TV, games
console, DVD player, etc.) is set to PCM (Refer to the user manual of the input source device for its audio
setting details) with optical / coaxial output.
Bluetooth® Operation
The rst time you connect your Bluetooth® device to this soundbar, you need to pair the
unit with a Bluetooth® device to listen to music:
1. During ON mode, press SOURCE on the unit or remote control repeatedly to select BT
mode. The screen will show BT READY.
2. Activate your Bluetooth® device and select the search mode. “TH-W513B” will appear
on your Bluetooth® device list.
• If you cannot nd the soundbar, press and hold / PAIR on the unit or the remote
control. The system has entered pairing mode. The unit will show PAIR and prompt
“Pairing“.
3. Select “TH-W513B” and enter “0000” for the password if necessary. The unit will voice
“Paired” and the screen will show PAIRED.
4. To disconnect the Bluetooth® function, you can:
• Switch to another function on the unit;
• Disable the function from your Bluetooth® device. The Bluetooth® device will be
disconnected from the soundbar after the “Disconnected” voice prompt;
• Press and hold / PAIR on the unit or remote control. The Bluetooth® device will
be disconnected from the soundbar after the “Pairing” voice prompt.
If your Bluetooth® device supports A2DP, play music via your device.
If your Bluetooth® device supports AVRCP, use the supplied remote control to control play.
• To pause / resume playback, press .
• To skip to a track, press / .
• The operational range between the unit and the device is approximately 6 metres.
• Before connecting a Bluetooth® device to the unit, ensure you know the device’s capabilities.
• Compatibility with all Bluetooth® devices is not guaranteed.
• Any obstacle between the device and the unit can reduce operational range.
• Keep this player away from other electronic devices that may cause interference.
• If no other Bluetooth® devices pair with this unit within 2 minutes, the unit will recover to its previous
connection.
• The player will also be disconnected when your device is moved beyond the operational range.
16
Page 17

Maintenance
Ensure the unit is fully unplugged from the mains socket before cleaning.
• To clean the units, wipe the case with a slightly moist, lint-free cloth.
• Do not use any cleaning uids containing alcohol, ammonia or abrasives.
• Do not spray aerosol at or near the unit.
Hints and Tips
If a problem does occur, it may often be due to something very minor. The following table
contains various tips. If you require additional assistance
• For UK, please call our UK Call Centre on 0344 561 1234.
• For Ireland, please call our Ireland Call Center on 1 890 818 575.
General
Problem Solution
No power. • Ensure the mains plug is connected.
• Make sure that you select the ON mode.
The remote control is
not function.
Loud hum or noise is
heard.
The unit does not
respond when pressing
any buttons.
The unit will sometimes
switch back to standby
mode automatically.
• Use the remote control near the unit.
• Point the remote control at the remote sensor on the unit.
• Replace the battery in the remote control with a new one.
• Remove any obstacles between the remote control and
the unit.
• The plugs and sockets are dirty. Wipe them with a cloth
slightly moistened with alcohol.
• The unit may freeze up during use. Switch the unit o and
then on again at the mains socket to reset the unit.
The eco-friendly technology will switch this device to Standby mode
automatically when the input volume is too low or muted for 15
minutes. Press the button on the main unit or remote control to
switch the main unit on again.
Bluetooth®
Problem Solution
I cannot nd
“TH-W513B” on my
Bluetooth® device.
• Ensure the Bluetooth® function is activated on your
Bluetooth® device.
• Ensure you have paired your unit with the Bluetooth®
device.
17
Page 18

Product Fiche and Specifications
Brand JVC
Model TH-W513B
Power Adapter (Use only power adapter listed below)
Power Adapter Manufacturer Zhong Shan City Richsound
Electronic Industrial Ltd.
Power Adapter Model RAD2103
Input AC 220 - 240 V~ 50/60 Hz, 1.8A
Output DC 21 V 3.0 A
Main Unit
Power Supply
USB Service Port
Amplier Output Power
Bluetooth® Bluetooth® Version Bluetooth® 3.0
Maximum transmitted power 7 dBm
Frequency band 2402 MHz ~ 2480 MHz
Ecodesign Information
Information
on Power
Consumption
Time interval for power management function
switches the unit automatically into Another
Condition (Sound bar was connected to AC mains
via power adapter, with information display)
Power Consumption of Another
Condition (Sound bar was
connected to AC mains via
power adapter, with information
display)
Network Standby Power
Consumption
DC 21 V 3.0 A
5 V 500 mA (for service use
only)
Do NOT use for other purpose
50 W rms × 2
< 1.0 W
< 2.0 W
Switch to another condition
within 15 minutes after intended
use
Power consumption in network standby if all
wireless network ports are activated
How to activate wireless network port:
• Connect the unit with power
• Switch to wireless mode (e.g. Bluetooth, etc)
How to deactivate wireless network port:
• Press the Standby button
Net Weight 2.2 kg
Dimension (W x H x D) 800 × 62 × 93 mm
Features and specications are subject to change without prior notice.
18
3.0 W
Page 19

Others Information and Licences
For general information about this appliance
and handy hints and tips, please visit:
www.TeamKnowhow.com/discover
or call UK: 0344 561 1234 Ireland: 1890 818 575.
Visit Partmaster.co.uk today for the easiest way to buy electrical
spares and accessories. With over 1 million spares and accessories
available we can deliver direct to your door the very next day. Visit www.partmaster.co.uk or
call 0344 800 3456 (UK customers only). Calls charged at National Rate.
The symbol on the product or its packaging indicates that this product
must not be disposed of with your other household waste. Instead, it is
your responsibility to dispose of your waste equipment by handing it over
to a designated collection point for the recycling of waste electrical and
electronic equipment. The separate collection and recycling of your waste
equipment at the time of disposal will help conserve natural resources and
ensure that it is recycled in a manner that protects human health and the
environment.
For more information about where you can drop o your waste for
recycling, please contact your local authority, or where you purchased your
product.
Notes for Battery Disposal
The batteries used with this product contain chemicals that are harmful to
the environment. To preserve our environment, dispose of used batteries
according to your local laws or regulations. Do not dispose of batteries with
normal household waste.
For more information, please contact the local authority or your retailer
where you purchased the product.
The Bluetooth® word mark and logos are registered trademarks owned by Bluetooth SIG,
Inc. and any use of s uch marks by DSG Retail Limited is under license. Other trademarks and
trade names are those of their respective owners.
All trademarks are the property of their respective owners and all rights are acknowledged.
19
Page 20

Dear Customer,
This apparatus is in conformance with the valid European directives compatibility and
electrical safety.
European representative of the manufacturer is:
DSG Retail Ltd. (co. no. 504877)
1 Portal Way, London, W3 6RS, UK
For Help and Support Call
UK: 0344 561 1234
Ireland: 1890 818 575
The product is distributed and warranted exclusive by DSG Retail Ltd.
“JVC” is the trademark of JVC KENWOOD Corporation, used by DSG Retail Ltd. under license.
(IB-TH-W513B-171124V5)
 Loading...