

Page 1
JVC
PROFESSIONAL
PRODUCTS
COMPANY
Application Note 2
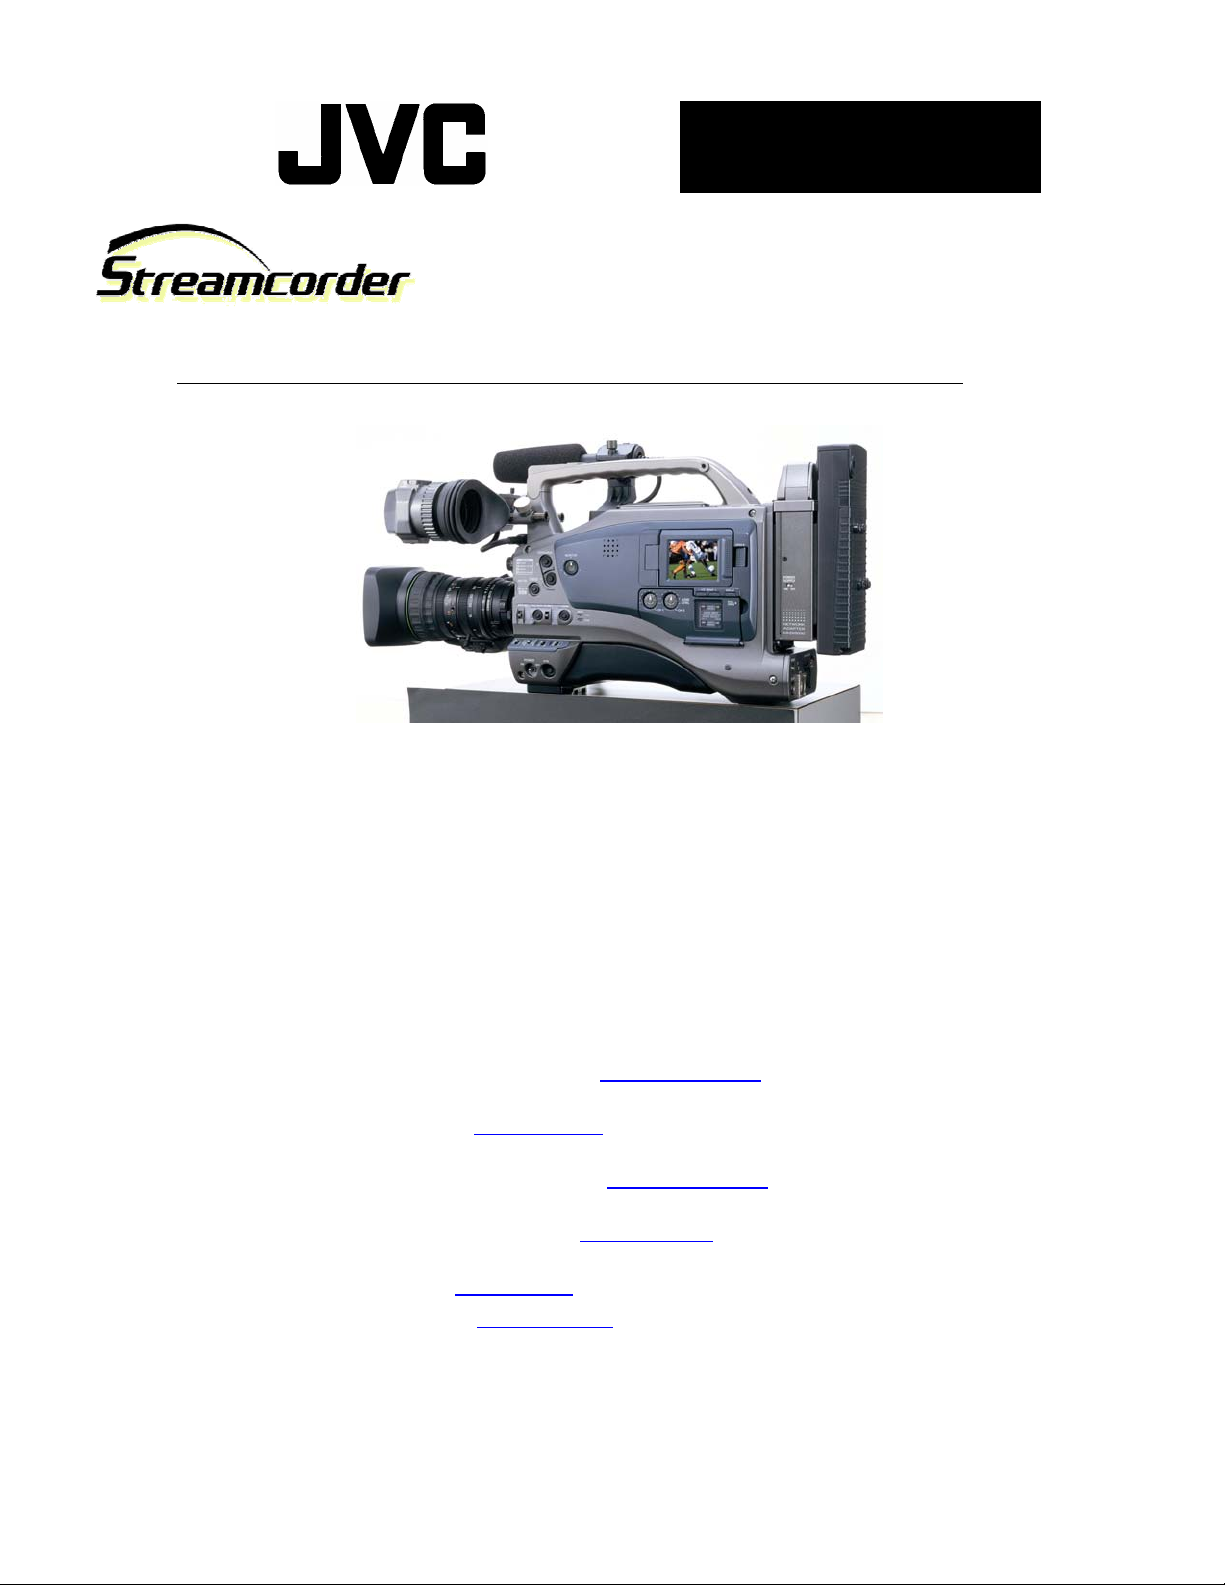
Subject: Installing the KA-DV5000 Network Pack and accessory cards
Objective
Before you can stream video or record to a CompactFlash (CF) memory card, you must attach the KA-DV5000
Network Pack to the GY-DV5000 camcorder. Once installed, accessory cards, such as a LAN or CF memory card
must be installed.
What you need
• Philips screwdriver
• GY-DV5000 Camcorder
• KA-DV5000 Network Pack
• Rubber gasket that comes with the KA-DV5000
• One of the following accessory cards, depending on application:
Wired LAN: Socket Communications (www.socketcom.com
Card) adapter is required.
Wireless LAN: Linksys (www.linksys.com
required.
Socket Communications (www.socketcom.com
adapter is required.
Symbol Technologies (www.symbol.com
A CF to PCMCIA (PC Card) adapter is required.
Cisco (www.cisco.com
CF Memory: SanDisk (www.sandisk.com
required.
) WCF11. A type II CF to PCMCIA (PC Card) adapter is
) Aironet 350 model AIR-PCM35x.
) SDCFB-16 ~ SDCFB-256. A CF to PCMCIA adapter is
) EA2900-117. A CF to PCMCIA (PC
) WL6000-320. A CF to PCMCIA
) Wireless Networker CompactFlash Card.
Page 1 of 2
Page 2
Attaching the Network Pack to the Camera
1. Insure that the GY-DV5000 power is off and the KA-DV5000 power switch is off as well.
2. If attached, remove the battery holder from the rear of the GY-DV5000.
3. With the enclosed rubber gasket aligned with the screw holes on the rear of the camera, hook
the Network Pack to the back of the camera from the top.
4. Feed the one large and two small power connectors through the hole in the KA-DV5000 body.
5. Press the Network Pack firmly to the back of the camera.
6. Secure the Network Pack to the camera with the two screws at the bottom of the network
pack. Re-attach the battery holder to the Network Pack.
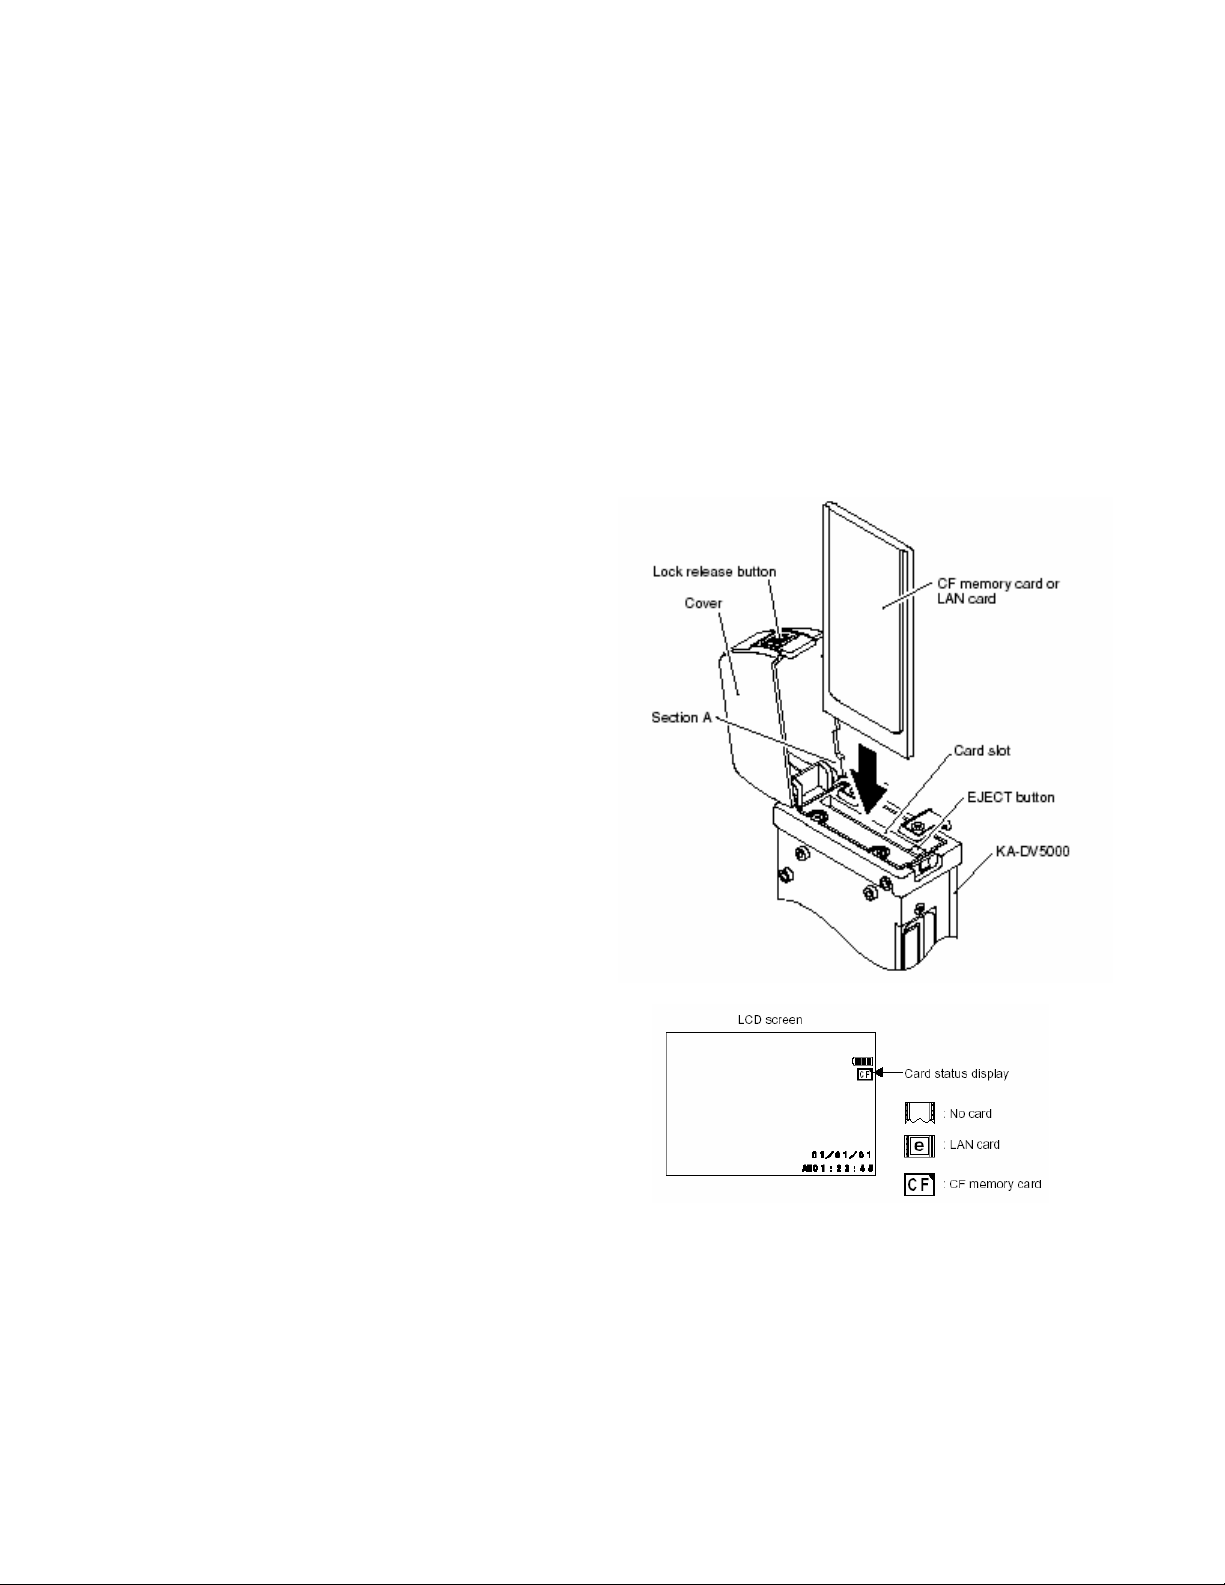
Inserting Accessory Card
1. Insure that the GY-DV5000 and KA-DV5000
power is OFF.
2. Insert the accessory card in the KA-DV5000.
Some accessory cards require an adapter.
• The card can only be inserted in one
direction. Do not force the card into the
slot.
3. Turn on the power to the GY-DV5000 and
KA-DV5000.
4. The status of the inserted card is displayed on
the LCD and/or viewfinder screen.
NOTES:
• When turning the power on, the card
status display will flash during
initialization.
• Inserting a card with the power ON may
result in damage to the card.
JVC wants you to get the most from your Streamcorder. If you have any comments, concerns, or questions,
please feel free to contact us at netinfo@jvc.com.
z Page 2 of 2
 Loading...