

Jura Easy, Professional Instructions Manual
en
4
These instructions are valid for the Professional and the Easy
J
Cappuccino Frother.
The Cappuccino Frothers can be attached to all JURA devices equipped with the
Connector System©.
For reasons of hygiene and to ensure perfect function of the frothers
E
they should be dismantled and rinsed as well as cleaned regularly if
milk has been prepared.
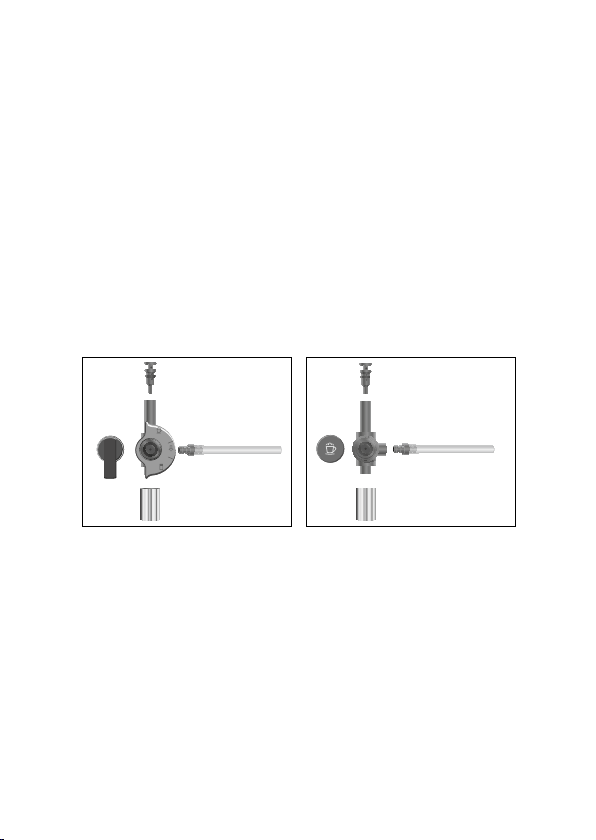
Dismantling and rinsing the Cappuccino Frother
Carefully pull the frother off the Connector System©.
T
Dismantle the frother completely.
T
Professional Cappuccino Frother
Rinse all frother parts thoroughly under running water.
T
Reassemble the frother.
T
Ensure that all individual components are correctly and firmly
E
connected to ensure correct operation of the frother.
Firmly attach the frother to the Connector System©.
T
Easy Cappuccino Frother

en
Cleaning the Cappuccino Frother
To ensure that the Cappuccino Frother works perfectly, you should clean it
daily when you have been preparing milk. Proceed as described in the relevant
section of the instructions for use supplied with your machine.
Please only use the genuine JURA Auto Cappuccino Cleaner. This is
E
available from specialist shops.
Ranges of the Professional Cappuccino Frother
Min. temp.
Range:
'Milk foam'
Max. temp.
Position:
'Steam'
Max. temp.
Range:
'Milk'
Min. temp.
5
 Loading...