

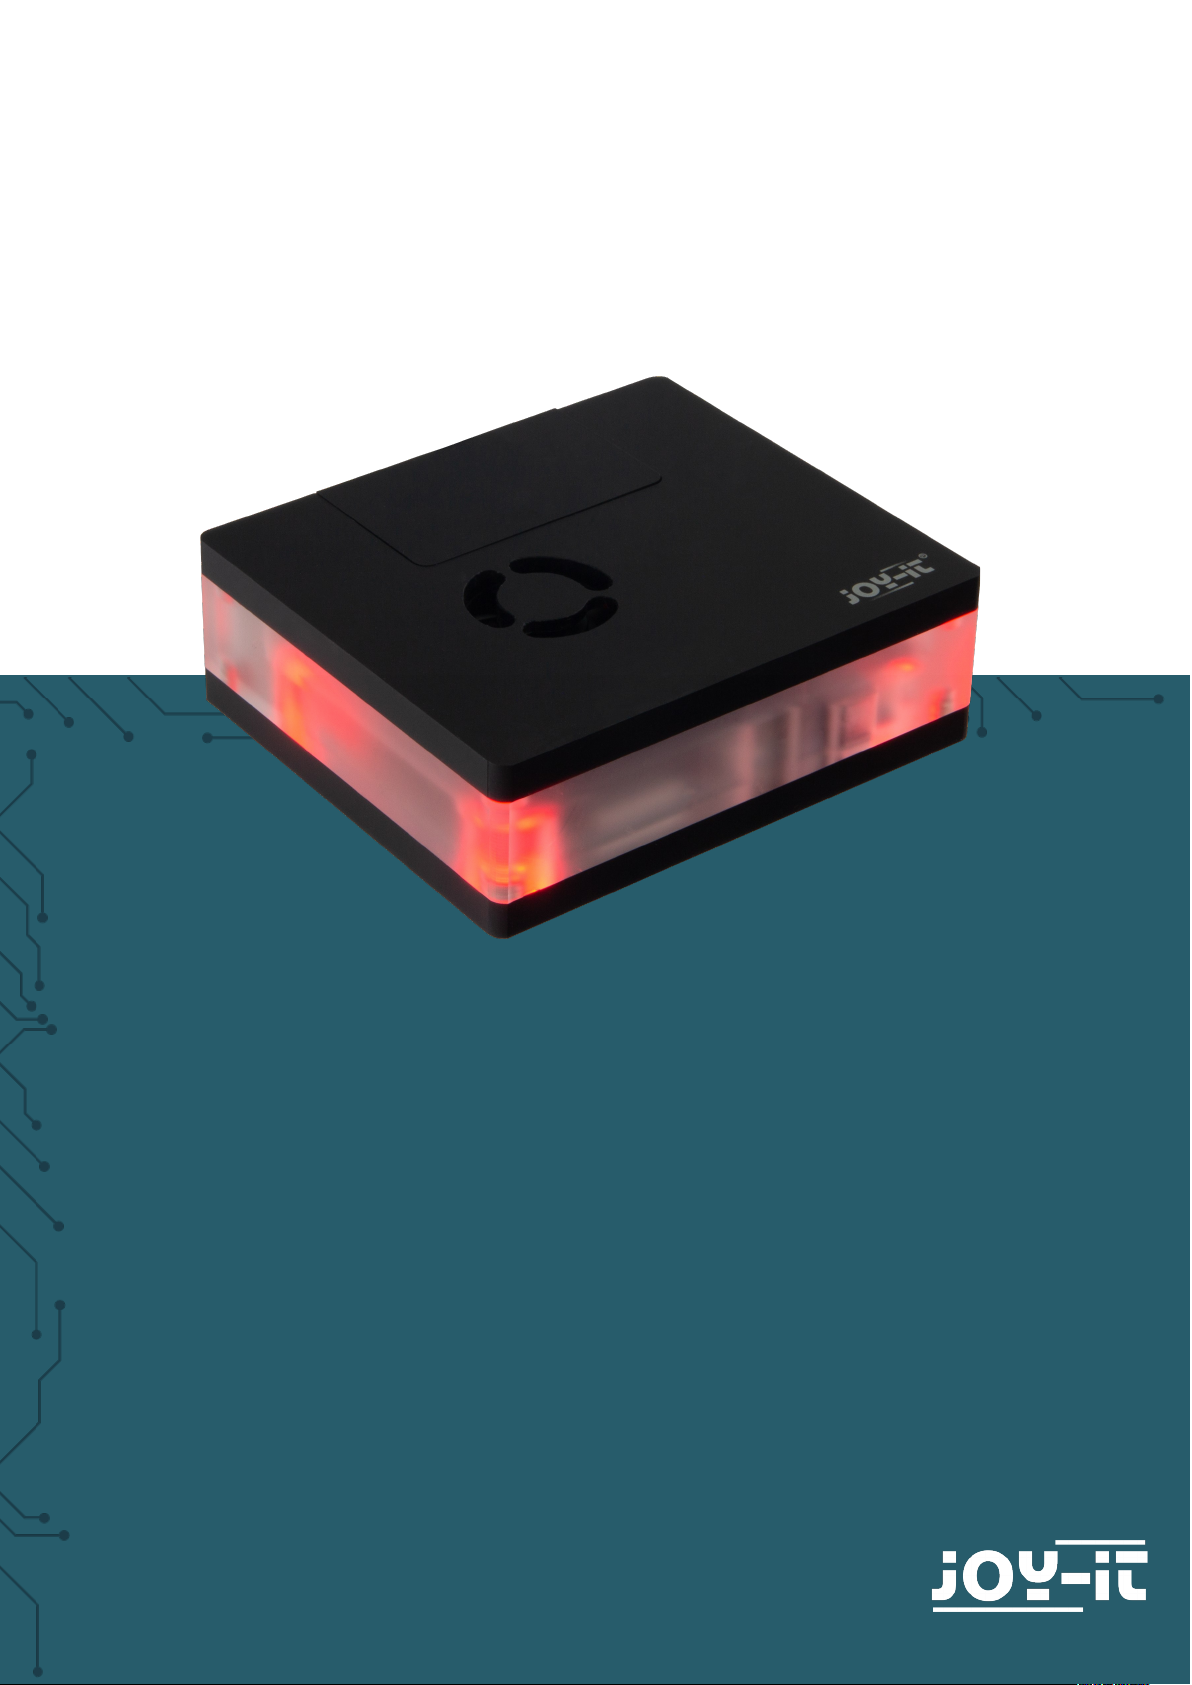
MULTIMEDIA CASE
for the Raspberry Pi 4

www.joy-it.net
Pascalstr. 8 47506 Neukirchen-Vluyn
1. ASSEMBLING
1. The first step in assembling the housing is to disassemble the
case into its individual parts. You can easily pull it apart as the case
is attached with magnets.
2. Now take your Raspberry Pi and connect the AUX plug to the jack
socket from the Raspberry Pi. Now insert the SD card into the
Raspberry Pi. But you have to install an image first. If you do not
know how to do this or if you want to use our image, please refer to
Chapter 2: Soware installation an. Also attach the heat sink to
the CPU of the Raspberry Pi.
3. Then connect the small board to the two microHMDI connectors
and connect the cable from the AUX connector to the board. Make
sure that the cable is flat as possible at the board to avoid
space problems later.
www.joy-it.net
Pascalstr. 8 47506 Neukirchen-Vluyn
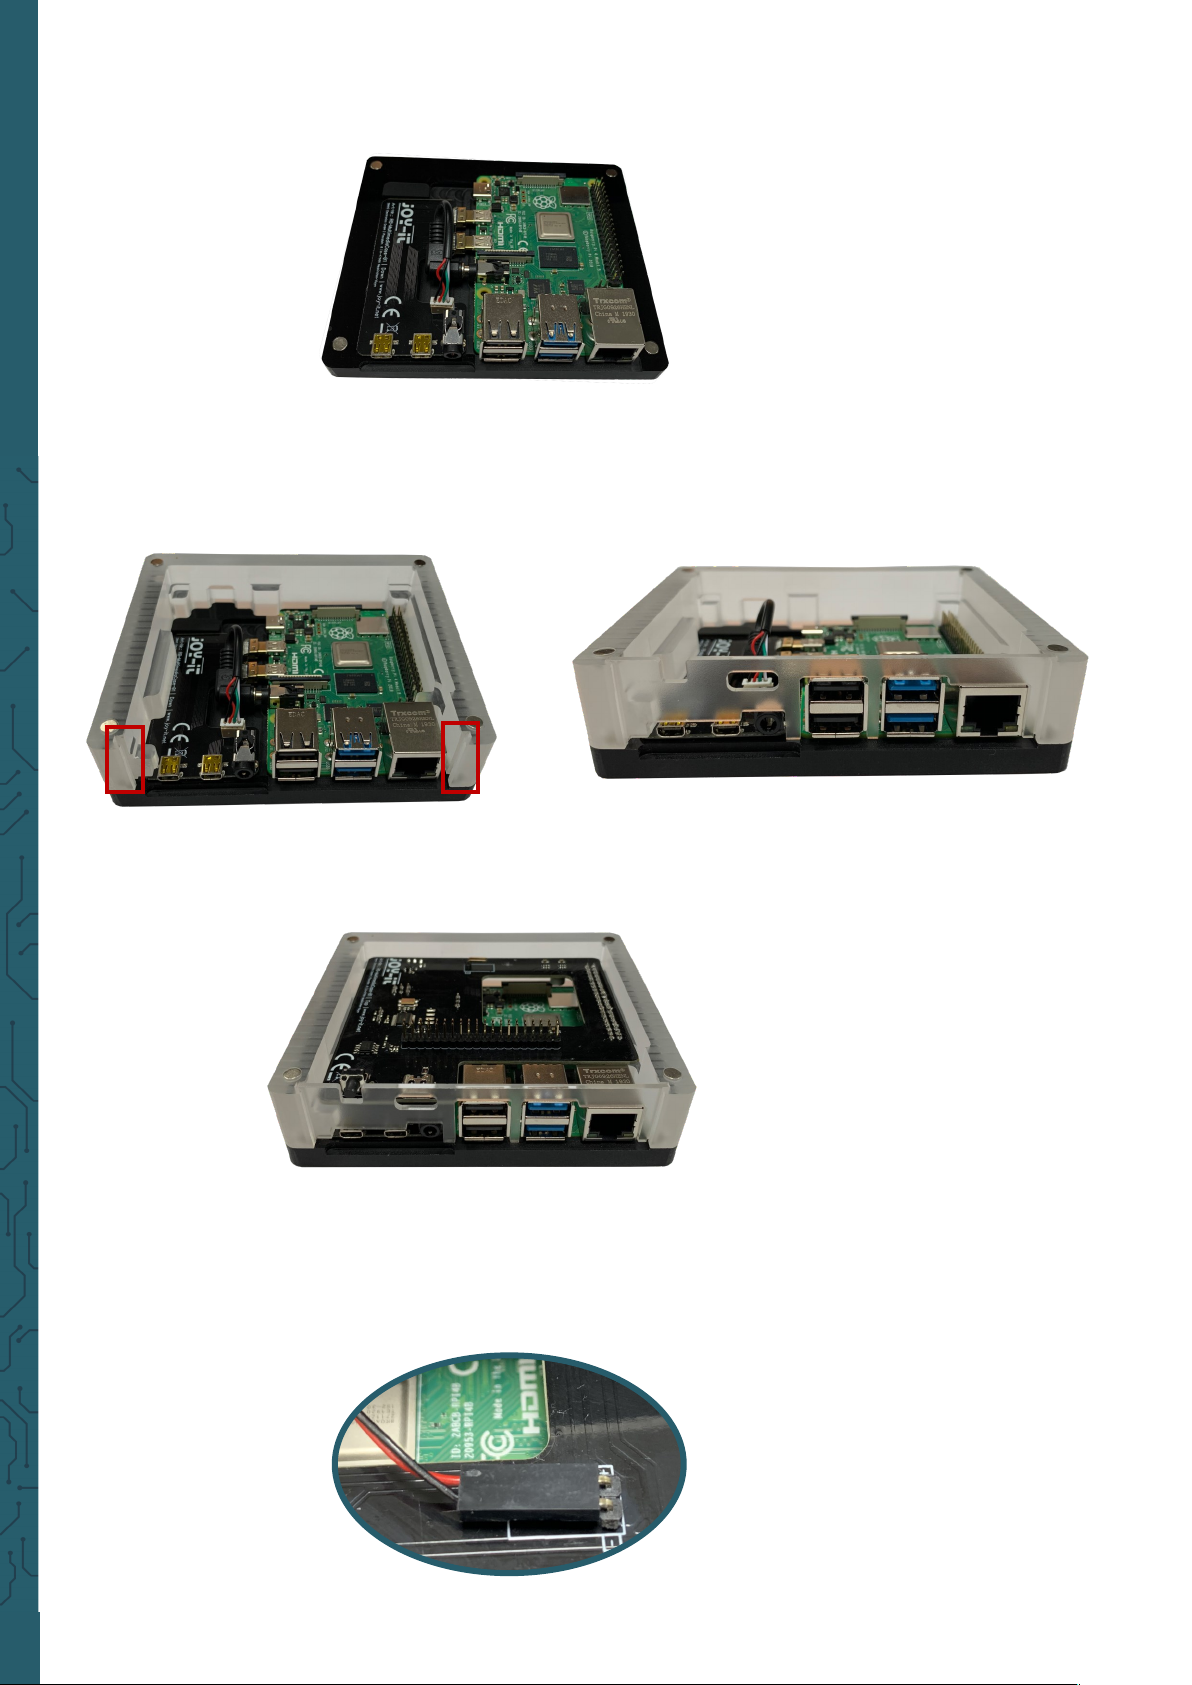
4. Now place the Raspberry Pi with the circuit board on the bottom of
the case.
5. In the following step, attach the center piece and push the
connection panel into the center piece.
6. Now place the large board on the GPIO bar of the Raspberry Pi. The
circuit board is inserted at a slight angle so that the connections fit
easily into the panel.
7. Now you have to connect the fan, which is attached at the cover, to
the big board. Make sure that the red cable is connected to + and
the black cable to -.

www.joy-it.net
Pascalstr. 8 47506 Neukirchen-Vluyn
8. Now place the cover on the case. Your case is now completely
assembled.
Your case has a removable lid, so the GPIO bar of your Raspberry Pis is
still usable despite being in a case.
2. SOFTWARE INSTALLATION
You can use the case in conjunction with various operating systems. If
you know how to write an image file to an SD card or you bought a set
with an already written SD card, you can skip this chapter. Our LibreElecImage can be downloaded here.
1. Download the image file (.zip format) to your PC. Aer unpacking
the file you will get a file with the extension .img.
2. Connect a microSD card to your PC and format it with the program
SD Formatter.
3. Start the Win32-Disk-Imager and select
① the downloaded image file.
② the drive to be written on.
4. Now the card is written with the operating system and it can be inserted into the microSD card slot of the Raspberry Pi.

www.joy-it.net
Pascalstr. 8 47506 Neukirchen-Vluyn
3. CONNECTION
In this chapter you will see what you have to connect to your TV to trans-
mit the Multimedia Case image.
When setting up the Raspberry Pi, however, a mouse and keyboard must
be connected temporarly.
Power - Connection
Optional:
The Raspberry Pi should
have a connection to the
network via cable or Wifi.
microHDMI - Connection
HDMI0 should be used.
Especially when 4K resolution is required.
HDMI0 HDMI1
4. PUTTING INTO OPERATION
When you have successfully connected the case, you can start the Raspberry Pi with the on/o button.
When you start the Raspberry Pi for the first time, you will be asked to
make the initial settings on the Raspberry Pi and the case. This cannot be
cancelled.

www.joy-it.net
Pascalstr. 8 47506 Neukirchen-Vluyn
5. USAGE
In our prepared image you can find addons to personalize your Multime-
dia Case. We provide you with three add-ons Multimedia Case Configuration, Multimedia Case LED Configuration and IR Control Configuration.
You can find these addons in Kodi under
Add-ons → Program add-ons
.
Multimedia Case Configuration
With this addon you can activate or modify certain functions of the Multimedia Case to personalize it even more.
Fan Control
This allows you to adjust the fan to the temperature of the Raspberry Pi.
For this purpose the jumper, which is marked as FanCntrl, must be set to
ON. If the jumper is set to OFF, the fan runs permanently at its maximum
speed.
PowerO-Button
With this program you can set a button of any remote control as on/o
switch of the Multimedia Case. This means you can use a button on your
remote control to switch the Raspberry Pi on and o. This addon declares
only this On/O key at your remote control. If you want to declare more
keys, then you can use the addon IR Control Configuration.
When a new key is learned, the Multimedia Case starts flashing colourfully. Now you have to press any key three times to set it as PowerOButton. When a signal is received, the Multimedia Case lights up white.
However, if any key is pressed other than the previous one, the case will
light up red and you have to press any key three times again. The case
will light green if a new PowerO-Button has been successfully set.

www.joy-it.net
Pascalstr. 8 47506 Neukirchen-Vluyn
The Raspberry Pi will restart aer successful adjustment.
Multimedia Case LED Configuration
This addon allows you to adjust the LEDs of the case. In this addon you
can select dierent eects or static colours and adjust their brightness.

www.joy-it.net
Pascalstr. 8 47506 Neukirchen-Vluyn
The Raspberry Pi will restart aer successful adjustment.
IR Control Configuration
This addon configures the remote control of your choice. This is useful if
you want to use a separate remote control for operation in Kodi and
don't want to control Kodi with HDMI-CEC, i.e. with the remote of your
TV.
The addon will guide you through and save each button on the remote
control that is necessary to use Kodi, so you don't need to have a keyboard or mouse connected to the Raspberry Pi anymore.
Note that you will not get any feedback when pressing a key
but only a message when a key has been recognized and that it can be
proceeded with the next one.
The Raspberry Pi will restart aer successful adjustment.

www.joy-it.net
Pascalstr. 8 47506 Neukirchen-Vluyn
PR
6. FURTHER INFORMATION
Our Information and Take-back Obligations according to the
German Electronic Law (ElektroG)
Symbol on Electrial and Electronic Products:
This crossed-out bin means that electrical and electronic products do not
belong into the household waste. You must hand over your old appliance
to a registration place. Before you can hand over the old appliance, you
must remove used batteries and replacement batteries which are not enclosed by the device.
Return Options:
As the end user, you can hand over your old appliance (which has
essentially the same functions as the new one bought with us) free of
charge for disposal with the purchase of a new device.
Small devices, which do not have outer dimensions bigger than 25 cm
can be handed in for disposal independently of the
purchase of a new product in normal household quantities.
1. Possibility of return at our company location during our opening
hours
Simac Electronics Handel GmbH, Pascalstr. 8, D-47506 Neukirchen-Vluyn
2. Possibility of return nearby
We will send you a parcel stamp with which you can send us your old
appliance free of charge. For this possibility, please contact us via e-mail
at service@joy-it.net or via telephone.
Information about Package:
Please package your old appliance safe for transport. Should you not
have suitable packaging material or you do not want to use your own
material, you can contact us and we will send you an appropriate
package.
7. SUPPORT
If any questions remained open or problems may arise aer your
purchase,we are available by e-mail, telephone and ticket
support system to answer these.
E-Mail: service@joy-it.net
Ticket-system: http://support.joy-it.net
Telephone: +49 (0)2845 98469 – 66 (10 - 17 o'clock)
For further information visit our website:
www.joy-it.net
Published: 14.09.2020
www.joy-it.net
SIMAC Electronics GmbH
Pascalstr. 8, 47506 Neukirchen-Vluyn
 Loading...