

Page 1
www.joy-it.net
Pascalstr. 8 47506 Neukirchen-Vluyn
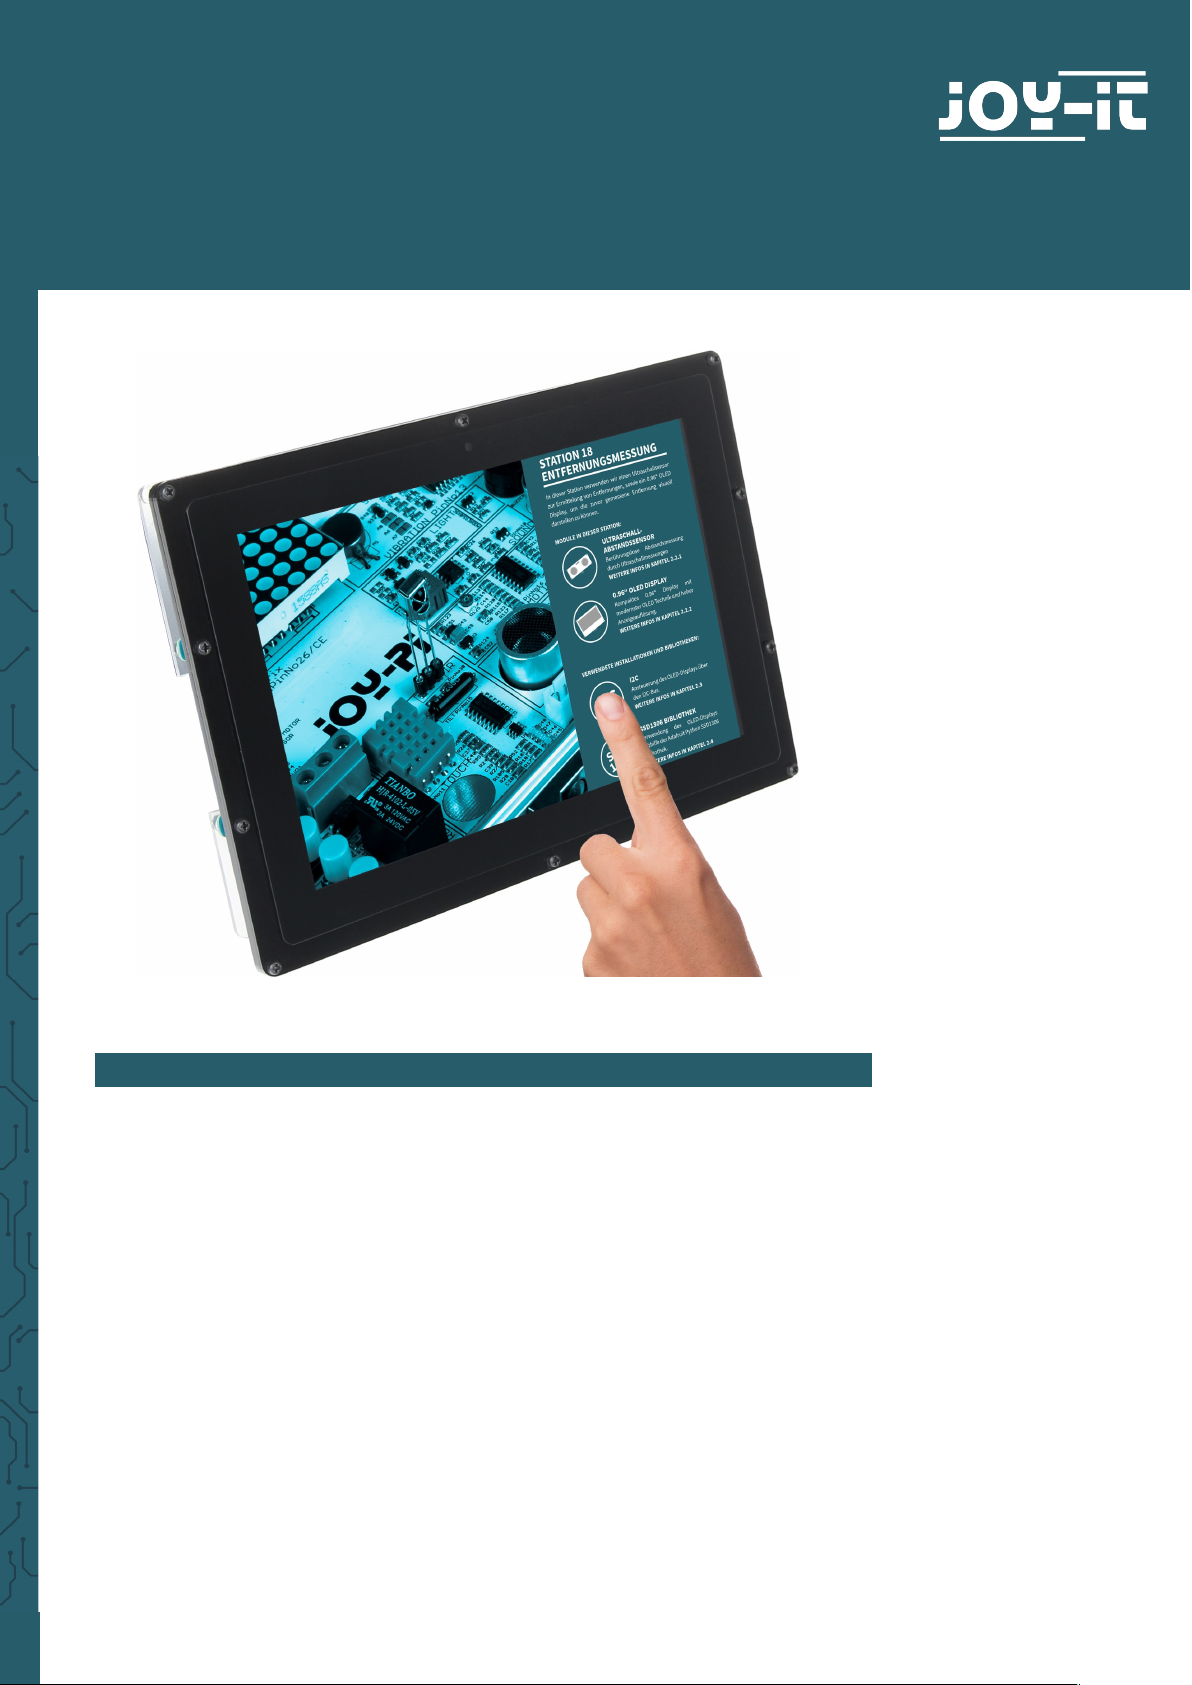
10,1 " LCD DISPLAY VERSION B
RB-LCD-10B
1. GENERAL INFORMATION
Dear customer,
Thank you for purchasing our product. In the following, we will show you
which things should be noted during the use.
Should you encounter any unexpected problems, do not hesitate to
contact us.
Page 2
www.joy-it.net
Pascalstr. 8 47506 Neukirchen-Vluyn
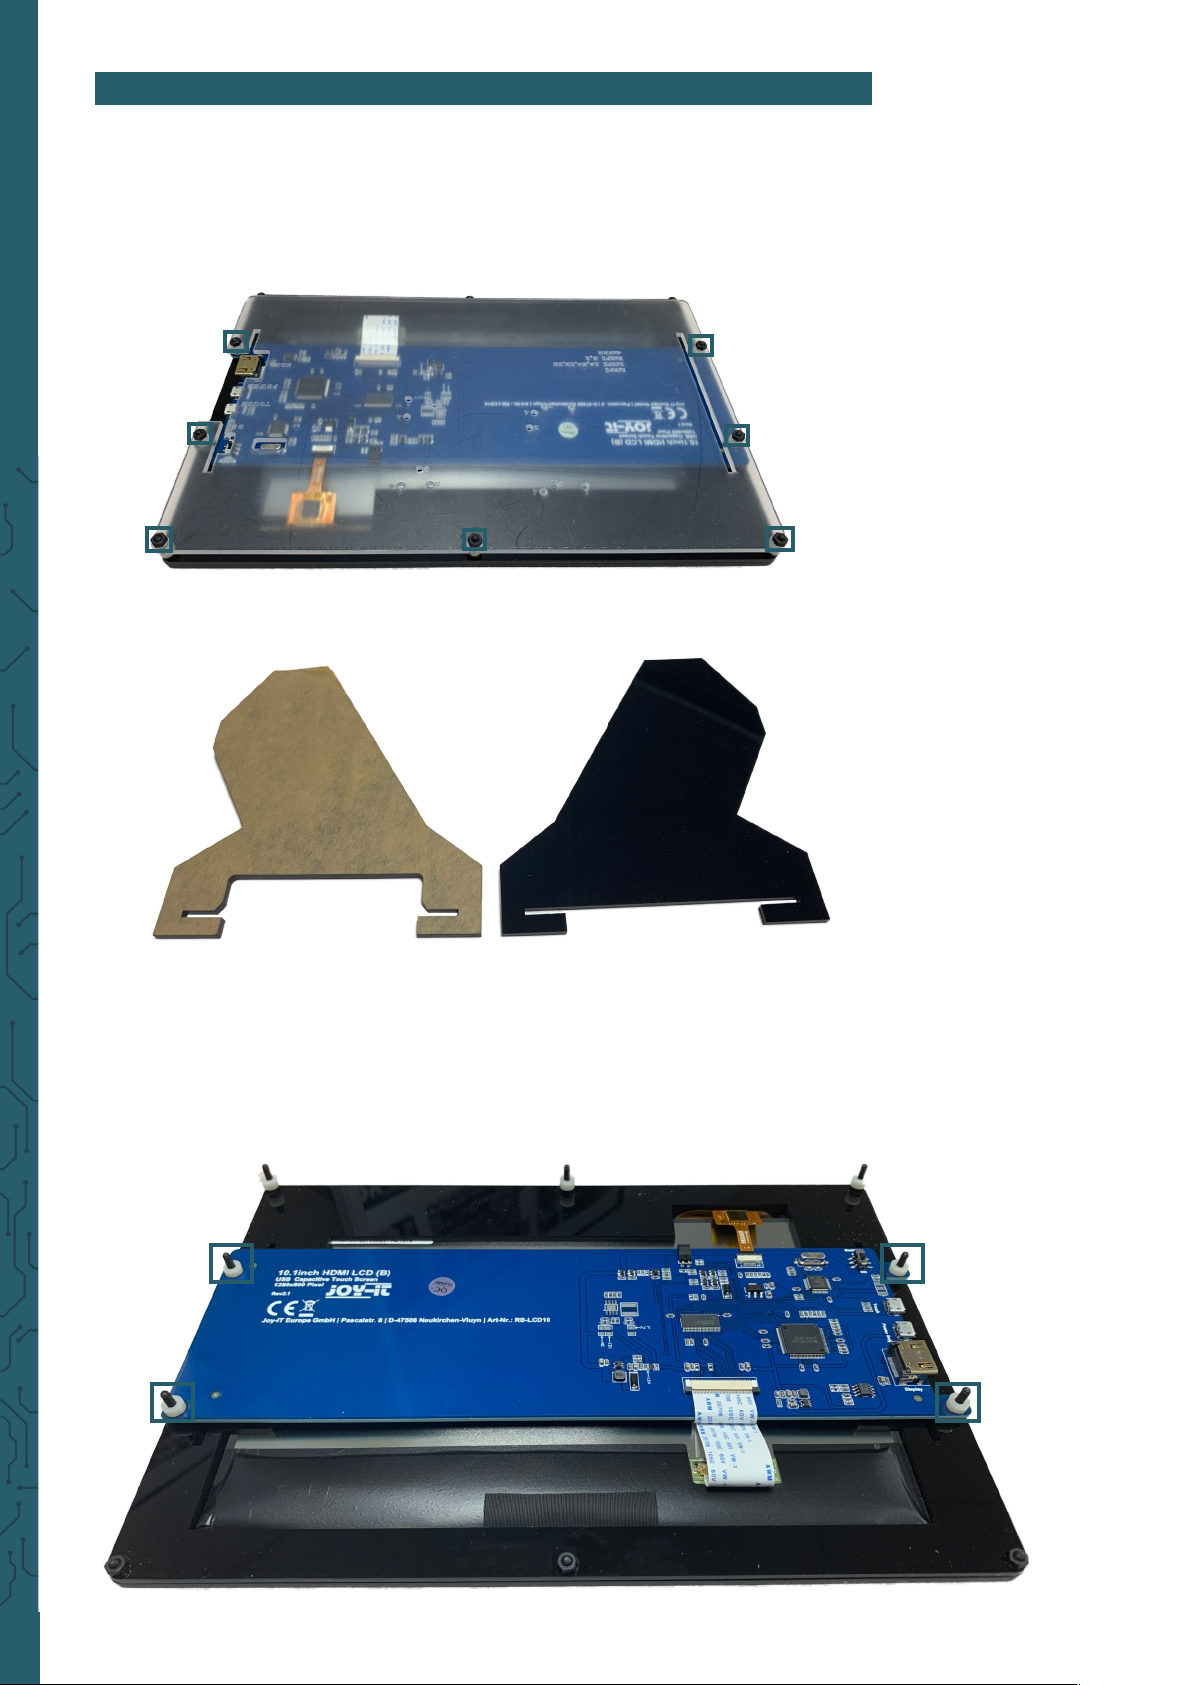
2. MOUNTING BRACKET
Simply follow the following illustrated step-by-step instructions for quick
and easy mounting of the bracket.
1. First, loosen the screws of the protective cover and remove it.
2. Now, remove the protective film from the feet.
3. Now, you first have to remove the spacers, which are on the screws,
with which the board is fixed. Aerwards, you can put the feet on
the board by liing the board. Make sure that the leg with the larger
cut-out is placed on the side with the connectors.
Page 3
www.joy-it.net
Pascalstr. 8 47506 Neukirchen-Vluyn
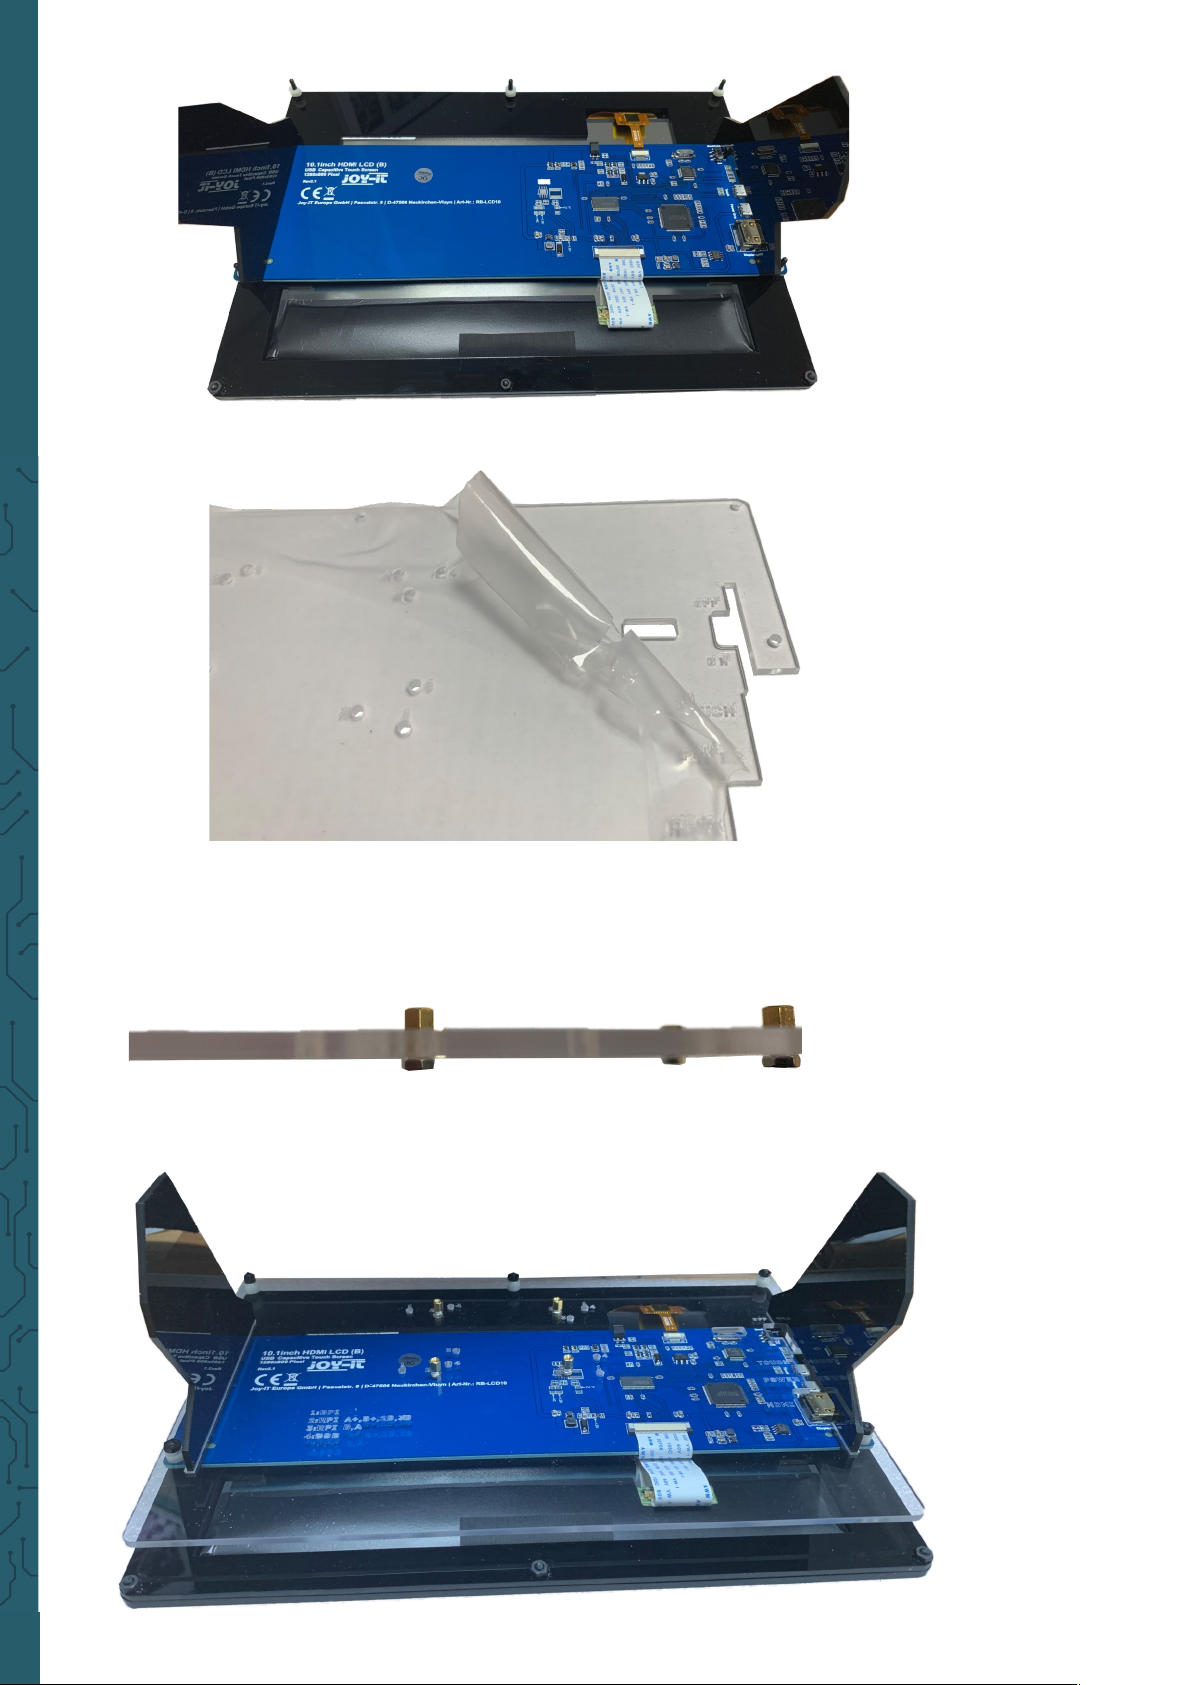
4. Now, remove the protective film of the protective cover.
5. Now fix the spacers with the supplied nuts to the openings provided
for them. Note that the numbers on the cover represent the
dierent single board computers compatible with the display.
6. Aer you put the spacers you removed earlier, back on the board,
put the cover plate back on the board and fasten the screws.
Page 4

www.joy-it.net
Pascalstr. 8 47506 Neukirchen-Vluyn
7. Now you can screw your single-board computer onto this plate.
3. USAGE WITH A PC
This product supports Windows 7 / 8 / 8.1 / 10 operating systems For Windows operating systems 8 and above, multi-touch gestures with up to 10
points are supported.
For some Windows 7 operating systems, only single-touch gestures are
supported.
1. Device connection
Please make sure that the connections are in the correct sequence or the
or the LCD may not work flawlessly.
1. Connect the Power Only port of the LCD to a 5 V and 2.5 A microUSB
power supply.
2. Connect the touch port of the LCD to one of the USB ports of your
computer.
3. Connect the HDMI port of the LCD to the HDMI port of your computer with an HDMI cable. If multiple screens are registered by your PC,
the LCD can only control the cursor of the main screen.
Touching it executes the le-key action of the mouse and holding your
finger down executes the right-key action. (You can use also the backlight
of the screen with the
backlight adjustment button
, please note the
marked position in the following image).
Page 5

www.joy-it.net
Pascalstr. 8 47506 Neukirchen-Vluyn
1. Installation
Basic installation
For the Windows operating systems on the PC, the resolution of the LCD
is automatically identified. Therefore, no further settings of this type can
be made. When working with the Raspberry Pi you should set the
resolution manually, otherwise, the LCD screen will not work. For more
detailed information please read the following section.
First, you should download a current operating system, namely Raspbian
or Ubuntu Mate, which you can download here.
1. Download the image (.zip format) to your PC. Aer unzipping the
file, you will get a file in .img format.
2. Connect a microSD card to your PC and open a program like Win32
Disk Imager.
3. Now select the downloaded image file and the SD card to be written
to. Then click on
Write
to write to the microSD card.
4. When the process is complete, open the
config.txt
file in the root
directory of the microSD card and add the following lines at the end
of the file. Then save the modifications and remove the microSD
card.
4. USAGE WITH A RASPBERRY PI
max_usb_current=1
hdmi_group=2
hdmi_mode=1
hdmi_mode=87
hdmi_cvt 1280 800 60 6 0 0 0
Note
The memory size of your microSD card should be more than 4 GB. In this
operation, you will also need a microSD card reader, which must be
purchased separately.
Page 6

www.joy-it.net
Pascalstr. 8 47506 Neukirchen-Vluyn
Rotation of the display with touch function
Display Rotation
To rotate the image, you need to edit the
config.txt
.
sudo nano /boot/config.txt
The following command must now be entered at the end of the file:
display_rotate=1
Note:
Depending on how you want to rotate the display, you must enter the
following values:
90° -
display_rotate=1
180° -
display_rotate=2
270° -
display_rotate=3
If you want to have the initial state, you must remove the command from
the
config.txt
.
Touch Rotation:
If the screen is rotated, the touch function is not automatically rotated, it
must be adjusted separately.
First you have to install a new package, if it is not already installed.
sudo apt-get install xserver-xorg-input-libinput
Then we have to create a new folder:
sudo mkdir /etc/X11/xorg.conf.d
Now you must copy a file in this folder:
sudo cp /usr/share/X11/xorg.conf.d/40-libinput.conf /etc/X111/xorg.conf.d
As soon as the file has been copied, you have to edit the touch function:
sudo nano /etc/X11/xorg.conf.d/40-libinput.conf
You will now have a preconfigured file open. You must enter a new
command under the entry
Identifier "libinput tocuhscreeen catchall"
, which is marked in the following picture.
Page 7

www.joy-it.net
Pascalstr. 8 47506 Neukirchen-Vluyn
Note:
Depending on how you want to rotate the display, you must enter the
following values :
90° -
Option "CalibrationMatrix" "0 1 0 -1 0 1 0 0 1"
180° -
Option "CalibrationMatrix" "-1 0 1 0 -1 1 0 0 1"
270° -
Option "CalibrationMatrix" "0 -1 1 1 0 0 0 0 1"
If you want to have the initial state, you simply remove the command.
As soon as you are finished, the Raspberry Pi must be restarted. It should
then restart with the setting you have set.
sudo reboot
Page 8

www.joy-it.net
Pascalstr. 8 47506 Neukirchen-Vluyn
2. Device connection
1. Connect
Power Only Interface
of the LCD to a 5 V 2.4 A microUSB
power supply.
(Normally, the LCD will reset the output on the display and perform
a self test).
2. Connect the HDMI interface of the LCD with the HDMI interface of
your Raspberry Pi with a HDMI cable.
3. Connect the touch interface of the LCD to one of the USB interfaces
of your Raspberry Pi.
4. Insert a microSD card into the card socket of the Raspberry Pi,
connect your Raspberry Pi to the power supply and then switch on
the Pi.
(Now you can adjust the backlight of the LCD with the
backlight
adjustment button
. See the marking in the following picture.)
1
2
2
3
3
4
4
Page 9

www.joy-it.net
Pascalstr. 8 47506 Neukirchen-Vluyn
5. USAGE WITH A BANANA PI
1. Working with Raspbian OS
Install the image file Raspbian for Banana Pi. This image file
supports BananaPi Pro and BananaPi.
1. Download the packed image file to your PC. Aer extracting, you
will receive a file with the extension .img.
2. Connect a microSD card to your PC and format the card with the
program Win 32 Disk Imager.
Note: The memory size of your microSD card should be more than
4GB.
3. Start the program
Win 32 Disk Imager
and select the image file and
also the mircoSD card which should be written.
Then click the
Write
button to write the image on the microSD card.
2. Device connection
1. Connect the LCD with the HDMI interface of the Banana Pi.
2. Connect the touch interface of the LCD with a USB interface of the
Banana Pi.
3. Connect the
Power Only Interface
of the LCD with a
5 V 2.5 A microUSB power supply.
3. Loading the WiFi driver
Compared to the Banana Pi, the BananaPi Pro has an additional WiFi module. If you have a BananaPi Pro, you can use SSH to connect it.
The following command can be used to load the WiFi drivers:
sudo modprobe ap6210
Page 10

www.joy-it.net
Pascalstr. 8 47506 Neukirchen-Vluyn
PR
6. OTHER INFORMATION
Our Information and Take-back Obligations according to the
German Electronic Law (ElektroG)
Symbol on Electrial and Electronic Products:
This crossed-out bin means that electrical and electronic products do not
belong into the household waste. You must hand over your old
appliance to a registration place. Before you can hand over the old
appliance, you must remove used batteries and replacement batteries
which are not enclosed by the device.
Return Options:
As the end user, you can hand over your old appliance (which has
essentially the same functions as the new one bought with us) free of
charge for disposal with the purchase of a new device. Small devices,
which do not have outer dimensions bigger than 25 cm can be handed in
for disposal independently of the purchase of a new product in normal
household quantities.
1. Possibility of return at our company location during our opening
hours
Simac Electronics Handel GmbH, Pascalstr. 8, D-47506 Neukirchen-Vluyn
2. Possibility of return nearby
We will send you a parcel stamp with which you can send us your old
appliance free of charge. For this possibility, please contact us via e-mail
at service@joy-it.net or via telephone.
Information about Package:
Please package your old appliance safe for transport. Should you not
have suitable packaging material or you do not want to use your own
material, you can contact us and we will send you an appropriate
package.
7. SUPPORT
If any questions remained open or problems may arise aer your
purchase,we are available by e-mail, telephone and ticket support
system to answer these.
E-Mail: service@joy-it.net
Ticket-system: http://support.joy-it.net
Telephone: +49 (0)2845 98469 – 66 (10 - 17 o'clock)
For further information visit our website:
www.joy-it.net
Published: 25.03.2020
www.joy-it.net
SIMAC Electronics GmbH
Pascalstr. 8, 47506 Neukirchen-Vluyn
 Loading...