

Page 1
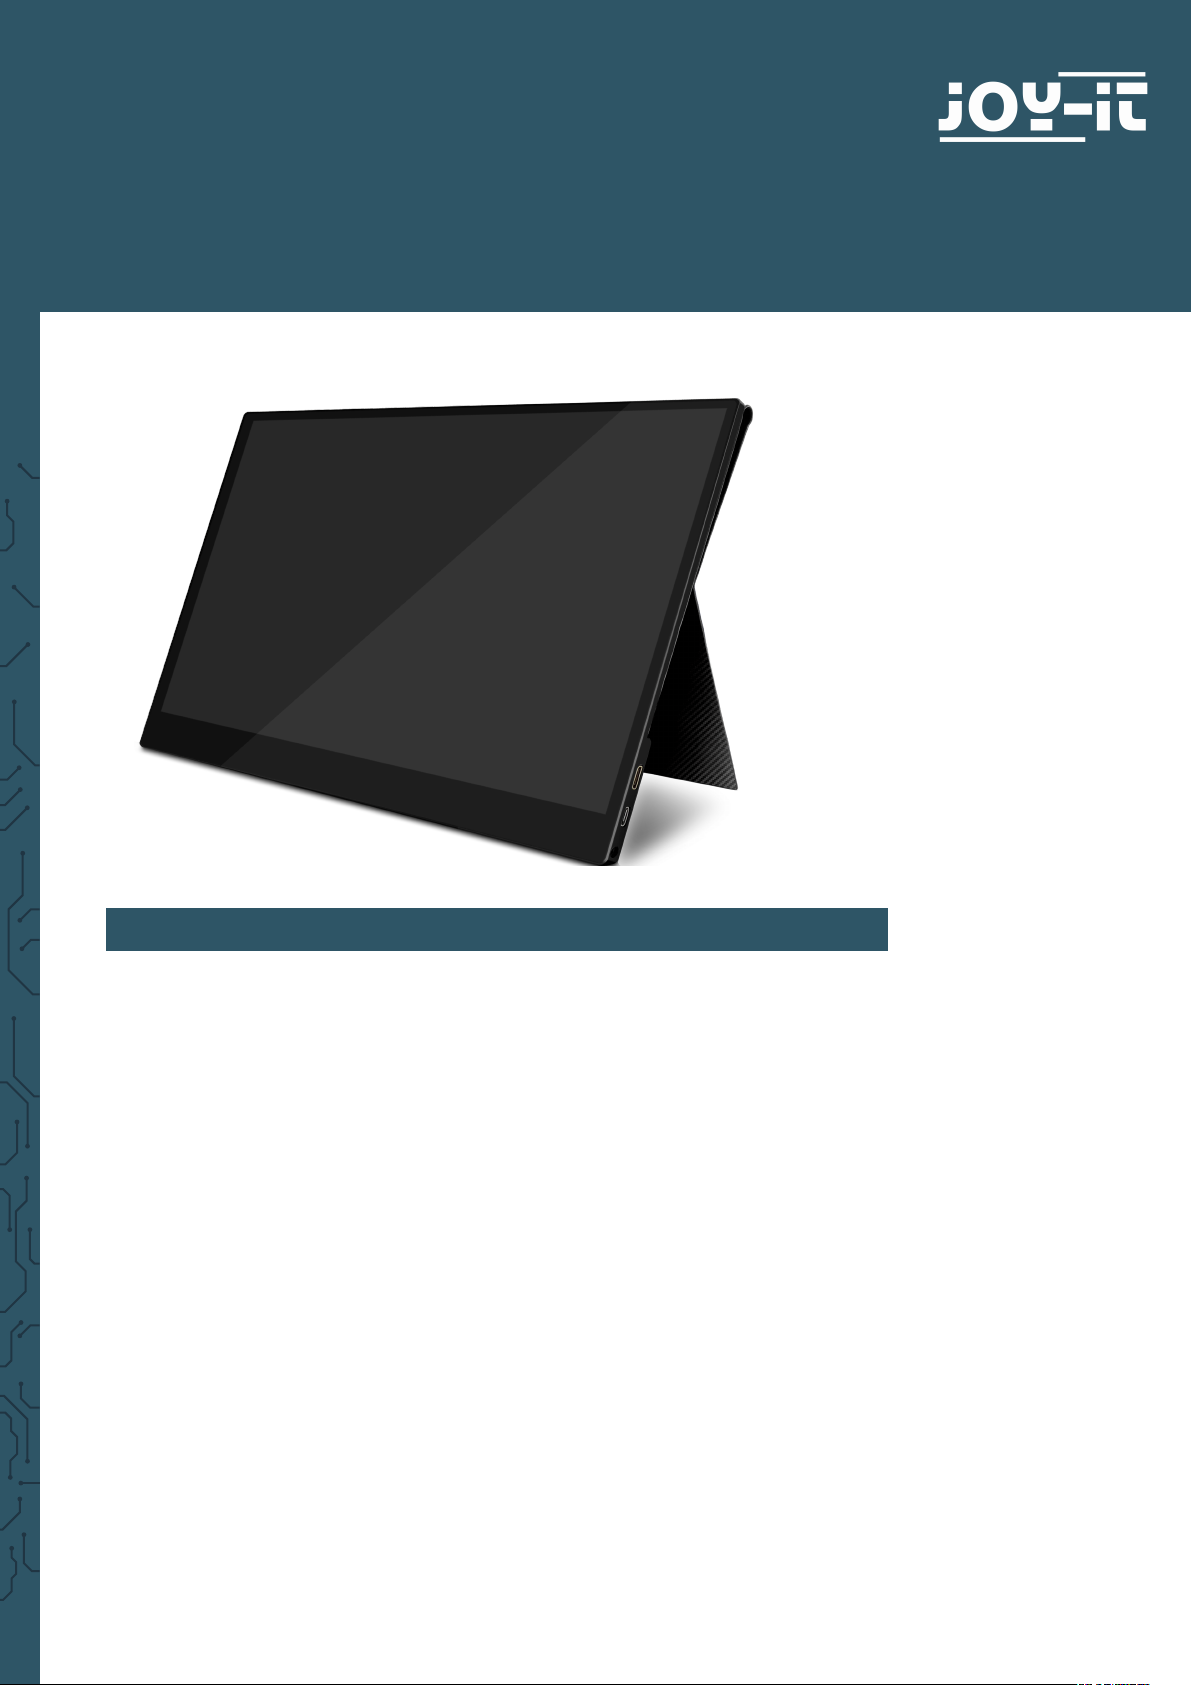
JOY-IT VIEW 15
15.6‘‘ portable monitor with touchscreen
1. INFORMATION
Dear Costumer,
thank you very much for choosing our product.
In the following, we will introduce you to what has to be observe while starting up and using this product.
Should you encounter any unexpected problems during use, please do not
hesitate to contact us.
The Joy-View was designed for the USB-type-C interface and inherits a
high-quality touchscreen besides the Full-HD-resolution. Many more devices like gaming consoles are supported with an additional Mini-HDMI-port.
With the enclosed smart case the Joy-View is not only protected on every
transport. Further, due to its pedestal, the case also oers a safe and upright
stand feature. In addition, the JOY-View has very low weight. That is why it
suits perfect for mobile use.
Page 2

2.SAFETY INSTRUCTIONS
MOUNTING THE MONITOR
Please make sure the monitor is placed on stable ground and no cables get
in the way, otherwise there is a danger of injuries. Please consider when placing the monitor on another device, this device must be able to withstand
the weight of the display, otherwise this can result to damages of the device.
SWITCH OFF IN DANGER
In case the monitor shows unusual happenings like smoke or smells, please
switch it o immediately and remove the power supply. Continued use may
lead to re or electric shock.
NEVER OPEN CASE
The monitor contains parts which are exposed to power. Opening the case
may lead to re or electric shock.
NEVER INSERT FOREIGN OBJECTS INTO MONITOR
You should never insert foreign objects or liquids into the monitor. Should
this happen, please switch it o and disconnect it from electricity. It can lead
to re or electric short circuits.
REMOVE CABLES BEFORE TRANSPORT
Please remove cables before transportation. Otherwise, this may lead to re
or short circuits.
DO NOT EXPOSE TO WATER
Any contact to water or even splash water can lead to re or electric shocks.
ORIGINAL POWER SUPPLY
While using a foreign power supply, it may lead to damages of the device or
re.
NEVER OPEN UP POWER SUPPLY UNIT
Opening the power supply unit may lead to electric shocks or re.
PLUGGING AND UNPLUGGING
You should always pull only on the plugs for plugging and unplugging, ot-
herwise the wiring can be damaged which may lead to a danger of re or
electric shocks.
DO NOT DAMAGE CABLES
Please be aware to not damage the cable in any way and to protect it against
exposures like pressure or tractive forces, because this may lead to re or
short circuits.
ENVIRONMENTAL CONDITIONS
You should not use the monitor among extreme temperatures, high humidi-
ty or very dusty air, because it may lead to re, short circuits or damages to
the device.
Page 3

DO NOT TOUCH PLUG WITH WET HANDS
In case you touch the plug with wet hands, it may lead to re or electric
shocks.
3. TECHNICAL SPECIFICATIONS
Resolution
Breadth
Refresh rate
Brightness
Contrast
Color space
Sight angle
Screentype
Aspect ratio
Backgroundlight
Power supply
Loudspeaker
Inputs
Outputs
1920 x 1080
10 mm
60 Hz
300 nit
800 : 1
16.7M, NTSC 72%,
sRGB bis zu 100%
178 °
TFT IPS LCD
16 : 9
LED
PD 5 - 20 V, Type-C USB 3.0
double loudspeaker 8Ω2W
Mini HDMI, Type-C, PD
3,5 mm headpone jack
Operating temperature
Case
4. SCOPE OF DELIVERY
1x Monitor
1x Power Supply (5V/2A)
1x USB A to USB Type-C
Cable (1m)
1x Mini HDMI to HDMI
Cable (1,5m)
0 - 50 °C
Aluminium alloy
1x Smart Case
1x Type-C to Type-C Cable
(1m)
1x HDMI to mini HDMI
Adaptor
Page 4

5. FUNCTIONALITY OF BUTTONS & INTERFACES
4.HDMI
5.Type-C
6.Headphone jack
1. POWER
Press and hold down: switching the monitor on/o
Press shortly: 1. Open the signal source menu
2. Close or return in the OSD Menu
2. + / MENU / Push the button (MENU) to open the OSD Menu
→ + / - to move through the menue
→ Push the button (MENU) to choose an option
Push up the button towards + to open the brightness menu
→ + / - for brighter/ darker
1.POWER
2.+ / Menu / -
3.PD
Push down the button towards - to open the volume menu
→ + / - for volum up and volume down
3. PD
USB-Type-C port (supported PD) for power connection
4. HDMI
Mini-HDMI port for image transmission
5. Type-C
USB-Type-C port for image transmission, touchscreen and power
6. Headphone jack HP
port for audio output → 3,5 mm headphone jack
Page 5

6. ON-SCREEN DISPLAY MENUE
BRIGHTNESS
CONTRAST
ECO
DCR
ASPECT Changes the format ( 16:9 & 4:3)
COLOR TEMP.
RED
GREEN
BLUE
LANGUAGE Chooses language in the On-screen display menue
OSD H. POS.
Setting of display's brightness
Setting of display's contrast
Adjusts the brightness for an activity
Rises the contrast for low display brightness
Contains 3 user-dened color modes, cool and warm
Changes the blue shade in the picture
Changes the green shade in the picture
Changes the blue shade in the picture
Horizontal orientation of the OSD position
OSD V. POS.
OSD TIMER
TRANSPARENCY
IMAGE AUTO
ADJUST
COLOR AUTO
ADJUST
RESET
AUTO
POWERDOWN
HDR MODE
SIGNAL SOURCE
LOW BLUE LIGHT
VOLUME
Vertical orientation of the OSD position
Sets the durance of OSD open inactively
Sets the transparency of the OSD
Automatical orientation of the image
Automatical color temperature adjustment
Resets the settings to factory default
Automatic display power o when time limit is reached
Chooses the 2084 Mode (automatical or o)
Chooses the input signal (HDMI or Type-C)
Chooses LOW BLUE LIGHT Mode (25, 50, 75, 100)
Adjusts the volume
Page 6

7. SETTING OF THE MONITOR
1. Attach the smart case to the monitor.
CAUTION:
You have to x the smart case proper to the horizontal lying monitor, otherwise it may fall over or drop.
2. Connect the monitor with your device and connect to a power supply.
Hereto, you can use dierent methods.
Connecting the monitor without Touchscreen
A
1. Connect the monitor to electricity with the power supply or
with a power bank via USB type-A to USB type-C.
2. Connect the monitor with your device using the HDMI Cable.
PD
1
power supply
Mini HDMI
2
HDMI
Devices with HDMI or mini-HDMI connection are for example PC,
Laptop, Raspberry Pi, Xbox One, Xbox 360, Macbook Pro, Nintendo
Switch, Playstation 3, Playstation 4 etc.
Page 7

Connecting the Monitor with Touchscreen
1. Connect the monitor with your laptop or Raspberry Pi using the
HDMI cable.
2. Connect your monitor with your laptop or Raspberry Pi also
using the USB A to USB Type-C cable.
raspberry pi board
PD
HDMI
power supply
Mini HDMI
1
Type-A
Type-C
2
Please note that the touchscreen is only able to work if it is connected with a Windows 7 / 8 / 10 laptop or a Raspberry Pi.
In case the monitor is not provided with enough power by the
USB-A port of your device, please connect it with a power supply additionally. The Type-C (not PD) port of the monitor still
needs to be connected with your laptop or Raspberry Pi via
the USB A port for operating the touch feature.
One Cable Connection for specic devices
Connect the monitor with your laptop/ tablet/ Android smartphone
using the USB Type-C cable.
In case the monitor is not supported with enough power by the
USB Type-C port, it may lead to image interferences or interruptions.
PD
Type-C
power supply
Type-C
Please check, whether the USB Type-C port of your laptop / tablet / smartphone supports Type-C image transmission and if your Type-C cable is a
USB 3.1 Gen 2 Type-C cable.
Page 8

Devices which support USB Type-C port (Examples):
Game consols
Huawei
Samsung
Apple
Microso
Asus
Nintendo Switch Tablet
Mate 10, Mate 10 Pro, Mate 20 Pro
Mate 20 X, Mate 20, Mate 20 RS
P20 Pro, P20, P30, P30 Pro
MateBook 13, MateBook X Pro
MateBook X, MateBook E
Galaxy S8, Galaxy S8+, Galaxy S9
Galaxy S10, Galaxy Tab S4, Galaxy Tab A
Galaxy Book 2, Galaxy Tab S3
Galaxy Book, Notebook 9 Pro
Notebook 7 Spin, Notebook 9
Notebook Flash
iPad Pro (2018), MacBook, MacBook Pro
MacBook Air, iMac, iMac Pro
Surface Book 2
VivoBook Flip, ROG STRIX Hero Edition
ROG Zephyrus M GM501GS
ROG STRIX Scar Edition, ZenBook Pro 15
ZenBook S, ROG STRIX,
ROG STRIX GL503VDUH73
Dell
HP
Lenovo Legion Y7000, Miix 630, Ideacentre 730S
XPS9380, XPS 13 9370, Inspiron 13
Inspiron 15, Alienware 17
Alienware 15 R4, Latitude 5590, G3 17
Inspiron 7777
Pavilion x360, ENVY x360, ENVY x2
Pavilion 15-CC610MS
Pavilion 15-CX0051MS
ENVY x2 Detachable 12-E068MS
ENVY Notebook 17-U193MS
Pavilion Gaming Desktop 790-0021
Pavilion 24-XA0031
Flex 14 81EM000LUS
Flex 14 81EM000KUS
Flex 5 81 CA0013US, Ideapad 720S
Flex 5 81CA0016US
Page 9

8. SUPPORT
We of course support you aer the purchase.
Should you have any questions or encounter problems, please feel free to
contact us via e-mail, phone und ticket support system.
E-mail: service@joy-it.net
Ticket-System: http://support.joy-it.net
Phone: +49 (0)2845 98469 – 66 (10 - 17 o'clock)
For further information, please visit our website:
www.joy-it.net
Veröentlicht: 30.10.2019
www.joy-it.net
SIMAC Electronics GmbH
Pascalstr. 8, 47506 Neukirchen-Vluyn
Page 10

PRODUCT RECOMMENDATION
RB-JOY-PI EXPERIMENTAL AND EDUCATION CASE
▶ 21 stations for beginners as well as for advanced users
▶ With 7" touchscreen display
▶ Case contains many sensors and interactive modules
The Joy-Pi is an experimental case based on the Raspberry Pi
3B/3B+/4B and is ideal for the entry into electrical engineering
and programming. The sophisticated case system oers a
perfect all-in-one environment and puts an end to many ddly
small parts solutions and cable chaos on the worktable.
The Joy-Pi is also very suitable for school projects, as you
can simply switch it o and close it at the end of the lesson
and then continue working on the project in the next lesson.
Another advantage of the case is its great mobility and
compactness. This allows you to take it with you wherever you
go and explore the Raspberry Pi universe with friends.
www.joy-it.net
SIMAC Electronics GmbH
Pascalstr. 8, 47506 Neukirchen-Vluyn
 Loading...