

Page 1
3
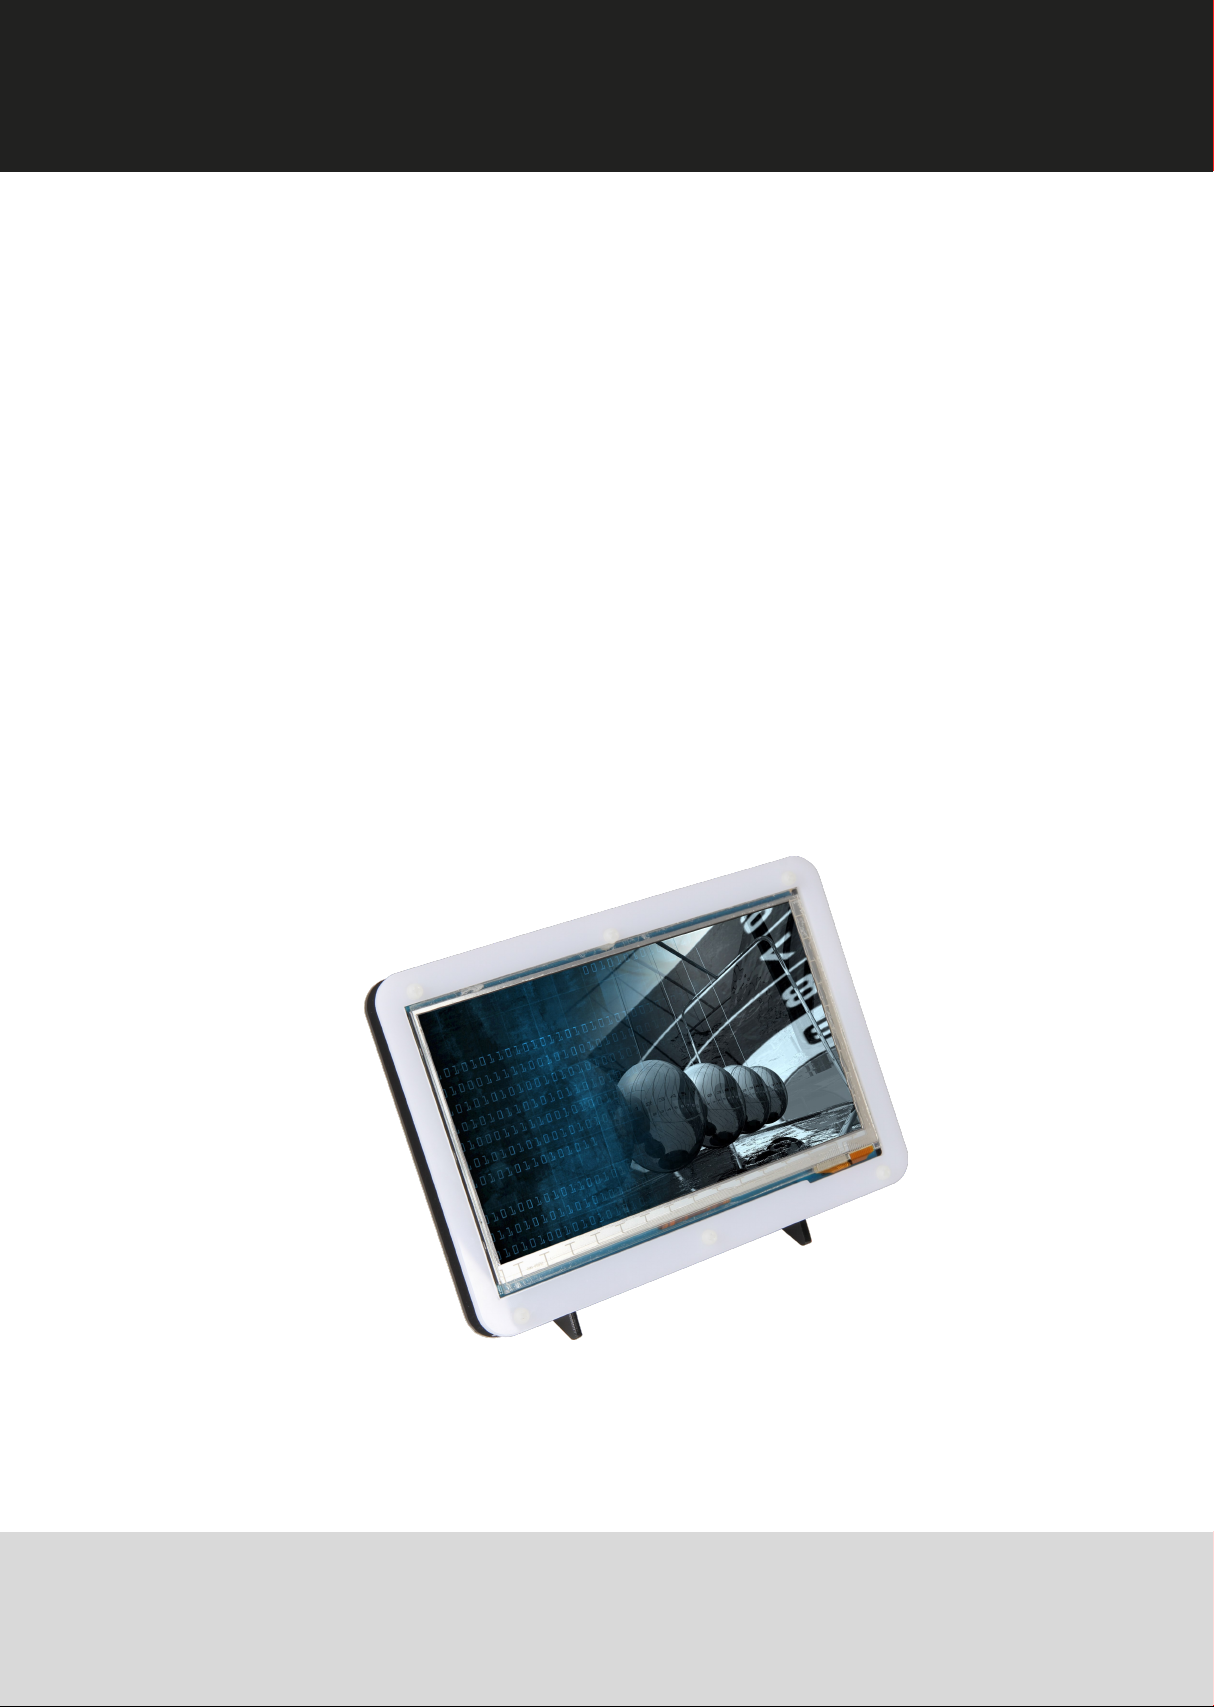
7“ Touch-Display
Assembly Instruction
Ausgabe 28.07.2017 Copyright by Joy-IT 1
Page 2
3
Assembling the Case
Dear customer,
thank you for purchasing our product.
Please nd our assembly instrucons below:
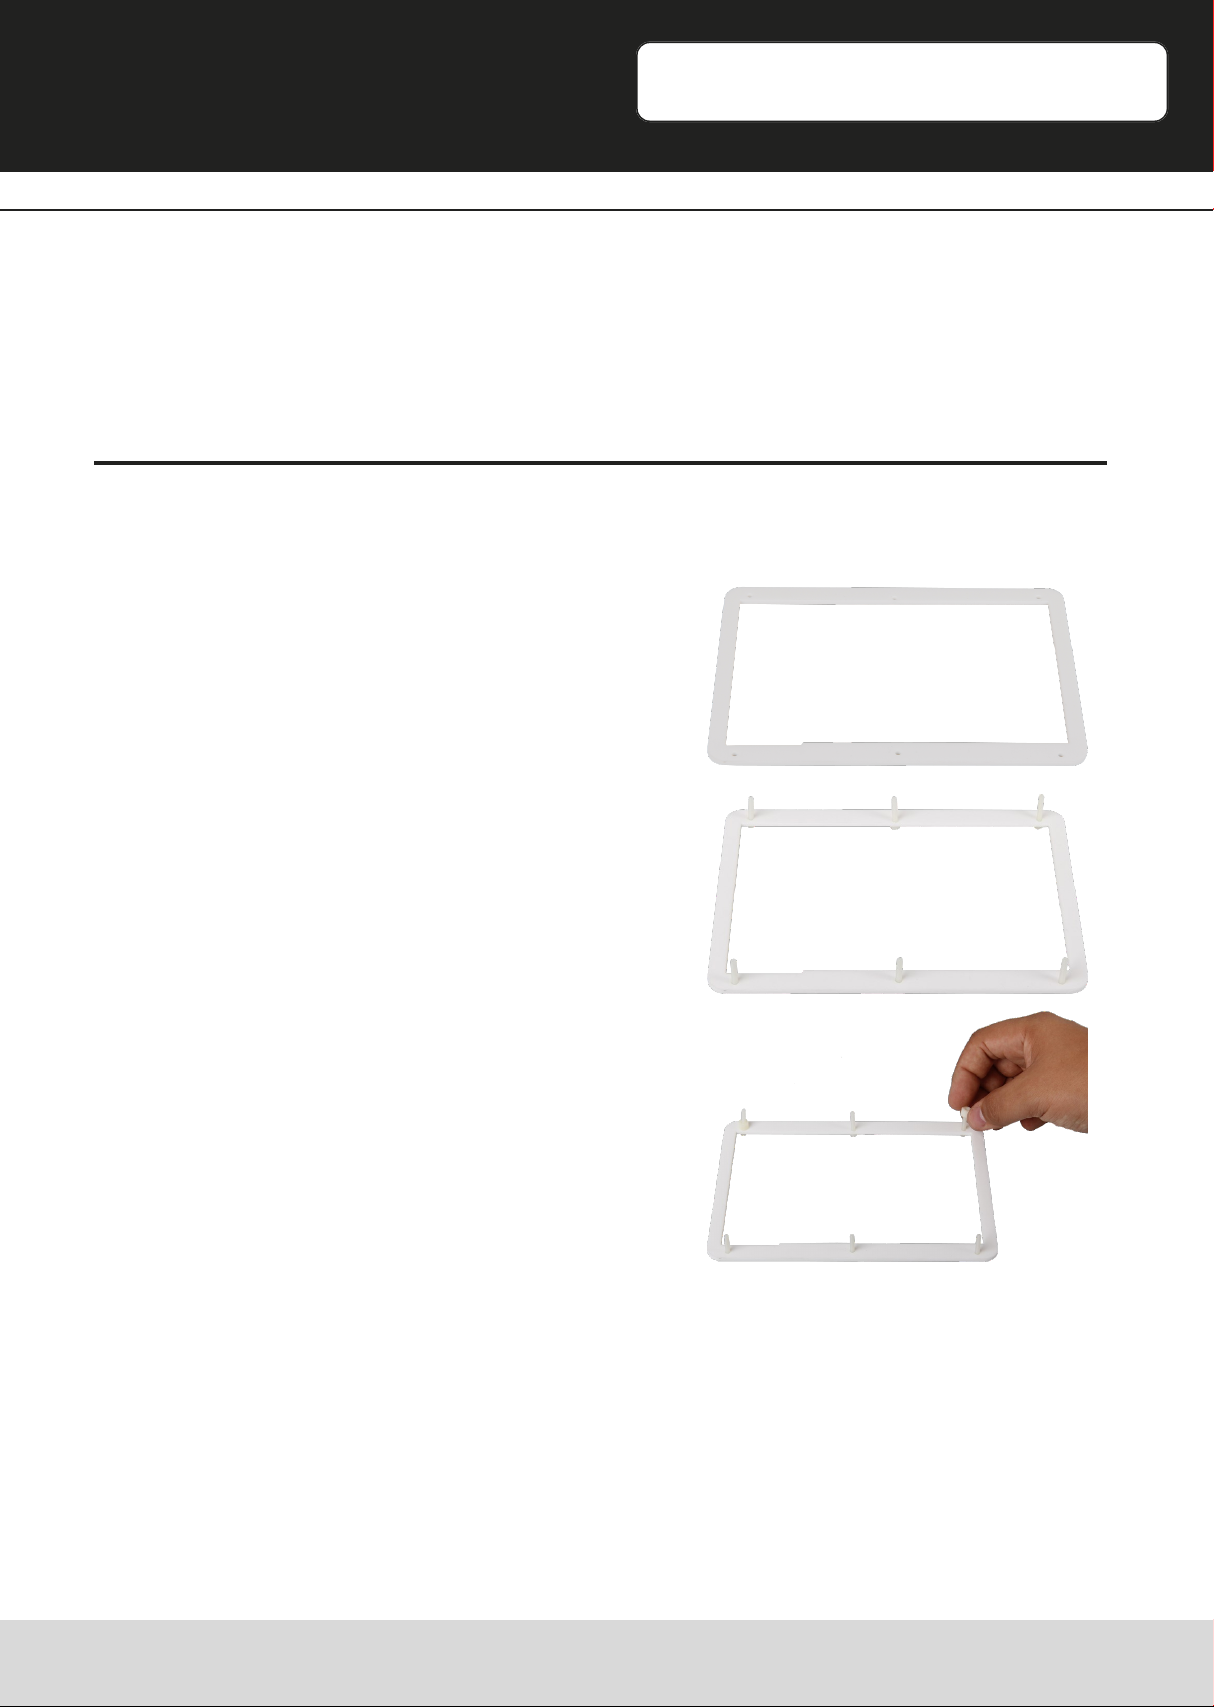
Assembling the case
Warning: Before assembling the case, you need to remove
the protecve foil from all parts.
At rst, you need the front-part.
7“ Touch-Display
Now the six white arcrylic screws need to be placed through
the holes.
The six spacers needs to be layed on the screws.
Ausgabe 28.07.2017 Copyright by Joy-IT 2
Page 3

3
Assembling the case
Sck the display on the mounng. Watch out that the cables
of the display are on the same side as the indentaon of the
case.
Now place another six spacers on the screws.
7“ Touch-Display
You can now mount the backplate of the case.
Aer that, you can screw the nuts on the case.
Ausgabe 28.07.2017 Copyright by Joy-IT 3
Page 4

3
Assembling the base
Assembling the base
Take a white acrylic plate and a matching screw.
These are, as seen on the picture, stuck inside a side panel.
7“ Touch-Display
Screw a nut into the screw.
Repeat this process unl the base is fully assembled.
Ausgabe 28.07.2017 Copyright by Joy-IT 4
Page 5

3
Mounting a single-board computer
7“ Touch-Display
You can mount a lot of dierent single-board computers on the back of the case.
Banana Pi: Raspberry Pi: Other SBC:
Banana Pi M1 Raspberry Pi A BeagleBone Black
Banana Pi M2 Raspberry Pi A+
Banana Pi M2 Ultra Raspberry Pi B
Banana Pi M2 Berry Raspberry Pi B +
Banana Pi M3 Raspberry Pi 2B
Banana Pi M64 Raspberry Pi 3B
Ausgabe 28.07.2017 Copyright by Joy-IT 5
 Loading...