

Page 1
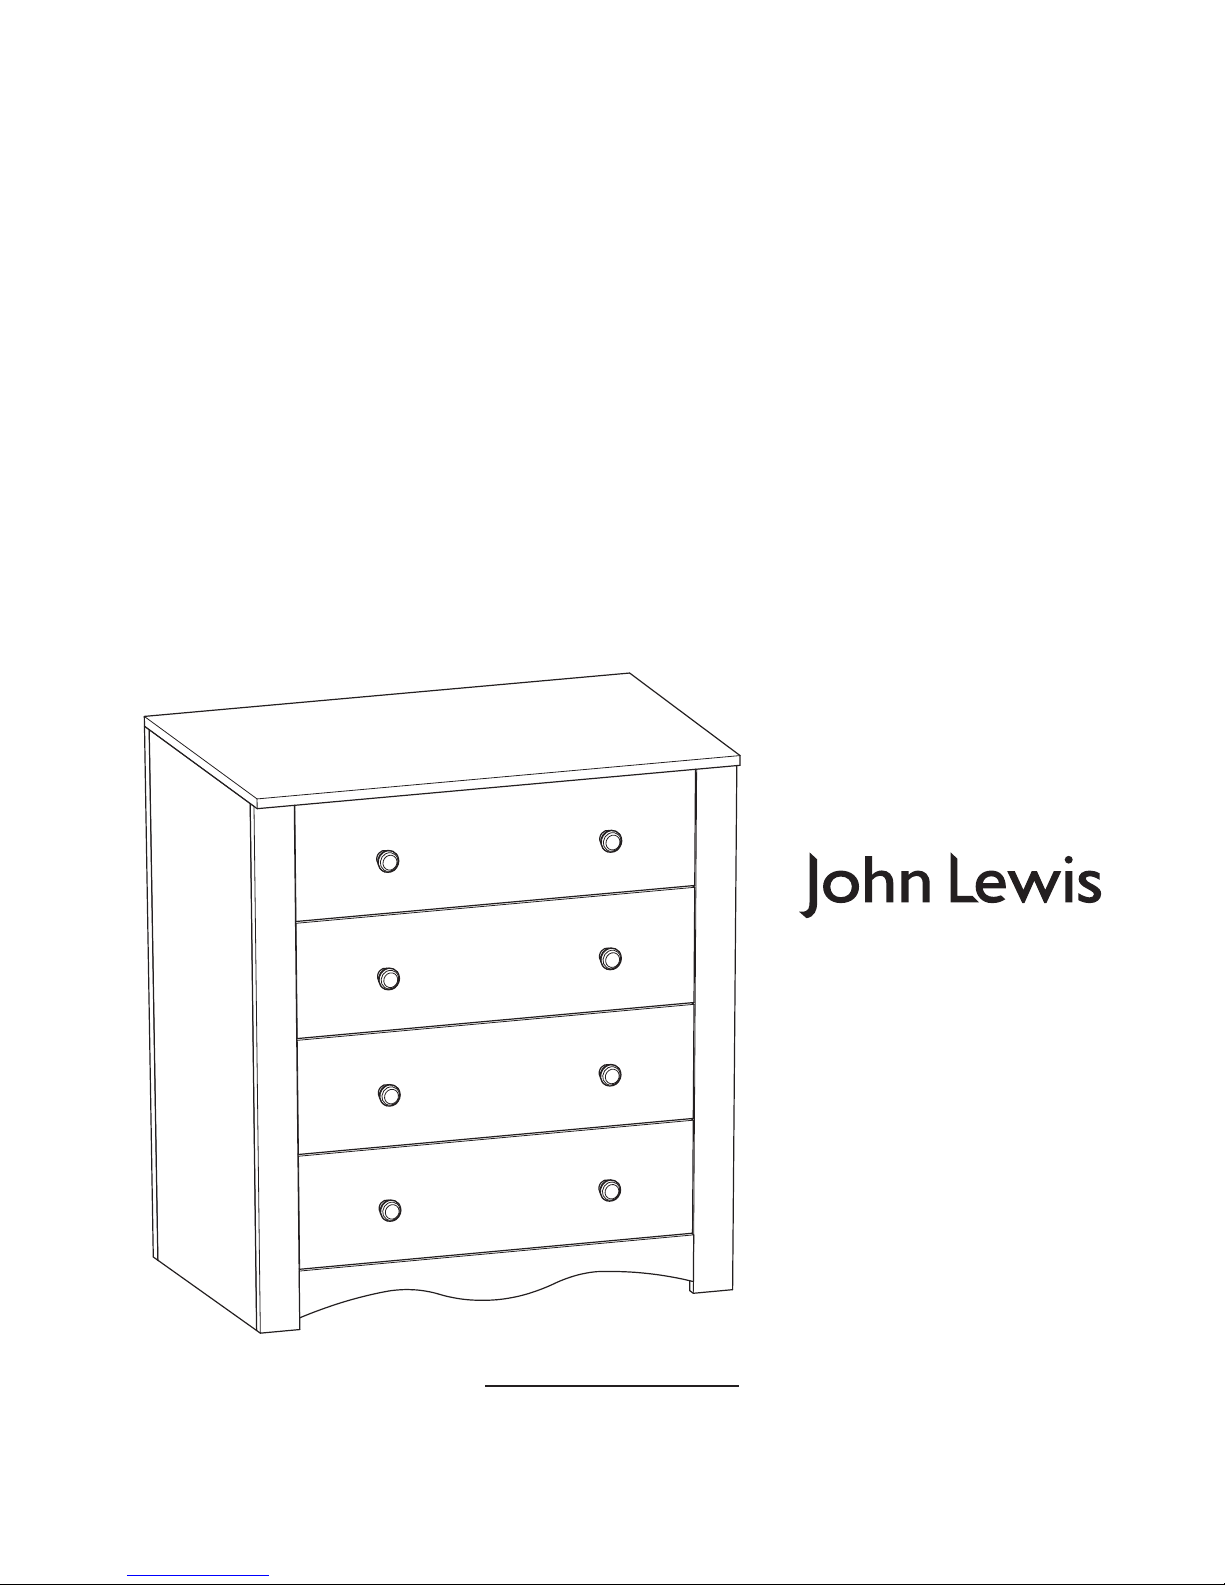
Rachel chest of drawers
Instruction manual
1
IMPORTANT
RETAIN THESE INSTRUCTIONS FOR FUTURE
REFERENCE
Page 2
Thank you for purchasing this Rachel chest of drawers. Please read the instructions and warnings
carefully before use to ensure safe and satisfactory operation of this product.
Your child’s safety is your responsibility. If you have a query with this product or require replacement
parts, please contact your nearest John Lewis department store.
Lay out the parts on a soft level surface and compare to the part/fixing checklist on page 2 & 3. Do
not discard any packaging until you are sure that you have all the parts.
During assembly children should be kept away from the product due to possible risk of injury.
Assembly to be carried out by a competent adult only.
This product complies with BS 4875-7:2006 and FIRA/FROG C001:2008 & FIRA/FROG
C004:2008.
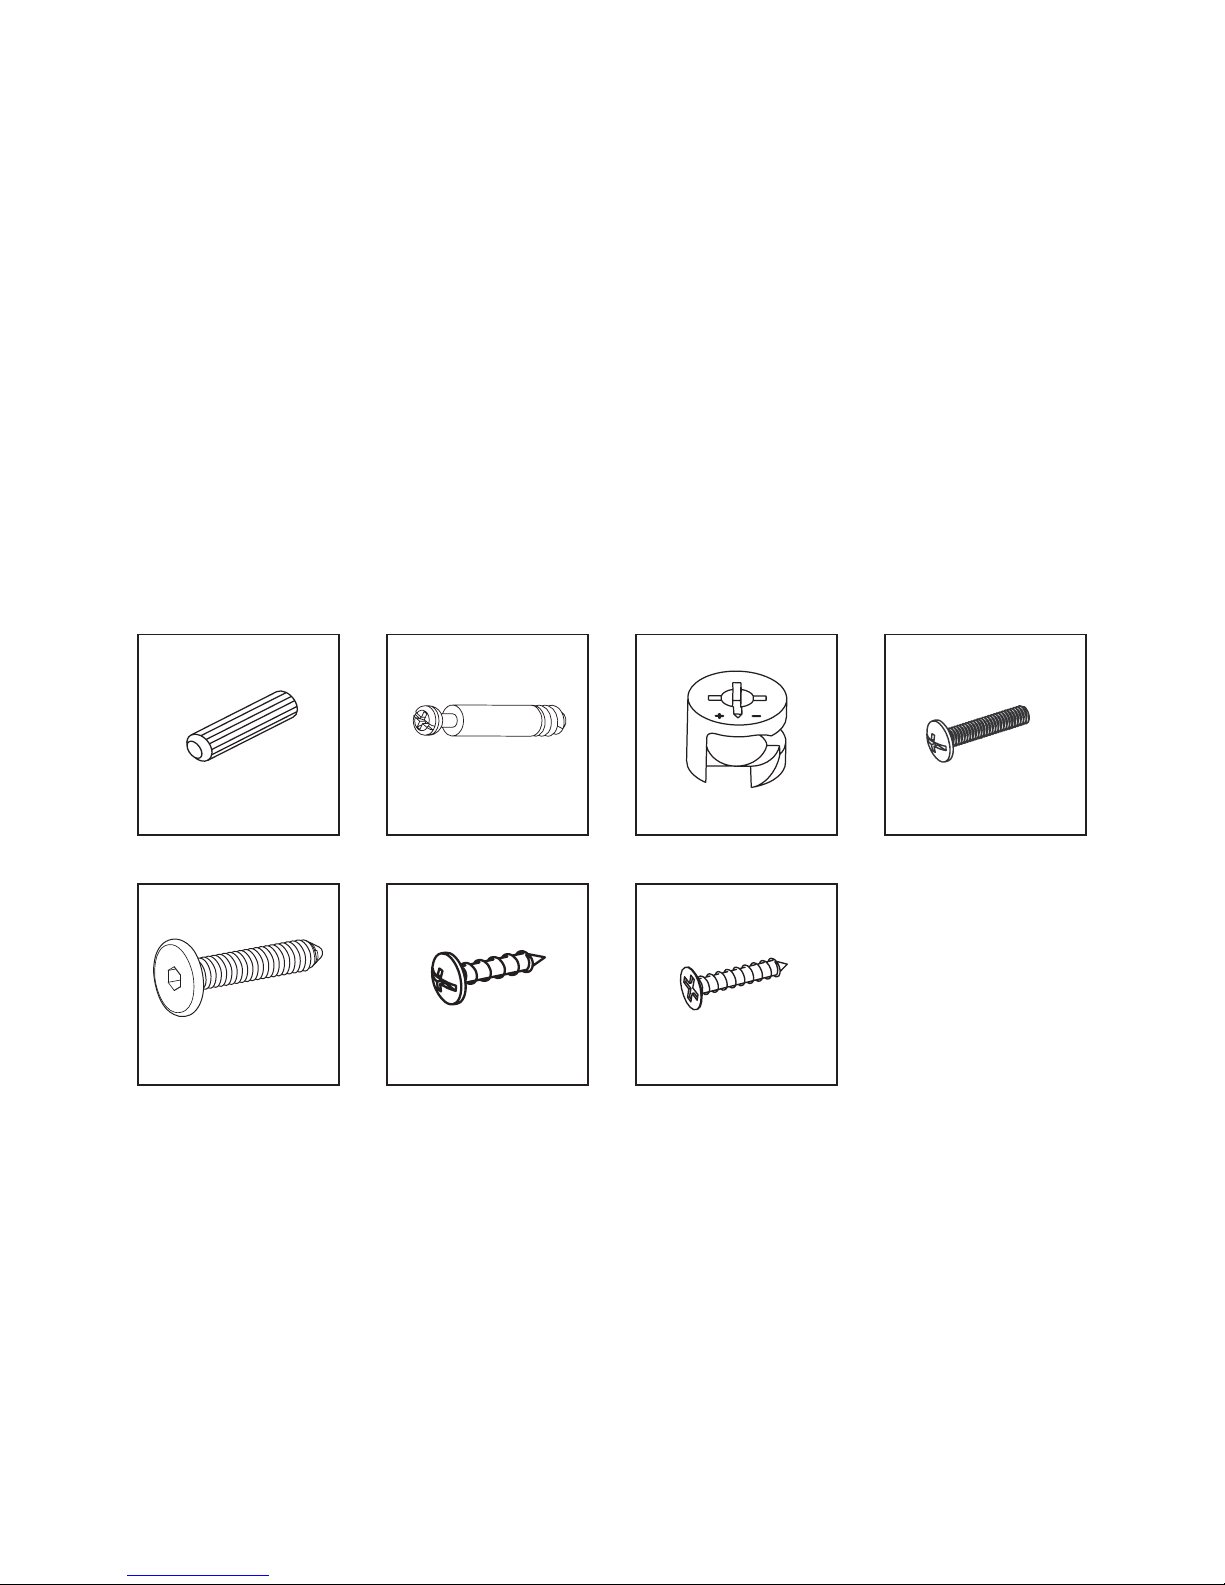
Fixings
8mm Wooden
dowel x 24
1
25mm handle
bolt x 8
4
35mm
woodscrew x 32
7
12mm
woodscrew x 24
6
Camlock pin x 10
2
Camlock x 10
3
2
5
M6 x 30mm
Bolt x 16
Page 3
You will need:
1 x 4mm Allen Key (supplied)
Flat-headed screwdriver
Cross point screwdriver.
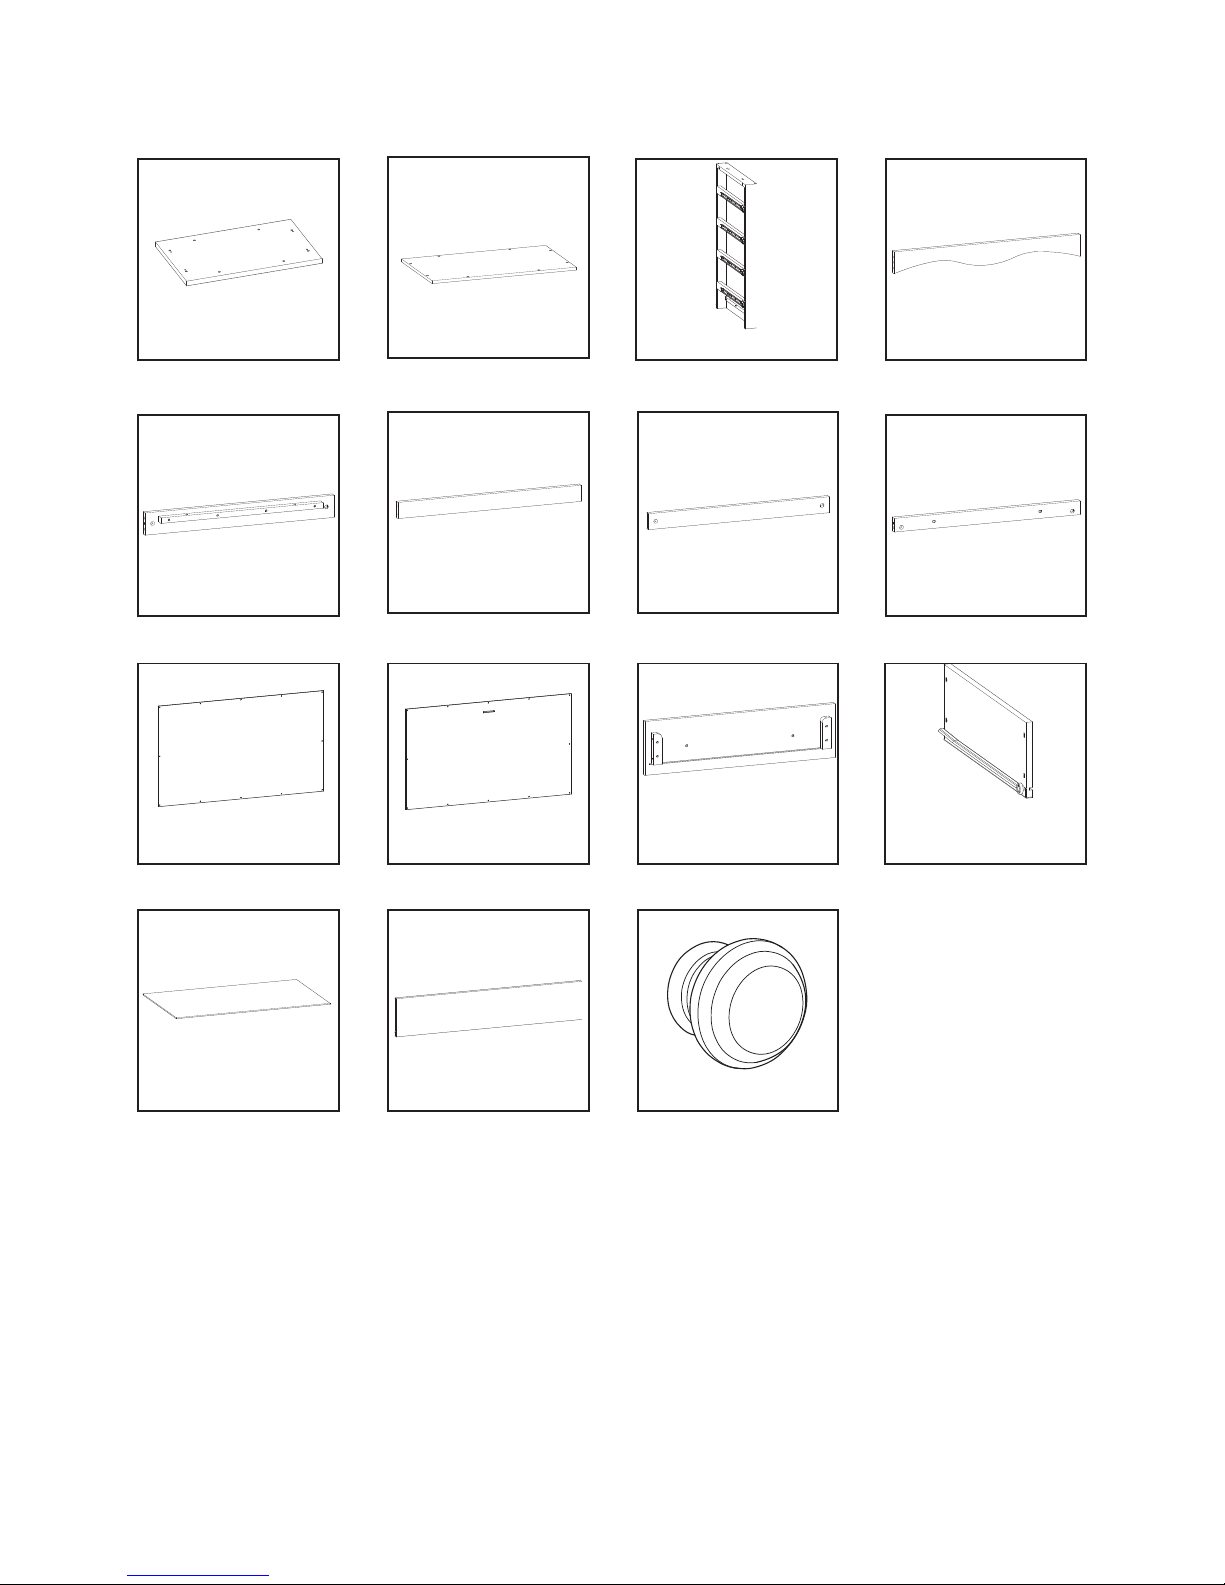
Top panel x 1
Bottom panel x 1
Side x 2
Lower Crossbar
(F) x 1
Lower crossbar
(R) x 1
Mid crossbar x 1 Upper crossbar x 1
Top crossbar x 2
Back panel x 1 Drawer front x 4
Drawer side
(4 x L, 4 x R)
Drawer base x 4
M
L
K
I
H
G
Drawer back x 4
N
F
E
DC
B
A
Parts
3
Back panel with
slot x 1
J
Drawer handle x 8
O
Page 4
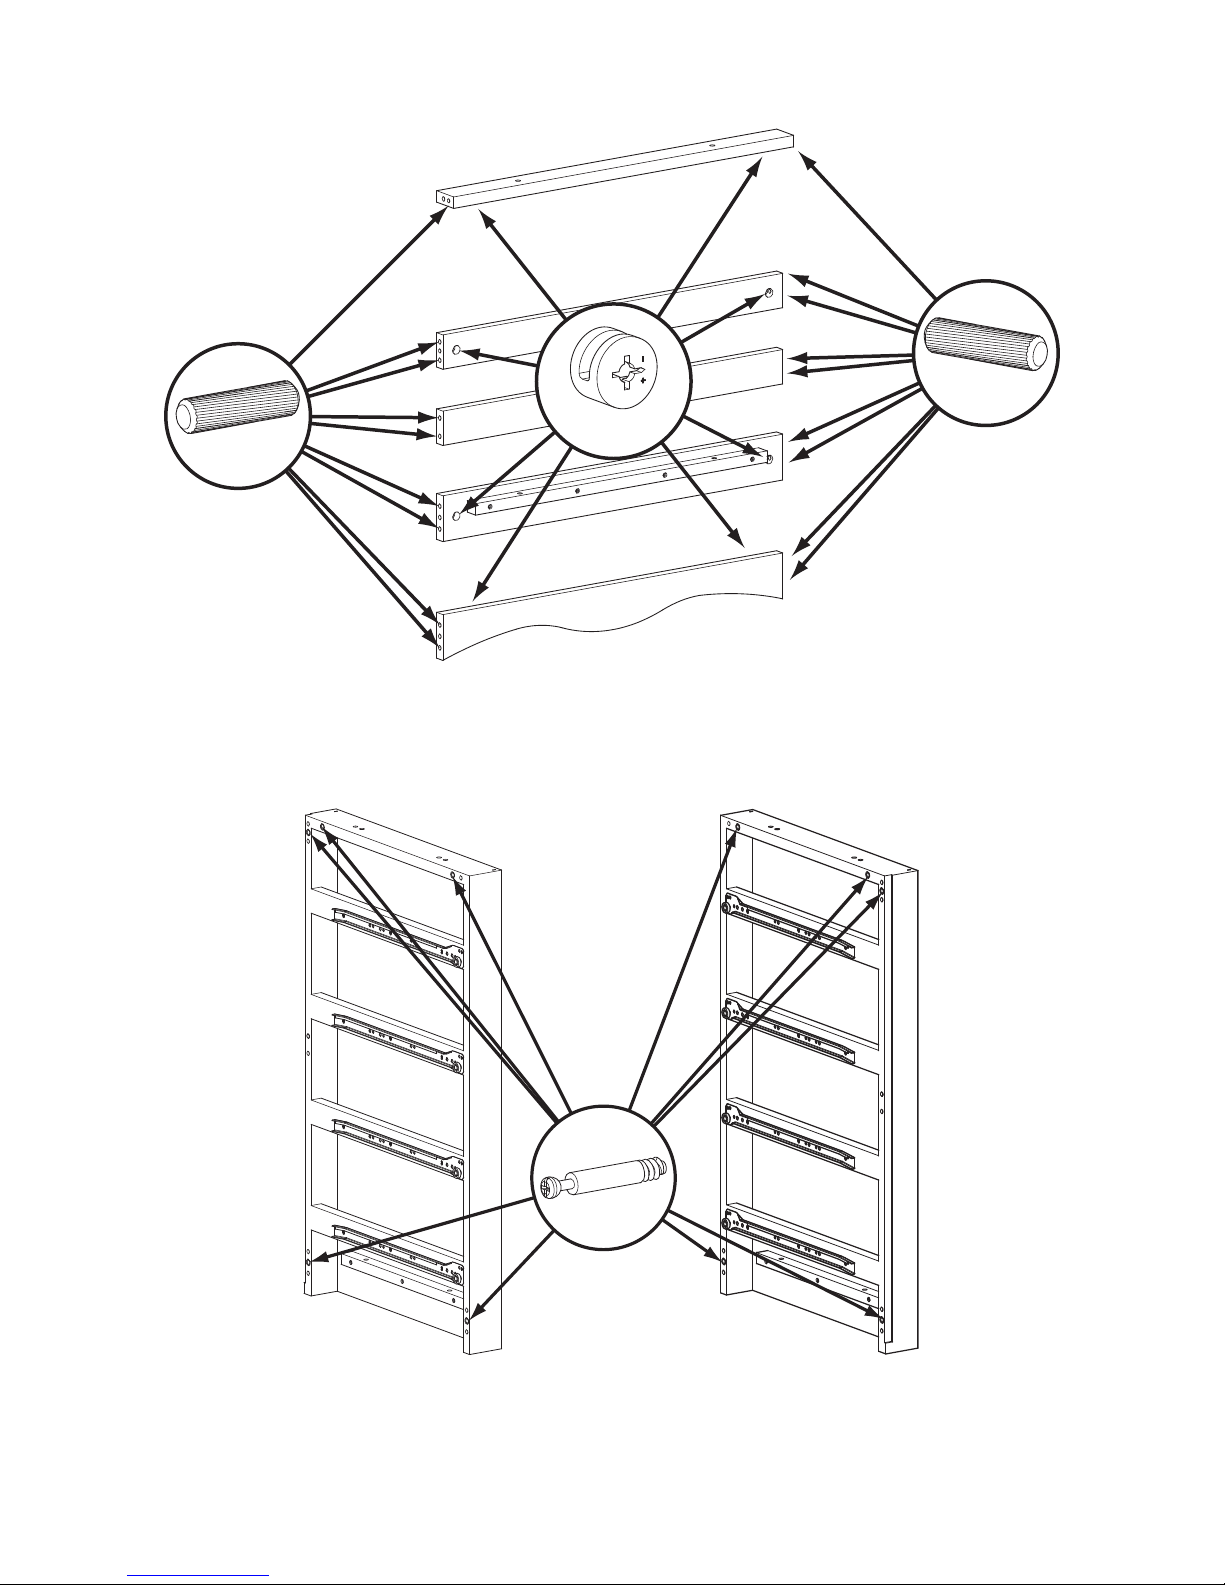
Push 8mm dowels (fixing 1) into the holes indicated in the ends of the Crossbars (Parts D,E,F,G and H).
Push Camlock nuts (Fixing 3) into the large holes in Crossbars D,E,G and H and ensure that the arrow
on the face of the Camlock nut points to the edge of the Crossbar where it attaches to the Side frame.
4
Part G
Part H x 2
Part D
Part E
Part F
Step 1
Fixing 3
Fixing 1
Fixing 1
Part C
Screw Camlock pins (Fixing 2) into the Side frames (Part C) where shown.
Part C
Step 2
Fixing 2
Page 5

Fit the Crossbars and secure by turning the Camlock nuts (Fixing 3) by approximately 1/2 turn until
tight.
5
Step 3
Part H
Part G
Part F
Part H
Part E
Part D
Page 6

Attach the Bottom panel (Part B) to the assembly from section 2 using six M6 x 30mm bolts (Fixing 5)
Fixing 5
Part B
Assembly from section 2
Step 4
Fit the second Side (Part B) to the assembly, ensuring that the dowels and pins previously inserted fit
correctly in the corresponding holes. Secure by tightening the Camlock nuts (Fixings 3) and insert two
further M6 x 30mm bolts (Fixing 5) as shown.
6
Step 5
Fixing 5
Page 7

Push four Dowels (Fixing 1) into the shallow holes in the top faces of the Sides (Part C). and lower the
Top panel (Part A) onto them, making sure that the Dowels are fully engaged in the Top panel and the
Sides. Secure the Top panel by inserting eight M6 x 30mm Bolts through the holes in the Sides and the
Top crossbars (Parts H) as shown.
Attach the two back panels (Parts I and J) to the rear of the unit using twenty-four 12mm woodscrews
(Fixing 6).
Ensure that the Back panel with the slot (Part J) is positioned at the top, with its slot uppermost.
7
Fixing 1
Fixing 5
Part A
Part I
Part I
Fixing 6
Step 6
Step 7
Page 8

To assemble the drawers, attach two Drawer sides (Part L) to a Drawer front (Part K), ensuring that
the plastic wheel on the drawer runner is to the rear of the drawer as shown. Secure each Drawer
side using two 35mm woodscrews (Fixing 7) but do not tighten fully at this stage. Slide a Drawer base
(Part M) into the slots in the Drawer sides and Drawer front and then fit the Drawer back (Part N) and
secure using four more 35mm woodscrews (Fixing 7).
Attach two Handles (Part O) to the Drawer front using two Handle bolts (Fixing 4).
Lastly, tighten all screws. Repeat for the remaining three drawers.
To fit the drawers, tilt up slightly and locate the plastic wheels on the drawer runners into the channels
behind the plastic wheel on the main frame. Push the drawer back and lower the front.
Please see the next page for details of securing your chest of drawers against tipping.
8
Part K
Part L
Part N
Part L
Fixing 7
Step 8
Step 9
Fixing 7
Part M
Fixing 4
Part O
Part O
Page 9

Place your chest of drawers against the wall
where it is to be fitted.
Mark the wall 25mm (1”) down from the top of
surface of the chest of drawers.
The type of wall fixing you will require depends
on the construction of the wall. See below for
details.
If in doubt, seek professional advice.
9
Additional tools required:
Drill
Drill bit
Cross-point screwdriver
Your Rachel chest of drawers is supplied with a fixing kit which will secure it and help to guard against
accidental tipping. The fixing kit can be found in a separate bag from the Drawer fixings.
WARNING : Installation only to be carried out by a competent person.
Check the suitability of the wall before fitting.
25mm
Pack contents:
Plastic washer x 2 Fabric strap x 1 20mm Screw x 2
Plastic wall plug
(For brick or masonry
wall use only)
Page 10

Temporarily remove the top drawer.
Move the chest of drawers back into position and
thread the free end of the strap through the slot in
the back panel.
10
Plastic washer
Fabric strap
Appropriate
fixing
20mm Screw
Attach the Fabric strap to the wall at the previously
marked position using one 20mm Screw, a Plastic
washer and the appropriate wall fixing for your wall
as shown.
From the inside of the chest of drawers, attach the
Fabric strap to the underside of the Upper crossbar
using the remaining 20mm Screw and the Plastic
washer as shown.
Refit the top drawer.
Before use, ensure that the strap is securely fixed to
both the wall and the chest of drawers.
Page 11

11
Care and maintenance
Your furniture may be cleaned by wiping with a damp cloth and drying with a soft clean cloth.
Do not use abrasives, bleach, alcohol or ammonia-based household polishes.
Take care when handling or moving the furniture. Careless handling may cause damage.
Safety notes
Keep children clear during assembly as pack contains small parts which may present a choking hazard.
Regularly check all fastenings to ensure that they are properly tightened.
Be aware of the risks of open fires and other such sources of strong heat, such as electric bar fires, gas
fires, etc. in the near vicinity of the chest of drawers.
Do not use this item if any components are missing or damaged.
Any additional or replacement parts can only be obtained from the retailer.
Installation of the wall fixing strap is only to be carried out by a competent person.
Check the suitability of the wall before fitting the retaining strap.
John Lewis Partnership
171 Victoria Street
London
SW1E 5NN
www.johnlewis.com
RCL001
 Loading...