

Page 1
John Lewis JL3/80-W
John Lewis JL3/110-W
Flat-screen television stand
Instruction manual
Page 2
Thank you for purchasing this flat-screen television stand. Please read the instructions carefully to ensure safe
and satisfactory operation of this product. Retain this information for future reference.
WARNING!
•
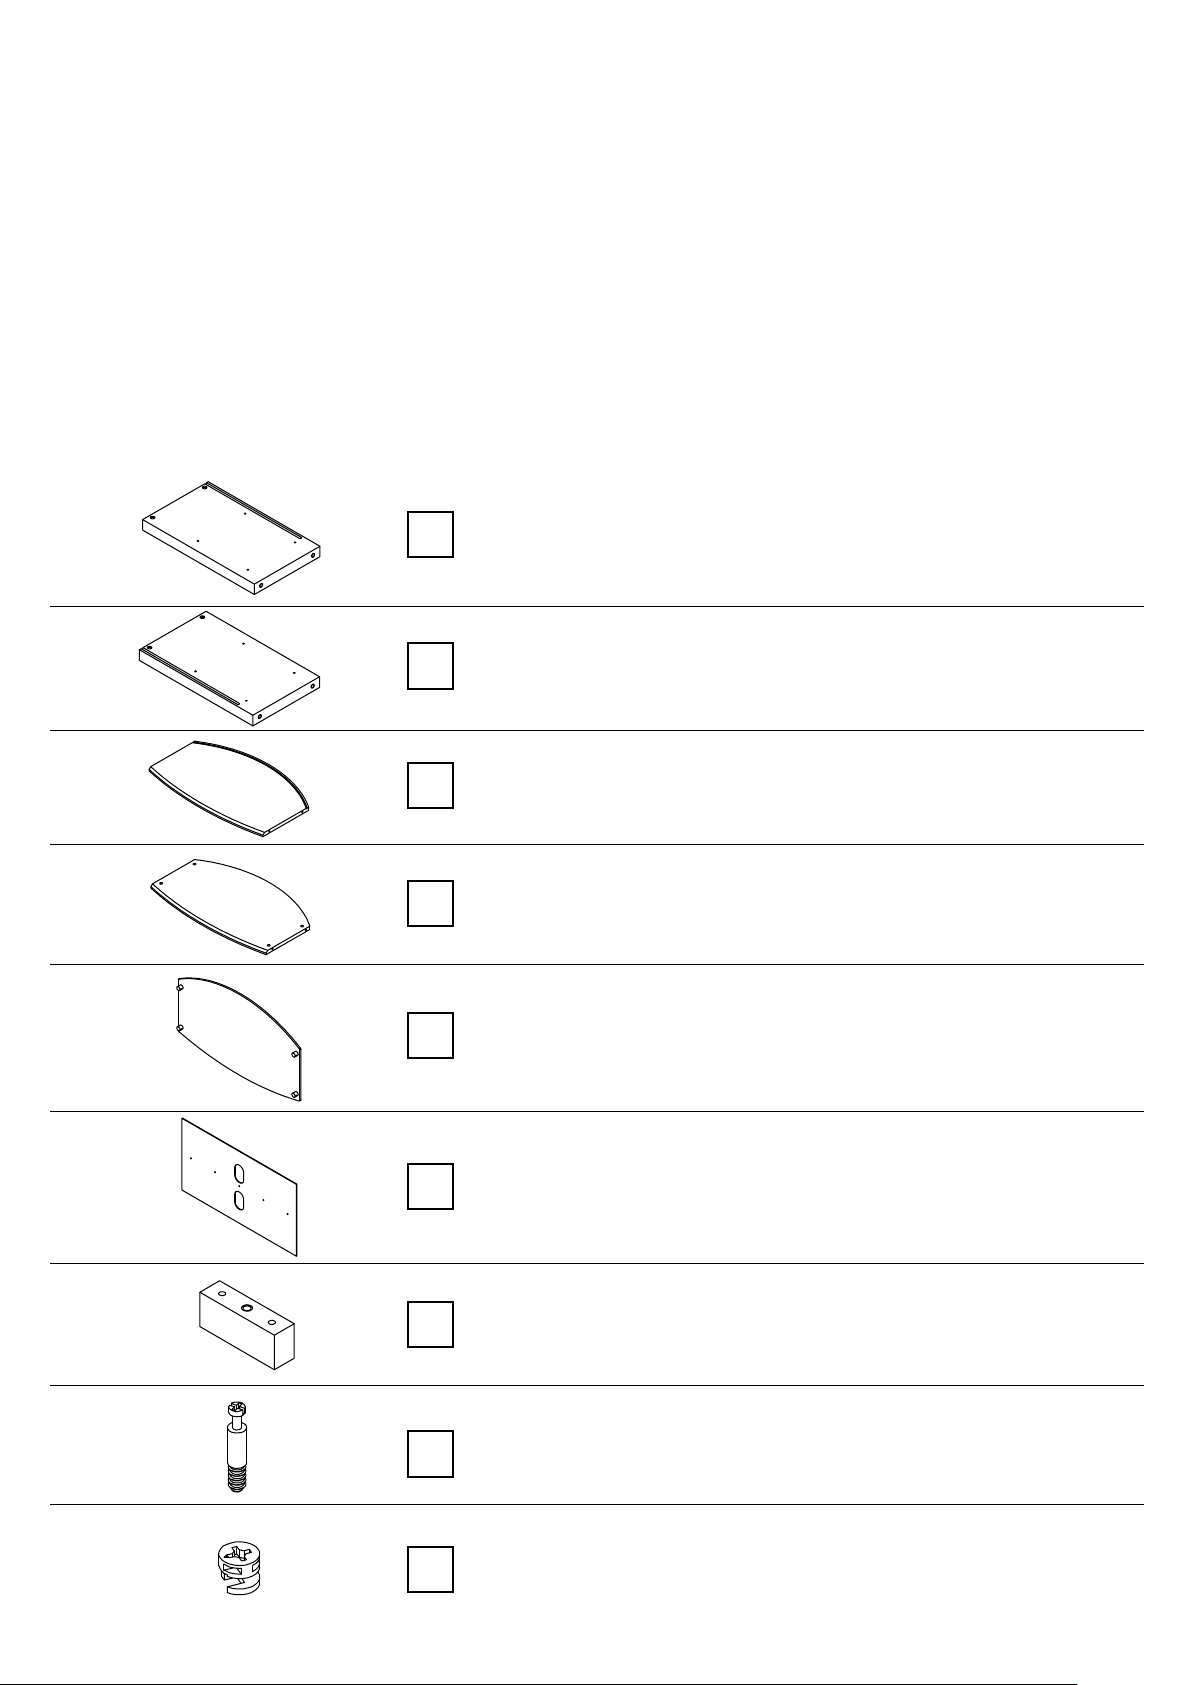
Before starting this assembly please take time to familiarise yourself with the components listed below.
•
Do not place very hot or very cold items against or in close proximity to glass surfaces unless an adequately thick
insulating material is used to prevent such items coming into contact with the glass.
•
Do not strike the glass with hard or pointed items.
•
When cleaning glass panels use a damp cloth or leather with washing up liquid or soft soap if necessary; do not
use washing powders or any other substance containing abrasives as these substances scratch glass.
•
Do not sit or stand upon horizontal glass surfaces.
•
Maximum safe load for top glass shelf is JL3/80-W: 70kg, JL3/110-W: 50kg
Maximum safe load for lower shelves is 20kg.
•
Component
a
b
c
d
Description
Left hand leg
Right hand leg
Bottom shelf
Middle shelf
Qty
1
1
1
1
Packed by
e
f
g
h
j
Top glass shelf
Back panel
Rear leg
Metal dowel
Metal Cam
1
1
1
8
8
Page 3

Component
Description
Qty
Packed by
k
m
n
o
p
q
Fixing screw
Short fixing bolt
Long fixing bolt
Swivel castor (braked)
Swivel castor
Self adhesive pads
5
4
2
2
3
5
r
s
Spanner
Allen key
1
1
Page 4

Stage 1 Stage 2
h
a
•
Screw metal dowels into legs and
h
a
h
b
b
x8
d
c
a
j
•
Position shelves and onto metal dowels.
•
Insert metal cams into holes in shelves and
Using a screwdriver tighten the cams in a clockwise direction.
c
d
j
c
j
x4
d
Stage 3 Stage 4
Turn the stand over as shown
j
b
c
d
a
j
b
a
f
k
k
•
Position shelves and onto metal dowels.
•
Insert metal cams into holes in shelves and
Using a screwdriver tighten the cams in a clockwise direction.
c
d
j
c
x4
d
•
Bend and slide the back panel into the grooves on the legs
and base.
•
Secure the back panel in position with fixing screws
f
x4
k
Page 5

Stage 5 Stage 6
Place the glass top on a rug or carpet for protection.
Turn the stand over as shown.
e
a
b
e
m
m
x4
•
Position legs and onto metal bosses as shown.
Insert fixing bolts and secure with allen key
•
a
m
b
s
n
g
•
Place rear leg on bottom shelf
Insert fixing bolts and secure with allen key
•
g
n
c
n
x2
c
s
Stage 7 (optional) Stage 8
Turn the finished stand over as shown
p
o
*Alternatively, use self adehesive
rubber pads instead of castors
q
p
p
o
o
x2
p
x3
q
x5
•
Insert castors and into holes in legs and
Using spanner secure the castors in position.
John Lewis Partnership
171 Victoria Street
London SWIE 5NN
www.johnlewis.com
o
r
p
a
b
 Loading...