

Page 1
Pre-assembly preparation
Please ensure instructions are read in full before attempting to assemble this product
Necessary Tools
DO NOT USE POWER TOOLS !
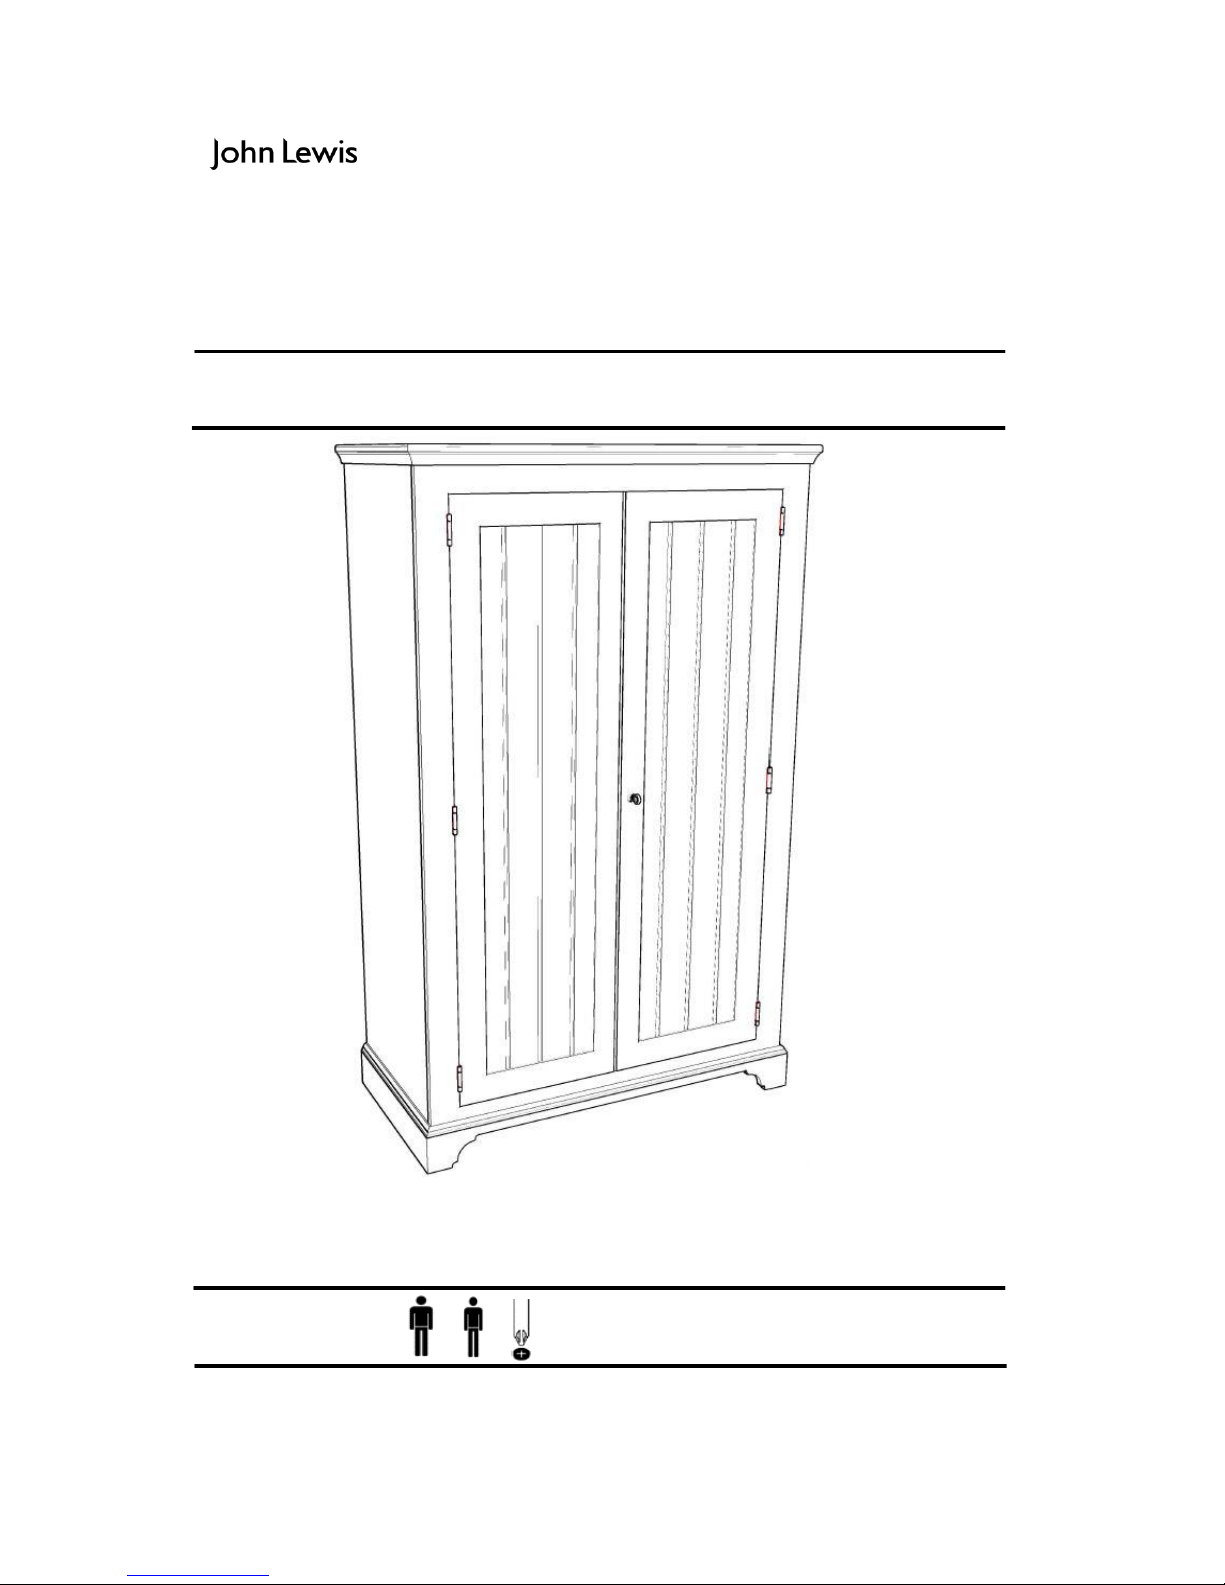
Helston 2 door Wide Wardrobe
Thank you for purchasing Helston 2 door wide wardrobe. Please read the instructions carefully
before use to ensure safe and satisfactory operation of this product.
Stock number: 80311205 · 80311311· 80317207
Page 2
This product takes approximately 60 MINUTES to assemble with 2 PEOPLE.
Read this leaflet in full before commencing assembly.
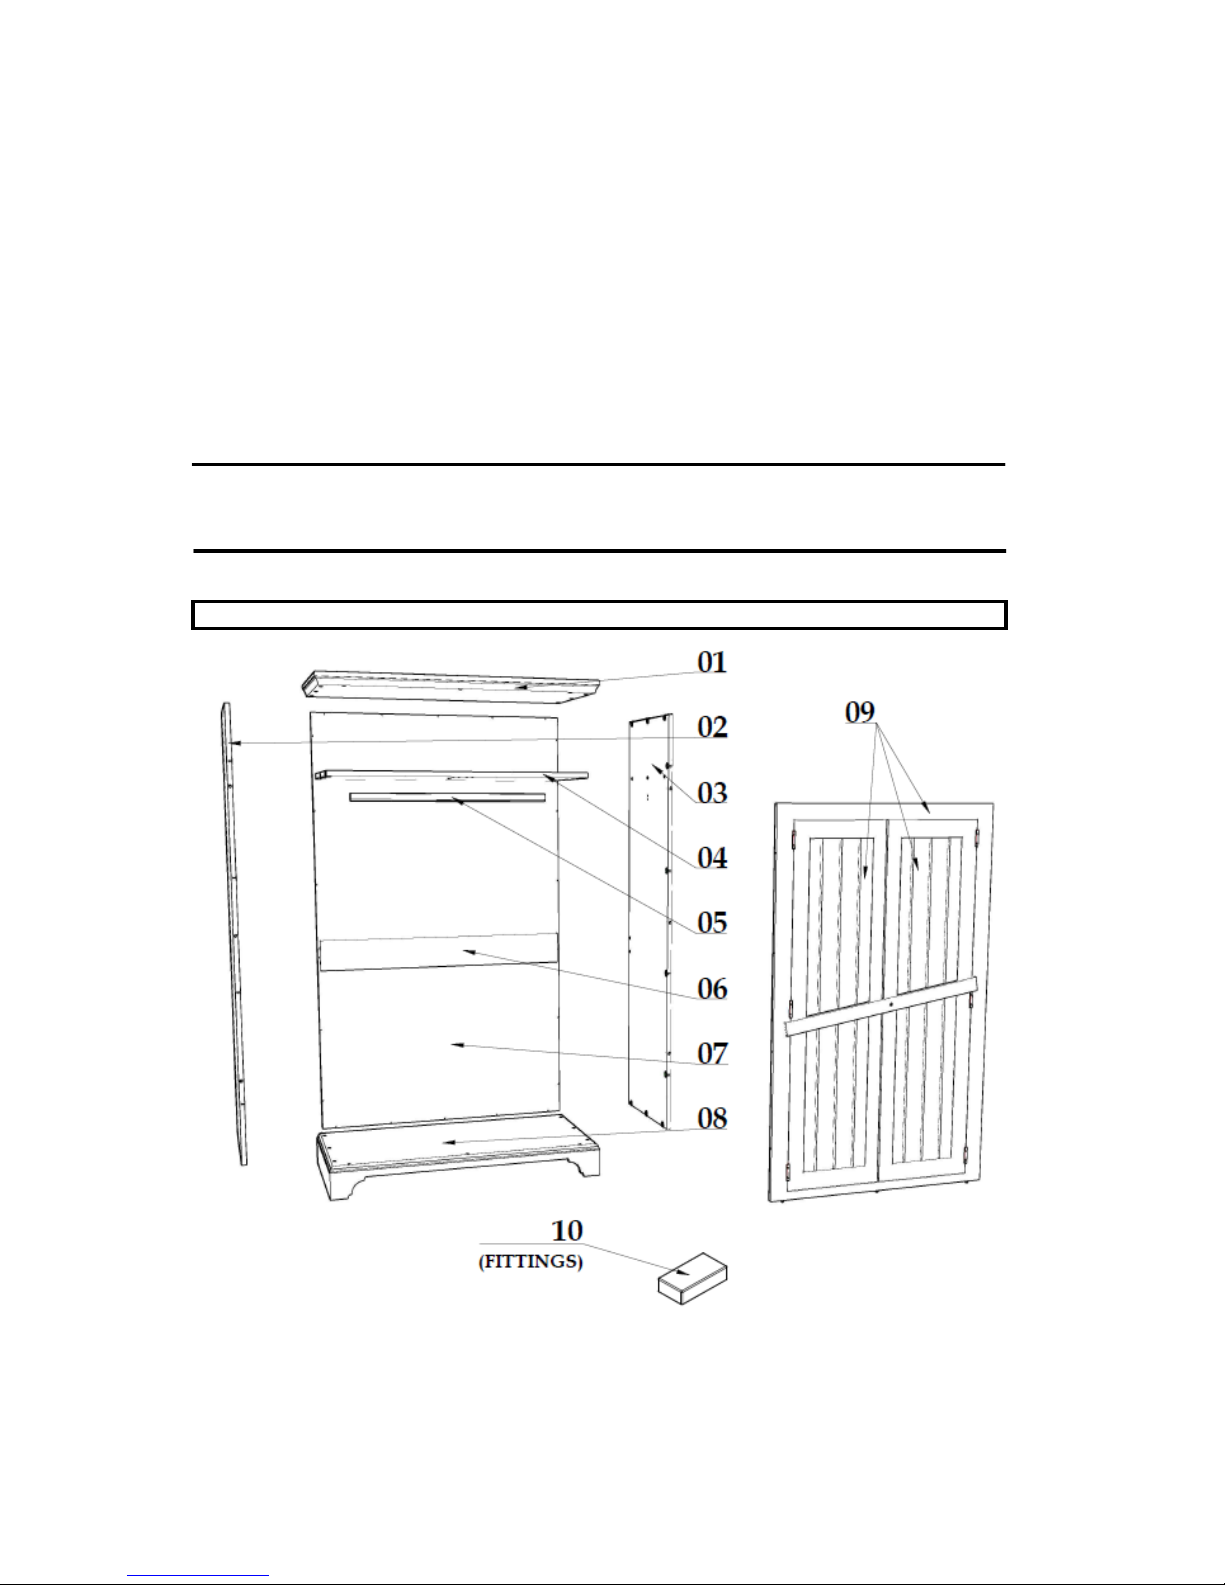
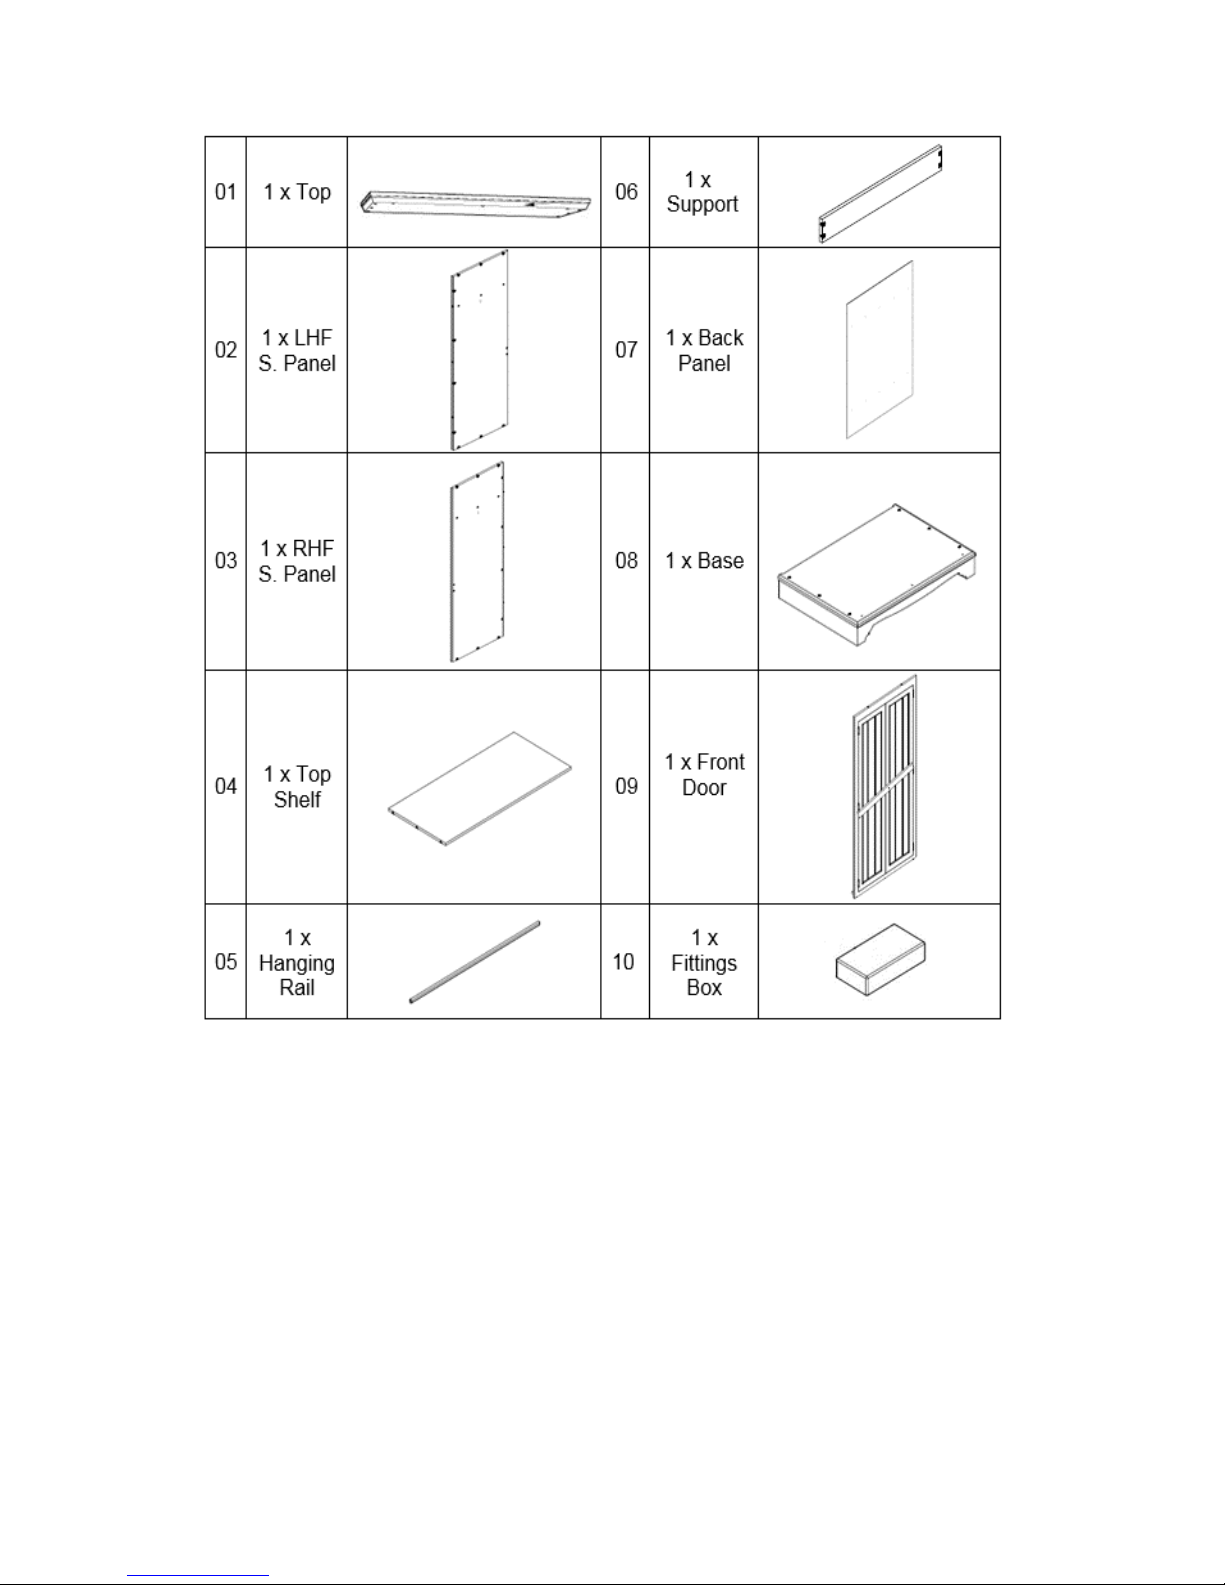
Fittings and parts checklist
The fittings pack contains SMALL ITEMS which should be KEPT AWAY FROM YOUNG
CHILDREN.
Please check the pack contents before attempting to assemble this product. A full checklist of
components is given in this leaflet. If any components are missing, please contact the number
on the front of this assembly instruction.
This product is HEAVY, it should be assembled as near as possible to the point of use.
TAKE CARE WHEN LIFTING to avoid personal injury or damage to the product.
If you are missing some fittings please contact our spare parts helpline on 01691 770 157
Page 3
Page 4

Step by step assembly instructions
Step One
Lay parts (01) & (08), (02) & (03) and add cams (A). PLEASE PLACE THE PARTS ON A
SMOOTH SURFACE, in order not to scratch the paint.
Fittings ( F ) must be screwed in to the shelf (04) holes predrilled by using screwdriver and 4x
screws ( C ). Fittings ( B) must be screwed in to the lhs panel (02) and rhs panel (03) holes
predrilled by using screwdriver and 4x screws ( C ).
Page 5

Step Two
Two persons required.
Step Three
Two persons required.
Lay part (09) on the ground. PLEASE PLACE THE PARTS ON A SMOOTH SURFACE, in
order not to scratch the paint. Please take the doors from the box as per picture below
according to the arrows direction shown. All fittings (A) must be screwed into the pre fitted
cams on the front panel (11).
Please position (02), (03), (04) and (08) parts as shown in the picture. All fittings ( A ) must go
into prepared holes with the cam. Side panels (02) and (03) attach to the shelf (04) abd base
(08) according to the arrows direction shown. If cams don't lock into place please use
screwdriver to adjust them. After all pieces are pre assembled, please use screwdriver to
adjust the cams and tighten up all the components.
Page 6

Step Four
Two persons required.
Step Five
Two persons required.
Please attach top (01) as shown. Tighten the top (01) with a screwdriver.
Please position the assembled wardrobe components vertically on the base of the wardrobe as
shown in the picture. Please angle the front frame as per diagram and locate the dowels into
the bottom holes. Front (09) must attach to wardrobe frame according to the arrows direction
shown. Tighten with a screwdriver.
To remove the supporting door system please uscrew the middle screw as shown below. This
is a two man job - the other person should secure the other side.
Page 7

Step Six
Hanging rail (05) must be placed to pre screwed (Step One) 2x fittings (B) on side panels.
Please tighten fitting (D) using 2x screws (C) to the holes prepared.
Please adjust the magnets by hand to get doors in right position.
Please insert 1x sham key handle (E) into the front door and secure screw from inside the
door. Attach the back panel to the wardrobe, use 32x screws (G) to tighten the panel to the
wardrobe.
Page 8

Care and Maintenance
How to care for your furniture
Safety Instructions
General warnings:
Specific warnings for heavy items:
PLEASE KEEP THESE INSTRUCTIONS FOR FUTURE REFERENCE
John Lewis Partnership 171 Victoria Street London SW1E 5NN
www.johnlewis.com
Never drag furniture when moving it always lift it. Periodically check all fixings to ensure none
have come loose and re-tighten where necessary. Please take care when handling or moving
the furniture as careless handling may cause damage or injury.
Furniture can be dangerous if incorrectly installed. Assembly should be carried out by a
competent person. No liability will be accepted for damage or injury caused by incorrectly
installed or assembled furniture.
It is recommended that before moving heavy objects to a new location they are completely
disassembled to avoid personal injury or damage to the furniture. Please be careful to retain all
fittings when doing this.
The Helston range is a timeless painted bedroom range in either white with metal cup handles
or ivory and grey with solid oak tops and metal cup handles. Each piece has been carefully
constructed to ensure it will give you years of pleasure. The natural characteristics of oak may
include small cracks, knots, blemishes, and grain pattern variations which all add to the natural
charm and beauty of this furniture product. Each piece is unique, and for this reason no two
pieces within the range will perfectly match, however there will be harmony between all the
All timber surfaces will change colour and mellow over time. New furniture will initially vary in
shade from items that have been previously purchased.
Try to avoid prolonged exposure to direct sunlight as this may alter the colour and tone of your
furniture over time.
Any spillages that do happen should be wiped up immediately with a clean dry lint free cloth to
avoid marking the surface of the furniture.
 Loading...