

Operating Instructions and Parts Manual
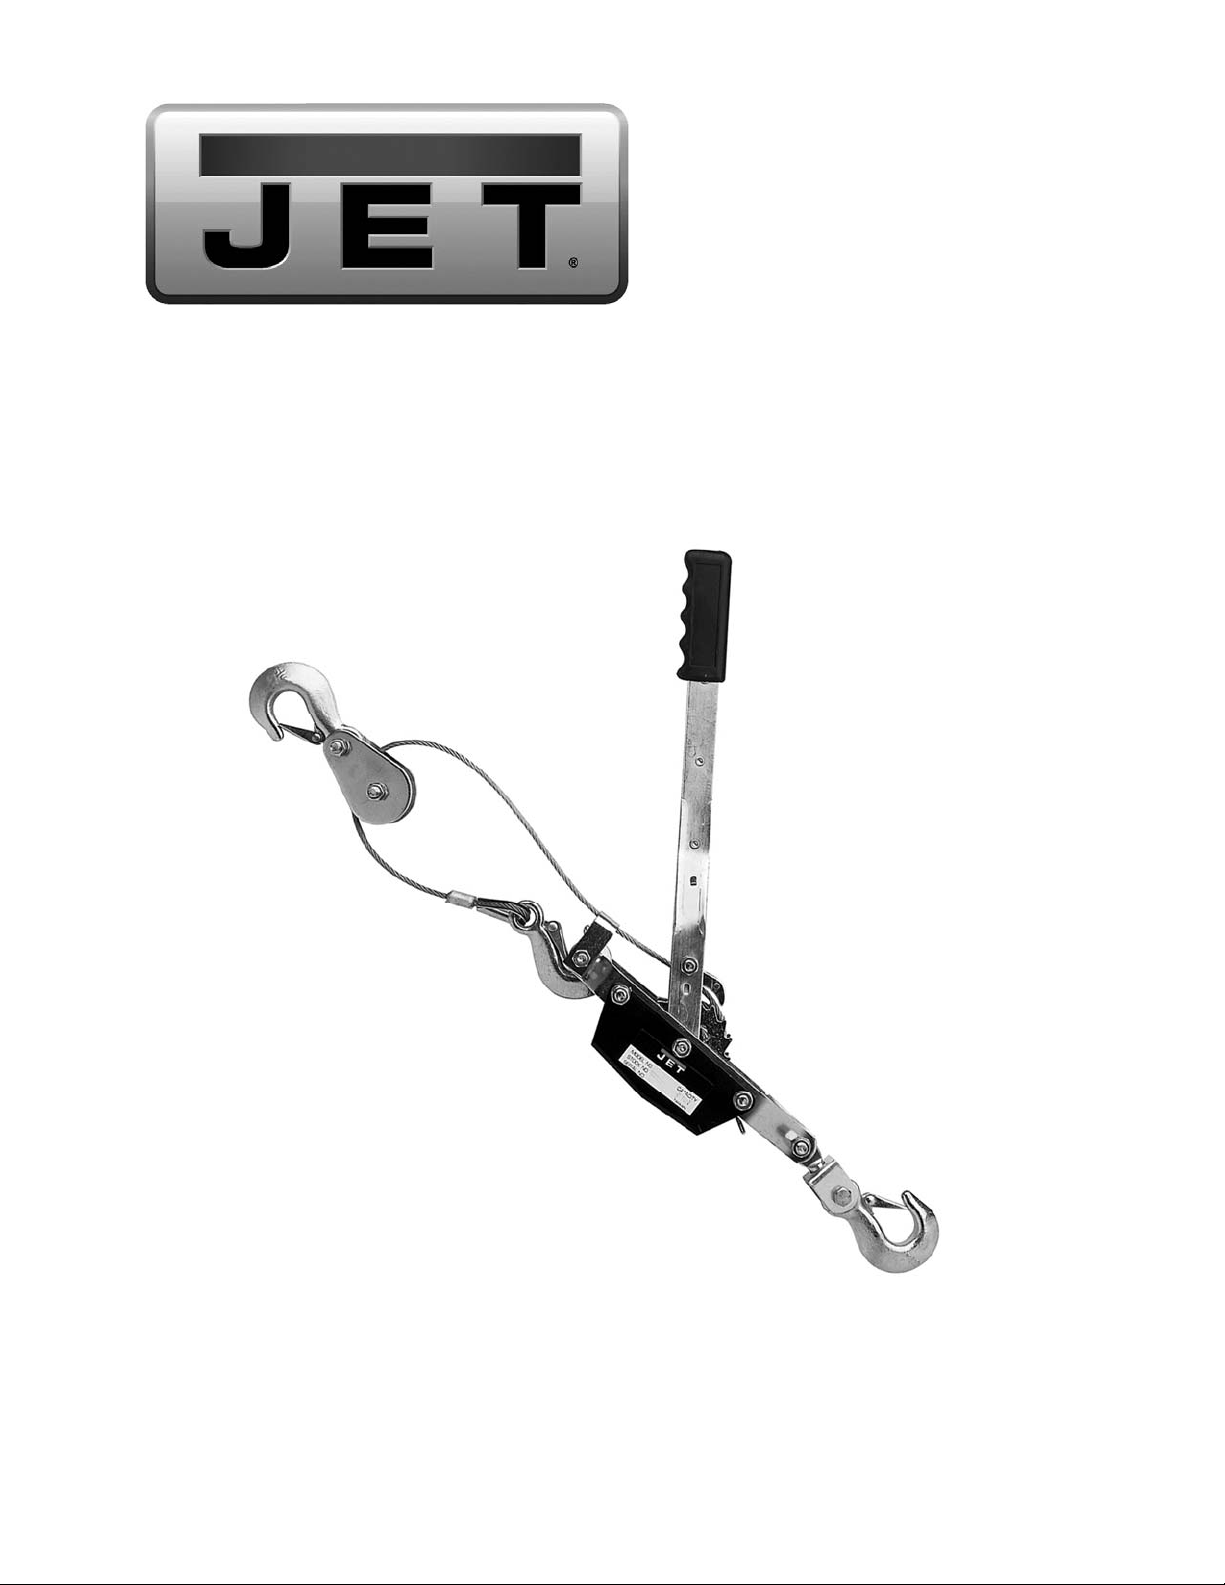
JCP Series Cable Pullers
JET
427 New Sanford Road
LaVergne, Tennessee 37086 Part No. M- 180410
Ph.: 800-274-6848 Revision B1 06/2014
www.jettools.com Copyright © 2014 JET

Warranty and Service
JET warrants every product it sells against manufacturers’ defects. If one of our tools needs service or repair,
please contact Technical Service by calling 1-800-274- 6846, 8AM to 5PM CST, Monday through Friday.
Warranty Period
The general warranty l ast s f or t he ti me period specified in the literature included with your pr oduct or on t he official
JET branded website.
• JET products carry a limited warranty whi ch var ies in duration based upon the product. (See chart below)
• Accessories carry a limi t ed warranty of one year from the date of receipt.
• Consumable items ar e defined as expendable parts or accessories expected to become inoperable within a
reasonable amount of use and are covered by a 90 day limited warranty agai nst manufacturer’s defects.
Who is Covered
This warranty covers only the initial purchaser of the product fr om the date of delivery.
What is Covered
This warranty covers any defects in workmanshi p or materials subject to t he li mitati ons st at ed below. This warrant y
does not cover failures due directly or indirectly t o misuse, abuse, negligence or accidents, normal wear-and-tear,
improper repair, alterations or lack of maintenance.
Warranty Limit a t i ons
Woodworki ng pr oduct s with a Five Year Warranty t hat ar e used for com mercial or indust r ial purposes default to a
Two Year Warranty. Pl ease contact Technical Service at 1-800-274- 6846 for further clari f ication.
How to Get Technical Suppor t
Please contact Technical Service by calling 1-800-274-6846. Pl ease not e t hat you will be asked to provide proof
of initi al pur chase when calling. If a product r equires furt her inspecti on, t he Technical Service representative will
explain and assist with any additional action needed. JET has Authorized Service Centers located throughout the
United States. For the name of an Authori zed Service Center in your area call 1-800-274-6846 or use the Service
Center Locator on the JET website.
More Information
JET is constantly addi ng new products. For complete, up-to-date product i nf or mation, check with your local
distributor or visit the JET website.
How State Law Applies
This warranty gives you specific l egal rights, subject to appli cable state law.
Limitations on This Warranty
JET LIMITS AL L IMPLIED WARRANTIES TO THE PERI OD OF THE LIMI TED WARRANTY FO R EACH
PRODUCT. EXCEPT AS STATED HEREIN, ANY IMPLIED WARRANTIES OF MERCHANTABILI TY AND FITNESS
FOR A PARTICULAR PURPOSE ARE EXCL UDED. SOME STATES DO NOT ALLOW LI MI TATIONS ON HOW
LONG AN IMPLIED WARRANTY LASTS, SO THE ABOVE LIMI TATION MAY NOT APPLY TO YO U.
JET SHALL IN NO EVENT BE LIABLE FOR DEATH, INJURIES TO PERSONS OR PROPERTY, OR FOR
INCIDENTAL, CONTINGENT, SPECIAL, OR CONSEQUENTIAL DAMAGES ARISING FROM THE USE OF O UR
PRODUCTS. SOME STAT ES DO NOT ALLOW THE EXCLUSIO N O R L IMITATION OF INCIDENTAL O R
CONSEQUENTIAL DAMAG ES, SO THE ABOVE LIMI TATION OR EXCLUSIO N MAY NO T APPL Y TO YOU.
JET sells through distributors only. The specificat i ons listed in JET printed mat erials and on official JET website are
given as general informati on and ar e not bi ndi ng. JET r eserves the right to effect at any time, without pr i or not ice,
those alterations to parts, fitti ngs, and accessory equipm ent which t hey m ay deem necessary for any reason
whatsoever. JET
Product Listi ng with Warranty Period
90 Days – Parts; Consumable item s; Light-Duty Air Tools
1 Year – Motors; Machine Accessories; Heavy-Duty Air Tools; Pr o- Duty Ai r Tool s
2 Year – Metalworking Machinery; Electric Hoists, Electric Hoi st Accessories; Woodworking Machinery
used for industrial or commercial pur poses
5 Year – Woodworking Machinery
Limi t ed Lifeti me – JET Parallel clamps; VOLT Series Electric Hoists; Manual Hois t s; Manual Hoi st
Accessories; Shop Tools; War ehouse & Dock products; Hand Tools
NOTE: JET is a divisi on of JPW Industri es, Inc. References in this document to JET also apply to JPW I ndust r ies,
Inc., or any of i t s successors i n i nt erest to the JET brand.
®
branded products are not sold in Canada by JPW Industries, Inc.
2

3.0 Safety warnings
1. Read and understand owner’s manual before operating cable puller.
2. Do not exceed rated capaci ty.
3. Supporting structure used with t his devi c e must provide adequate support to handle all puller
operations plus the weight of the puller and attac hed equipment. If in doubt, consult a registered
structural engineer.
4. Never use handle ext ensi ons (cheaters).
5. Do not use with twisted, kinked or damaged wire rope.
6. Do not use if cable pul ler is damaged or malfunctioning.
7. Do not l ift people or loads over people. Always keep people clear from l oad path.
8. Always keep a m inimum of (3) wraps of wire rope on drum.
9. Do not use with open or t wisted hook, or without safety latc h.
10. Never r un wi r e r ope over a sharp edge.
11. Never leave a suspended load unattended.
12. Do not swing a suspended load.
13. Always inspect cabl e puller before each use. Replace if any component is damaged or malfunctioni ng.
14. Always use glov es when handli ng wir e r ope. Do not wear loose clothing which can become entangled
in moving parts.
15. Failure to comply with the above warnings may resul t in personal injury and/or property damage.
Specifications: JCP Series Cable Pullers
Model .......................................................................JCP-1 .............................JCP-2 ...................... JCP-4
Stock Number ........................................................ 180410 ........................... 180420 .....................180440
Weight Capacit y (ton) ...................................................... 1 .................................... 2 ............................. 4
Maximum Lift (ft) ........................................................... 12 .................................... 5 .............................. 5
Lever Ratio................................................................. 18 :1 ............................... 36:1 ......................... 36:1
Lever Length (in) ..................................................... 16-1 /2 ............................ 16-1/2 ...................... 17-1/8
Minimum Dist anc e B etween Hooks (in) ......................... 17 .................................. 21 ............................ 22
Wire Rope Diam eter (in)............................................. 3/16 .............................. 3 /1 6 ........................... 1 /4
Net Weight (lbs) .............................................................. 7 .................................... 9 ............................ 13
The JET JCP - S er ies Cable Pull er s comply with A NS I/ASME B30. 21 standar ds.
The specifications in this manual are given as gener al information and are not binding. J E T reserves the
right to effect, at any time and without pr ior notice, alterations to parts, f ittings, and necessar y equipm ent
deemed necessary f or any r eas on whatsoever.
3

JCP Series Cable Pullers
A – Handle
B – Forward/Reverse Latch
C – Spring
D – Pawl
E – W ire Rope
F – Locking Lever Plunger
G – Locking Lever Spring
Operation
Hook Positioning with No Load (Freewheel)
(Fig. 1)
1. With no load on cable puller, position
forward/reverse lat c h ( B ) as shown on
dotted lines, to hold pawl (D) off r atchet
wheel (H).
2. Hold pull er fir mly with handle in upperm ost
position, and pr ess lock ing lever (J) to
disengage locking lever from ratchet wheel.
3. Have an assistant , also wearing gloves, pull
wire rope out; or, anchor the bottom hook
(K) to the load and walk backward with the
puller t o the anchor point, freewheeli ng the
wire rope behind you.
Always keep at least three
wraps of rope on the hub when puller is under
load.
Fig. 1
H – Ratchet Wheel
J – Locking Lever
K – Bottom Hook
L – Snatch Block (model s JCP- 2, JCP-4 only)
M – W ire Rope Guide B olt
N – Top Hook
O – Wire Rope Gui de
4. Release locking lever, and re-set
forward/reverse lat c h to engage pawl with
ratchet wheel and begin "winching in."
Pulling or Lifting Load (Fig. 1)
1. Place forward/reverse latch (B) to position
as shown by solid lines. Thi s enables pawl
(D) to engage r atchet wheel (H) with spring
(C) assistance.
2. Load is held and locked in position by
locking l ever (J) and pawl engaging ratchet
wheel firmly.
3. Move handle (A) towards load, and ratchet
handle back and forth.
4. When pr essure on handle is reliev ed at the
end of its travel, locking lever (J) engages
ratchet wheel and locks the load. Repeat
ratcheting cycle.
4

Releasing or Loweri ng Load (Fig. 1)
Cable pul ler is designed to r atchet load tension
down one ratchet wheel tooth at a tim e:
1. While under load, place forward/reverse
latch (B) to the position as shown by the
dotted lines, freeing the handle (A) to move
in the dir ection of the top hook (N).
2. As the handle nears the end of its travel,
the pawl (D) is forced into contact with
ratchet wheel (H) , by spring loaded locking
lev er plunger (F ) and eventual ly locks int o
one of the ratchet wheel teeth.
3. Continue to pull handle, causing pawl to
turn ratchet wheel slightly, relieving full
load from locking lever (J). When you
have taken full load from locking lever,
allow handle to move back towards load.
The ratchet wheel will move one tooth,
releasing wire rope t he same amount, unti l
locking lever locks into place once more.
Repeat ratcheting cycle.
Using Snatch or Pulley Block (Fi g. 1)
Models JCP-2 and JCP-4 are provided with a
snatch or pulley block (safety hook with a
pulley). This allows a 2:1 lifting ratio. The
bottom hook (K) is looped back and hooked
over bolt (M) which secures the cable guide (O).
The snatch block is then attached to the load.
The length of the pull is thereby halv ed, but the
load capacity is doubled.
Pulli ng in Co nfined Spaces (Fig. 2)
The snatch block is al so useful f or pul l i ng a load
that is not directly in line with the puller. The
snatch bloc k m ust be f i rm l y anchor ed. T he wire
rope passes over the pul ley and to the load as
shown.
Snatch block must be fully
anchored when winching load out of line with
puller.
Maintenance
1. Inspect the cable puller before each use for
any damage. I f cracking or distortion
appears in the frame, t he c able puller is
considered beyond repai r , should not be
used, and must be repl ac ed.
2. Keep pawl, hook pins, hook latch pins,
ratchet pivot s, and wir e r ope lightl y oiled at
all times.
3. Inspect wire rope for kinks, cor r osion,
fraying, etc. If corrosi on is apparent, clean
with a stiff wire brush and l ightly oil. Do not
use if wire r ope is damaged or badly
corroded.
4. Inspect hooks for wear, twisting or dam age.
Replace cable puller i f hooks are worn,
twisted or damaged.
5. Keep cable puller clean from dirt, grease
and water. Always store cable puller in a no
load condit ion and hang in dry area.
6. For mor e information concer ning additi onal
operation, inspection, maintenance, safety
standards and regulati ons, r ead
ANSI/ASME B30.21.
5

JCP Cable Puller Trouble-Shooting
Trouble Possible Cause Remedy
Puller will not ratchet.
Puller will not ratchet in.
Puller will not ratchet out.
1. Broken spring ( L) .
2. Broken rat c het tooth.
3. Frame bent.
1. Pawl (D) not in correct
position.
2. Spring ( L) damaged.
1. Pawl not i n c or r ec t position.
2. Spring ( L) damaged.
3. Wire rope i nc or r ec tly spooled
onto ratchet dr um.
1. Replace cable puller.
2. Replace cable puller.
3. Replace cable puller.
1. Move forward/reverse lat c h
(B) to posit ion as shown by solid
line.
2. Replace cable puller.
1. Move forward/reverse lat c h
(B) to posit ion as shown by
dotted line.
2. Replace cable puller.
3. Remove wire rope and rewind
onto drum under tension.
6

This page intentionally left blank.
7

427 New Sanford Road
LaVergne, Tennessee 37086
Phone: 800-274-6848
www.jettools.com
8
 Loading...