

Jenn-Air WM2750, W2750, W2450, W2410, W2450B User Manual
...
JENN-AIR
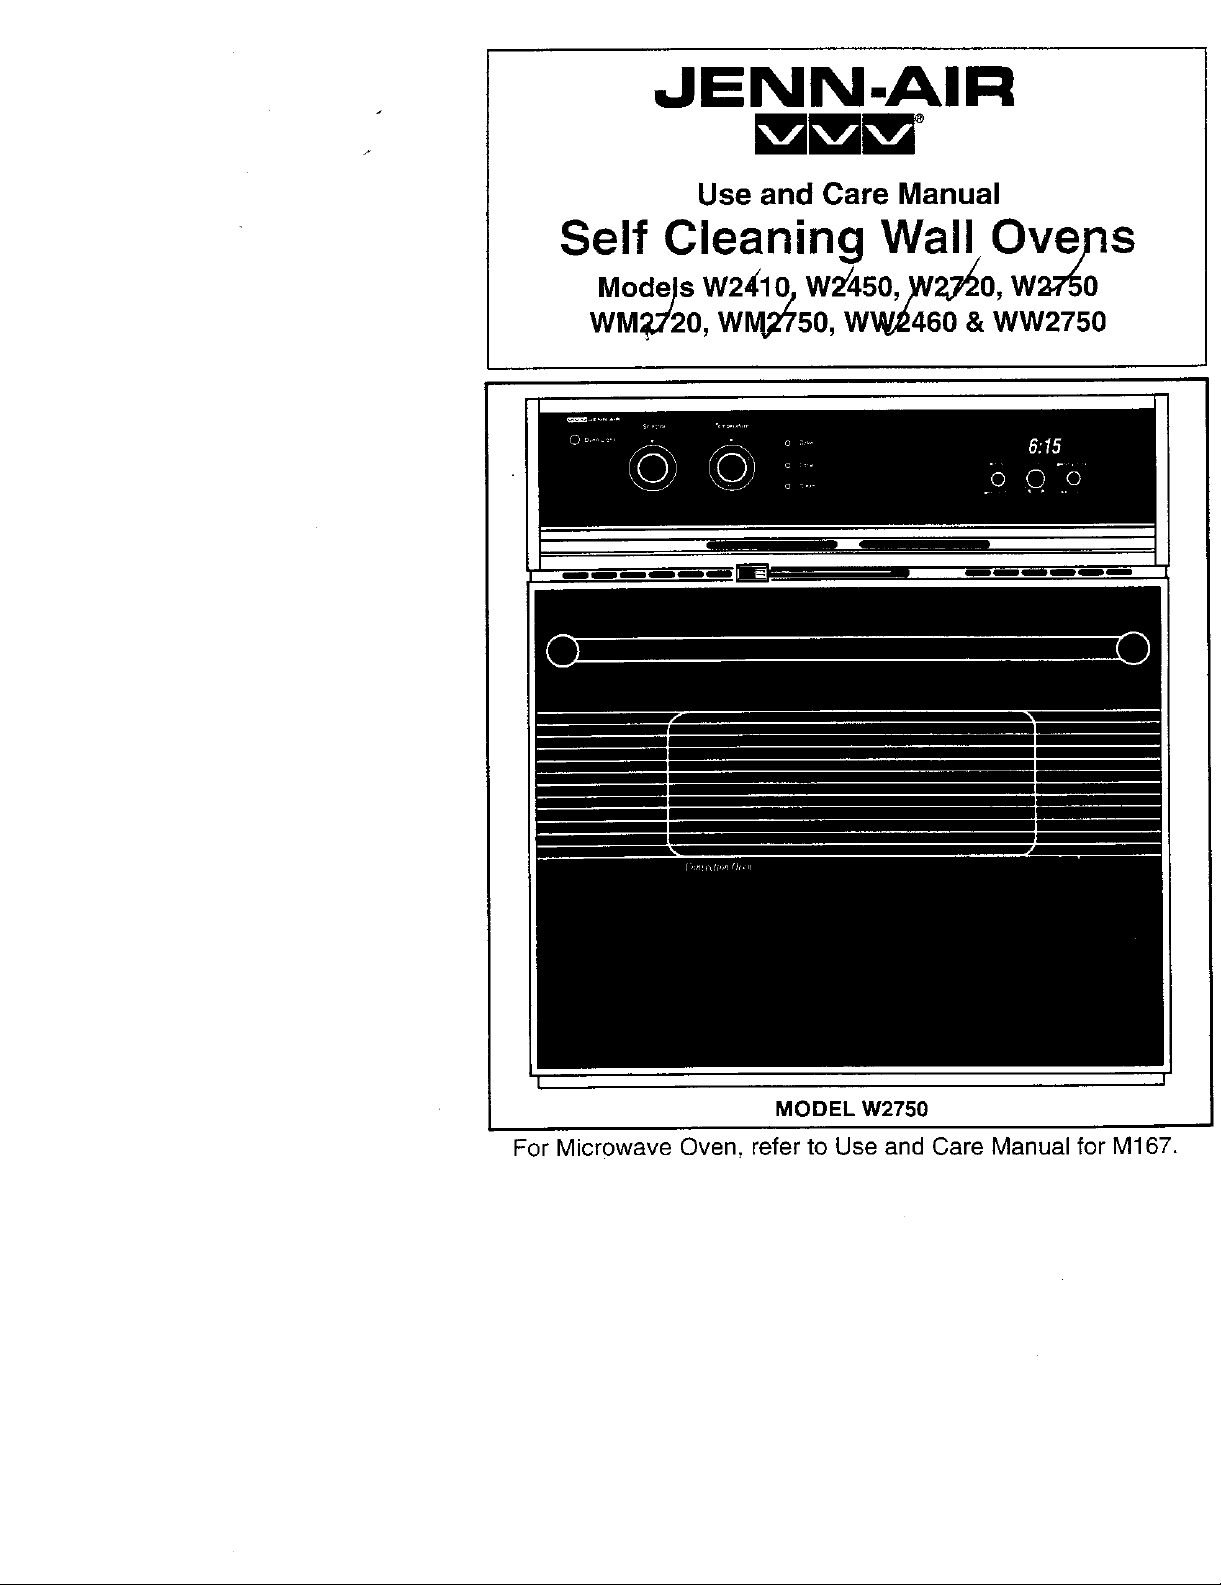
Use and Care Manual
Self Cleaning Wall Owv_s
Mode_sW24'10/W2/450,,_V2_O, )
WM;_7'20,WlVI_750,WW_460 & WW2750
MODEL W2750
For Microwave Oven, refer to Use and Care Manual for M167.
About Your Jenn-Air
Congratulations on your choice of a Jenn-Air waii oven. Your Jenn
convection oven combines the best of two cooking methods, convection
radiant bake (conventional) baking or roasting, in a se f-cleaning oven. (N
Only Models W2450, W2750, WM2750. WW2460 and WW2750 have
convection option.)
The Jenn-Air convection oven is actually a conventic:al oven that circuk
heated airwithin the oven. As both bake and broil heatir gelements cycle on
off with the thermostat, a fan keeps the heated air circuiating around the f(
The constantly recirculating heated air in the convecticn oven strips away
layer of cooler air that surrounds food. Consequently. many foods cook rr
quickly. Evenly distributed heat makes multiple rack coc<ing possible. Con\
tion roasted meats retain their natural flavor and juiciness with less shnnk
than radiant bake roasting.
In addition to the many exclusive benefits of cenvecticr_ cooking, your ove
also a fine full featured "bake and broil" oven.
You can cook your "old favorite" recipes as you have n the past. The radi
bake oven also gives you the flexibility of preparing various foods wi"
convection cooking may not be as beneficial, as when ccoking foods in cove
casseroles or clay pots.
The broil element is convenient for top browning and even broiling of food,,
The time bake feature can be used with either the convection or radiant b_
oven.
Before you begin cooking with your new oven, please take a few minutes to re
and become familiar with the instructions in this book. On the following pa(
you will find awealth of information regarding all aspects cf using your newov
By following the instructions carefully, you will be able to frilly enjoy and prop_
maintain your oven and achieve exce{lent resu{ts with the food you prepar{
Should you have any questions about using your Jenn-A;r oven, write to us.
sure to provide the model number.
Consumer Relations Department
Jenn-Air Company
3035 Shadeland Avenue
Indianapolis, IN 46226-Q901
2

Index
Baking
General Recommendations .......................................... 13
Convection Baking .................................................. 15-16
Baking Charts .......................................................... 14-15
Multiple Rack Cooking .................................................. 16
Broiling .......................................................................... 20-21
Cleaning
Auto-Clean ................................................................... 23
Self-Cleaning Process ............................................. 22-27
Other Cleaning Tips ................................................ 28-29
Clock Controlled Baking or Roasting ............................ 10-11
Clock Controls .................................................................. 8-9
Control Panel .................................................................... 6-7
Light Bulb Replacement ..................................................... 28
Minute Timer ................................................................................. 9
Oven Temperature Knob Adjustment ......................................... 29
Rack Positions ............................................................................ 12
Roasting
General Recommendations ...................................._............. 17
Radiant Baking Roasting ...................................................... 17
Convection Roasting........................................................ 18-19
Safety Precautions .................................................................... 4-5
Service Information................................................................ 30-31
3

SAFETY PRECAUTIONS
Read before operating your oven
All appliances - regardless of the manufacturer- have the poten
through improper or careless use to create safety probler
Therefore the following safety precautions should be observe,
1. Be sure your appliance is properly installed and grounded
a qualified technician.
2. Never use your appliance for warming or heating the roc
3. Children should not be left alone or unattended in area wh_
appliance is in use. They should never be allowed to sit
stand on any part of the appliance.
4. Wear proper apparel. Loose-fitting or hanging garme_
should never be worn while using the appliance.
5. Do not repair or replace any part of the appliance unl(
specifically recommended in this manual. All other servici
should be referred to an authorized Jenn-Air Service C_
tractor.
6. Flammable materials should not be stored in an oven.
7. Do not use water on grease fires. Smother fire orflame or L
dry chemical or foam-type extinguisher.
8. Use only dry potholders. Moist or damp potholders on I
surfaces may result inburns from steam. Do not let pothold
touch hot heating elements. Do not use atowel or other bul
cloth.
9. Use care when opening oven door. Let hot air or ste_
escape before removing or replacing food.
10. Do not heat unopened food containers. Build-up of pressu
may cause container to burst and result in injury.
11. Keep oven vent ducts unobstructed.
12. Always place oven racks in desired location while oven
cool. If rack must be moved while oven is hot, do not
potholder contact hot heating element in oven.
13. Do not clean door gasket. The door gasket is essential for a
good seal. Care should be taken not to rub, damage, or move
the gasket.
14. Do not use oven cleaners. No commercial oven cleaner or
oven liner protective coating of any kind should be used in or
around any part of the oven.
15. Clean only parts listed in this manual.
16. Before self-cleaning the oven, remove broiler pan and other
utensils.
17. Listen for fan. A fan noise should be heard during the broil
and cleaning cycles. If not, call a serviceman before self-
cleaning again.
18. DO NOT TOUCH HEATING ELEMENTS OR INTERIOR
SURFACES OF OVEN. Heating elements may be hot even
though they are dark in color. Interior surfaces of any oven
become hot enough to cause burns. During and after use, do
not touch, or let clothing or other flammable materials contact
heating elements or interior surfaces of oven until they have
had sufficient time to cool. Other surfaces of the appliance
may become hot enough to cause burns-among these sur-
faces are: oven vent openings and surfaces near these
openings, oven doors, windows of oven doors.
IMPORTANT SAFETY NOTICE AND WARNING
The California Safe Drinking Water and Toxic Enforcement Act of
1986 (Proposition 65) requires the Governor of California to
publish a list of substances known to the State of California to
cause cancer or reproductive harm, and requires businesses to
warn customers of potential exposures to such substances. Users
ofthis appliance are hereby warned that when the oven is engaged
in the self-clean cycle, there may be some low level exposure to
some of the listed substances, including Carbon Monoxide. Expo-
sure to these substances can be minimized by properly venting the
oven to the outdoors during the self-clean cycle.

Oven Operation
Oven Control Panels
Oven light switch
\
Indicator lights:
Bake
==,UI,=._., _T_` ,==_,..'
Selector knob \ Clock controls and minute timer
\
Door lock lever
Single Wall Ovens
Lower oven
selector knob
\ Lower oven
Upper oven
light switch
light switch selector knob lever temperature knob
Upper oven Door lock Upper oven minute timer
Upper oven indicator lights:
//Clean
Double Wall Ovens

Oven Light Switch
• For some models, the oven light automatically comes on whenever the oven door
is opened. The oven light may be turned on by pushing the control panel switch in.
Light cannot be turned on during the self-cleaning process.
Selector Knob
• This knob controls theoven operation. To operate the oven, turn to desired setting
and turn TEMPERATURE knob to desired setting.
The settings are:
OFF The oven will not operate when knob is on this setting. Keep
knob on this position when oven is not in use.
BAKE Use for radiant bake (conventional) baking or roasting.
'PIXIEBAKE Usewith clock controls for automatically starting and stopping
oven when baking or roasting in the radiant bake oven.
CONVECT Useforconvection baking or roasting. (Selected models only.)
TIME CO_CT Use with clock controlsfor automatically starting and stopping
oven when baking or roasting in the convection oven.
(Selected models only.)
BROIL Use for top browning or oven broiling of foods.
CLEAN Use for self-cleaning process.
Temperature Knob
• Use to set oven temperature. Be sure the indicator square is in line with the exact
temperature desired. This knob isused with alloven operation settings noted onthe
SELECTOR knob.
Door Lock Lever (All models except W2410 & WW2460)
• Use to [ock oven for self-cleaning process.
Bake Indicator Light
• Indicates when oven isturned toan operating position otherthanthe CLEAN setting.
Lightwill glow untilthe desired temperature is reached. Itwill cycleon and off as this
temperature is maintained during cooking.
Lock Indicator Light
• Will glow after the ovendoor has been locked andafter the oventemperature isover
550OF. Doorwilllockautomaticallyandcannotbeopeneduntiloventemperature
drops below 550°F and the lock indicator light goes off.
Clean Indicator Light
• Indicateswhenall controls havebeen properlysetforthe self-cleaning process, Light
will remain on during the entire cleaning process.
Clock Controls and Minute Timer
• Features time of day, MINUTE TIMER, and clock controls to start and stop oven
automatically. (See pages 8-11)

Clock Controls
INDICATOR WORDS DISPLAY WINDOW
/
12 HOUR Mh_UTE AND SECOND
TIME OF DAY CLOCK TIMER
/ \,
Clock Setting
IMPORTANT: The clock isa 12hourclock. Whenoven isfirstsupplied power or power
is interrupted, the display will show "00:00".
To set time of day on clock:
1. Turn SETdial counterclockwise untilthewordTIMEappears inthe DisplayWindow.
Then, turn the SET dial in either direction until the correct time appears in window.
2. Push ENTER button.
To change time of day set on clock: Repeat above sequence.
To check time of day when timer is in use: Push ENTER button. Time of
day will be displayed briefly, then display will return to timer function.
Minute Timer
IMPORTANT: This interval timer can be used to remind you when a period, up to 99
minutes and 00 seconds, expires. Itcan be used independently of any other oven activity
and can be set while another oven function is operating. The timerdoes notcontrol the
oven.
To set MINUTE TIMER:
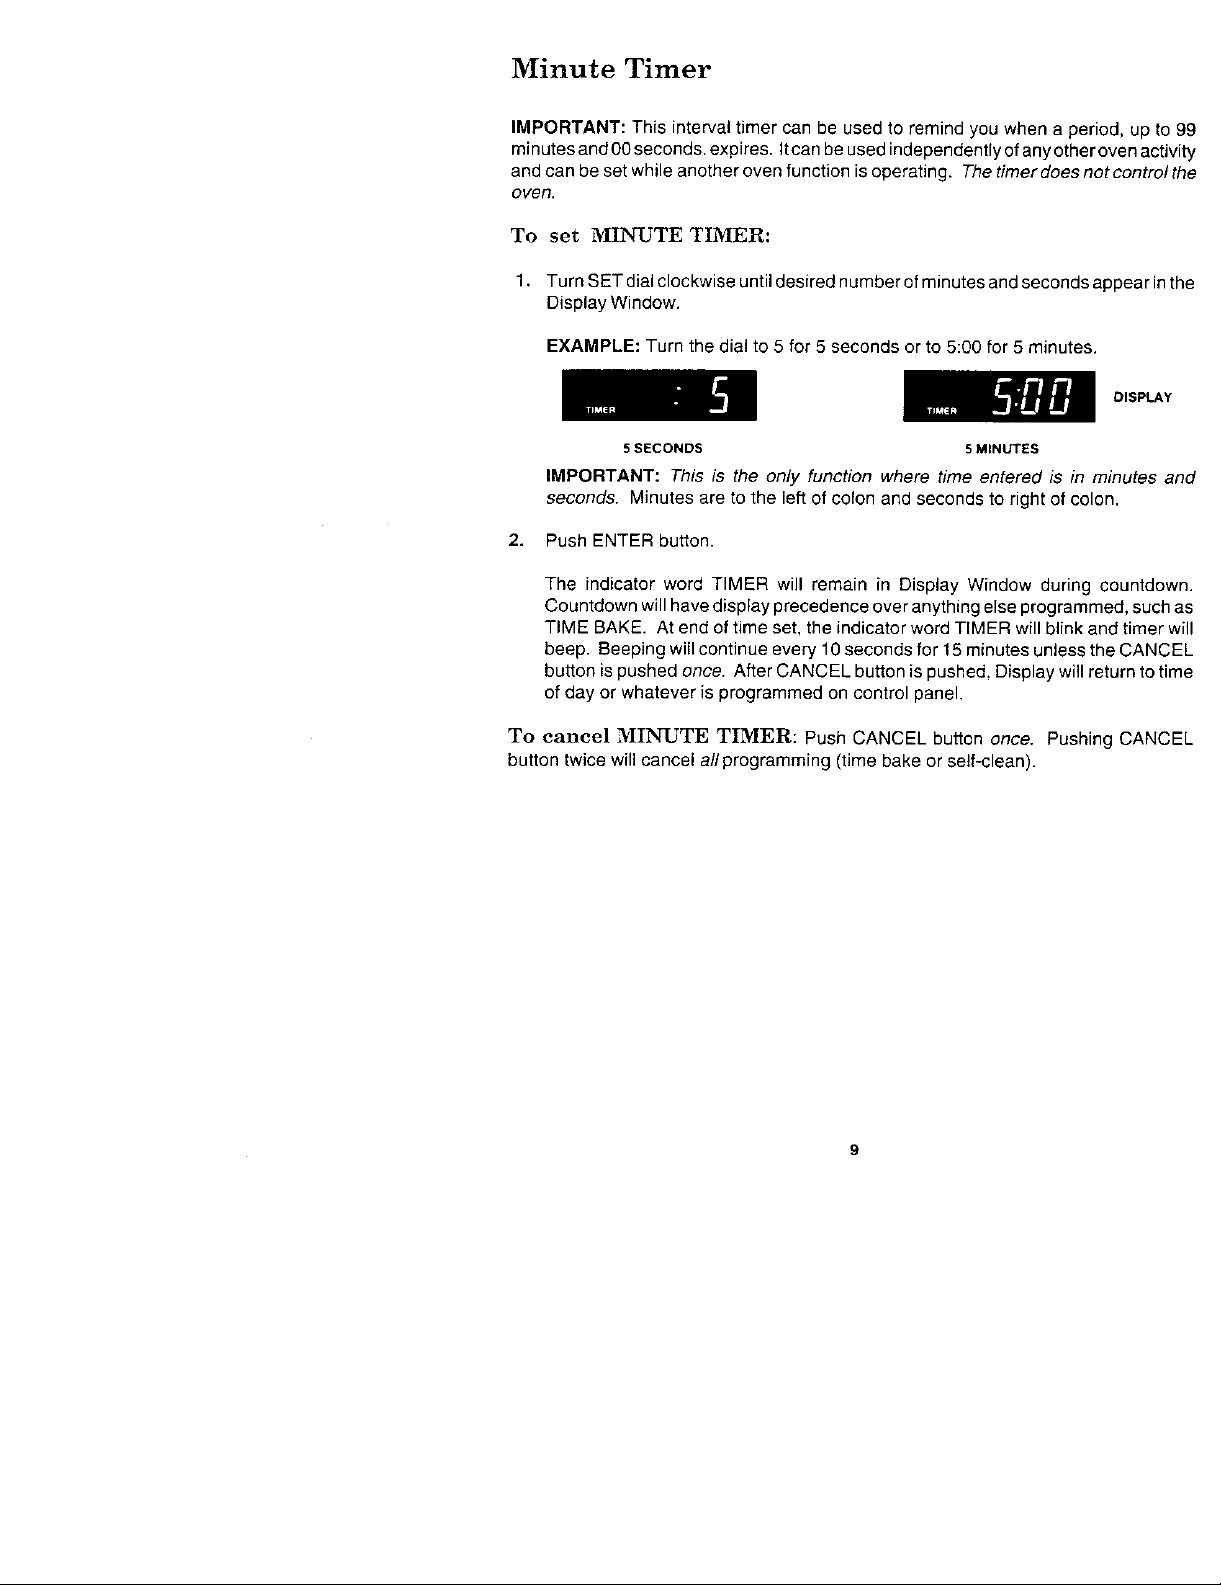
1. Turn SET dial clockwise until desired number of minutes and seconds appear in the
Display Window.
EXAMPLE: Turn the dial to 5 for 5 seconds or to 5:00 for 5 minutes.
DISPLAY
5 SECONDS 5 MINUTES
IMPORTANT: This is the on/y function where time entered is in minutes and
seconds. Minutes are to the left of colon and seconds to right of colon.
2. Push ENTER button.
The indicator word TIMER will remain in Display Window during countdown.
Countdown will have display precedence over anything else programmed, such as
TiME BAKE. At end of time set, the indicator word TIMER will blink and timer will
beep. Beeping will continue every f 0 seconds for 15 minutes unless the CANCEL
button is pushed once. After CANCEL button is pushed. Display will return to time
of day or whatever is programmed on control panel.
To cancel MI_FI..YrE TIMER: Push CANCEL button once. Pushing CANCEL
button twice will cancel a//programming (time bake or serf-dean).
Clock-Controlled Baking" or Raastlna
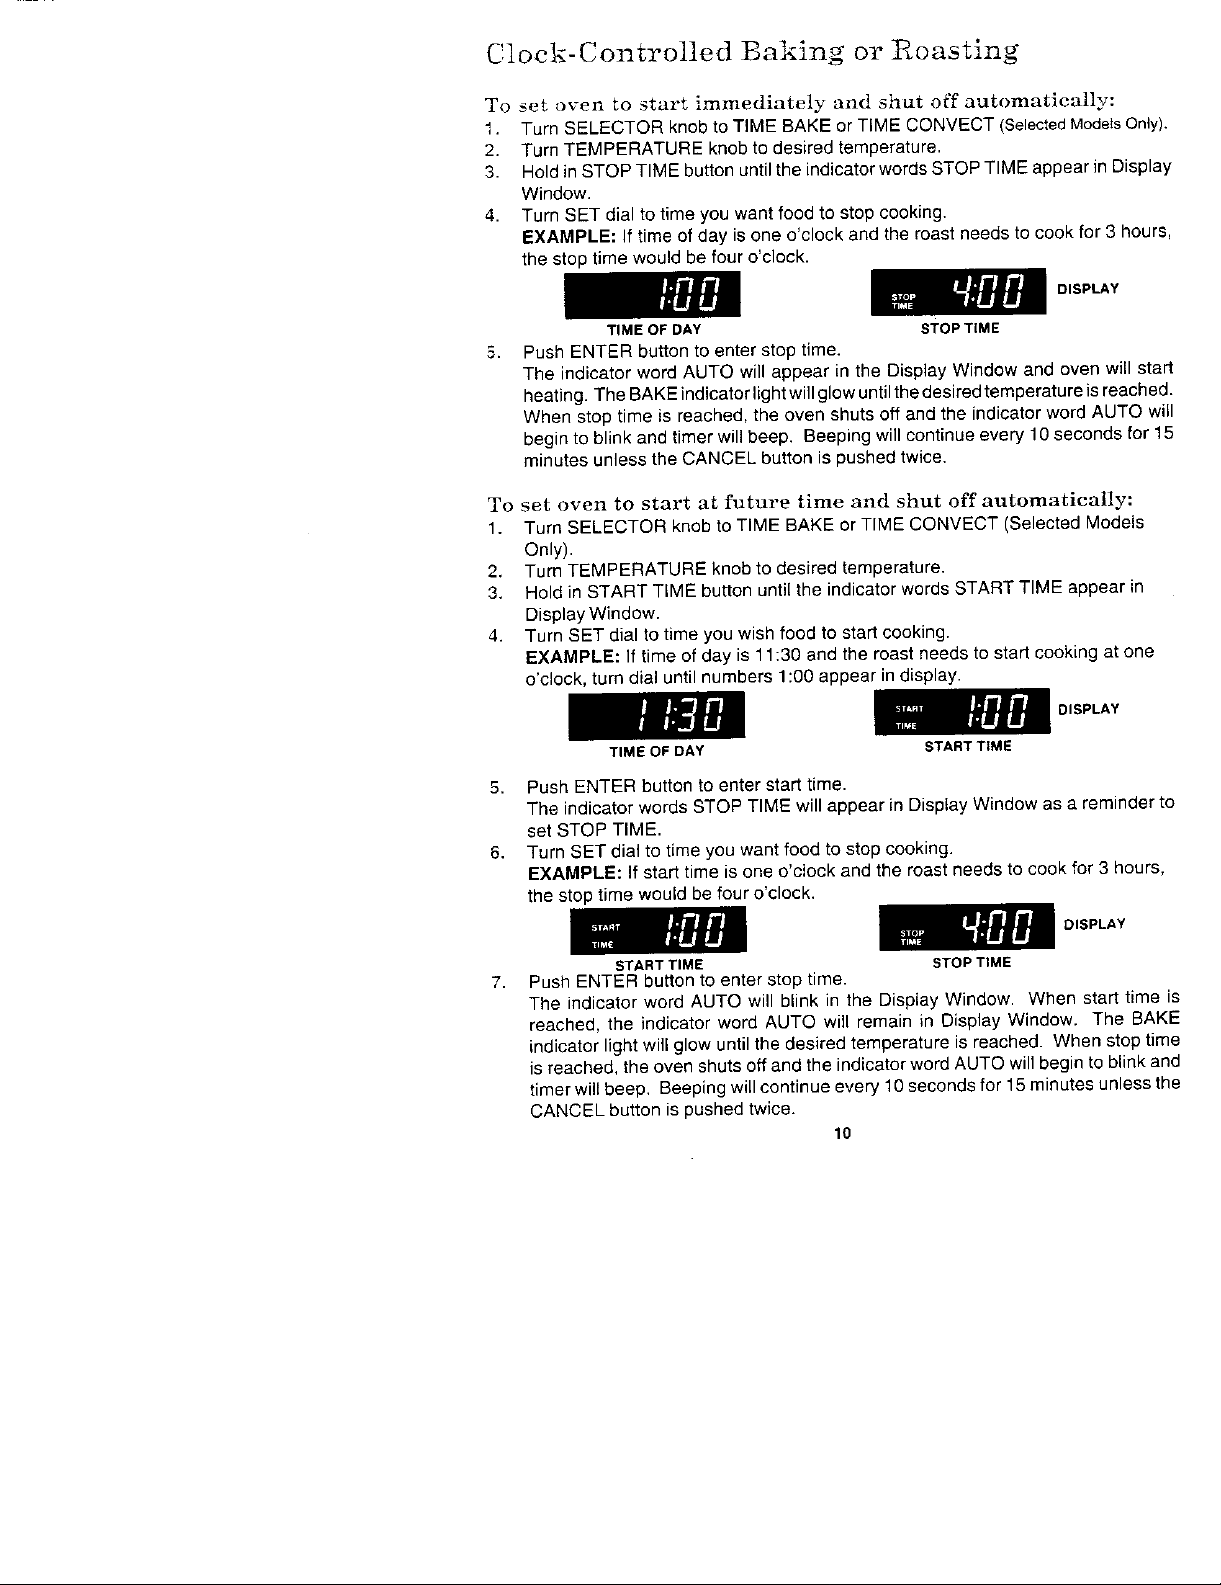
To set oven to start immediately and shut off automatically:
I. Turn SELECTOR knob to TIME BAKE or TIME CONVECT (SelectedModelsOnt_,
2. Turn TEMPERATURE knob to desired temperature.
3. Holdin STOP TIME button untilthe indicator words STOPTIME appear in Displ_
Window.
4. Turn SET dial to time you want food to stop cooking.
EXAMPLE: If time of day is one o'clock and the roast needs to cook for 3 hour
the stop time would be four o'clock.
i.n t-1
i.u u
TIME OF DAY STOP TIME
5. Push ENTER button to enter stop time.
The indicator word AUTO will appear in the Display Window and oven will st
heating. The BAKE indicator light willglow until the desiredtemperature isreach_
When stop time is reached, the oven shuts off and the indicator word AUTO
begin to blink and timer will beep. Seeping will continue every 10 seconds for
minutes unless the CANCEL button is pushed twice.
To set oven to start at future time and shut off automatically:
1. Turn SELECTOR knob to TIME BAKE or TIME CONVECT (Selected Models
Only).
2, Turn TEMPERATURE knob to desired temperature.
3. Hold in START TIME button until the indicator words START TIME appear in
DisplayWindow.
4. Turn SET dial to time you wish food to start cooking.
EXAMPLE: If time of day is _1:30 and the roast needs to start cooking at one
o'clock, turn dial until numbers 1:00 appear in display.
I
, l:3n
TIME OF DAY START TIME
5. Push ENTER button to enter start time.
The indicator words STOP TIME will appear in Display Window as a reminder
set STOP TIME.
6. Turn SET dial to time you want food to stop cooking.
EXAMPLE: If star( time is one o'clock and the roast needs to cook for 3 hour_
the stop time would be four o'clock.
• o"
DISPLAY
DISPLAY
DISPLAY
START TIME STOP TIME
7. Push ENTER button to enter stop time.
The indicator word AUTO will blink in the Display Window. When start tim,
reached, the indicator word AUTO will remain in Display Window. The S,a
indicator light will glow until the desired temperature is reached. When stop t
is reached, the oven shuts off and the indicator word AUTO will begin to blink
timer will beep. Beeping will continue every 10 secondsfor 15minutes unless
CANCEL button is pushed twice.
lO
 Loading...