

Page 1
IJE N N-AI R
Useand Care Manual
Conventional Coil Cooktop
MODEL CCE406
Page 2
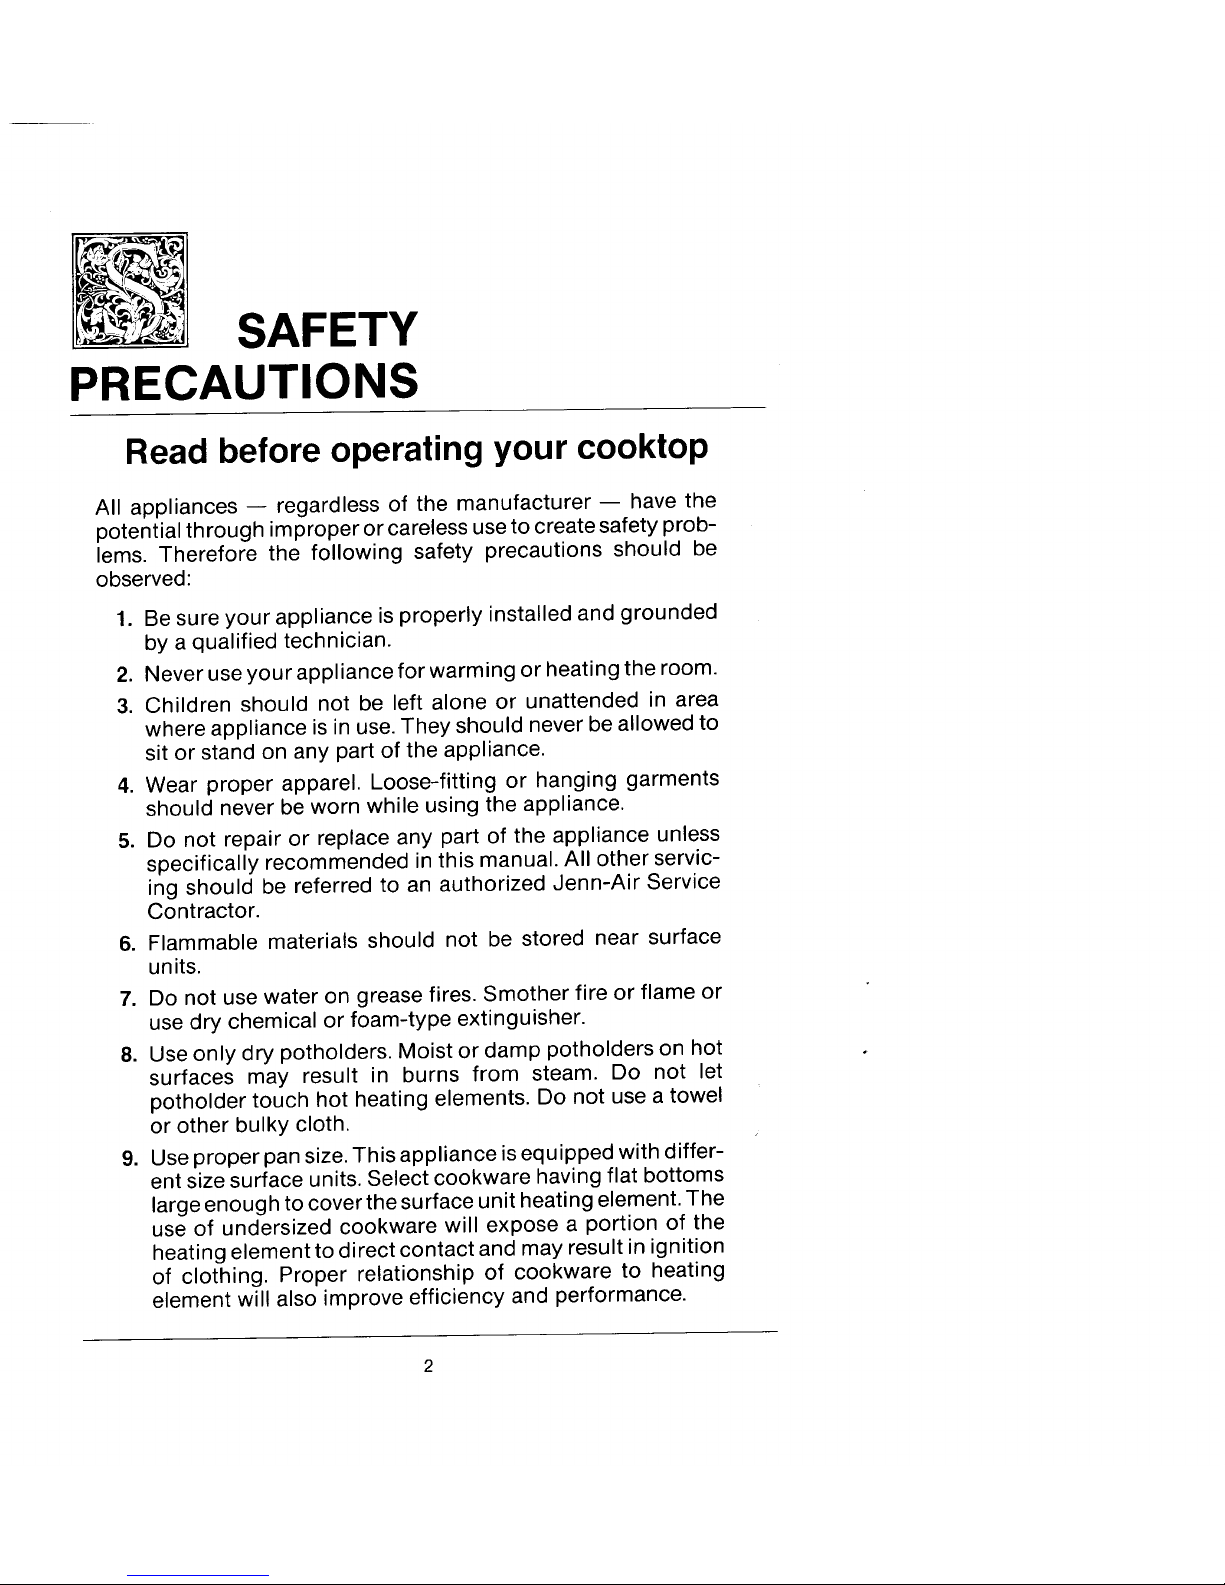
SAFETY
PRECAUTIONS
Read before operating your cooktop
All appliances _ regardless of the manufacturer -- have the
potential through improper or careless use to create safety prob-
lems. Therefore the following safety precautions should be
observed:
1. Be sure your appliance is properly installed and grounded
by a qualified technician.
2. Never use your appliance for warming or heating the room.
3. Children should not be left alone or unattended in area
where appliance is in use. They should never be allowed to
sit or stand on any part of the appliance.
4. Wear proper apparel. Loose-fitting or hanging garments
should never be worn while using the appliance.
5. Do not repair or replace any part of the appliance unless
specifically recommended in this manual. All other servic-
ing should be referred to an authorized Jenn-Air Service
Contractor.
6. Flammable materials should not be stored near surface
units.
7. Do not use water on grease fires. Smother fire or flame or
use dry chemical or foam-type extinguisher.
8. Use only dry potholders. Moist or damp potholders on hot
surfaces may result in burns from steam. Do not let
potholder touch hot heating elements. Do not use a towel
or other bulky cloth.
9. Use proper pan size. This appliance is equipped with differ-
ent size surface units. Select cookware having flat bottoms
large enough to cover the surface unit heating element. The
use of undersized cookware will expose a portion of the
heating element to direct contact and may result in ignition
of clothing. Proper relationship of cookware to heating
element will also improve efficiency and performance.
Page 3
10. Never leave surface units unattended at high heat settings.
Boil over causes smoking and greasy spillovers that may
ignite.
11. Make sure that drip pans under coil element are in place.
Absence of these pans during cooking may subject wiring
or components underneath to damage.
12. Do not use aluminum foil to line surface unit drip pans.
Installation of these liners may result in an electric shock or
fire hazard.
13. Glazed cookware -- only certain types of glass, glass-
ceramic, ceramic, earthenware, or other glazed cookpots
are suitable for cooktop surface without breaking due to the
sudden change in temperature. Use only such cookware as
you know have been approved for this purpose.
14. Cookware handles should beturned inward and not extend
over adjacent surface heating elements to avoid burns,
ignition of flammable materials and spillage due to uninten-
tional contact with the cookware.
15. Do not soak or immerse removable heating elements in
water.
16. CAUTION -- Do not store items of interest to children in
cabinets above cooktop -- children climbing on the cook-
top to reach items could be seriously injured.
17. Do not touch surface units or areas near units. Surface
units may be hot even though they are dark in color. Areas
near surface units may become hot enough to cause burns.
During and after use, do not touch or let clothing or other
flammable materials contact these areas until they have
had sufficient time to cool. Other surfaces may become hot
enough to cause burns -- among these surfaces are the
cooktop.
18. Do not operate with damaged cooking element after any
product malfunction until proper repair has been made.
19. Keep all switches "OFF" when unit is not in use.
Page 4

Control Settings
The variable heat controls provide flexibility in heat setting selection.
To Set Controls
• Since the controls are a push-turn type, they must be pushed down before turning. To set
(from the OFF position), push down on control knob and turn in either direction to
desired heat setting.
• When control is in any position, other than OFF, it may be turned in any direction without
pushing down.
• A red indicator light will glow when a surface heating element is ON. There are four
indicator lights, one for each of the heating elements.
1 4
Control Locations
1. Left rear heating element
2 3 2. Left front heating element
3. Right front heating element
4. Right rear heating element
Suggested Control Settings
The size and type of cookware and the amount and type of food being cooked will influence the
setting needed for best cooking results. Electrical voltage may also vary; this will affect the needed
control setting. The setting indicated should serve as a guide while you become familiar with your
cooktop.
HI A fast heat to start cooking quickly, to bring liquids to a boil, to preheat oil for deep fat
frying.
7-10 (Medium High) For fast frying or browning foods, to maintain rapid boil of large amounts of
food, to maintain oil temperature for deep fat frying.
5-6 (Medium) For foods cooked in a double boiler, saut6ing, slow boil of large amounts of food,
and most frying.
3-4 (Medium Lo) To continue cooking foods started on higher settings.
LO-2 Maintaining serving temperatures of foods, simmering foods, melting butter or chocolate.
The heat controls offer flexibility in heat setting selection. On settings other than HI, you may
adjust the controls above or below the numbered setting for best results. Suggested settings are
provided as general guidelines.
Page 5

Cooking Utensils
For best results, most efficient use of electricity and to prevent damage to the conven-
tional coil elements, select cookware as described below.
The variable control setting allows flexibility in selecting desired heat. The HI setting
should be used only to start cooking. The control should then be turned to a lower
setting. Energy can be saved by avoiding unnecessary rapid boiling of foods and
covering cookware when bringing water to a boil. Use the lowest setting possible to
maintain correct frying temperature to avoid excessive splattering. Use a tight fitting lid
on cookware to speed cooking.
Retained heat in the elements can be used to finish cooking.
Do not,allow pans to boil dry as this could damage both the cool(top and pan.
Selecting Proper Cookware
• Selectcookware with flat bottoms. Flat bottom pans are the fastest and best conduc-
tors of heat and provide the most consistent and satisfactory results. The entire
bottom of the cookware should touch the heating element evenly. Avoid using
cookware with convex, concave or irregular bottoms. A cookpot which is not flat
receives the most heat at the point of contact, which causes "hot spots" and uneven
heat distribution. Hot spots can result in scorching or burning of the food. Uneven
heat distribution slows the cooking process and wastes energy.
• To determine if cookware is flat, lay a straight edge ruler against the bottom.
• Do not use a wire trivet or any kind of heat retarding pad between the cookware and
element. Reduce the heat control setting instead.
• Do not use cookware that extends more than 1 inch on either side of the element.
(See exceptions for canning on the following page.) Use the correct size pan for the
size of the heating element.
• Do not use large diameter canners or cookpots except when boiling water or
canning. Sauce mixtures, syrups and fried foods all cook at much higher tempera-
tures than boiling water and could eventually reflect damaging heat to the adjacent
component parts of the cooktop, shorten life span of heating element, damage and
discolor drip pans or cause impossible to clean spots on metal surfaces. These
problems are increased when the HI setting is used excessively with oversized
cookware.
• Do not use any pan with a turned down flange around the bottom.
• Special cooking equipment without flat bottoms, such as the Oriental wok, should
not be used on the cooktop. Only use the Jenn -Air wok accessory, Model A 141A, on
the cooktop. It has a special heating element designed to eliminate problems asso-
ciated with using traditional round bottom woks on the conventional coil element,
such as shortening the life of the heating element.
Page 6

Home Canning
Follow These Procedures _l.en Canning
• Bring water to boil at HI setting; after boiling has begun, reduce heat to lowest setting
that will maintain boiling.
• Make certain canner fits over center of surface unit. If it cannot be centered properly,
use a smaller diameter canner.
• Flat-bottomed canners give the best canning results. Canners with other than flat
bottoms, such as flanged or rippled bottoms (often found in enamel ware) should not
be used.
RIGHT WRONG WRONG
• Use canning recipes from a reputable source such as the manufacturer of your
canner, manufacturers of canning jars and the U.S. Department of Agriculture
Extension Service.
• Remember that canning is a process that creates large amounts of steam. Be
careful and follow equipment instructions to avoid burns from steam or hot
canners.
• Remember that if your area has low voltage at times, canning may take longer than
indicated by the directions.
NOTE: Canning element accessory, Model A145A, makes it possible to use large
oversized, flanged or rippled bottom canners.
Page 7

Cleaning
Heating Elements
Under normal conditions, most soil will burn off elements. The heating elements
unplug for your convenience in cleaning the drip pans. Lift slightly and pull away from
receptacle. DQ NOT IMMERSE ELEMENT IN WATER. To replace elements, push
completely into the receptacle. Make sure the elements fit flat inside the chrome drip
pan.
Drip Pans
To keep the like-new appearance, clean frequently and never allow anything to burn on
twice. Remove soiled pans (first remove heating element). Clean lightly soiled pans
with soap and water or clean in dishwasher. Difficult to remove spots can be cleaned by
rubbing lightly with soapy S.O.S. pads or nonabrasive cleansers such as Bon Ami. To
help release burned on soil, soak in asolution of 1/2 cup ammonia and 1gallon warm
water or boil in 2 quarts of water for 20 minutes. (All drip pans cannot be boiled at once
because element being used must have a drip pan in place.) Do not use abrasive
cleansers, steel wool or cleansers not recommended for use on chrome. A bluing of the
drip pans indicates improper cookware selection and/or using excessively high heat
and cannot be removed.
Control Knobs
The control knobs may be removed by pulling them off. Control shafts are shaped like a
"D". Match the "D" shaped hole in the knobs to the shaft when replacing. Wash knobs in
warm soapy water or dishwasher; do not use abrasive cleansers or materials.
Control Knob Area
Use glass cleaners such asWindex to remove smudges and stains. Buff with a clean dry
cloth or paper towel. Do not use any abrasive cleansers or cleaners not recommended
for use on glass.
Porcelainized Steel Cooktop
The cooktop has a porcelain-enamel finish, which is a glass-like material fused on
steel. It may crack or chip with misuse.
• Do not drop heavy cookware on the surface.
• Never wipe a warm or hot porcelain enamel surface with a damp cloth.
8
Page 8

To clean cool porcelainized steel cooktop surface:
• For general dally cleaning and light soil, wash with warm soapy water and rinse.
Polish with a dry cloth.
• To clean stubborn spots, clean with Bar Keepers Friend, Shiny Sinks, or Comet
and nylon or plastic scrubbing pads.
• Do NOT use abrasive or caustic cleaning agents which may permanently dam-
age the finish.
NOTE: The porcelain enamel used on your cooktop is acid resistant, not acid proof.
Therefore, acid foods (such as vinegar, tomato, milk, etc.) spilled on the
cooktop should be wiped up immediately with a dry cloth to prevent staining.
Brushed Chrome Cook_Dp
• Clean with mild detergent, or non-abrasive cleansers recommended for chrome.
For hard to remove soil, scrub lightly with soapy S.O.S. pads.
• DO NOT use Scotch-Brite scour-pads, oven cleaners, steel wool or abrasive
cleansers which will mar the chrome finish.
Page 9

Before You Call
for Service
Check the following list to be sure a service call is really necessary. A quick reference of
this manual may prevent an unneeded service call.
If nothing on tlne cooktop operates:
• check for a blown circuit fuse or a tripped main circuit breaker.
• check if cooktop is properly connected to electric circuit in house.
lJ"cookd4_l_ el_menJ do_s nol get hod enough:
• check if heating element is plugged in solidly.
• surface controls may not be set properly,
• voltage to house may be low.
If You Need Service
• Call the authorized Jenn-Air Service Contractor listed in the Yellow
Pages or the dealer from whom your appliance was purchased.
• Your Jenn-Air Service Contractor can provide better and faster ser-
vice if you can accurately describe problems and give model and
serial number of the appliance, Be sure to retain proof of purchase to
verify warranty status. Refer to WARRANTY for further information
of owner's responsibilities for warranty service.
NOTE: Complete service and parts literature are available from any auth-
orized Jenn-Air Parts Distributor.
All specifications subject to change by manufacturer without notice.
10
 Loading...