

Page 1
Live (+)
brown
Earth
yellow/green
Neutral (-)
blue
company
a
130
180
213
Pre-wired 1.2mtr 3 core cable
NITEFLOOD®RANGE
Installation Sheet
Please read these instructions before
installation and retain for future reference
Important Information
It is recommended that luminaires are installed by a qualied electrician who should ensure that the
installation complies with the current IEE wiring regulations BS7671: 2008. Any broken or damaged
parts should be replaced as soon as possible. JCC will not accept responsibility for any claims arising
from a sub-standard installation.
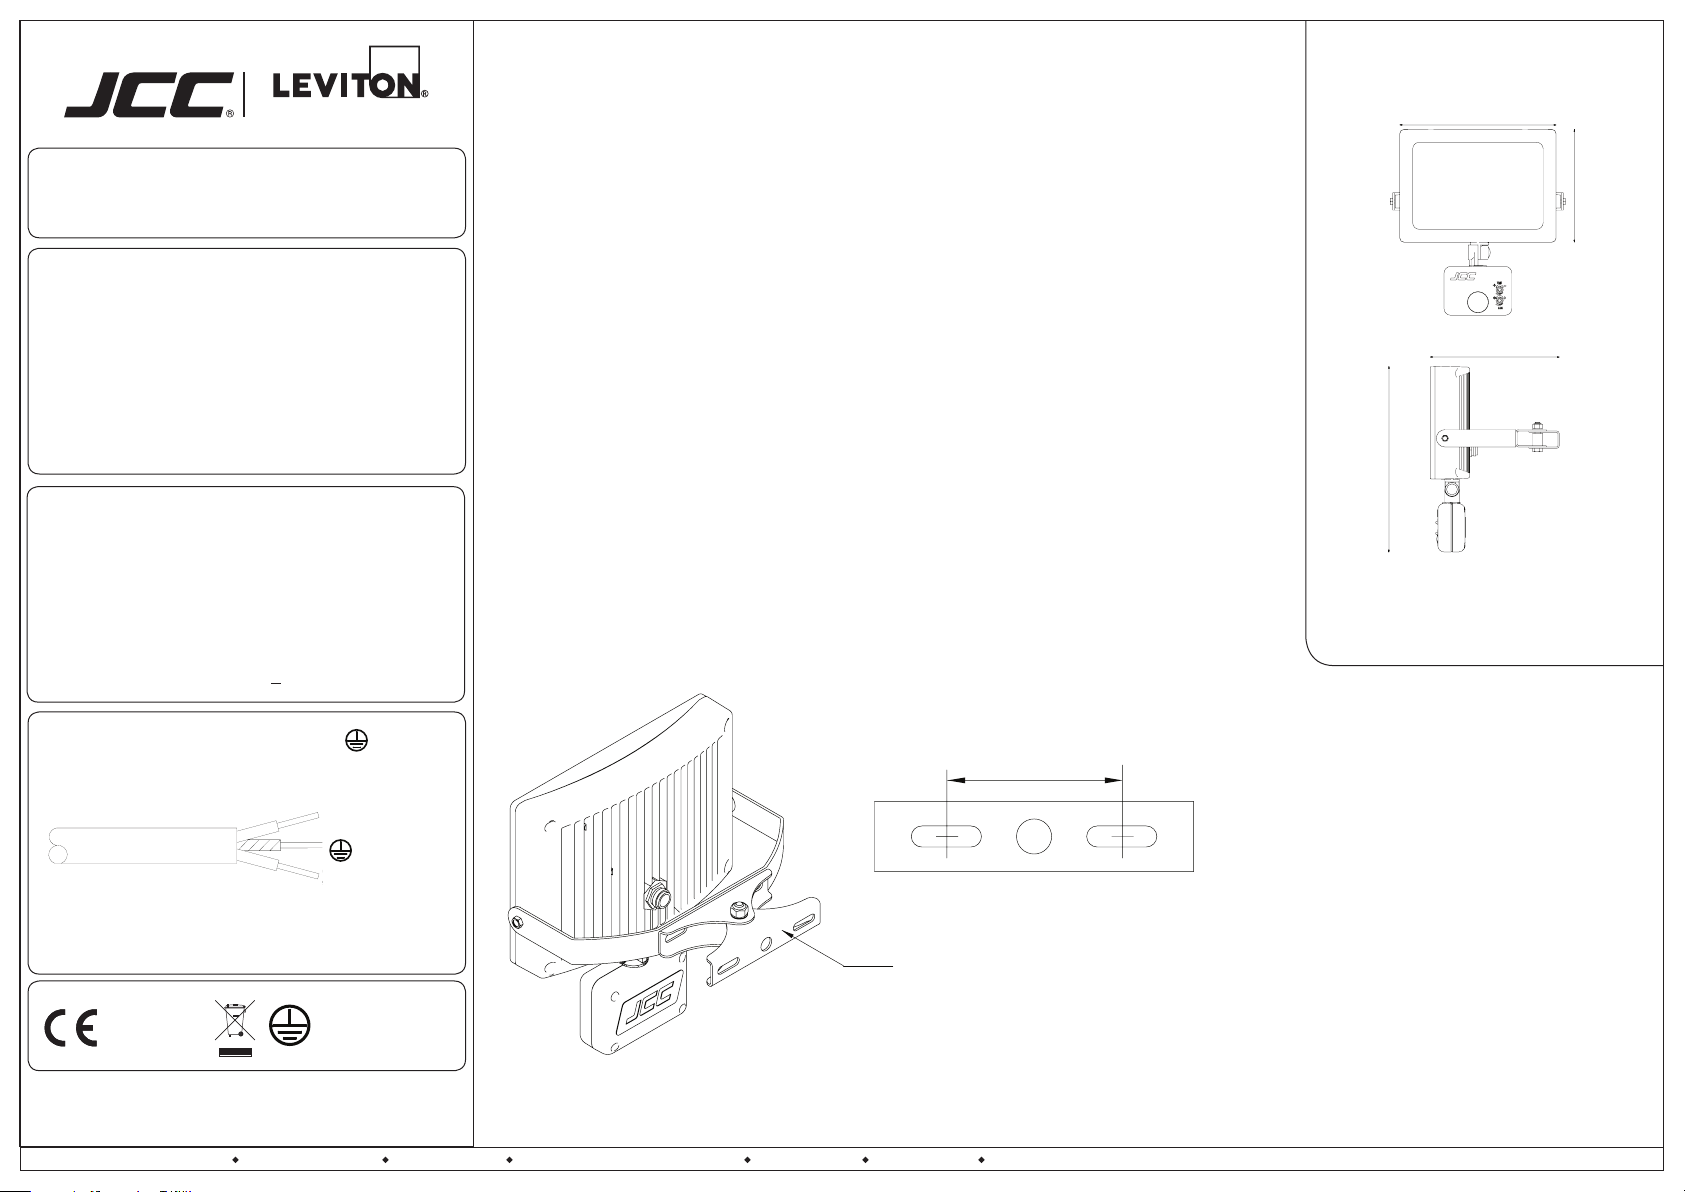
Prole & Dimensions
JC45121/JC45121BLK
Flood light
Light source:
Total circuit Wattage:
Lumens:
Efcacy:
Colour temp:
Ra:
Integral LED
15W
1200lm
80LpcW
5700K
70
Always switch off mains supply before installation or servicing. This luminaire is for outdoor use. The
light source of this luminaire is not replaceable : when the light source reaches its end of life, the
whole of the luminaire shall be replaced. Terminal block not included. Installation may require advice
from a qualied person.
Select a suitable location to install this product. Do not install in areas that are exposed to continual
running water or prone to ooding. Ensure that the mounting surface is both at and stable.
PIR Specication
1. Prepare the mains input cable for termination. Note that this product is class I and as such must
Time Delay:
Ambient Light:
Detection Distance:
Detection Range:
Installation Height:
Standby Power Consumption:
240V 50Hz / Class I
Class I products must always be earthed
Fig.1.
Terminal block not included. Installation may require advice from a qualied person.
Terminal block specication is located on right hand side of instruction sheet.
Wiring colours are for reference only
5±3 sec. ~ 8±2min.
<3 Lux ~ 2000Lux
Max. 8±2m
120°
0.5 - 3.5m
<1W
Live = Brown
Green/yellow
Neutral = Blue
be tted with an earth connection.
2. Drill mounting holes and insert suitable wall plugs. Dimensions as per Fig. 2.
3. Rotate Fitting to access screw mounting points on the bracket and secure using suitable xings.
4. Terminate input wiring to the tting as per Fig. 1 to the left.
5. Check seals, gaskets and the cable gland integrity before testing the luminaire.
6. Turn on power supply and test for correct operation.
RoHS
Compliant IP65
Registered Firm Certicate No. GB 1552
Drg No. JC45121-IS Issue: G - 01.08.16 - RCS
JCC Lighting Products Ltd. Innovation Centre Beeding Close Southern Cross Trading Estate Bognor Regis West Sussex PO22 9TS Technical Support: 01243 838986 Customer Services: 01243 838999
BS EN ISO9001 - 2008
jcc.co.uk
Important User Advice
Installation Notes
Installation Procedure
Fig. 2
70mm centre
Mounting Bracket
PIR Manual Override Function
1. Switch on the light.
2. Turn the luminaire off and then on twice in three seconds.
3. The lamp will then remain illuminated for up to 8hrs.
4. To cancel: switch off for 10 seconds.
150
All dimensions in millimetres
Terminal block must comply to EN 60998-2-1 or EN 60998-2-2
Terminal block specication:
Number of Ways 3
Mounting Type Through Hole
Pitch 8mm
Current Rating 24A
Termination Method Screw Down
Wire Size 2.5 mm²
Material Nylon
Voltage Rating 380 V
Maximum Operating Temp +125°C
Contact Material Brass
Contact Plating Nickel
General Maintenance Requirements
This product has no user serviceable
parts. JCC Lighting Products would
recommend that the following
maintenance is performed in order to
prolong the life of this product:
Clean with a damp cloth and dry with a
lint free cloth or kitchen towel.
Do not use abrasive cleaners.
 Loading...