

Page 1
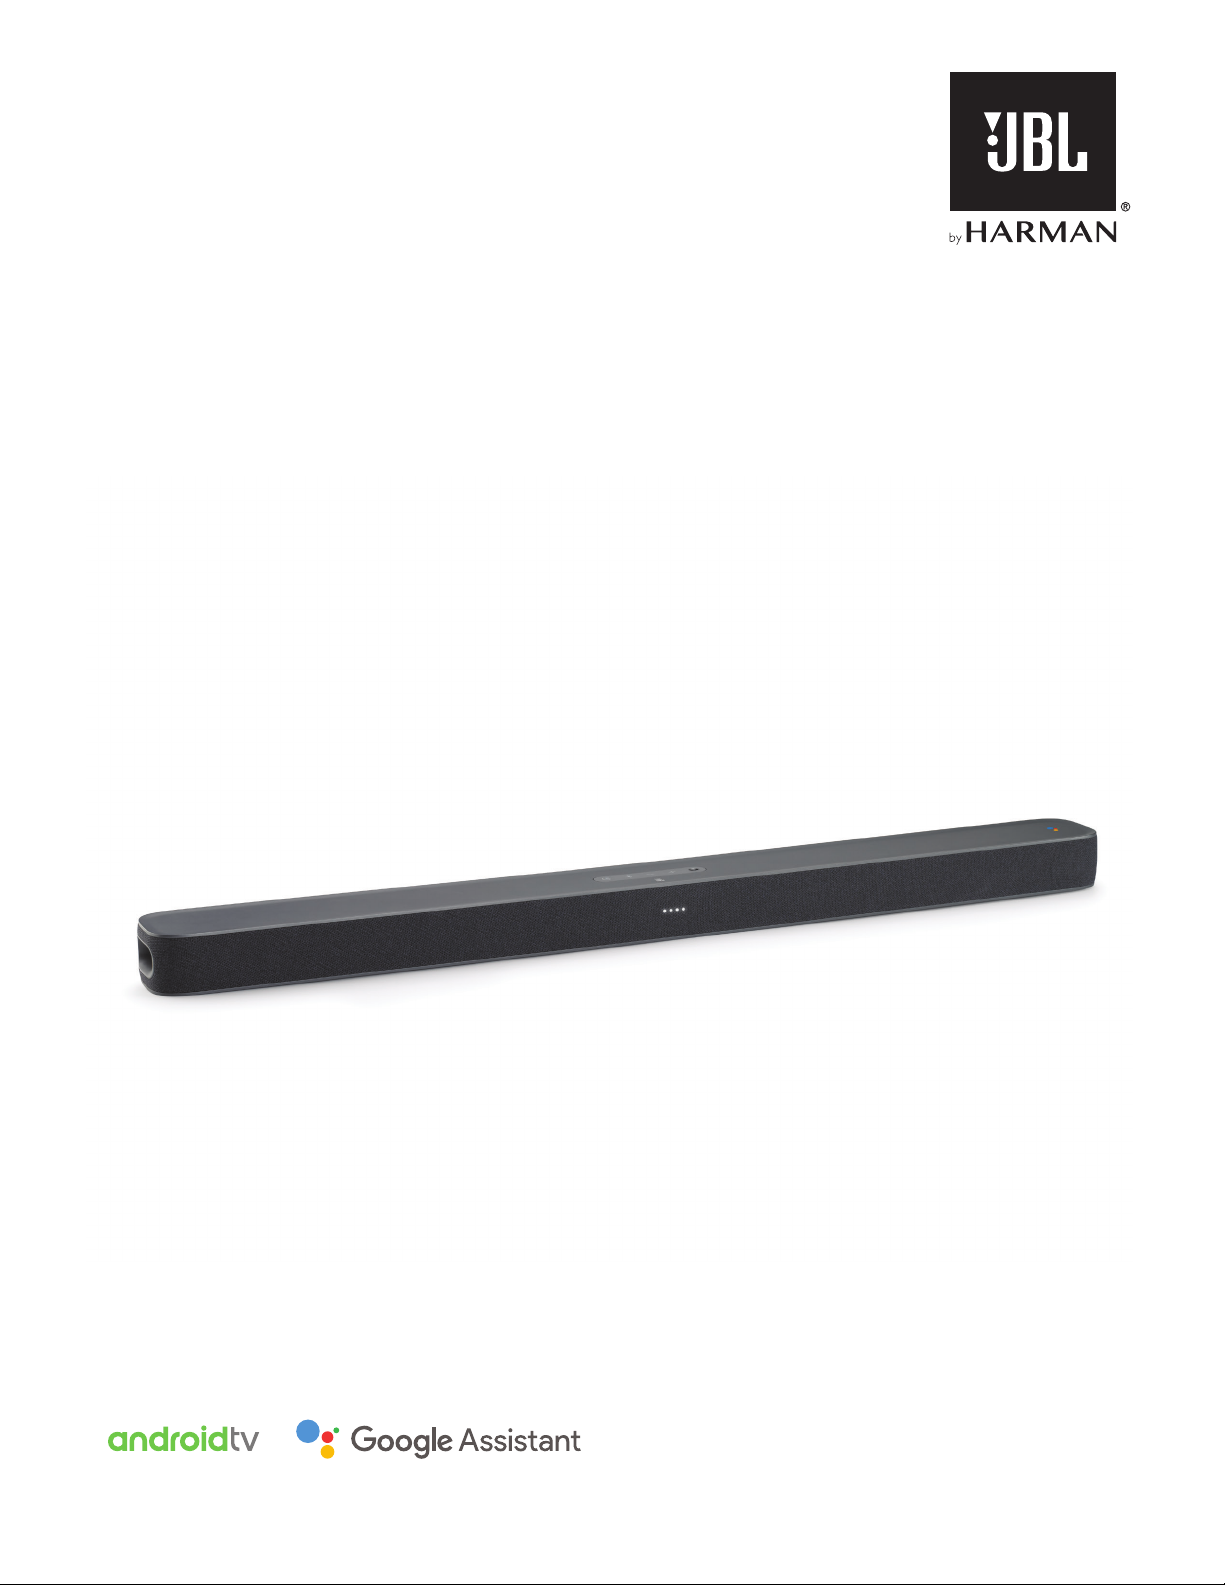
LINK BAR
OWNER’S MANUAL
Page 2

IMPORTANT SAFETY INSTRUCTIONS
Verify Line Voltage Before Use
The JBL LINK BAR (soundbar) has been designed for use with
100-240 volt, 50/60 Hz AC current. Connection to a line voltage
other than that for which your product is intended can create a
safety and re hazard and may damage the unit. If you have any
questions about the voltage requirements for your specic model
or about the line voltage in your area, contact your selling dealer
before plugging the unit into a wall outlet.
Do Not Use Extension Cords
To avoid safety hazards, use only the power cord supplied
with your unit. We do not recommend that extension cords be
used with this product. As with all electrical devices, do not run
power cords under rugs or carpets, or place heavy objects on
them. Damaged power cords should be replaced immediately
by an authorized service center with a cord that meets factory
specications.
Handle the AC Power Cord Gently
When disconnecting the power cord from an AC outlet, always
pull the plug; never pull the cord. If you do not intend to use this
speaker for any considerable length of time, disconnect the plug
from the AC outlet.
Do Not Open the Cabinet
There are no user-serviceable components inside this product.
Opening the cabinet may present a shock hazard, and any
modication to the product will void your warranty. If water
accidentally falls inside the unit, disconnect it from the AC power
source immediately, and consult an authorized service center.
2
Page 3

TABLE OF CONTENTS
English
IMPORTANT SAFETY INSTRUCTIONS 2
1 INTRODUCTION 4
2 WHAT’S IN THE BOX 4
3 PRODUCT OVERVIEW 4
3.1 TOP PANEL & FRONT PANEL 4
3.2 BACK PANEL 5
3.3 REMOTE CONTROL 5
4 INSTALLATION 6
4.1 PLACE THE LINK BAR ON THE TABLE 6
4.2 WALL-MOUNT THE LINK BAR 6
8 USING YOUR LINK BAR 9
8.1 ANDROID TV 9
8.2 THE GOOGLE ASSISTANT 9
8.3 GOOGLE PLAY STORE 9
8.4 PLAY VIDEO OR MUSIC WITH CHROMECAST 9
8.5 PLAY MUSIC WITH BLUETOOTH 10
8.6 SOUND SETTINGS 10
8.7 RE-CONNECT A REMOTE IF YOUR REMOTE IS
DISCONNECTED 10
9 SOFTWARE UPDATE 10
10 RESTORE FACTORY SETTINGS 10
11 SPECIFICATIONS 11
5 CONNECTING YOUR LINK BAR 7
5.1 CONNECT TO YOUR TV WITH AN HDMI CABLE (PREFERRED
CONNECTION) 7
5.2 CONNECT TO OTHER DEVICES 7
6 SETUP 7
6.1 SETUP THE LINK BAR 7
6.2 POWER ON THE JBL SW10 SUBWOOFER (SOLD
SEPARATELY) 8
6.3 PAIR WITH THE JBL SW10 WIRELESS SUBWOOFER
(OPTIONAL) 8
7 TALKING TO GOOGLE ASSISTANT 9
7.1 ACTIVATE THE HOTWORD 9
7.2 EXAMPLES OF VOICE COMMANDS THAT CAN WORK ON
LINK BAR 9
12 TROUBLESHOOTING 11
13 COMPLIANCE 12
14 TRADEMARKS 12
15 OPEN SOURCE LICENSE NOTICE 12
www.jbl.com
3
Page 4

1 INTRODUCTION
Thank you for purchasing the JBL LINK BAR. The JBL LINK
BAR is a voice-activated soundbar with Android TV and Google
Assistant built-in. We encourage you to take a few minutes to
read this manual, which describes the product and includes
step-by-step instructions to help you set up and get started.
Read and understand all the safety instructions before using your
product.
This product may have an important software update
available. Please follow the instructions to connect the
product to the Internet to ensure that your product has the
most recent software update.
Design and specications are subject to change without notice.
If you have any questions about this product, the installation
or the operation, please contact your JBL retailer or customer
service, or visit us at www.jbl.com.
HDMI cable
Wall-mount brackets
2 WHAT’S IN THE BOX
Carefully unpack the box and check if the following parts are
included. If any part is damaged, do not use it, contact your
retailer or customer service.
Main unit
Remote control (with 2 AAA batteries)
Power cord*
* Power cord quantity and plug type vary by regions.
Product information & wall-mount guide
3 PRODUCT OVERVIEW
3.1 Top Panel & Front Panel
1
2
3
1. (Bluetooth button)
• Press to enter Bluetooth pairing mode if no device is
connected.
• Launch Bluetooth audio mode if there are smartphones/
tablet already connected.
• Press and hold to enter Bluetooth searching mode to the
new/re-pair remote control.
Bluetooth LED indicator
White (Flashing) Pairing
White (Constant) Connected
6
5
4
4
Page 5

English
2.
• Select the source input mode: HOME/ HDMI 1 / HDMI 2
/ HDMI 3 / Optical / Aux / Bluetooth.
3. Far eld microphone
4. LED indicator
White (Slow breathing) Listening
White (Fast breathing) Responding
Amber (Constant) Microphone muted
5. PrivacySwitch™
• Switch to mute or unmute the microphones.
6. - / + (Volume)
• Press to decrease or increase the volume.
• Press and hold to decrease or increase the volume
continuously.
3.2 Back Panel
1 2 3 4 5 6 7 8 9
POWER OPTICAL ETHERNET
AUX
HDMI 1 HDMI 2 HDMI 3
HDMI OUT
(TV ARC)
SERVICE
SUBWOOFER
PAIRING
3.3 Remote Control
1
2
3
4
5
6
7
8
13
12
11
10
9
1. POWER
• Connect to the power cord, then connect the power cord
to a wall outlet.
2. OPTICAL (input)
• Connect to an optical audio output on your TV or digital
device.
3. AUX (input)
• Connect to an audio device (3.5mm jack).
4. ETHERNET
• Connect to the Internet.
5. HDMI 1 / HDMI 2 / HDMI 3 (input)
• Connect to HDMI output on a digital device.
6. HDMI OUT (TV ARC)
• Connect to the HDMI (ARC) input on your TV.
7. SERVICE (for service personnel only)
8. SUBWOOFER PAIRING
• Press to enter the subwoofer pairing mode.
9. SUBWOOFER PAIRING LED
1. TV
• Turn on/off the TV.
2.
• Launch Netix app.
3.
• Select HDMI 1 / 2 / 3 as an input source for the
soundbar.
4. Directional pad
5.
• Press to activate Google Assistant.
6.
• Go back to the previous screen.
7.
• Mute / unmute the LINK BAR audio.
8. /
(Volume buttons)
• Increase or decrease the volume level.
9.
• Short press to enter Bluetooth pairing mode if no device
is connected.
• Launch Bluetooth audio mode if there are smartphones/
tablet already connected.
10. (Home button)
• Return to the home screen.
www.jbl.com
5
Page 6

11. OK
• Press to conrm your selection.
12.
• Toggle Optical / Aux as an input source.
13. Microphone
4 INSTALLATION
4.1 Place the LINK BAR on the table
Place the LINK BAR on its rubber feet on a stable and level
surface.
TV
4. Screw the wall mount brackets on the pen mark.
5. Screw the threaded mounting post into the back of the LINK
BAR.
6. Hook the LINK BAR to the brackets attached to the wall.
1
≤8 mm/
0.31"
≥35 mm/1.4"
4mm/
0.16"
3
NOTES:
− Remove any interference from both sides of the LINK BAR so the side-
firing bass port can react correctly.
− To avoid wireless interference, keep other wireless devices 1-3ft (0.3-
0.9m) away from the LINK BAR.
− Make sure there is an AC outlet nearby.
− Do not place any objects on the top of the LINK BAR.
4.2 Wall-mount the LINK BAR
1. Use tape to stick the wall-mount paper guide on the wall, push
a pen tip through the center to mark the wall-mount bracket
location and remove the paper.
2. Keep a minimum distance of 2” (50mm) for TV clearance.
3. Use an appropriately sized drill bit, drill a hole in the wall at
each pen marking.
TV
Min. 2” (50mm)
2-D=4mm
2
NOTES:
− Before mounting on a wall, make sure the wall can support the weight
of this unit.
− Install on a vertical wall only.
− For the wall-mounting, avoid a location with high temperature or
humidity.
− Connect cables from the unit to the external devices before installing
on the wall.
− Make sure the power cord is unplugged from the AC outlet before the
installation. Otherwise, it may cause an electric shock.
− Before connecting the power cord to your LINK BAR to the wall outlet
make sure all connections between components are connected.
− Before moving the unit, make sure to unplug the power cord first.
6
Page 7

English
5 CONNECTING YOUR LINK BAR
NOTES:
− If you want to enjoy sound only from the LINK BAR, make sure to set
your TV audio settings to support the external speaker and disable the
built-in TV speakers.
− Before you make or change any connections, make sure that all
devices are disconnected from the power outlet.
5.1 Connect to your TV with an HDMI cable (Preferred connection)
Connect the supplied HDMI cable from the HDMI OUT (TV ARC)
connector on the back of the LINK BAR to the HDMI IN (ARC)
connector on your TV.
HDMI OUT (TV ARC)
TV
HDMI (ARC)
NOTES:
− An HDMI connection supports digital audio and video with a single
connector. It is the best option to connect to your LINK BAR.
− If your TV features an HDMI ARC connector, you can hear the TV
audio through your LINK BAR by using a single HDMI cable.
− This HDMI connection is required if you intend to connect other video
devices to the LINK BAR inputs to display on your TV.
− On your TV, turn on the HDMI-CEC function, HDMI-CEC is a feature that
enables CEC compliant devices that are connected through HDMI to be
controlled by a single remote control.
5.2 Connect to other devices
HDMI cables (Preferred connection)
Connect a digital device such as a set-top box, DVD/Blu-ray
player, or games console to your LINK BAR through a single
HDMI connection.
Connect the HDMI cable from the HDMI IN jack on the back of
the LINK BAR to the HDMI OUT jack on your digital device.
Press the button on the top panel of the LINK BAR or the
button on the remote control to select the HDMI mode.
Optical or Analog audio cables (sold separately)
Connect the OPTICAL or AUX connector on the LINK BAR to
the OPTICAL OUT or AUDIO OUT jack of the source device.
Press the button on the top panel of the LINK BAR or the
button on the remote control to select the OPTICAL or
AUX mode.
OPTICAL IN
OPTICAL OUT
AUX-IN
AUX-OUT
AUX cable
6 SETUP
6.1 Setup the LINK BAR
1. Make sure the LINK BAR has already been connected to the
HDMI IN (ARC) on your TV by using an HDMI cable and turn
on your TV.
2. Connect the Ethernet cable (Preferred connection).
Connect the LINK BAR to Internet router with Ethernet cable
(not included). If you do not use an Ethernet connection,
you will have an option during setup to connect to a Wi-Fi
network.
3. Plug one end of the power cord into the POWER connector
on the back of the LINK BAR.
4. Plug the other end of the power cord into AC (mains) outlet.
HDMI 1 HDMI 2 HDMI 3
HDMI OUT
NOTE:
− For the best use, always choose a High-Speed (type 2) HDMI cable,
see your HDMI cable specifications for more details.
5. Inserting batteries before using the remote control (AAA
batteries x 2).
1
2
1
2
www.jbl.com
7
Page 8

Slide the battery cover in the direction of the arrow until it is
completely removed. Insert 2 AAA batteries (1.5V) oriented
so that their polarity is correct. Slide the battery cover back
into position.
6. Connect your remote control during initial device setup.
During setup, the device will prompt you to connect your
remote. Press and hold the HOME + BACK buttons on your
remote for three seconds to put your remote into pairing
mode. When the remote is successfully paired, you will see
an indication of success. If you see an error indication, please
try again.
7. Continue to follow the Android TV setup on your TV.
6.2 Power on the JBL SW10 subwoofer (Sold separately)
1. Plug one end of the power cord into the POWER connector
on the back of the subwoofer.
2. Plug the other end of the power cord into an AC (mains) outlet.
6.3 Pair with the JBL SW10 wireless subwoofer (Optional)
To manually pair with the subwoofer:
1. Power on both the LINK BAR and the SW10 Wireless
Subwoofer.
2. Press the SUBWOOFER PAIRING button on the LINK BAR
and PAIRING button on the subwoofer to enter pairing mode.
The JBL SW10 wireless subwoofer (sold separately) automatically
connects with the LINK BAR if both units are being paired before.
If successfully paired, the LED indicator on both the LINK BAR
and SW10 subwoofer lights white continuously.
Welcome
Subwoofer LED behavior
White (Constant) Connected
White (Flashing fast) Pairing
White (Flashing slowly) Disconnected
8
Page 9

English
7 TALKING TO GOOGLE ASSISTANT
Your LINK BAR comes with the Google Assistant built-in. You
can ask the LINK BAR to play your favorite video or music, get
the answer, manage everyday tasks, and easily control smart
devices around your home by using your voice.
7.1 Activate the hotword
Always say the hotword “Hey Google” or “OK Google” rst then
your request.
→ LINK BAR will respond accordingly.
NOTES:
− For the latest voice commands, please visit assistant.google.com
You can also press the button on the remote control to
activate the Google Assistant and following your request with
your voice (no need to say the hotword after press the button).
The LINK BAR will respond accordingly.
8 USING YOUR LINK BAR
8.1 Android TV
8.2 The Google Assistant
The Google Assistant is your personal assistant, there are four
major areas.
1. Enjoy entertainment.
Play your favorite shows, songs, and movies and discover
new ones just with your voice.
2. Control your smart home
Use your voice to control your compatible smart home
devices. Adjust the temperature, lighting, and more.
3. Plan your day
With your permission, get help with things like your calendar,
your ight information, or your commute to work and more.
4. Get answers
Get answers related to what you are watching and more. Ask
about your favorite shows, characters, and actors or get the
latest scores for your favorite team.
7.2 Examples of voice commands that can work on LINK BAR
Alarms and Timers Set timer for 5 minutes, stop timer
Answers How many liters in a gallon?
Calendar When is my next meeting?
Device Actions and
Settings
Multi-dialog queries
Local & Navigation Where is the nearest bakery?
Netflix Play Stranger Things on Netflix
Personal Answers Show my flight status
Personality Tell me a fun fact
Reminders Remind me to buy milk at 7pm
Shopping Add movie tickets to the shopping list
Smart Home Dim the lamp, turn on lights
Turn on Bluetooth
Switch HDMI 1
Increase the volume by 5%
Q1: population of France?
Q2: what about England?
8.3 Google Play store
You can download thousands of apps and digital content from
the Google play store.
8.4 Play video or music with Chromecast
With Chromecast built into your LINK BAR, you can cast videos/
music/ iTunes /podcasts /playlists from 300+ apps to your LINK
BAR by simply tapping the cast button. You can nd Chromecast
– enable apps at chromecast.com/apps.
1. Connect your mobile phone/tablet or laptop to the same
network with LINK BAR.
2. Run the Chromecast-enabled app on your devices.
3. Tap the icon on the app and select the LINK BAR.
4. Tap “Play” in the app.
www.jbl.com
9
Page 10

8.5 Play music with Bluetooth
You have three ways to connect your phone to playback
Bluetooth audio.
1. Tap the Bluetooth button on the LINK BAR device.
2. Tap the Bluetooth button on the LINK BAR remote control.
3. From the home screen, go to Settings > Connected Devices >
Connect phone for Bluetooth audio.
This will launch the Bluetooth audio player connection screen.
From there, your LINK BAR will now be discoverable as a
Bluetooth audio device.
8.7 Re-connect a remote if your remote is disconnected
In the event that the remote for your LINK BAR is no longer
connected to the device, follow these steps to get your remote
re-connected.
1. To put the LINK BAR device into pairing mode, press and hold
the physical Bluetooth button on the LINK BAR device for
several seconds.
2. Once you see the ‘searching for accessories’ screen or
‘connect new device’ screen, press and hold the HOME +
BACK buttons on your LINK BAR remote for three seconds.
This will put your remote into pairing mode.
If successful, you will see the LINK BAR remote appear in a list of
available remotes. If there is only one available remote in the list,
the LINK BAR will automatically connect to this remote.
If there are multiple available remotes, to cycle through options
in the list, tap the physical Bluetooth button on the LINK BAR
device. To select an option in the list, press and hold the physical
Bluetooth button on the LINK BAR device.
Link Bar
NOTES:
− The Bluetooth connection will be lost if the distance between the LINK
BAR and Bluetooth device exceeds 33ft (10m).
− Electronic devices may cause radio interference. Devices that generate
electromagnetic waves must be kept away from the LINK BAR main
unit, like (such as) microwaves, wireless LAN devices, etc.
8.6 Sound Settings
Select predened sound modes to suit your video or music:
• Go to the Settings menu and choose a Sound option.
• Select the STANDARD mode if you want to enjoy the original
sound.
• You can also choose different sound modes: music, movies,
and voice depending on the content you want to listen to.
9 SOFTWARE UPDATE
The software of your LINK BAR will be automatically upgraded to
the latest version when it is connected to the Internet via a Wi-Fi
network or Ethernet. Make sure the LINK BAR is connected to
the Internet.
10 RESTORE FACTORY SETTINGS
To restore the default settings programmed at the factory, on
Android TV menu, select “Device Preference” > “Reset”.
When the factory settings restore is complete, the LINK BAR will
automatically power off and restart. Any stored information or
settings will be erased.
10
Page 11

English
11 SPECIFICATIONS
Audio/ video
• Maximum Power: 100 W
• Frequency Response: 75 Hz - 20 KHz
• HDMI Video Input: 3 (support 4K UHD, HDMI 2.0)
• HDMI Video Output (With Audio Return Channel): 1 (Support
4K UHD, HDMI 2.0
• HDCP Version: 2.2 and 1.4
Bluetooth
• Bluetooth Version: 4.2
• Bluetooth Transmitter Frequency Range: 2402 - 2480 MHz
• Bluetooth Transmitter Power: 9 dBm
• Bluetooth Transmitter Modulation: GFSK, π/4 DQPSK
Wi-Fi
• 2.4G Wi-Fi Transmitter Frequency Range: 2412 - 2472 MHz
(2.4 GHI ISM BAND)
• 2.4G Wi-Fi Transmitter Power: <20dBm
• 2.4G Wi-Fi Modulation: DBPSK, BPSK, CCK, QPSK, BPSK,
16 QAM
• 5G Wi-Fi Transmitter Frequency Range: 5.15 - 5.35GHz,
5.470 - 5.725GHz, 5.725 - 5.825GHz
• 5G Wi-Fi Transmitter Power: <20 dBm
• 5G Wi-Fi Modulation: QPSK, BPSK, 16QAM, 64QAM,
256QAM
• 5.8G Wireless Transmitter Frequency Range:
5740 - 5840MHz
• 5.8G Wireless Transmitter Power: < 8 dBm
• 5.8G Wireless Transmitter Modulation: GFSK
General
• Power Supply: 100-240V~50/60Hz
• Transducer: 2 x 20mm (0.8”) tweeter, 4 x 44 x 80mm
racetrack driver
• Ethernet: 10/100Mbps
• Dimension (W x H x D): 1020 x 60 x 93mm
• Net Weight: 2.5kg
• Gross Weight: 4.4kg
12 TROUBLESHOOTING
Never try to repair the product yourself. If you have any problems
using this product, check the following points before you request
service.
How can I reset the LINK BAR?
• You can reset the LINK BAR via the settings menu. Select
Device Preference -> Reset.
What are the sound modes on the LINK BAR?
• There are 4 sound modes, you can select in the settings
menu: Sound -> EQ mode:
a. Standard
b. Movie
c. Music
d. Voice
“Standard” sound mode is the default settings.
Will my LINK BAR enter low power-mode automatically?
• You can set the standby in the settings menu
No sound from the LINK BAR:
• Make sure that the LINK BAR is not muted.
• Make sure to select the correct audio input source.
No sound from the wireless subwoofer:
• Check if the subwoofer LED is in solid white color. Blinking
LED means a disconnection. Manually pair the subwoofer
with the LINK BAR.
Distorted sound or echo:
• If you play audio from the TV through the LINK BAR, make
sure the TV speaker is disable or muted.
A device cannot connect with the LINK BAR.
• Check if you enable the Bluetooth function of the device.
• The LINK BAR is already connected to another Bluetooth
device. Press and hold on the remote control to disconnect
and pair with a new device.
Poor audio quality from a connected Bluetooth device:
• The Bluetooth reception is poor. Move the device closer to
the LINK BAR, or remove any obstacles between the device
and the LINK BAR.
No response to the voice command:
• Depending on the location of your LINK BAR, the ambient
conditions may prevent the speaker from detecting the voice
command “Hey Google” or “OK Google”.
• Try using the remote control, press the Google Assistant
button ( ) and speak to the mic on the remote control.
• Make sure the Privacyswitch is off, and the microphones are
not muted.
www.jbl.com
11
Page 12

13 COMPLIANCE
FCC/IC Radiation Exposure Statement:
This equipment complies with FCC/IC RSS 102 radiation
exposure limits set forth for an uncontrolled environment. This
equipment should be installed and operated with minimum
distance 20cm between the radiator and your body.
Note:
− LINK BAR is intended to be used for streaming music. A consumer
can stream Bluetooth audio to the speaker. A consumer can connect
their speaker to the local Wi-Fi Network and stream music with Google
Chromecast. In addition, the speaker will work with Google Home.
This product is designed to be instantly on and ready to play music at
the moment’s notice, therefore, the Bluetooth and Wi-Fi connection
must remain active at all time to ensure proper operation.
14 TRADEMARKS
The Bluetooth® word mark and logos are registered trademarks
owned by the Bluetooth SIG, Inc, and any use of such marks by
HARMAN International Industries, Incorporated is under license.
Other trademarks and trade names are those of their respective
owners.
The Wi-Fi CERTIFIED Logo is certication marks of the Wi-Fi
Alliance.
LINK BAR is in compliance with the European Union energy
legislation. LINK BAR complies with European Commission
Regulation (EC) No 1275/2008 (HiNA and (EU) No 801/2013 as
a networked equipment with high network availability equipment
and equipment with HiNA functionality).
Power consumption:
• Off Mode: N/A
• Standby: N/A
• Network Standby: N/A
• Time to Stand: N/A
• Active Standby: 5.5W
• Active Standby: LINK BAR is connected to wireless network
but does not provide an active audio function. When LINK
BAR is plugged into a wall socket, regardless whether it is
muted or not, words “Hey Google” or “ OK Google” it is
automatically on active standby mode. It will respond to you
if you say the trigger.
Google, Android, Android TV Chromecast and other related
marks and logos are trademarks of Google LLC.
Chromecast built-in may require subscription(s).
The Google Assistant requires an internet connection and is
not available in certain countries and languages. Availability and
performance of certain features and services are device, service
and network-dependent and may not be available in all areas.
Controlling certain devices in your home requires compatible
smart devices. Subscriptions for services and applications may
be required and additional terms, conditions and/or charges may
apply.
Netix is a registered trademark of Netix, Inc
The terms HDMI and HDMI High-Denition Multimedia Interface,
and the HDMI Logo are trademarks or registered trademarks of
HDMI Licensing Administrator, Inc.
Manufactured under license from Dolby Laboratories. Dolby,
Dolby Audio and the double-D symbol are trademarks of Dolby
Laboratories
12
15 OPEN SOURCE LICENSE NOTICE
This product contains open source software licensed under
GPL. For your convenience, the source code and relevant build
instruction are also available at
Please feel free to contact us at:
Harman Deutschland Gmb
HATT: Open Source, Gregor Krapf-Gunther, Parkring 3
85748 Garching bei Munchen, Germany
or OpenSourceSupport@Harman.com if you have additional
question regarding the open source software in the product.
http://www.jbl.com/opensource.html
.
Page 13

English
HARMAN International Industries,
Incorporated 8500 Balboa
Boulevard, Northridge, CA 91329
USA
www.jbl.com
© 2019 HARMAN International Industries, Incorporated.
All rights reserved.
JBL is a trademark of HARMAN International Industries, Incorporated, registered in
the United States and/or other countries. Features, specications and appearance are
subject to change without notice.
www.jbl.com
13
 Loading...