

JBL 408GTI, 508GTi Installation Manual


Autosound at its Best
The 408 and 508GTi systems are built
to meet the same rigorous standards of
construction and performance that have
long established JBL’s renowned home
and professional speaker systems. The
408 and 508GTi Woofer/Midranges
incorporate advanced JBL woven Kevlar
cones which are especially suited to the
unique acoustic and environmental
conditions which characterize automotive
sound. The 408 and 508GTi Tweeter
incorporates advanced JBL pure titanium
technology which is especially suited to
the unique acoustic environment of
modern vehicles. The 408 and 508GTi
have been engineered to provide excellent
power handling, good dispersion and
balanced frequency response, along with
minimum size and flexible installation
options for optimizing placement within the
vehicle.
The small size of the GTi Drivers is
made possible through the use of a
Neodymium magnet assembly with JBL’s
Stray Field Containment Geometry. By
3

response to be completely optimized for
each combination.
What does all this technology add
up to? Asystem with ideal frequency
response, excellent off axis response,
and high output capability all in a small
and elegant package. The result is
exceptionally smooth and detailed music
reproduction over the full range of
frequencies and clean sound that cuts
through road noise.
Designing Y our System
The overall quality of any system
design is a result of how well all of the
components work together, not just the
result of the performance of any one
component. JBL GTi Series woofer/
midbass or subwoofer transducers are
the ideal companion products to your 408
and 508GTi systems. Each of the GTi
Competition Series products are designed
to complement the others to provide the
highest performance with the simplest and
most predictable system design. To use the
408 and 508GTi as the woofer/midrange

5. Because of the high acoustic energy
capability of the 408 and 508GTi, the
woofer/midrange drivers must be
securely mounted in a rigid panel which
is free from resonances, rattles and air
leakage.
Installation Warnings and Tips
• Be careful not to cut or drill into fuel
tanks, fuel lines, brake or hydraulic
lines, vacuum lines or electrical wiring
when working on your vehicle. Inspect
behind panels before you cut or drill.
• Be sure to check for clearance of
window, cranks and linkages when
mounting speakers in door panels.
• Do not use the speakers unmounted.
Failure to securely mount this product
could result in damage or injury,
particularly in the event of an accident.
• Although the materials used on the 408
and 508GTi are inherently water
resistant, do not mount the speakers
where they will get wet.
• Always disconnect the ground wire
from the battery before doing any work
on the vehicle.
5
3. Mark 4 hole locations, drill holes and
secure the bottom cover to the desired
mounting location as shown in Figure B.
Before starting make sure no electrical
or other critical car components are
located where you will be drilling.
4. Re-install the PCB and install wiring
from the crossover to the amplifier
and speaker locations as shown in
Figure K.
5. Re-install the crossover cover.
Note: Do not mount the GTi Crossover in a
location where it can get wet, as this
may cause damage to its components.
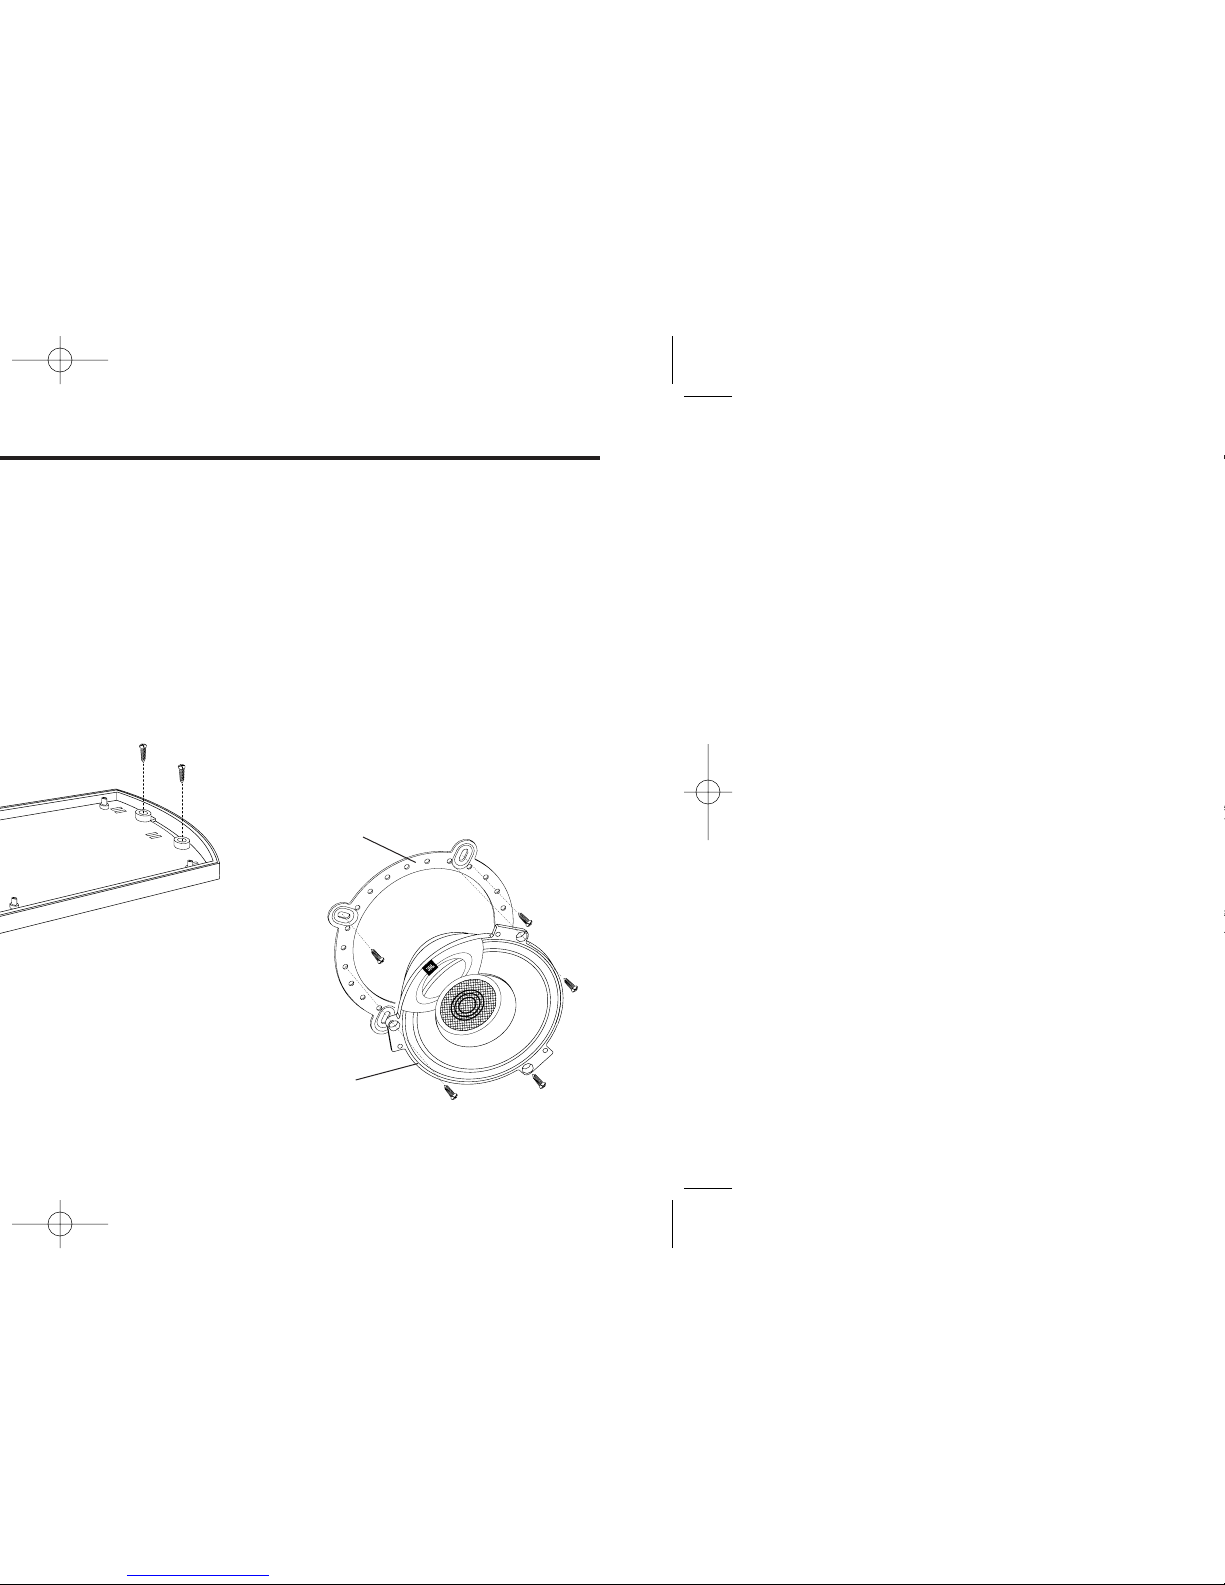
Figure C
Figure B
MOUNTING RING
ADAPTER
WOOFER/
MIDRANGE
2. Cut out the speaker hole at the
mounting location and drill the three
marked holes with a
1
/8" (3mm) drill.
3. Run speaker wire to the hole location,
making sure that either an active or
the included passive crossover is
connected to the speaker (see Figure K
for wiring details).
4. Put the speaker Fabric Displacement
Ring under the speaker as shown in
Figure D.
5. Attach the foam gasket to the back of the
woofer/midrange. Connect the speaker
wire from the crossover terminals marked
“ W” to the speaker by either soldering
(preferred) or using crimp terminals.
Connect the wire from the “W+” terminal
on the crossover to the red “W” terminal
on the woofer/ midrange. Repeat the
same process for the “W–” terminal (see
Figure K for details).
6. Mount the speaker to the hole location
using three #8 x 1
1
/4" screws and three
shoulder washers as shown in Figure D.
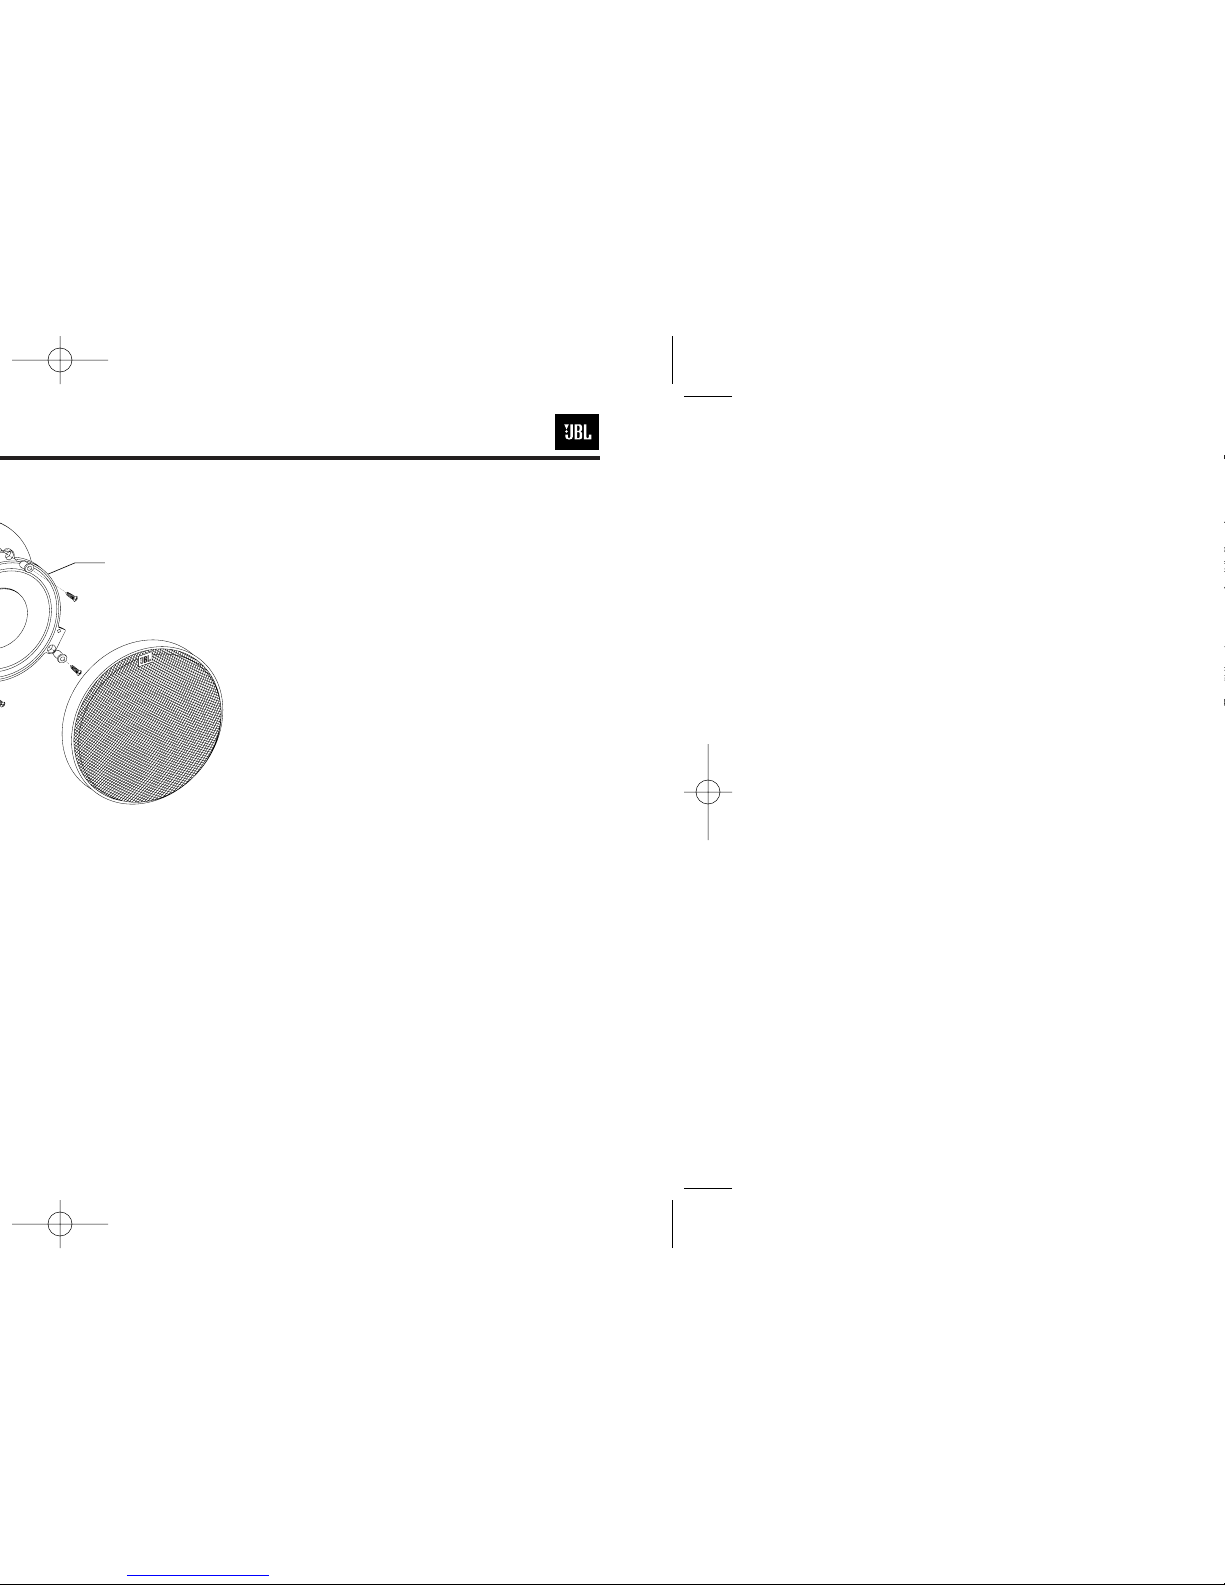
7. Push the grille down onto the speaker
making sure the tabs on the speaker
match with the slots in the grille. Twist
the grille about
1
/2" (12mm) clockwise to
lock the grille into place.
7
WOOFER/
MIDRANGE
 Loading...