

Jaclo 934 User Manual
INSTALLATION INSTRUCTIONS
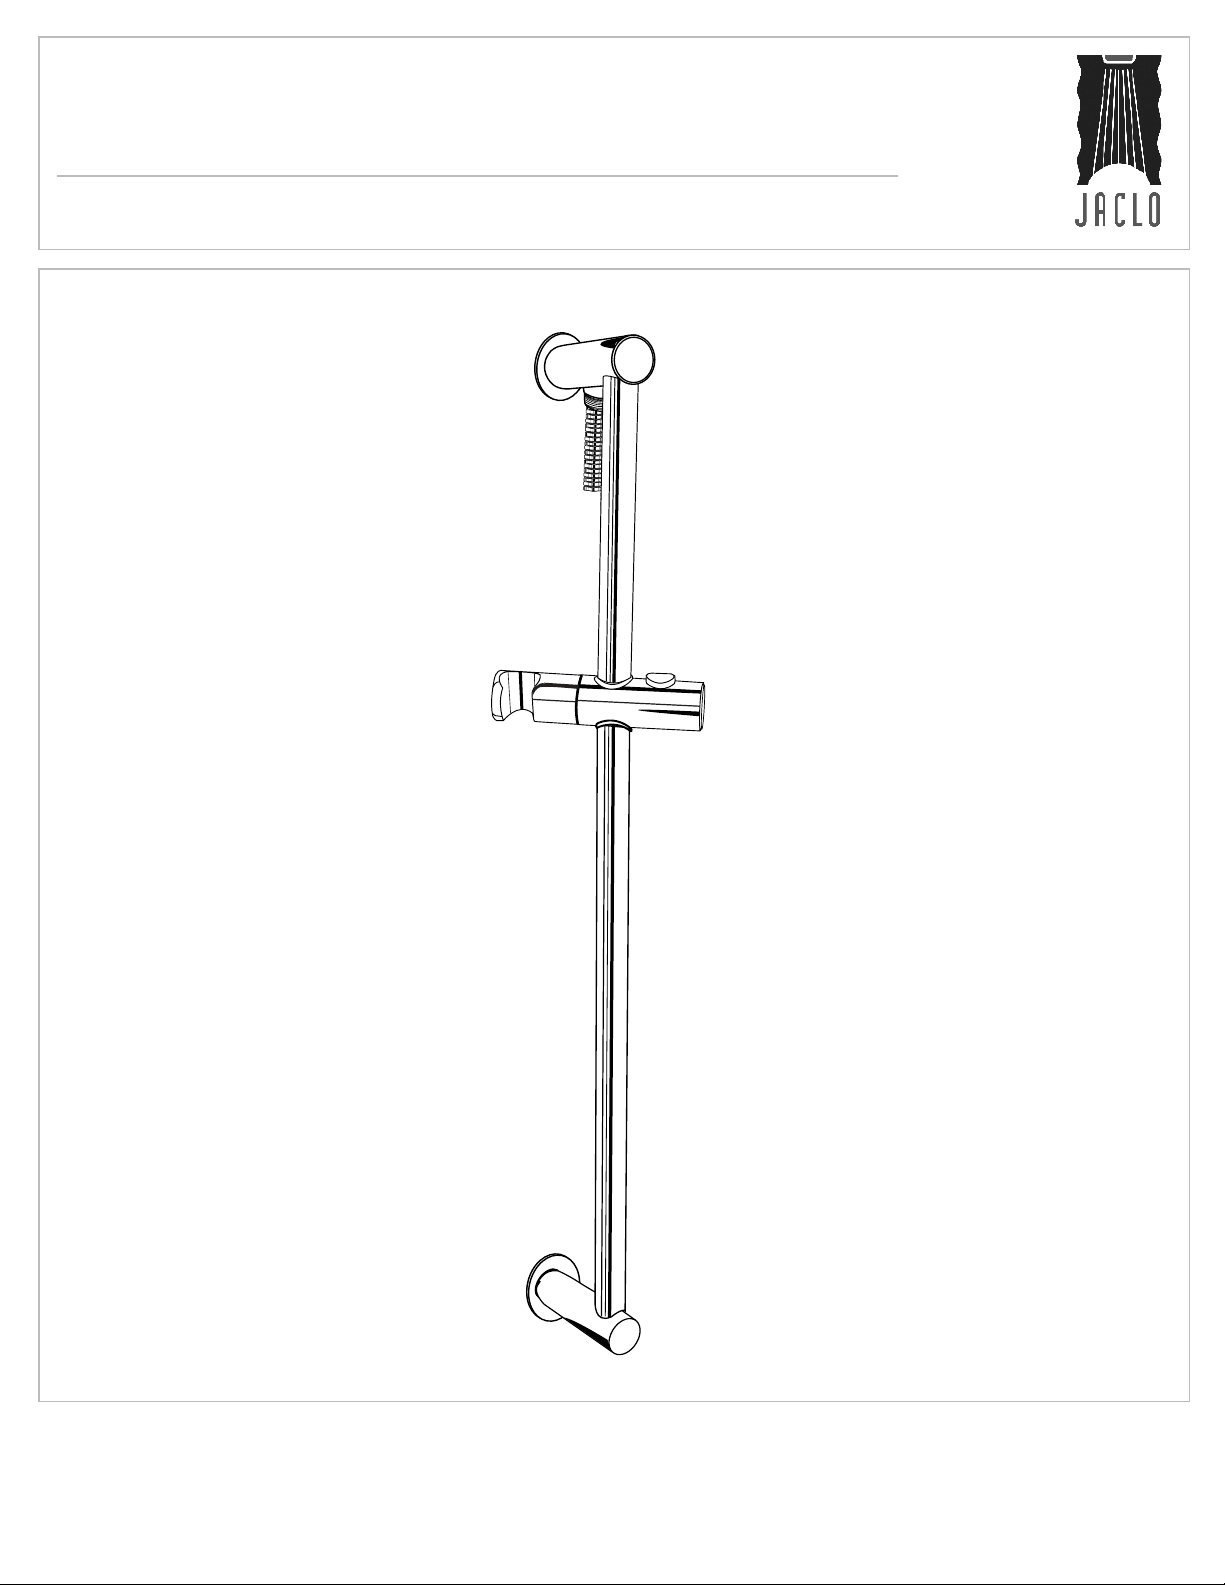
Decorative Wall Bar
Product Number: 9324, 9330, 9336
Please read instructions carefully before beginning the installation.
JA CLO.COM
j a c l o i n d u s t r i e s | 129 Derm ody S treet Cra nfo rd, N J 070 16
|
PG 1 REVISED OCTOBER ‘09DE CORATIVE WALL BAR
p 908 .653 .44 33 | 80 0.8 5 2.3 906 f 908 .653 .17 17 | 80 0.85 2.4 133

PARTS
› Wall bar with slider and bottom water supply outlet
› 2 Escutcheons
› 2 Screws
› 2 Anchors
› Allen wrench
POSITIONING OF WALL BAR
› Determine convenient height for placement of wall bar
(water outlet top or bottom).
› Rough in plumbing accordingly.
PREPARING FOR INSTALLION
› Seperate top water supply elbow off of wall bar, by
pulling downward from bar.
› Remove nipple from water supply elbow by pulling threads
outward, away from water elbow.
› Install nipple into rough in plumbing and secure tightly using
hex wrench (not supplied).
› Temporarily install wall bar to wall and using a marking tool,
trace around top post of wall bar to mark location of top
post.
› Using provided mouting post and screws, secure into
wall where marking is located.
› Place escutcheons over mounting post and nipple against
wall.
› Place wall bar against escutcheons.
› Once proper fit is achieved, tighten set screws securely.
INSTALLING HOSE & HANDSHOWER
› Screw hose on to bottom threads.
› Insert handshower into the slide mechanism.
› Adjust the height of handshower by simply pressing the
button on top of slider and sliding to your desired height.
JA CLO.COM
|
PG 2 REVISED OCTOBER ‘09DE CORATIVE WALL BAR
j a c l o i n d u s t r i e s | 129 Derm ody S treet Cra nfo rd, N J 070 16
p 908 .653 .44 33 | 80 0.8 5 2.3 906 f 908 .653 .17 17 | 80 0.85 2.4 133
 Loading...