

Page 1
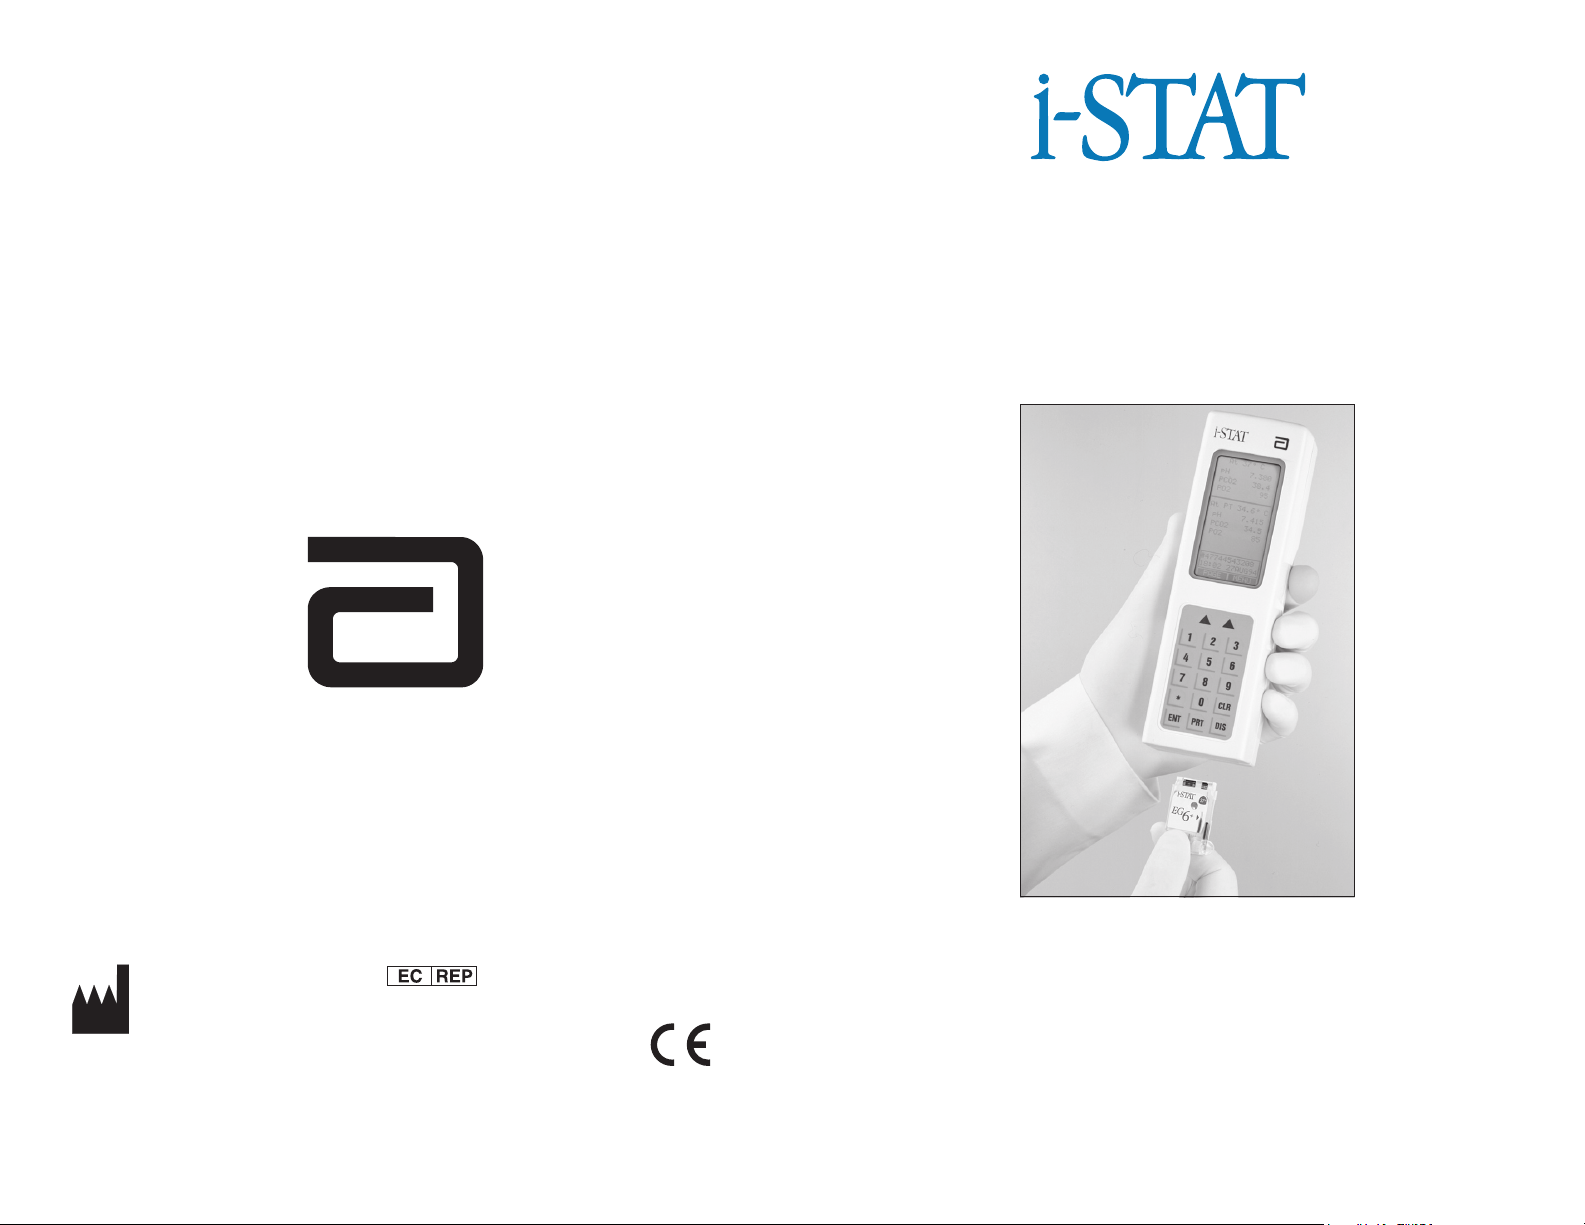
Portable Clinical Analyzer
& Test Cartridges
Manufacturer:
i-STAT Corporation
104 Windsor Center Drive
East Windsor, NJ 08520 • USA
USA Tech Suport: (800) 366-8020
Fax: (609) 443-9310
Art: 714199-00D Rev. Date: 06/29/04
Emergo Europe
P.O. Box 18510
2502 EM The Hague
The Netherlands
Tel: (31)70 345 8570
Fax: (31)70 346 7299
User Guide
Page 2
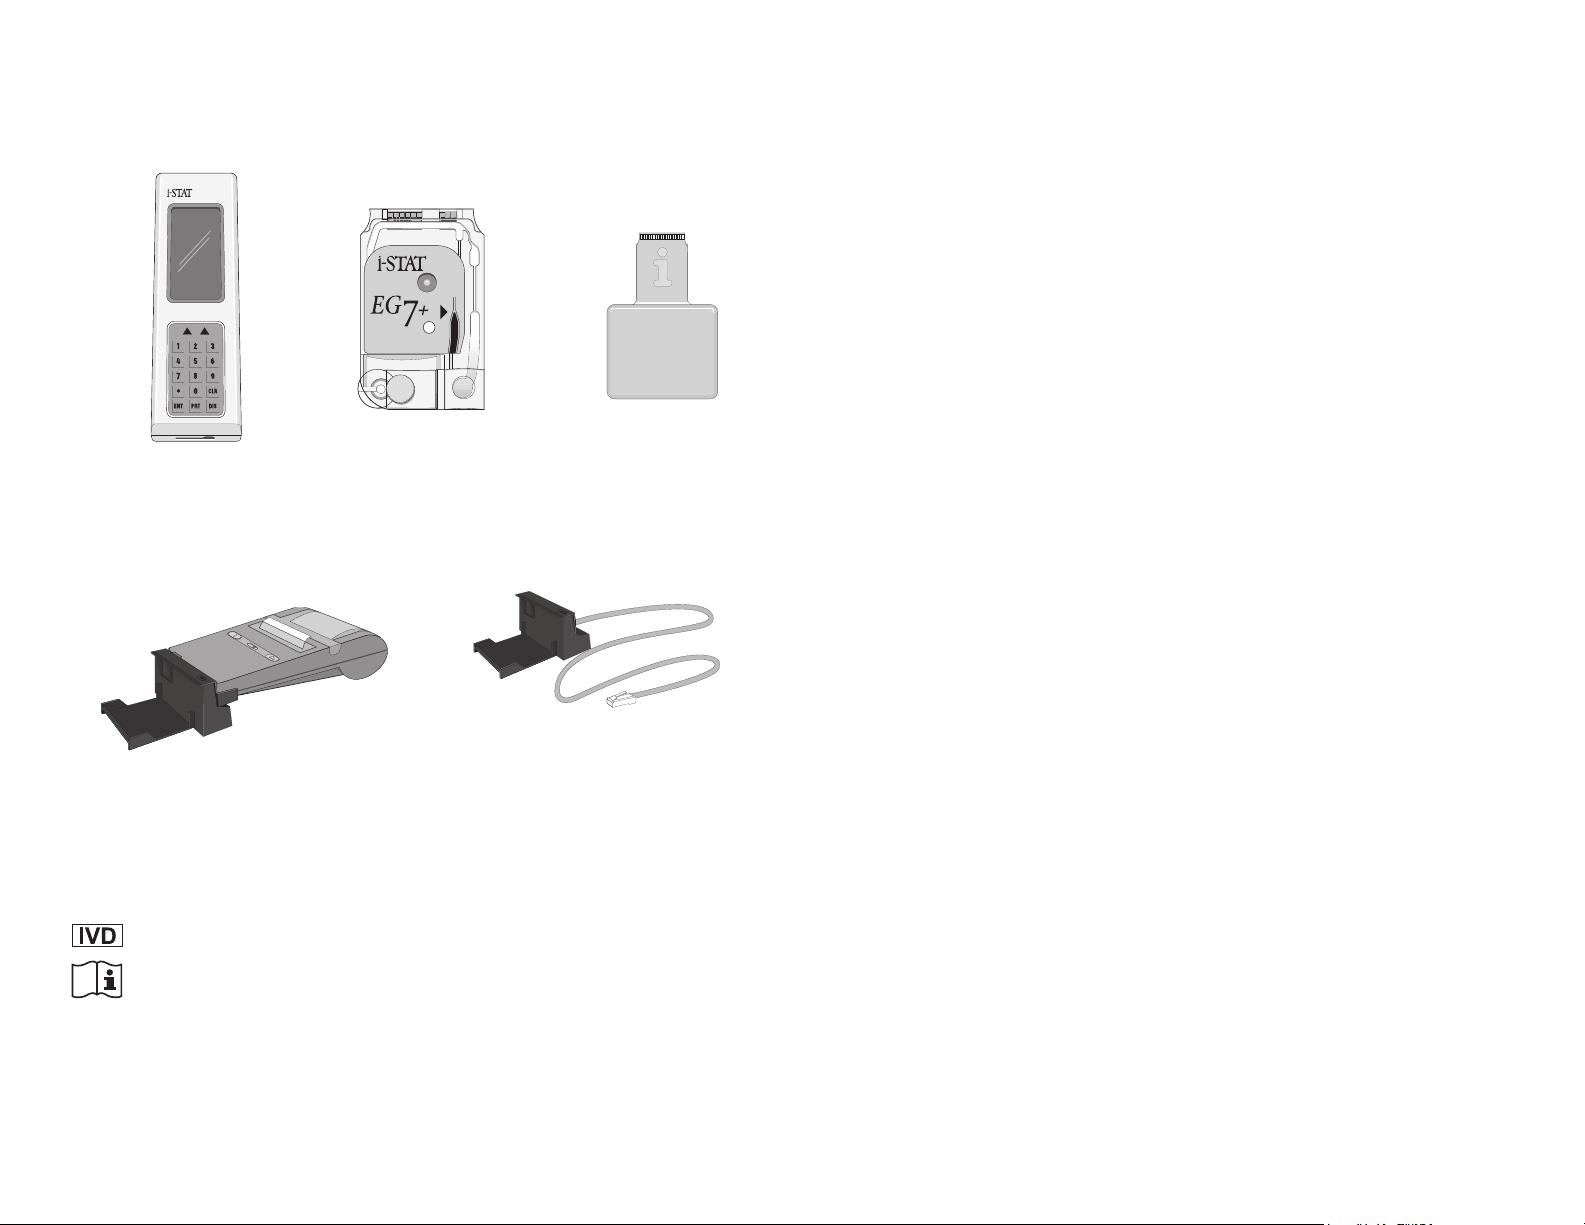
System Components
▲
Infrared
Light-
Emitting
Diode
▲
Display
Screen
▲
Soft
Keys
▲
Key
Pad
Cartridge Port
Power-on
Indicator
▲
IR
Link
Cradle
Analyzer
Calibrant
(beneath
▲
IR Link/Printer Cradle
Connected to Printer
Power
Switch
▲
▲
▲
Paper Advance
▲
Solution
label)
Snap
Cover
AC Adapter
▲
▲
Port
Cartridge
Contact Pads
▲
▲
Sensors
▲
▲
Sample Well
IR Receiver
Cradle
▲
IR Link
▲
Status Light
Contact Pads
▲
▲
Plug to Central
Data Station
Electronic
Simulator
▲
For in vitro diagnostic use.
See System Manual for instructions.
Intended Use: The i-STAT® Portable Clinical Analyzer is intended for use with
i-STAT cartridges for the in vitro quantification of various analytes in whole
blood.
© Copyright 2004. i-STAT Corporation. All Rights Reserved.
Page 3
Quality Check Messages and Codes
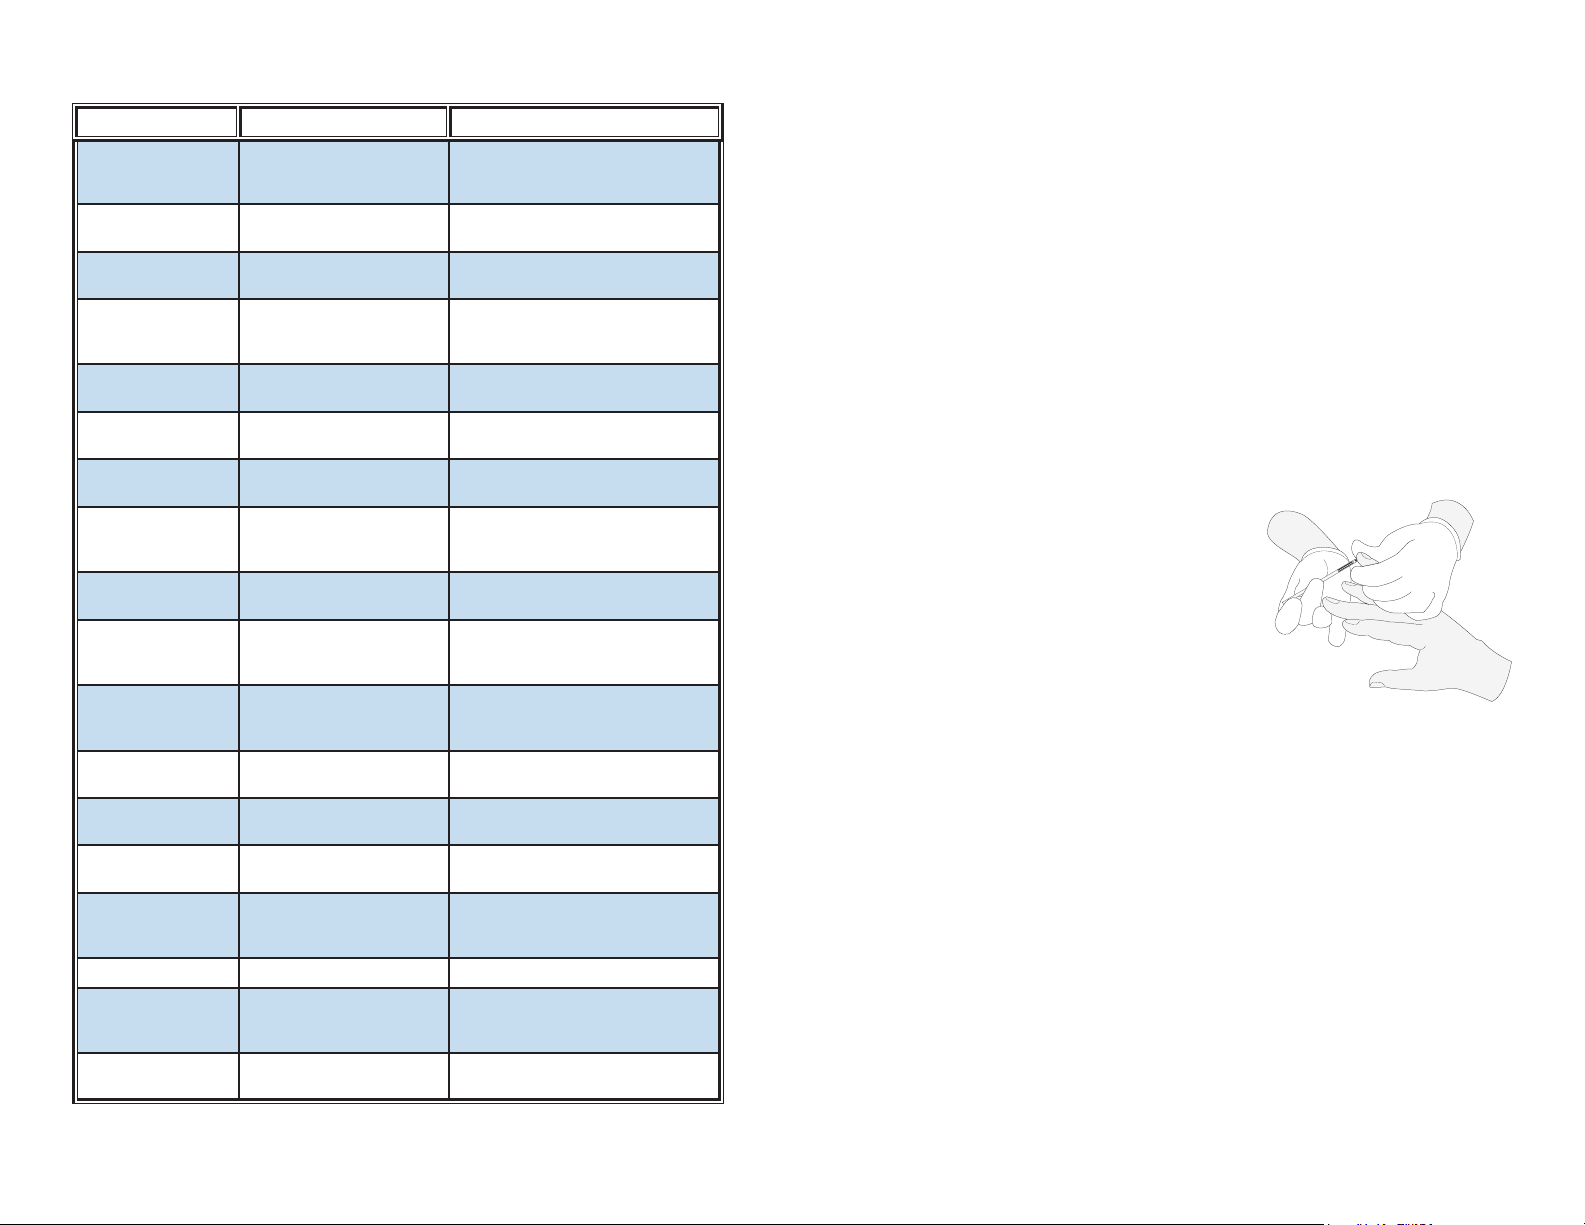
Blood Collection
MESSAGE ACTION EXPLANATION
SIM Use Electronic Simulator Simulator must be used once every 24
BAT
SFT Update software Software will expire 15 days after SFT is
Date Invalid Check clock on Status Page. The software checks for an unrealistic date.
Dead Batteries Replace Batteries The analyzer does not have enough power
TEMPERATURE OUT OF
RANGE
CARTRIDGE ERROR Use another cartridge
CARTRIDGE TYPE NOT
RECOGNIZED
CARTRIDGE PREBURST Use another cartridge Calibrant released too soon. Take care not
SAMPLE POSITIONED
SHORT OF FILL MARK
SAMPLE POSITIONED
BEYOND FILL MARK
INSUFFICIENT SAMPLE Use another cartridge Cartridge is underfilled or bubbles trapped
UNABLE TO POSITION
SAMPLE
CARTRIDGE NOT
INSERTED PROPERLY
ANALYZER ERROR
ANALYZER ERROR
SYSTEM INTERRUPTED Use another cartridge Conditions such as batteries removed be-
Invalid or Expired CLEW Update software Software expired or corrupt. Verify that the
Replace batteries soon Approximately 50 more cartridges can
Check Status Page. Use another
cartridge.
Use another cartridge The analyzer could not identify the type of
Use another cartridge Sample did not reach fill mark. Tilt
Use another cartridge Cartridge is overfilled. Fill new cartridge
Use another cartridge Inadequate seal; sample overflowed well;
Reinsert cartridge Push cartridge straight through door until it
Use Electronic Simulator If the analyzer passes the simulator check,
See System Manual See System Manual
hours, or as needed for regulatory compliance.
be tested.
first displayed.
Check Status Page. If date is correct, call
Technical Services.
to complete the testing cycle.
The analyzer is too warm or too cool, or
the room is too warm or too cool.
The analyzer detected a problem with the
calibrant solution.
cartridge inserted. Check software version.
Check to see if cartridges are expired.
to press over cartridge label area.
cartridge to aid sample flow into sample
chamber.
to fill mark. Press on snap closure, and not
over sample well when closing.
in sample.
sample clotted; snap closure left open.
will go no further.
continue to use. If not, call i-STAT Technical
Services.
fore analyzer deactivated when cartridge
is still in analyzer.
analyzer’s date is correct.
Acceptable Samples for Cartridges
Arterial: Plain syringe, heparinized syringe labeled for analytes to be
tested and filled to capacity, or syringe with minimum volume of heparin to
prevent clotting (10 U/mL of blood). For ionized calcium, use balanced
heparin syringes. Mix heparinized syringes by rolling between palms for
at least 5 seconds in 2 directions, then invert the syringe repeatedly for at
least 5 seconds. Test for lactate immediately. Test for other analytes within
10 minutes.
• Avoid drawing air into syringes for blood gas and ionized calcium
tests.
• If not tested immediately, remix and discard 2 drops of blood before
filling cartridge.
• Do not use iced samples.
Venous: Collection tube with lithium or
sodium heparin filled to capacity and mixed
by gentle inversion at least 10 times. Test
within 10 minutes.
• Do not leave tourniquet on for more
than 2 minutes.
• Do not draw above an I.V.
Skin puncture: Lithium heparin capillary
tubes for testing all analytes but ionized
calcium. For all analytes including ionized calcium, use plain or balanced
heparin capillary tubes. Test immediately.
• Allow alcohol to dry over puncture site before collecting sample.
• Do not “milk” finger or heel while collecting sample.
Coagulation Tests:
• The ACT test can be performed using venous or arterial samples,
while the PT/INR test can be performed using capillary or venous
samples.
• Use plain plastic syringes or plastic evacuated tubes with no
anticoagulant, activators, or serum separators.
• Test sample immediately upon draw.
• Some experts recommend drawing and discarding a sample of at
least 1 ml prior to drawing samples for coagulation testing.
• If a second measurement is needed, draw a fresh sample.
Page 4

• For In-dwelling line testing for ACT:
a. Fluid drip through the line must be discontinued.
b. Withdraw 2 ml of blood into a syringe and discard it.
c. Withdraw the sample into a fresh plastic syringe with no
anticoagulant, and test immediately.
• For extracorporeal line testing for ACT:
a. Flush the extracorporeal blood access line by withdrawing 5 ml
of blood into a syringe and discard the syringe.
b. Withdraw the sample into a fresh plastic syringe with no
anticoagulant, and test immediately.
• For skin puncture testing for PT/INR, see the section on "Patient Test
Procedures".
Limitations
Interfering substances in the patient’s sample may cause an increase or decrease
in a result. Refer to the Cartridge Test and Information Sheets and Technical
Bulletins for substances and/or conditions that may interfere with cartridge tests.
Troubleshooting
*** Instead of Results
Draw a fresh sample and use the same lot of cartridge to repeat the test.
If stars reappear, check the lot of cartridges using liquid controls.
If the controls are in-range and do not display stars, the sample may have
an interfering substance and should be tested by another method.
If the controls are out-of-range and/or display stars, use another lot of car-
tridges and report the problem lot to your technical support representative.
If stars are displayed with a control sample and a second lot of cartridges,
there may be debris on the analyzer connector pins. Contact your Support
Representative for instructions on how to condition the pins in your analyzer.
Unexpected Results
When results do not reflect the patient’s condition:
Repeat the test using a fresh sample and cartridge.
If results are still suspect, check the lot of cartridge using liquid controls.
If the controls are in-range, there may be an interfering substance in the
sample.
Check the Cartridge and Test Information sheets and any Technical Bulletins
related to the tests for any known interfering substances. Test by another
method if any interfering substance applies.
If an applicable interfering substance is not listed, test by another method to
verify the result.
If the control results are out-of-range, use another lot of cartridges or test by
another method. Report the problem to your local technical support representative.
Page 5

1. Insert Electronic Simulator.
Do not touch the contact pads.
2. If PASS is displayed, remove simulator and continue using analyzer.
3. If FAIL is displayed, remove simulator and repeat. If FAIL is displayed
again, contact your i-STAT Technical Service representative. Do not
use the analyzer.
Thermal Probes and Room Temperature Checks:
See System Manual for these quality assurance procedures that are per-
formed once or twice per year.
Cartridge
Check temperature strip enclosed with each shipment of cartridges. If the
windows are clear or if the A window is blue, or the 1 window is red, the
cartridges should be accepted. If B, C, or D windows are blue, or the 2,
3, or 4 windows are red, contact Support Services.
Verify the integrity of a new shipment
2 levels of i-STAT Controls and Hematronix Meter Trax controls for
hematocrit
of the lot(s) of
using any verified i-STAT analyzer
cartridges received. Use the expected
fluids’ package inserts to verify the integrity of the cartridges.
A procedure should be in place to control and monitor proper storage
conditions (See Cartridge Handling). Cartridges maintained according to
i-STAT storage requirements will retain their performance at least until the
expiration date.
of cartridges, on receipt, by analyzing
and a representative sample
values published in the
Patient Test Procedures
Cartridge Test Procedure
1. Remove cartridge from pouch. Handle a
cartridge by its edges. Avoid touching the
contact pads or exerting pressure over the center
of cartridge.
2. Following thorough mixing of the sample, direct
syringe tip, pipette tip or capillary
tube into the sample well.
Dispense sample until it reaches
the fill mark on cartridge.
3. Fold the snap cover over the
sample well until it snaps into
place. Press on round tab, not
over sample well.
4. Insert the cartridge into the
cartridge port. For ACT and
PT/INR cartridges, keep the analyzer in a
horizontal position.
5. Never attempt to remove a cartridge while the
LCK message is displayed.
6. Enter operator ID number up to 7 digits.
(Repeat operator ID number for verification, if
prompted.)
7. Enter patient ID number up to 12 digits.
(Repeat patient ID number for verification, if
prompted.)
8. Enter blood gas parameters and sample type
on chart page if applicable.
9. View results on the analyzer’s display.
10. Remove the cartridge after the LCK message disappears. The
analyzer is ready for a new cartridge immediately.
Close
Insert
Screen display deactivates after
45 seconds to preserve battery
life. Results can be redisplayed
by pressing the DIS key.
PT/INR (Prothrombin Time) Cartridge Test Procedure
Caution
The i-STAT PT/INR cartridge is designed to accept a sample between 20 and
45 microliters. A single drop of blood from either a finger puncture or as formed
at the tip of a syringe will typically be within this range. If a larger volume is
delivered to the sample well, use caution when closing the cartridge as excess
blood may be expelled from the cartridge.
Page 6

Skin Punctures
1. Remove cartridge from foil pouch and place the cartridge on a flat
surface.
2. Prepare lancet device and set aside until needed.
3. Clean and prepare the finger to be sampled. Allow finger to dry
thoroughly before sampling.
4. Prick the bottom side of the fingertip with the lancet device.
5. Gently squeeze the finger, developing
a hanging drop of blood and perform
the test with the first sample of blood.
Avoid strong repetitive pressure
("milking") as it may cause hemolysis
or tissue fluid contamination of the
specimen.
6. Touch the drop of blood against the
bottom of the sample well. Once in contact with the sample well, the
blood will be drawn into the cartridge.
7. Apply sample until it reaches the fill mark indicated on the cartridge.
8. Fold the sample closure over the sample well.
9. Press the rounded end of the closure until it snaps into place.
Note: To further simplify the sample application into the test cartridge, it is
possible to bring the cartridge to the finger for easier application.
Do ensure that the instrument remains on a level vibration-free
surface for testing.
Replacing the Batteries in the HP Portable Printer
Install fresh batteries when any of the following conditions occur:
Print contrast is uncomfortably low, even when the print control is set to
highest contrast.
Printing slows because the print head moves across the paper at a much
slower speed. (When a large amount of information—more than 200 characters—is transmitted by the analyzer, printing slows because the printer
pauses momentarily before printing each new line. However, the print head
moves across the paper at normal speed. This is not a symptom of low batteries.)
Printing halts before all information on a line has been printed.
Battery condition index printed at the end of the self test is 1 or 0.
Step Action
Turn the printer upside down and open the battery
1
compartment as shown in the illustration.
2 Remove old batteries.
Align fresh 1.5 volt AA alkaline batteries with the
3
+ and - symbols in the battery compartment and
insert the batteries.
4 Replace the battery compartment door.
Reviewing Tests Results
Test results are displayed
numerically, and with bar graphs.
Tick marks indicate the reference
ranges on the bar graphs. (Blood
gases, coagulation tests and their
associated calculated values are
not displayed with bar graphs and
reference ranges.)
Results that are unreportable due to
sensor errors or interfering substances
are flagged with “***”.
Results outside the reportable range
are flagged with
“<” or “>”.
Quality Assurance
Analyzer
Electronic Simulator:
Perform an electronic check on each
analyzer once a day using the Internal
or External Electronic Simulator or as
needed for regulatory compliance.
The internal simulator check is initiated
every 24 hours or according to
a customized schedule, when a
cartridge is inserted into the cartridge port. If the internal simulator result
is PASS, the cartridge test proceeds and the simulator results are stored. If
FAIL is displayed for the internal simulator, reinsert the cartridge or use an
external simulator. The external simulator check is performed as follows:
Page 7

Changing Date & Time
1. Press the Menu softkey and select Status.
2. Press the CLKSET softkey to convert the softkeys into
arrows.
3. Using the arrow keys, move the cursor under the digit
to be changed.
4. Use the keypad to change the digit.
5. When all changes are made, press the ENT key to
store the changes. Note that the clock is 24 hours.
The analyzer will not store inappropriate entries.
Cleaning the Analyzer
Clean the display and case with a gauze pad moistened with a mild
non-abrasive cleaner, detergent, soap and water, alcohol, or 10% bleach
solution. Rinse with another pad moistened with water and dry.
Replacing the Paper in the HP Portable Printer
Loading the Paper
Step Action
1 Open paper compartment door.
Make sure that leading edge of paper is cut
2
evenly.
3 Position paper in door as shown in illustration.
Turn the printer on by switching the on/off switch
4
to the on ( | ) position.
While pushing paper into slot, hold down the
5
paper advance switch until paper emerges. If
paper jams, pull backwards very slowly.
6 Place paper in compartment and close the door.
Caution
• Do not operate printer without paper.
• Do not pull paper through mechanism, use the paper advance
switch.
• Do not pull paper backward through printer.
• Do not run paper to end of roll if paper is attached to its inner core.
Paper supplied by i-STAT is not attached.
Reportable and Reference Range
Measured:
Test Units Reportable Range Reference Range
(arterial) (venous)
Sodium/Na mmol/L (mEq/L) 100 – 180 138 – 146 138 – 146
Potassium/K mmol/L (mEq/L) 2.0 – 9.0 3.5 – 4.9 3.5 – 4.9
Chloride/Cl mmol/L (mEq/L) 65 – 140 98 – 109 98 – 109
Glucose/Glu mmol/L
Lactate/Lac mmol/L
Creatinine/Crea mg/dL
pH 6.5 – 8.0 7.35 – 7.45 7.31 – 7.41
PCO
2
PO
2
Ionized Calcium/iCa mmol/L
Urea Nitrogen/BUN
Urea
Hematocrit/Hct %PCV
Celite Activated
Clotting Time /
Celite ACT
The range from 80 - 1000 seconds has been verified through method comparison studies.
Kaolin Activated
Clotting Time /
Kaolin ACT
The range from 77 - 1000 seconds has been verified through method comparison studies.
Prothrombin Time / PT
Performance characteristics have not been established for INRs above 6.0.
Celite is a registered trademark of Celite Corporation, Santa Barbara, CA., for its diatomaceous earth products.
mg/dL
g/L
mg/dL
µmol/L
mmHg
kPa
mmHg
kPa
mg/dL
mg/dL
mmol/L
mg/dL
Fraction
seconds 50 – 1000 74 – 125 (Prewrm)
seconds 50 – 1000 74 – 137 (Prewrm)
INR 0.9 – 8.0
1.1 – 38.9
20 – 700
0.20 – 7.00
0.30 – 20.00
2.7 – 180.2
0.2 – 20.0
18 – 1768
5 – 130
0.67 – 17.33
5 – 800
0.7 – 106.6
0.25 – 2.50
1.0 – 10.0
3 – 140
1 – 50
6 – 300
10 – 75
0.10 – 0.75
3.9 – 5.8
70 – 105
0.70 – 1.05
0.36 – 1.25
3.2 – 11.3
0.6 – 1.3
53 – 115
35 – 45
4.67 – 6.00
80 – 105
10.7 – 14.0
1.12 – 1.32
4.5 – 5.3
8 – 26
2.9 – 9.4
17 – 56
38 – 51
0.38 – 0.51
84 – 139 (Nonwrm)
82 – 152 (Nonwrm)
3.9 – 5.8
70 – 105
0.70 – 1.05
0.90 – 1.70
8.1 – 15.3
0.6 – 1.3
53 – 115
41 – 51
5.47 – 6.80
1.12 – 1.32
4.5 – 5.3
8 – 26
2.9 – 9.4
17 – 56
38 – 51
0.38 – 0.51
74 – 125 (Prewrm)
84 – 139 (Nonwrm)
74 – 137 (Prewrm)
82 – 152 (Nonwrm)
Page 8

Calculated:
Test Units Reportable Range Reference Range
(arterial) (venous)
Hemoglobin/Hb g/dL
TCO
2
HCO
3
BE mmol/L (mEq/L) (-30) – (+30) (-2) – (+3) (-2) – (+3)
Anion Gap/AnGap mmol/L (mEq/L) (-10) – (+99) 10 – 20 10 – 20
sO
2
g/L
mmol/L
mmol/L (mEq/L) 1 – 85 23 – 27 24 – 29
mmol/L (mEq/L) 1.0 – 85.0 22 – 26 23 – 28
% 0 – 100 95 – 98
3.4 – 25.5
34 – 255
2.1 – 15.8
12 – 17
120 – 170
7 – 11
120 – 170
12 – 17
7 – 11
Storage Conditions and Preparation for Use
Cartridges
Store at temperatures between 2 and 8 °C (35-46°F). Do not use after
expiration date on cartridge pouch and box.
Equilibrate a single cartridge for 5 minutes or a box of cartridges for 1
hour at room temperature before opening pouches.
Store cartridges for 2 weeks at room temperature. Mark the cartridge box
or cartridge pouches with the room temperature expiration date. Do not
expose to temperatures above 30 °C (86°F). Do not return cartridges to
the refrigerator after room temperature equilibration.
Transmitting Test Results
1. Place the analyzer in the IR Link cradle. The IR Link light should be
green.
2. With results displayed, press the
* key.
3. The IR Link light will blink alternately red and green until
transmission is complete.
Printing Test Results
1. Place the analyzer in the IR Link
or Printer Cradle as shown.
Turn the printer on. The power
indicator light should be lit.
2. To print the displayed test
record, press the PRT key.
3. To print a stored test record(s),
select “Print Results” from the
Stored Results menu. Select
records to be printed by
pressing key(s) corresponding to numbers beside record(s). Then press
the PRT Key.
If printed results appear inconsistent with a patient’s clinical assessment, verify
that the printed results match the data in the analyzer. If the results do match, the
patient sample should be retested using another cartridge. If they do not match,
reprint the results. If the reprint still does not match the analyzer data, the printer
requires service and the printed results must not be used.
The IR Link will emit a single high pitched beep when transmission has been successful; an unsuccessful transmission is indicated by 3 low tone beeps. (Try again)
Do not move the analyzer until printing is completed.
Use cartridge immediately after removing from pouch.
Analyzer
Storage/Transport temperature: -10 to 50°C (14-122°F)
The analyzer’s operating temperature range is 16 to 30 °C (61-86°F).
Store analyzers near the testing location or in an area close to the
temperature of the testing area. Do not store analyzers near equipment
that gives off heat or in direct sunlight.
Hardware Procedures
Replacing the Batteries
Changing the batteries will not affect stored results or the clock/calendar.
1. Place the analyzer upside down and open the battery compartment
door.
2. Remove the old batteries.
3. Orient the (+) and (–) poles of the
new batteries with the (+) and (–)
labels in the battery compartment
and slide the new batteries into
place.
4. Close the battery door.
The analyzer is ready for use.
NOTE: Only use lithium batteries which are protected against
overheating and explosion such as those recommended by
i-STAT Corporation.
 Loading...