

Contents
Safety Guidlines
Important safety instructions
Safety compliance
2
Warnings 2
technologies 3
iRV
iRV 66 Features 5
Radio Operation 9
DVD/CD/MP3/MP4 Operation
12
App Operation 13
Bluetooth Syncing
Remote
Control Guide 15
System Setup
14
18
Lanugage 19
Audio
Speaker
Wiring Diagram
Troubleshooting
Specifications 23
66
iRV
setup
20
20
21
22
WARNING-
CAUTICN:To.....,..tii•.W.:tle-.:tricetock,e'*
"""'"wvw
R.WMPWidn
INkle..
To reduce the risk of
I.IMI"'HNNCMtH
No
.
bact)
r
(o
LIIIIItlild...W:.
ft
fiiiiD
remove cover (or open unit).
inside. Refer servicing to
QUALIFIED SERVICE PERSONNEL.
The design and manufacture
into consideration. However, any improper operation may
other hazard.
electric
in
DO NOT
Please
contact a
needed.
when
Please
replacement is necessary.
turn unit off when not
shock, fire,
open the cabinet by yourself to prevent
Please
or
professional
components recommended by factory
only
use
.,.,.
.
,.._.,.,..
electrical
USER SERVICEABLE
NO
player
this
of
shock, do not
takes
personal
parts are
safety
result
electric
shock.
technician to preform any service
clean
to
use. Use a dry, soft
in
cloth
face with the system turned off.
this
PRECAUTION
unit to
malfunction.
- Moisture may cause the lens
To remedy the
problem,
turn unit on, eject
on
loader
in
disc and run 1-2 hours to vaporize moisture inside the unit. Do
repeatedly
not
seconds before
twisted discs in player.
or
only 5", 12cm discs
Use
turn unit off and on. After turning unit off wait
turning
again. Do not use broken, scratched,
on
damage to the unit.
This could result
this unit.
in
in
10
2

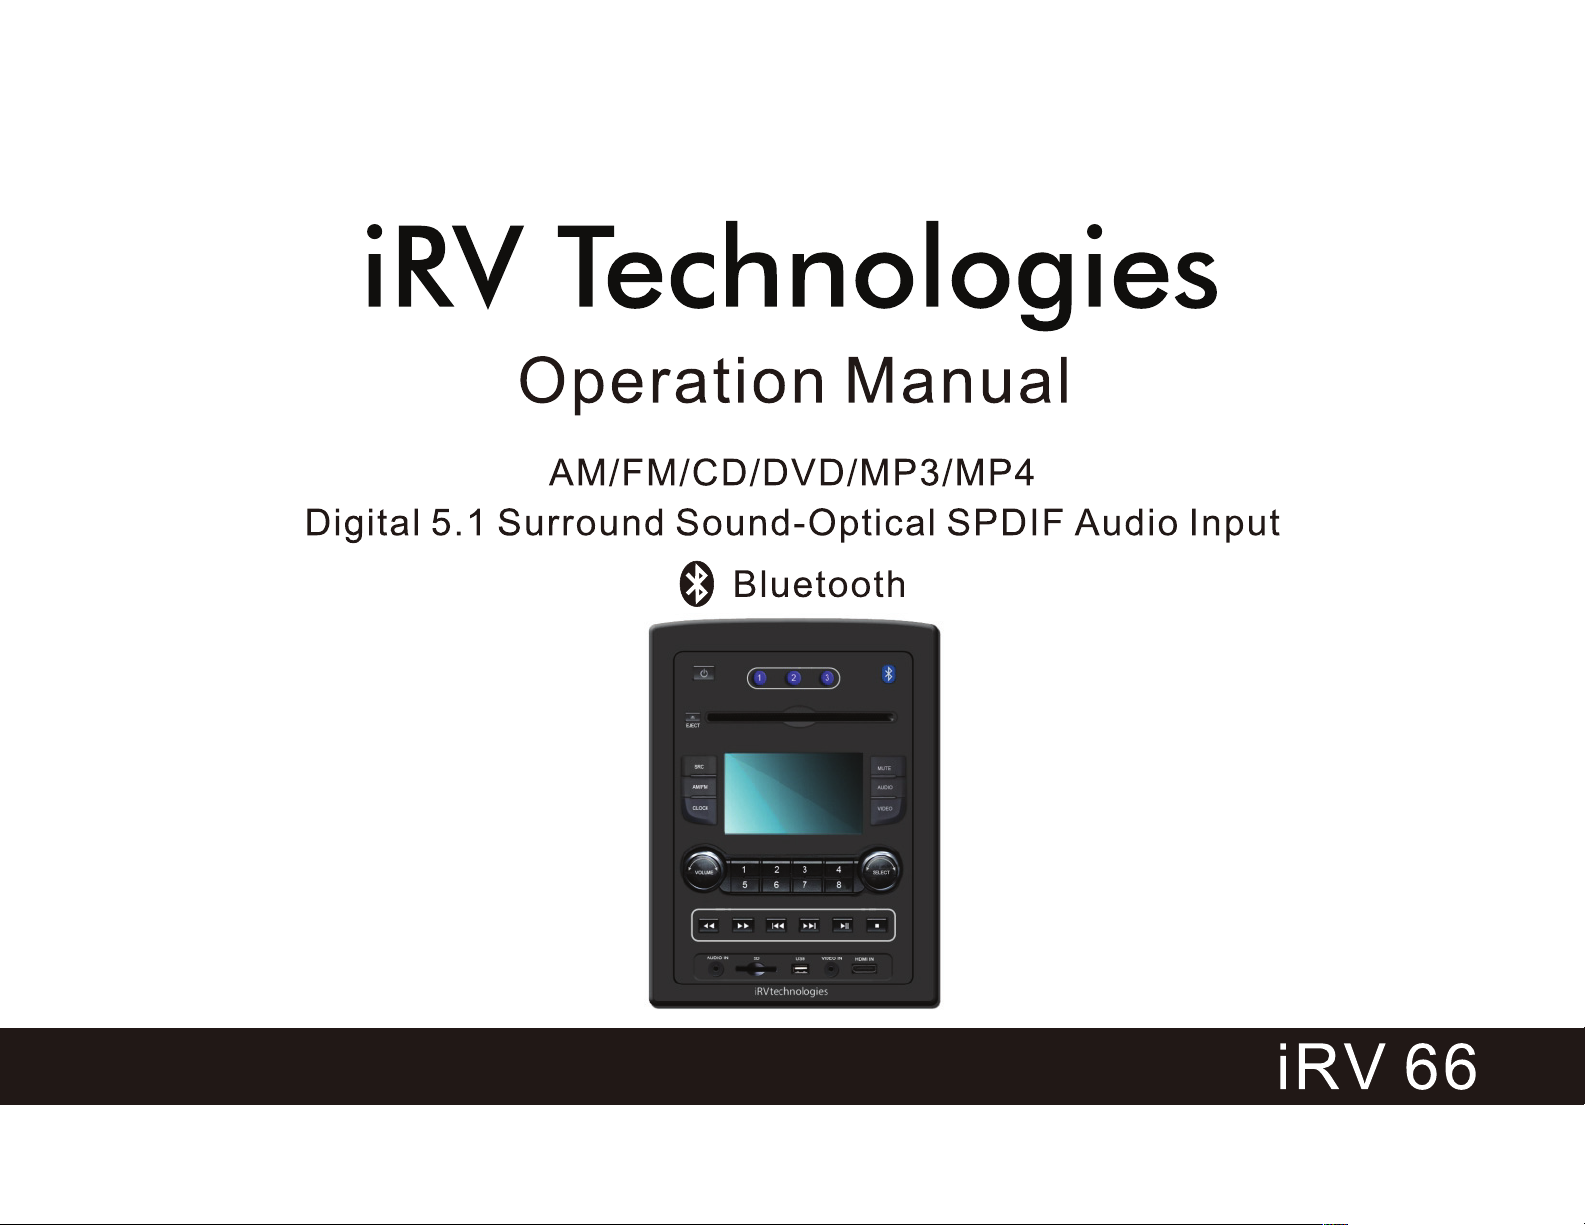
iRV Technologies
iRV 66
CD/MP3/MP4/DVD Disc Player
Compatible with standard size CD, MP3, MP4 and DVD discs
(4.75"
DVD, MP3, MP4, CD, CD-R, CD-RW, JPEG-CD Disc. Because
of
this unit. This unit will play region 1 DVD's (USA and Canada).
or
12cm). The iRV 66 is designed to read standard
variations in recording methods some discs may not play on
USB/SO
This unit allows users to play files stored on both USB and SD
cards including MP3 music, MP4 short video clips and JPEG
photo files. The USB port will also charge many devices like
iPods and MP3 players.
Built-In AM/FM Tuner
27
preset FM stations and 18
HDMI
3 HDMI input and 3 HDMI output.
1 HDMI ARC.
3
Card
AM
stations available to select.
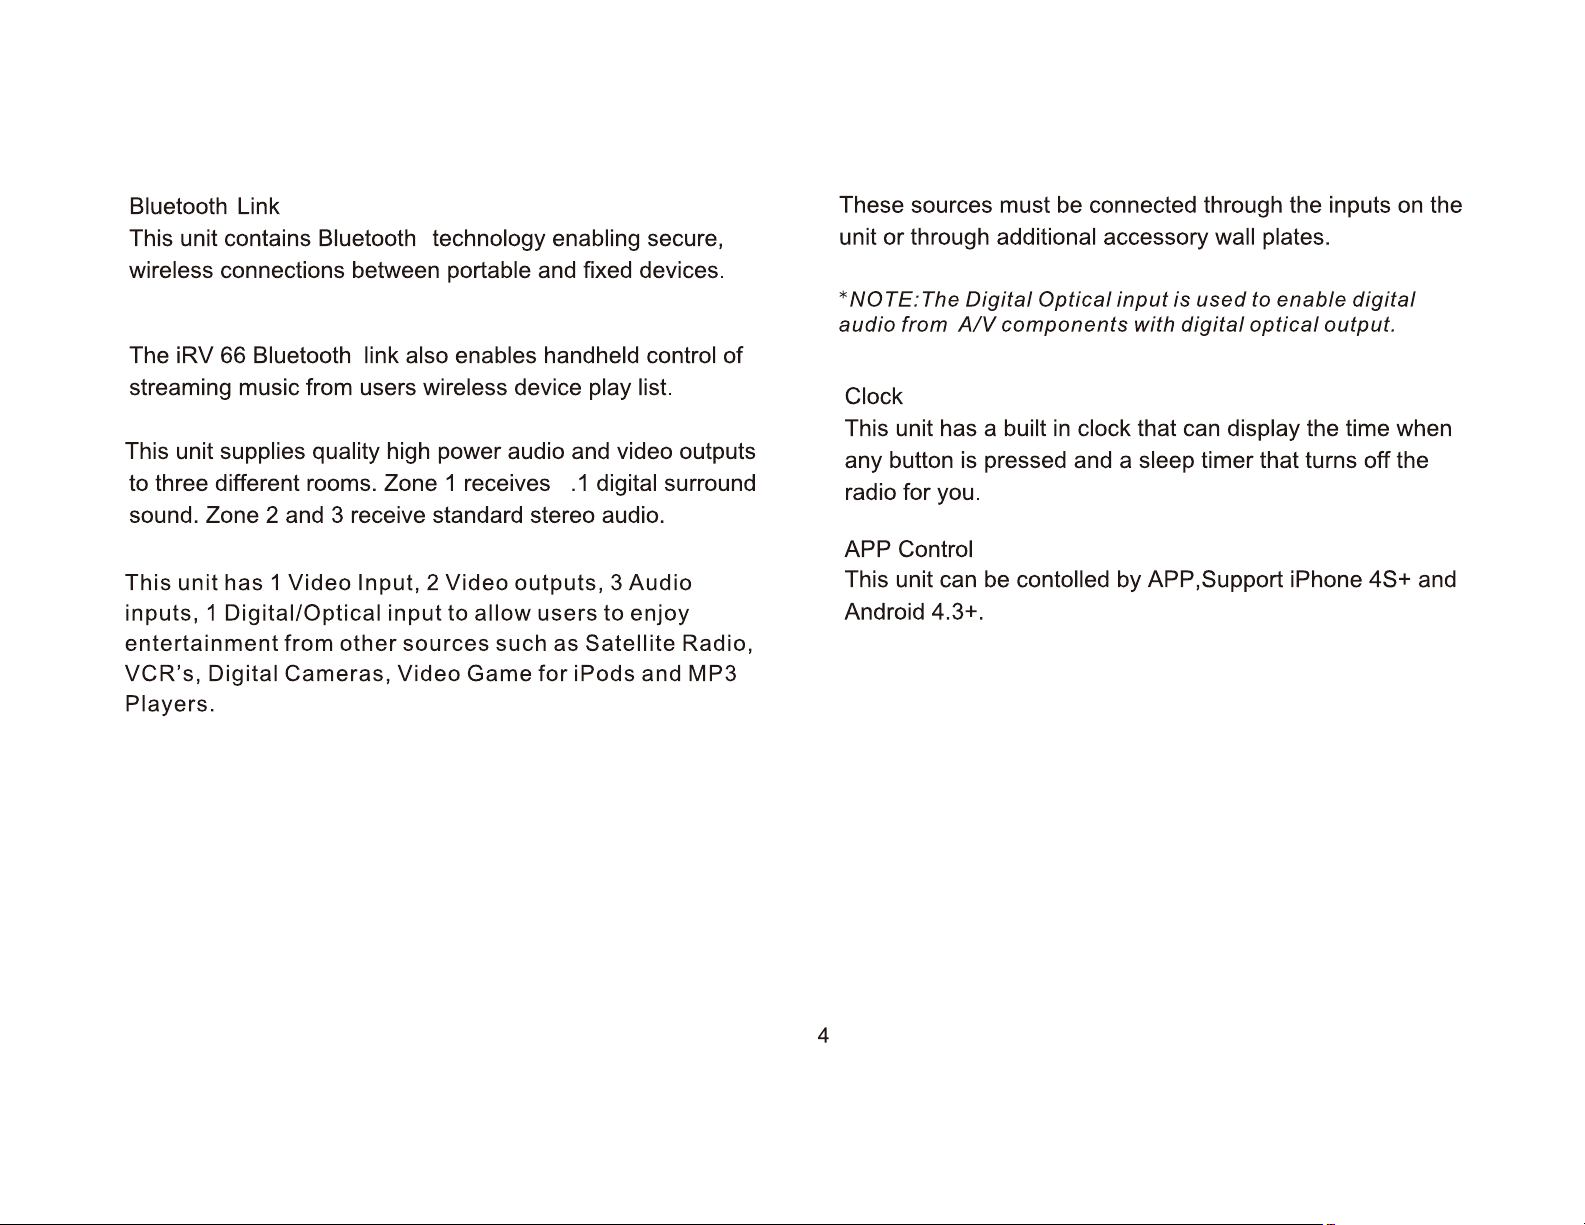
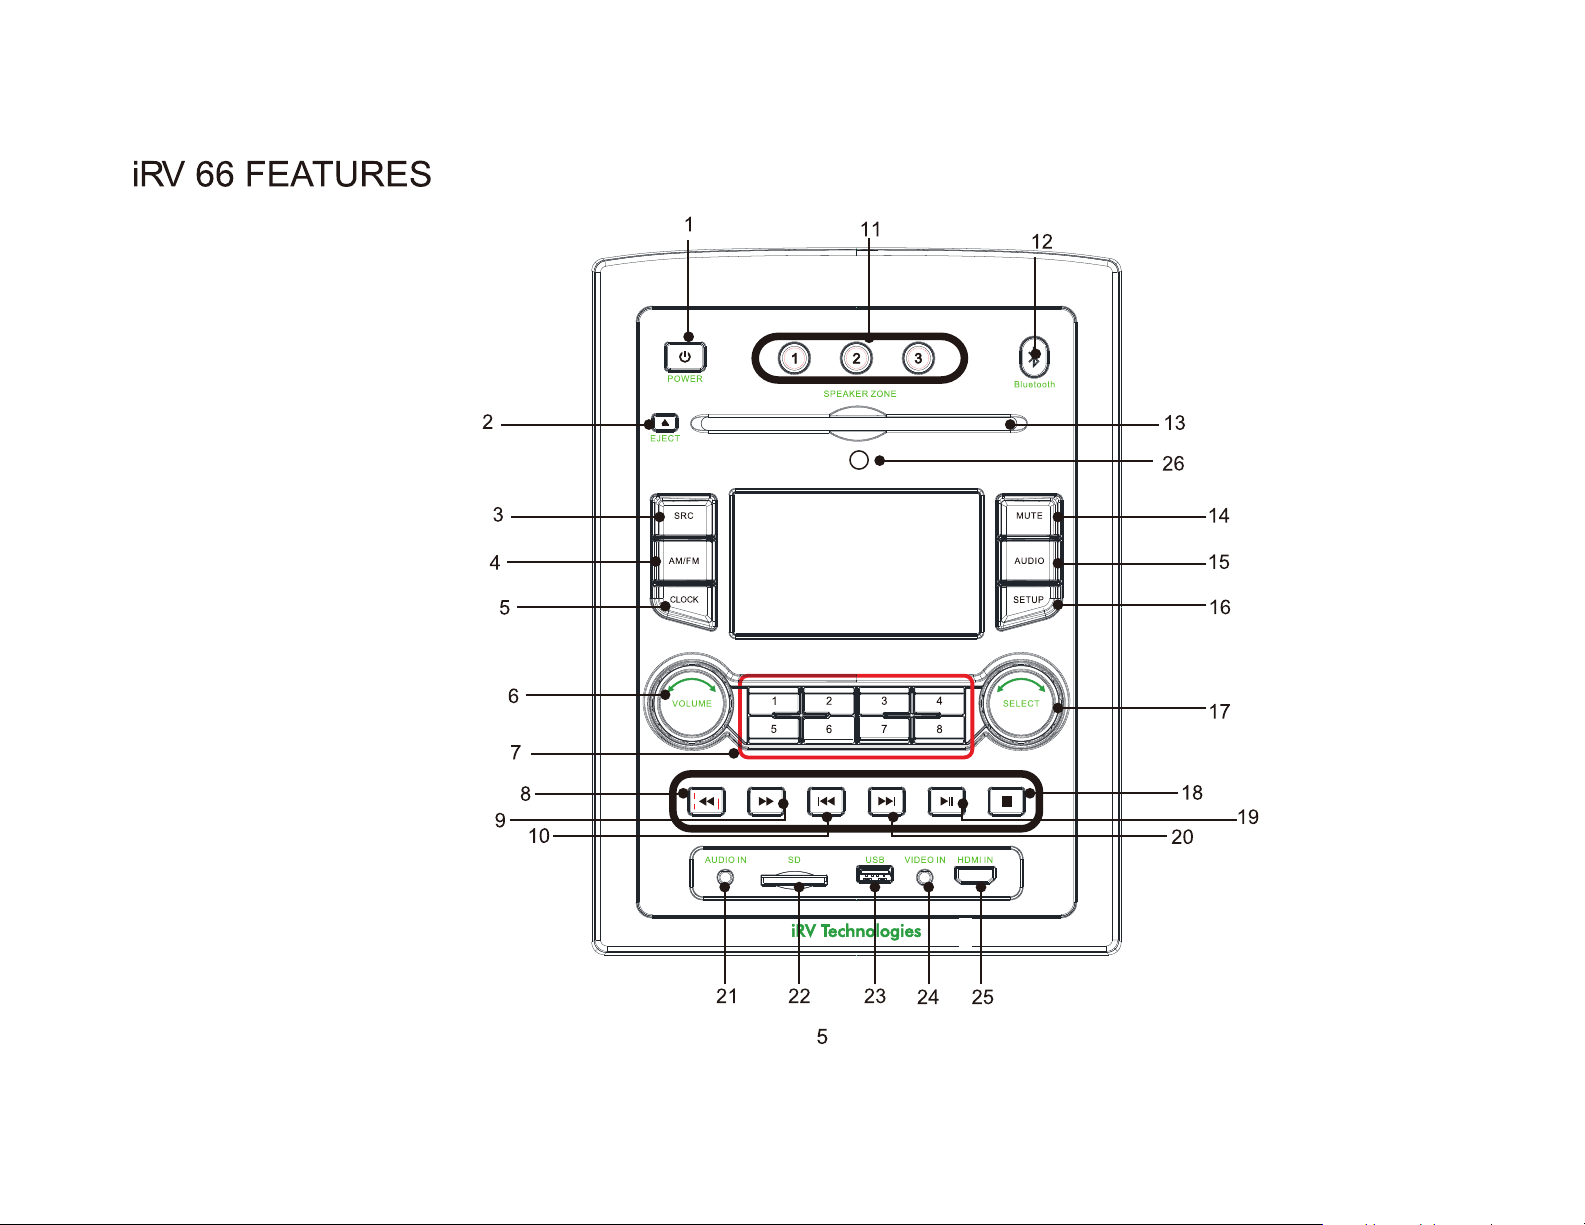
iRV 66 FEATURES
2
4
1
;.>--
11
12
-
<.!J
POWER
(
(@
......,
~
3
E
AMIFM
CLOCK
~
I~
~
i
"G
8
AUDIO IN SD
u
1 2
5 6 7 8
9
5
6
7
8
10
@)
SPEAKER ZONE
-
[;1
@)
0
3
[!;1
~S~
VIDEO
• G
]
4
G
IN
HDMIIN
Bluetooth
MUTE
AUDIO
SETUP
~
~
~
v
@i
]
•
&
13
26
14
15
16
17
18
19
20
21
i VTechnc ogies
22
23 24 25
5
iRV
1
2
3
4
66
FEATURES
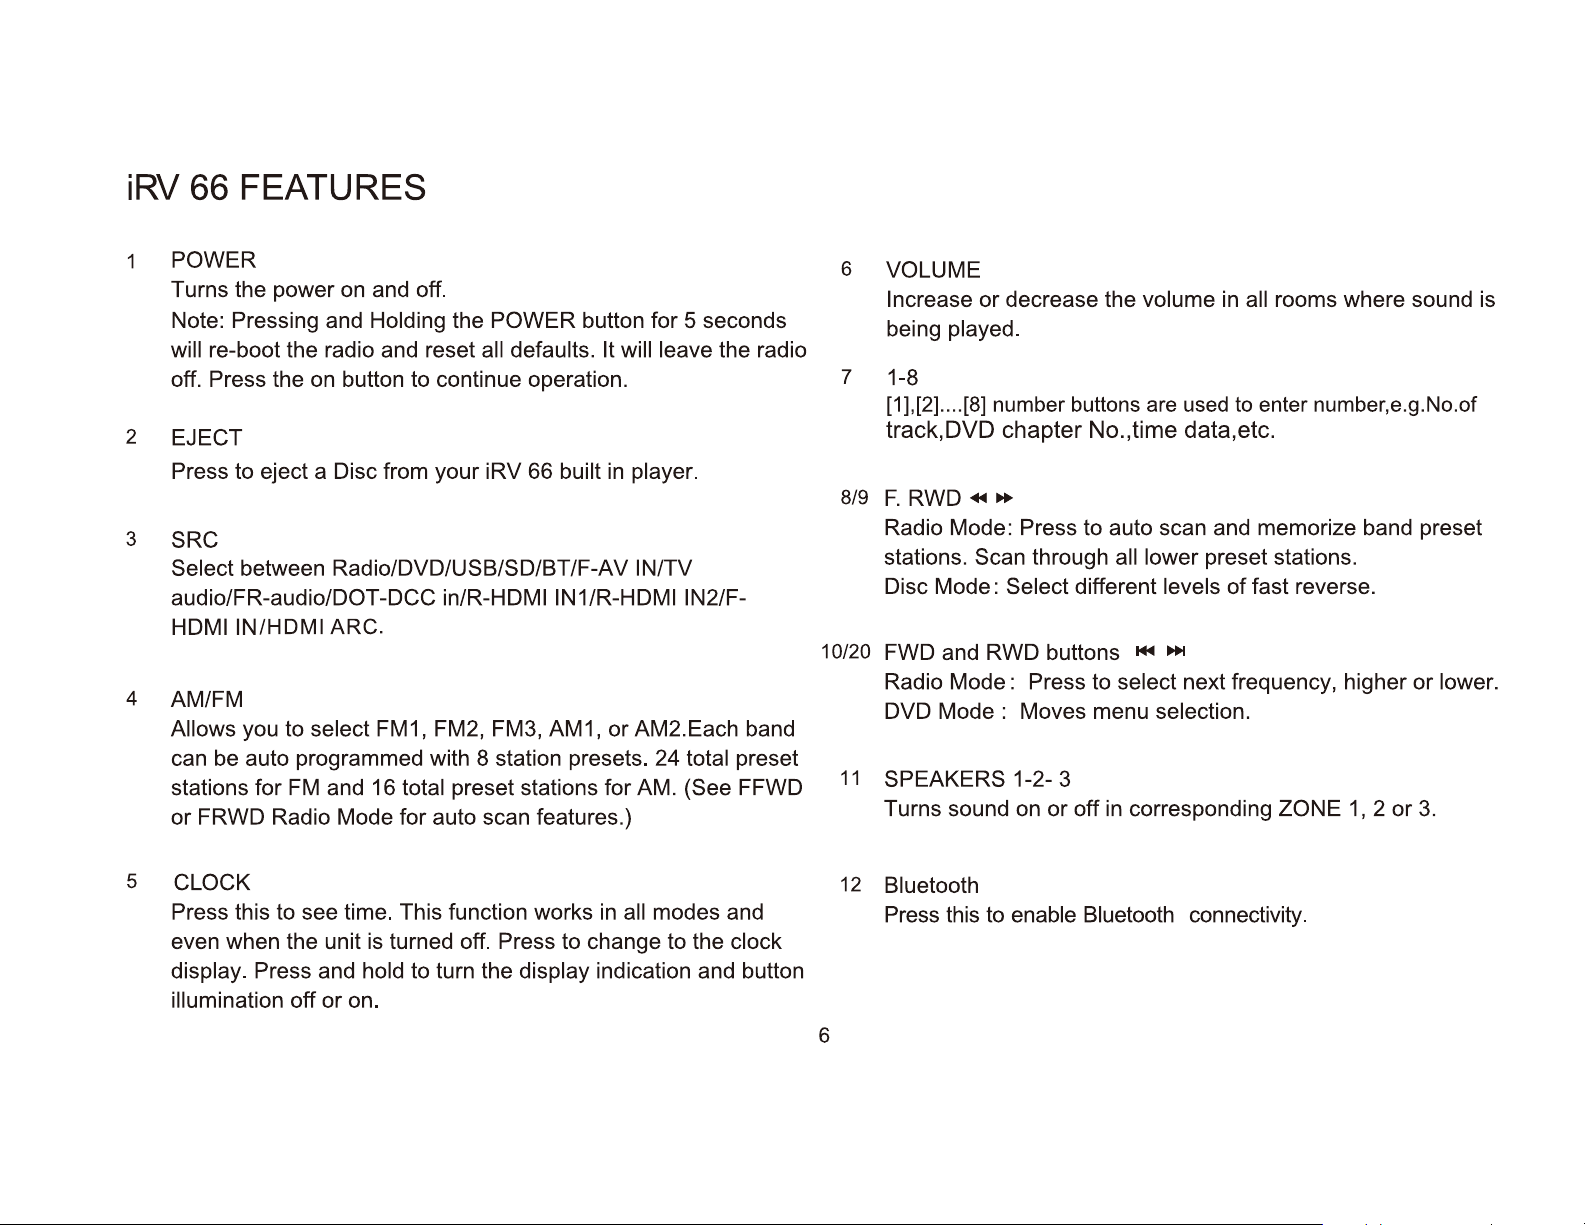
POWER
Turns the power on and off.
Note: Pressing and
wi
ll
re-boot the radio and reset all defaults. It will leave the radio
off
. Press the on button to continue operation.
EJECT
Press
SRC
Select
audio/FR-audio/DOT-DCC
HDMIIN/HDMIARC.
AM/FM
Allows
can be auto programmed with 8 station presets. 24
stations for
or FRWD Radio Mode
to
eject a Disc from your
between
you to
FM
Holding
Radio/DVD/USB/SD/BT/F-AV IN/TV
select FM1, FM2, FM3,
and
16
the POWER button
iRV
66
built
in/R-HDMIIN1/R-HDMIIN2/F-
AM1
total
preset stations
for
auto scan features.)
for
5
seconds
in player.
,
or
AM2.Each band
total
for
AM.
(See
preset
FFWD
6
7 1-8
8/9
10/20
11
VOLUME
Increase or decrease the
being
[1]
,
[2].
played.
...
[8]
number buttons
volume
are
used
in
all
rooms where sound is
to enter number,e.g.No.of
track,DVD chapter No.,time data,etc.
F.
RWD
Radio Mode: Press to auto scan and memorize band preset
stations.
Disc Mode : Select different
FWD and RWD buttons
Radio Mode : Press
DVD Mode : Moves menu
SPEAKERS
Turns
+~
..
Scan
sound
through all lower
...,.
to
select
1-2- 3
on
or
off in corresponding ZONE 1, 2 or 3.
preset stations.
levels
~
selection.
of
fast reverse.
next frequency, higher
or
lower.
5
CLOCK
Press this to see time. This function works in
even when the unit is turned off. Press
display.
illumination
Press and
off
or
hold
on.
to tum the
all
modes and
to
change
display indication and button
to
the
clock
6
12
Bluetooth
Press
this to enable Bluetooth connectivity.
iRV
13
14
15
16 SETUP
66
FEATURES
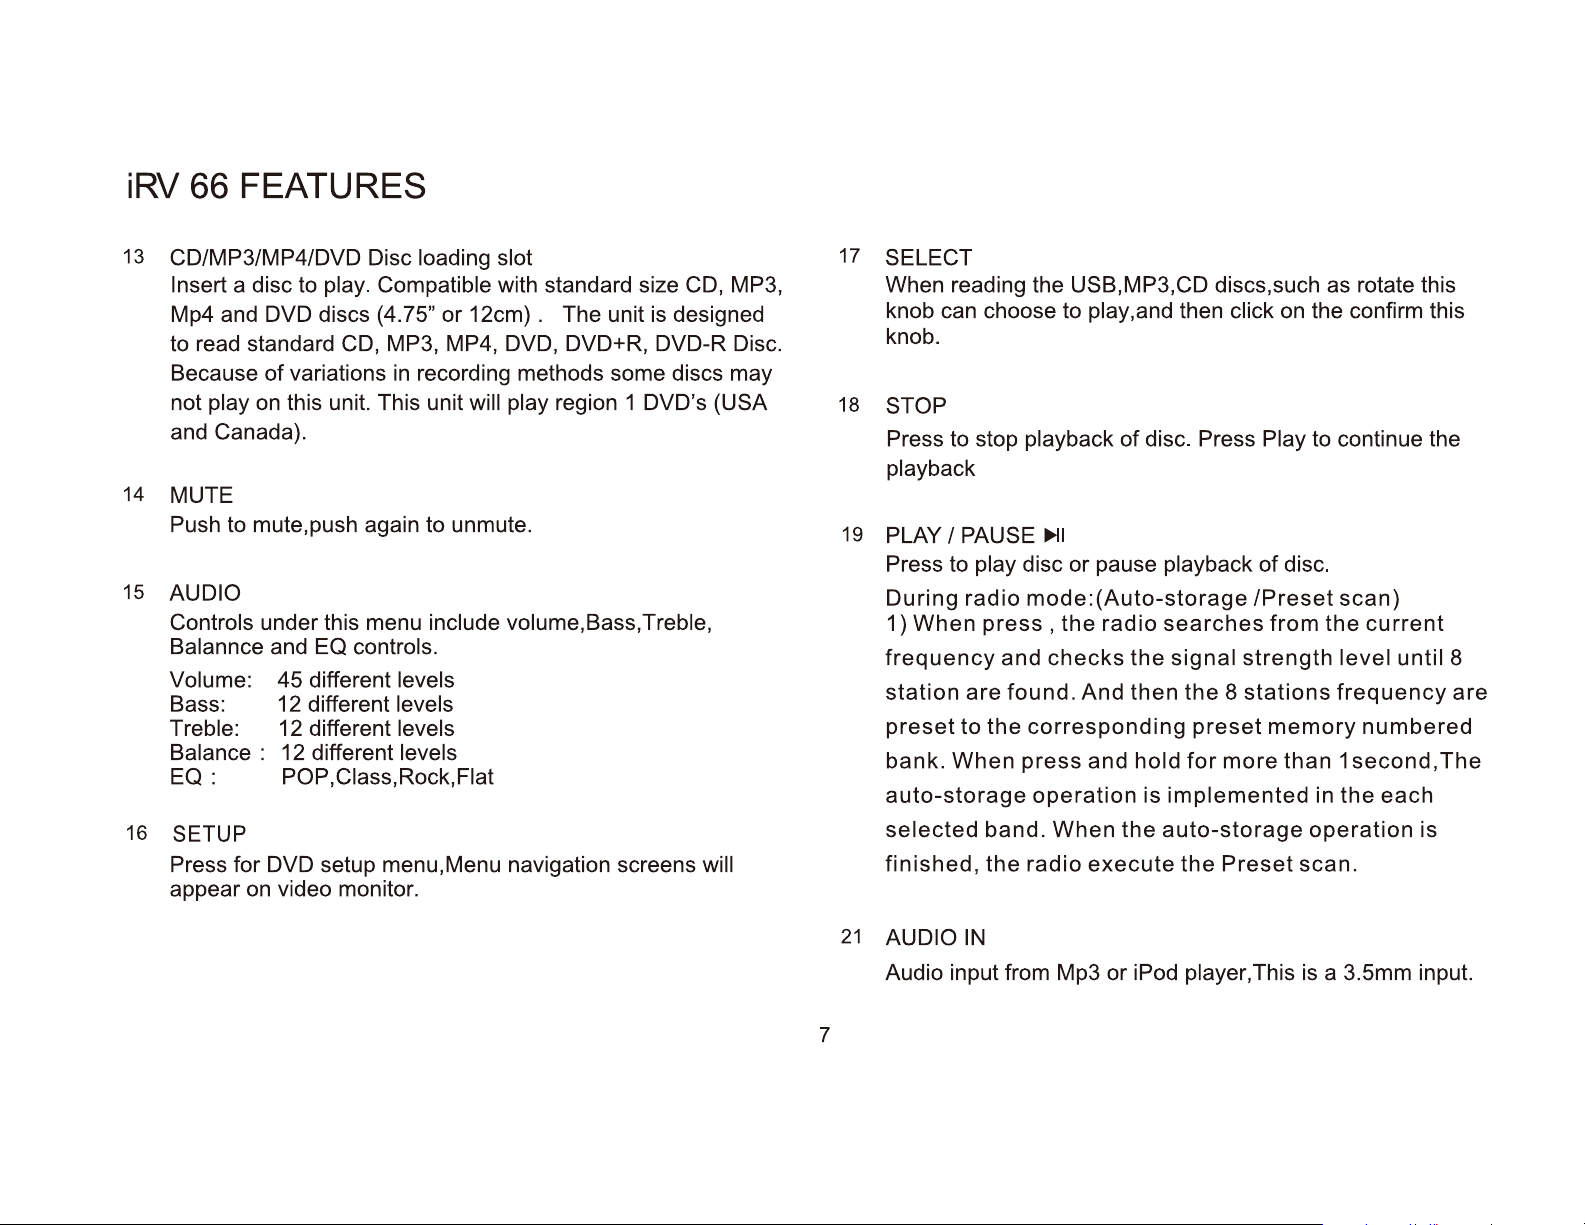
CD/MP3/MP4/DVD Disc loading slot
Insert a disc to play. Compatible with standard size CD, MP3,
Mp4 and DVD discs (4.75" or
to read standard CD, MP3, MP4, DVD, DVD+R, DVD-R Disc.
Because of variations
not play
and Canada).
MUTE
Push to mute,push again to unmute.
AUDIO
Controls under this menu include volume, Bass, Treble,
Balannce and EQ controls.
Volume: 45 different levels
Bass: 12 different levels
Treble:
Balance :
EQ:
Press for DVD setup menu,Menu navigation screens will
appear
on
this unit. This unit will play region 1 DVD's (USA
12
different levels
12
different levels
POP,Ciass,Rock,Fiat
on
video monitor.
in
12cm).
recording methods some discs may
The unit is designed
17
SELECT
When reading the USB,MP3,CD discs,such as rotate this
knob can choose to play,and then click
knob.
18
STOP
Press to stop playback of disc. Press Play to continue the
playback
19
PLAY I
Press to play disc
During
1)
frequency
station
preset
bank. When press and hold
auto-storage
selected band. When the
finished, the
PAUSE~~
radio
When
press,
are
to
the
or
pause playback
mode:(Auto-storage
the
radio
and
checks
found. And then
corresponding
operation
radio
execute
searches
the
signal
the 8 stations
for
is
implemented in the each
auto-storage
the
preset
on
of
disc.
/Preset
from
strength
memory
more
than
Preset
the confirm this
scan)
the
level until 8
frequency
1 second,
operation
scan.
current
are
numbered
The
is
7
21
AUDIO
Audio input from Mp3 or iPod player, This is a 3.5mm input.
IN

RADIO OPERATION
FM1
I
I
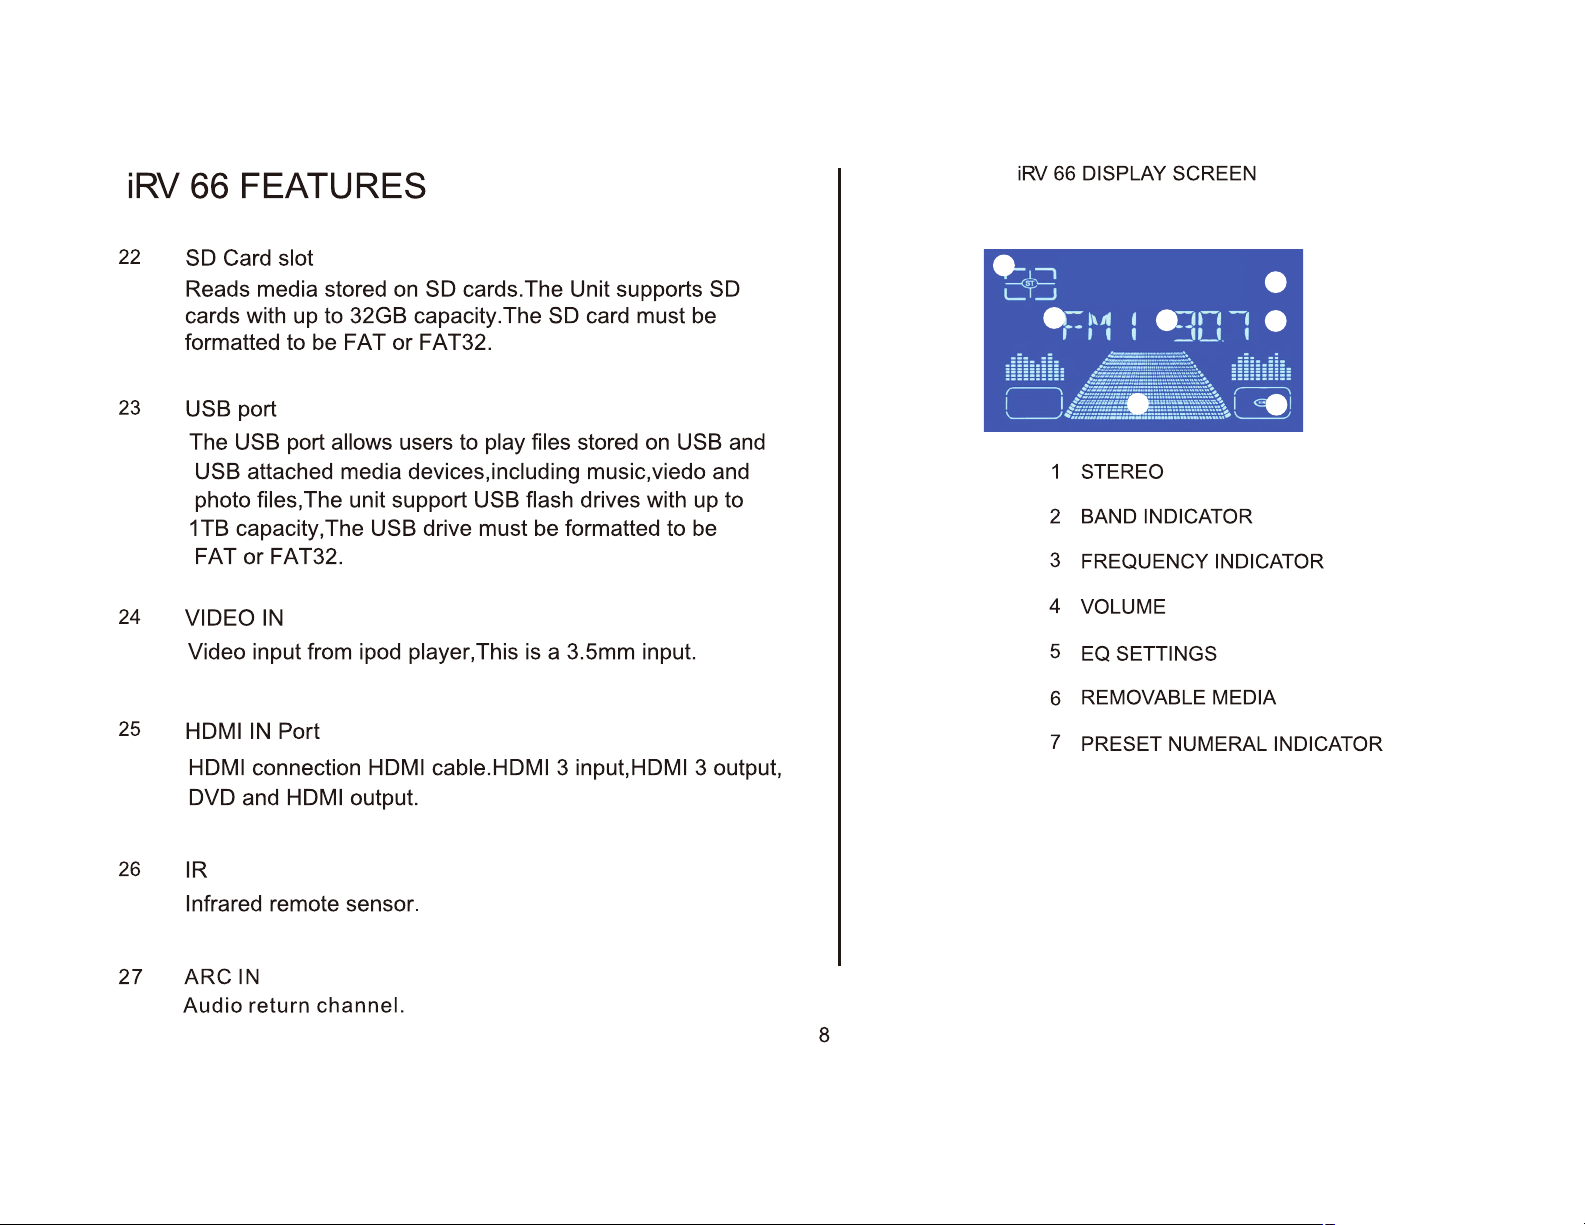
1 Band Indicator
POWER
2 Frequency Indicator
I
CH
1
--+--
3 Preset Numeral Indicator
Turns the power on and off.
Radio Reception Mode
Press to access the radio, press to activate desired band: AM1,
AM2,
Manual Tuning
Select Band, Select single arrowed button to move the chanels
down
FM
1, FM2, FM3.
or
up.
9
Press for power "On or Off'
(
AM/FM
Activate radio
(
AM/FM
Select Band Chanel Down Chanel
(
)
)
AM/FM
Press for
desired Band
backward
-----
)
forward
Select
Up
knob

Auto Search Tuning
or
Push to auto search for an available station at a higher
frequency. When this function is selected the unit will stay
selected station untill another function is selected.
Manual Frequency Presets
Select Band, Select desired frequency, Hold desired numeral
3 seconds. Frequency is set. Repeat to change. Frequency can
be preset for AM 1, AM2, FM
Recall Frequency Presets
1,
FM2, FM3.
lower
at
the
for
AM/FM
(
Select Band
( AMIFM )
Select Band
AM1, AM2, FM1,
FM2, FM3
(
AM/FM
)
!!
)
..
PREVIOUS NEXT
Auto Search Auto Search
Down Up
..
a
d
!!
Select
Frequency
The panel
number keys
Select Numeral
a
The panel
number keys
Select Band AM1, AM2, FM1, FM2, FM3, then select desired
numeral
Automatic Store I Preset Scan
A.
Automatic Scan & Store
While listening to the Radio, Long press the
The receiver will automatically scan and save the station
listening to.
B.
Scan Saved Stations
the"
IIJlil"
Short press
functions.
button once to perform the scanning
"IIJlil"
button,
10
Select Band
AM1, AM2, FM1,
FM2, FM3
Select Numeral
..
Play/pause


DVD/CD/MP3/MP4 OPERATION
2 Chapter
1 Title
Fast Reverse I Fast Forward
2X, 4X, 8X,
PLAY button.
of
DVD
20X
To select a normal speed, push the
on
3 Elapsed Time
DVD I Tack
on
CD-MP3
on
DVD-CD-MP3
Cl
FRWD
Push the
Fast Rewiind button Fast Forward button
to
rewind
DVD
..
FFWD
Push
the
to
advance the
DVD
Previous
Select previous
I Next
or
next track.
12
PREVIOUS
NEXT

DVD/CD/MP3/MP4 OPERATION
To
Load USB and
Insert USB device
the radio to begin playing media. To view, navigate and select
between music and video/photo media the
be on and set to
navigate on screen menu.
Because
devices
ports are capable
may experience buffering delays and video freeze
through these ports. Bluetooth is not video enabled and will not play
video files.
of
variations
or
SD cards may not play on this unit. Also, the SD and USB
SD
Media
or
SD card into proper socket on the front
TV
or
Monitor must
AV
mode. Use remote NAVIGATION buttons to
in
3rd party recording methods some discs, USB
of
playing short video clips. Long playing video files
if
viewing is attempted
of
USB
I--
II
APP
On
Your
•
Click
•
Click
•
In
the
iRV66
*If
using
apps'
*Please
OPERATION
iPhone
on
'Search'
search
iPad,
option
note
'App
make
that
or
iPad:
Store'
at
the
bar,
type
sure
there
bottom
either
to
is
no
of
the
iRV33
click
the
space
screen
or
'iPhone
in
iRV33
or
iRV66
On
•
•
for
Your
Click
In
the
i
RV66
either
Android
on
'Google
search
at
the top
type
of
device.
Device:
Play'
bar,
type
of
the
13
either
screen
iRV33
or

Bluetooth PAIRING
Pairing
With the iRV 66 powered on Press the button marked
"Biuetooth" to enter Bluetooth setup. The iRV 66 screen will
report "BT NO LINK" until a Bluetooth device is successfully
paired with the iRV 66.
The iRV 66 will send a pairing request to the Bluetooth device
that reads111RV
confirm the numeric code
6611,click "pairing",the iRV 66 screen will
confirm a Bluetooth devices is successfully paired with the iRV
66.
the
iRV
66
with
a Bluetooth device
11
66
request to pairing with your cell, please
II
XXXXXX
II
shows on the
report"
BT
II
I RV
LINK"
to
..
Press
the
"Biuetooth " PassKey
to
button
enter
setup
....
Enter a numeric
14


REMOTE CONTROL Guide
6.PLAY I PAUSE
Press PLAY/PAUSE button to suspend the
of
playback
Press
7.MODE
Select between Radio/DVD/USB/SD/BT/F-AV
IN/TV audio/FR-audio/DOT-DCC in/R-HDMI in1/R-
HDMI in2/F-HDMI in/HDMI
&.NAVIGATION BUTTONS
Press the appropriate button to move around
menus
the select I
9.0K
Use to finalize selection.
10.AM/FM
Allows you to select
AM2.Each band can be auto programmed with 8
station presets. 24 total preset stations
16 total preset stations
FRWD Radio Mode
it
CD, MP3, MP4, VCD and DVD media.
again to return to normal playback mode.
ARC.
any
that
are selected on screen. Center button is
enter
button.
FM
for
for
auto scan features.)
1,
FM2, FM3, AM 1,
AM. (See FFWD
for
or
FM
or
and
11.ZONE 1, 2
Turns sound on
or3.
2
12.ZOOMDVD, VCD: Press the ZOOM button once to enable
2X
zoom mode. Pressing the ZOOM button
repeatedly moves the zoom mode through 3X, 4X,
1/2X, 1/3X, and 1/4X zoom levels. Press ZOOM
again to
13.SUBTITLE
DVD only. Returns to previously selected tracks.
Press to select language
subtitles.Press and hold
previous chapter.
14.PREVIOUS I NEXT
Radio
stations.
Disc
or
chapter.
Pushing the Previous button, the
disc
Pushing the Next button,the unit will play the
16
exit
Mode:
Mode:
from the beginning
and
3
or
off
in the corresponding ZONE 1,
DVD
Only
the zoom mode.
(SUB-
Press to select higher
Press
T)
or
to
turn
for
3 seconds to return
to
select previous
of
the previous track.
off
or
lower
or
Next
unit
will play the
to
track
disc

REMOTE CONTROL Guide
from the beginning
15.REPEAT
DVD
the current track being
repeat
Mode: Press REPEAT to repeat the current
track being
repeat function.
16.STOP
DVD, VCD, CD:
mode.
Pressing STOP a second time
playback.
17.MUTE
Press the MUTE button to turn
Mode: Press REPEAT to repeat
playing all
played.
STOP will
of
the
next
played.
of
the tracks. CD,
Press
Press
display
STOP
on the
track.
Press it twice
MP3,
it
twice to
to suspend playback
TV
Screen.
will
end all
off
the sound in all
VCD
cancel the
disc
to
19.VOLUME
Press the
decrease the
20.SETUP
Press
screens will
VOLUME(+
for
DVD setup menu,Menu navigation
appear
or-)
volume level
on
Video
button to increase
respectively.
Monitor.
or
ZONE 1, 2, and 3. Press
previous sound
18.AUDIO-
Adjusts the surround sound mode as well as
the
language.
levels.
DVD
Must be
Only
it
again to resume the
set
before
play.
selects
17

SYSTEM SETUP
ON
4801/5761
t:l
t:l.
4:3PS
Press the
activate
screen
Only
..
the
display
menu.
SETUA'' button to
System Setup on
Video
Monitor
Use the NAVIGATION buttons to
navigate the following OSD
menu options.
-Iii
RESTORE
18

LANGUAGE SETUP
ENGLISH
ENGLISH
••
19

AUDIO
SETUP
SPEAKER
SETUP
20

WIRING DIAGRAM
c
1 :White
2:White/Biack
3:YellowFront Right(+) 1 0: Brown/Black Center(-)
4:Yellow/Biack
5:Green
6:Green/Biack Rear Left(-)
7:Gray
-
-
Front
Left(+) 8: Gray/Black
Front
Left(-) 9:Brown Center(+)
Front
Rear
Left(+)
Rear
Right(+)
..
Video out
Videoout2
AudiooutR
1
Audio out L
HDMIOUT
1 2
Right(-)
11
:Dark
12:Dark
13:Dark
14:Dark
IR
in
Rear
Right(-)
Blue
SUB1 (+)
Blue/BiackSUB1(-)
Blue
SUB2(+)
Blue/BiackSUB2(-)
ut
3
{ARC)
c
r-1
1 3 5 7 9
2 4
REAR
HDMIIN1
6 8
10
B
1 :Orange Zone2 Left(+)
2:0range/Biack
3:Biue Zone2 Right(+)
4:Biue/Biack
Zone3
5:Pink
6:Pink/BiackZone3
?:Purple
8:Purple/Biack Zone3 Right(-)
11
13
12 14
Zone2
Zone2 Right(-)
Left(+)
Zone3
Right(+)
REAR
HDMIIN2
B A
r-1
[I
ffillim
Left(-)
Left(-)
OPTICAL COAX
AUDIO
8
A
1:Red
2:BiackGND
3:NC
4:NC
IN
AUDIO
+12V
IN
21

TROUBLESHOOTING
No Power
Check and make sure whether the fuse is blown,
replace fuse with proper value
Some errors occur in the LCD
pressing the button.
Turn off the unit and restart the unit again. Use
Factory Default Restart.
or
Poor radio reception
Antenna may not be the proper length. Make sure
the antenna is fully extended. Antenna may be
broken. Replace antenna.
The broadcast signal is too weak.
The antenna is poorly grounded. Check and make
sure the antenna is properly grounded at it's
mounting location.
Disc cannot be loaded
Disc is loaded in the machine. Clear the disc by
pressing eject
static.
if
necessary.
or
no function when
Disc error appears.
The disc may be damaged
Clean disc and retry.
When there is no color on video.
Turn
off
the unit and restart the unit again.
Use Factory Default Restart.
FACTORY DEFAULT RESTART
Press and hold POWER button for 5
shut off. Restart unit by pressing the ON button. Factory
defaults will be reset with this type
NOTE:
If any
made, consult your nearest service dealer.
Never attempt to disassemble your unit by yourself.
of
the problems persist after check list has been
or
dirty.
seconds-
of
restart.
Unit will
No Picture.
The Video line from the main unit to the
connected properly. Check connections.
Improper setting
SYSTEM to "NTSC", according to the
connected television.
of
the
TV
SYSTEM. Set the
TV
is not
TV
22

iRV
66 SPECIFICATIONS
Overall Dimensions
Mounting Dimensions
Net Weight
8-3/6"
6-3/4"
61bs
(3.35Kg)
C'N)
X 11" (H) X 6" (D)
C'N)
x 9-1/2" (H) x 5" (D)
Voltage
Maximum Current Consumption
Total Continuous Power Output
Load Impedance
Total harmonic distortion-plus-noise
DVD Deck Section, Discs Played
Video System
Video Section
Video Output level
AM
Tuner
Section,
FM
Tuner
Section,
Bluetooth Version 4.0, Class
Advanced Audio Distribution OPP, OBEX, SPP, A2DP, AVRCP
Frequency
Frequency
Range
Range
12V DC Negative Ground
10A
200W
40
(4-80
allowable)
Typical 0.05% Maximum 0.1%
DVD, MP3, MP4, CD, CD-R, CD-RW, JPEG-CD
NTSC
4:3 Letter Box and 4:3 Pan Scan, 16:9
1.0Vp-p +/-0.2V 75ohms
530-
1710KHz (U.S.A.)
87.5-1 07.9MHz (U.S.A).
(11.0V-
II
15.0V allowable)
23

 Loading...