

Page 1
Look i
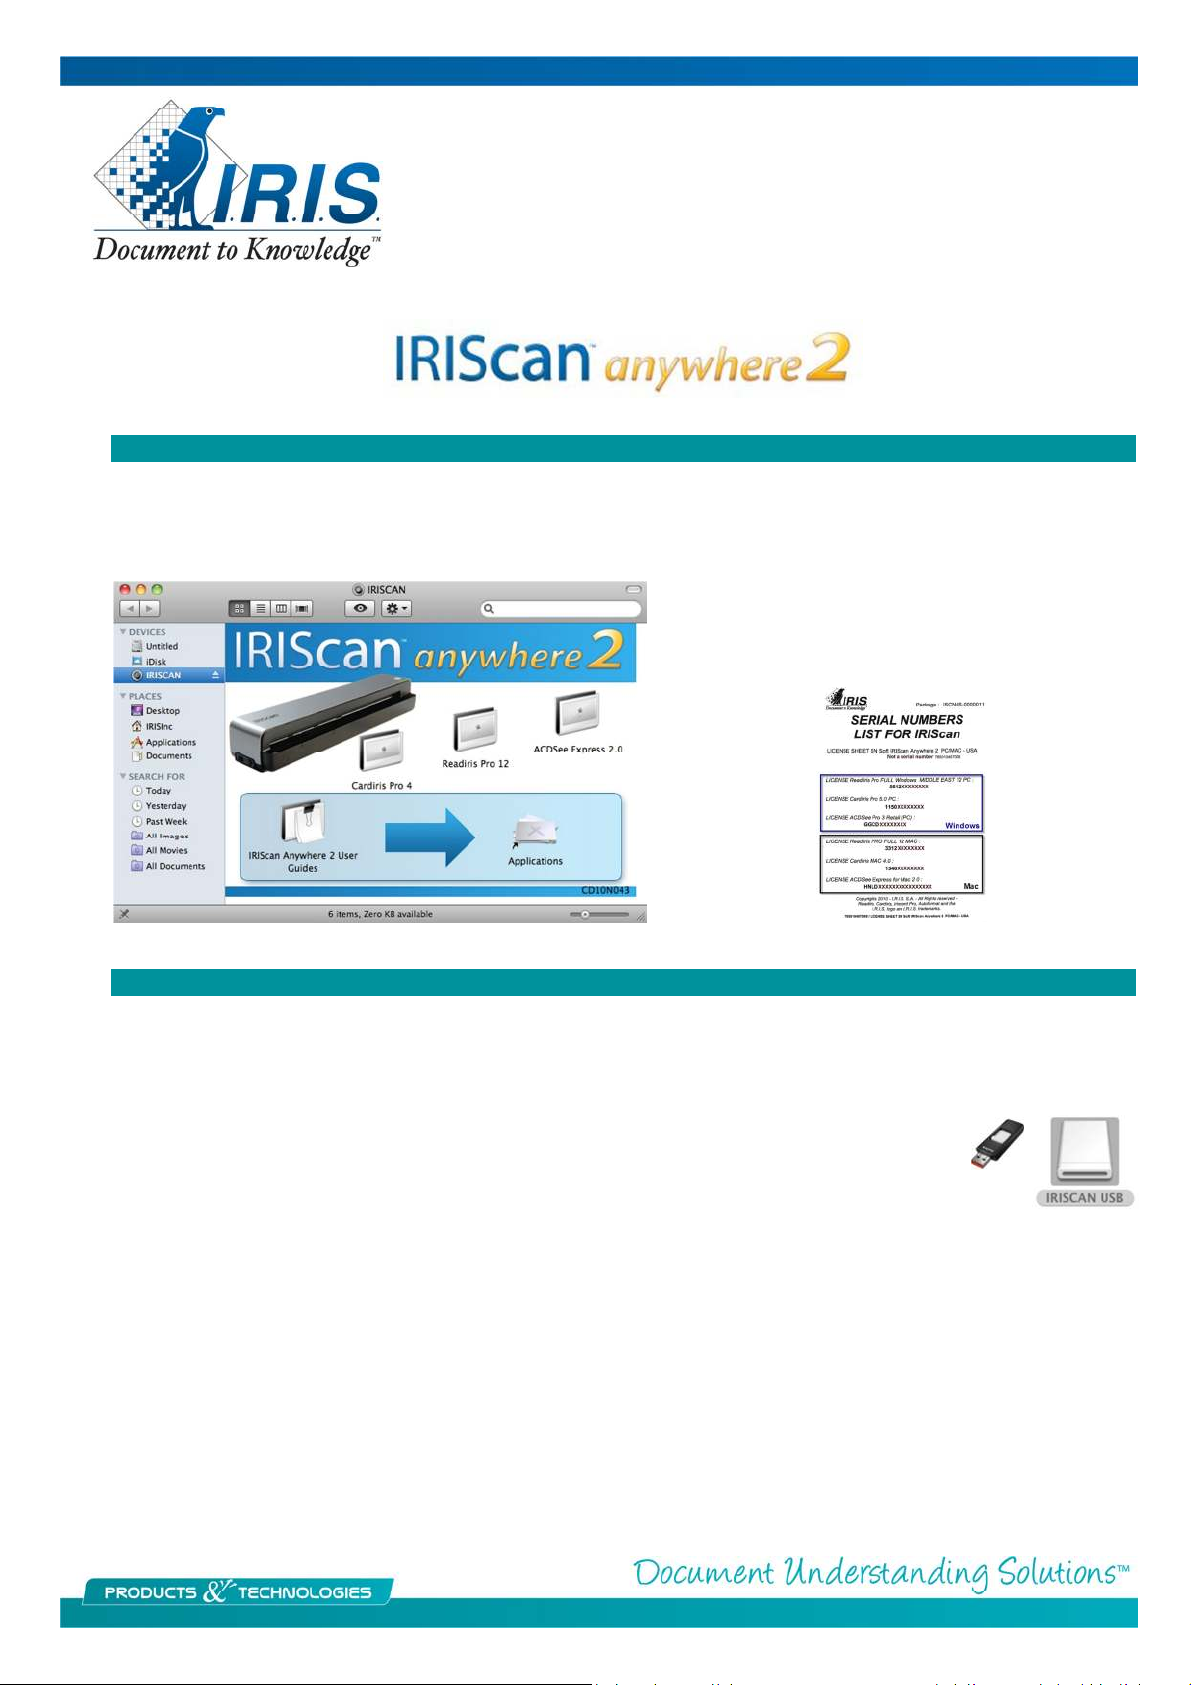
nside the DVD case
for a
sheet of
Installation
Insert the CD and double click on the icon to open the install menu. There are three installers with the ACDSee
Express being optional. It is similar to iPhoto. Note the IRIScan Anywhere User Guide which you can drag to the
applications alias to make it available on the hard drive.
paper called Serial Number List for
IRIScan with the serial numbers for the
Mac versions at the bottom
Usage
When you turn on the scanner the light will flash as it powers up. Wait for it to turn a steady green before
attempting to scan. If you press the button again it will turn yellow indicating that it is now scanning at 600 DPI
rather than 300 DPI. When it is inactive it powers down and shows a pale yellow light. See the attached Quick
Start for more detail. This file is also on the CD.
Think of this scanner as a USB storage device, like a flash drive pictured below. When you
scan it stores the images as jpg’s in memory until you connect it to the computer where is shows up
on the desktop as a mounted drive. There is no twain driver so it cannot be accessed to scan from
another application.
The scanner is designed to be used disconnected from the computer until it is time to upload the images stored in
memory. That could be the 512 MB internal memory, a USB flash drive or a SD card. With these last two when
you leave all of those plugged into the scanner and connect the scanner to the computer you will see three drives
on the desktop. There will be one for the scanner and the other two for the USB Flash/SD card.
If you scan while the scanner is plugged into the computer it will dismount the drives until the scanning is
completed and then remount them. You can also transfer the USB flash or SD card rather than connecting the
scanner.
Page 2

2/3
Readiris
Open the Readiris software and click on the Open button on the left toolbar and navigate to the drive on the
desktop which contains the images scanned with the IRIScan Anywhere. To select all the images, single click on
the first then hold down the shift key and select the last. To select specific images single click on the first and hold
the CTRL key while selecting the ones you want and then click on open
The Readiris software is a conversion tool to take an image of a document or PDF and convert it to a format
where it can be edited or stored as a PDF. The first thing it does is analyze the page and puts numbered and
labeled boxes called zones over various sections of the document to tell you what it intends to do with the
various sections if converting to a text based format such as Microsoft Word or Pages.
These can be changed and manipulated by either CTRL clicking on them to choose a different treatment type or
using the Zones tool on the right tool bar. Note that when you draw a zone of the same type that overlaps an
existing zone they will merge which is handy for including irregular shapes or treating as a single block.
These are the steps in brief. For more information see the Readiris Getting Started Guide available on our
website. http://www.irislink.com/Support/gettingstarted
• Open the document into Readiris.
• Select the output format and options going to Settings > Text Format. Choose the desired format and the
ask file name and location box then click on the choose button to navigate to the program in the
Applications folder that you want to open the output in.
• Click on Recognize + Save to process the documents.
These are the available text based formats and their uses.
DOCX Used with Word 2008 & 2011
HTML Used for Excel or Web pages
ODT Open Document Format used with Open Office Word Processor
PDF Adobe Acrobat most often you will use the Image-text options
RTF Rich text format used for Word, Pages or Open Office, cross platform
Unicode Straight text with no format retention
XLXS Used with Excel 2008 & 2011
Page 3

© Copyright 2010 I.R.I.S. s.a./n.v.
Cardiris
Open the Cardiris software and click on the Open button on the left toolbar and navigate to the drive on the
desktop which contains the business cards scanned with the IRIScan Anywhere. To select all the images, single
click on the first then hold down the shift key and select the last. To select specific images single click on the first
and hold the CTRL key while selecting the ones you want and then click on open
The software will immediately recognize and place the text beneath the card image in the available contact fields.
Make any corrections and click on the Save All or Save Selected to save the cards to the Address Book.
To export the cards to another format or application click on the format button to the right of Export (vCard
pictured) and select the format and options. Shown are the available options. Unicode is the same as text.
Click on Export to process.
For more information see the Cardiris Getting Started Guide available on our website.
http://www.irislink.com/Support/gettingstarted
All rights reserved for all countries. I.R.I.S., I.R.I.S.’ product names, I.R.I.S.’ logos and I.R.I.S.’ product logos are I.R.I.S. trademarks.
All other products and names mentioned are trademarks or registered trademarks from their respective owners.
 Loading...