

®
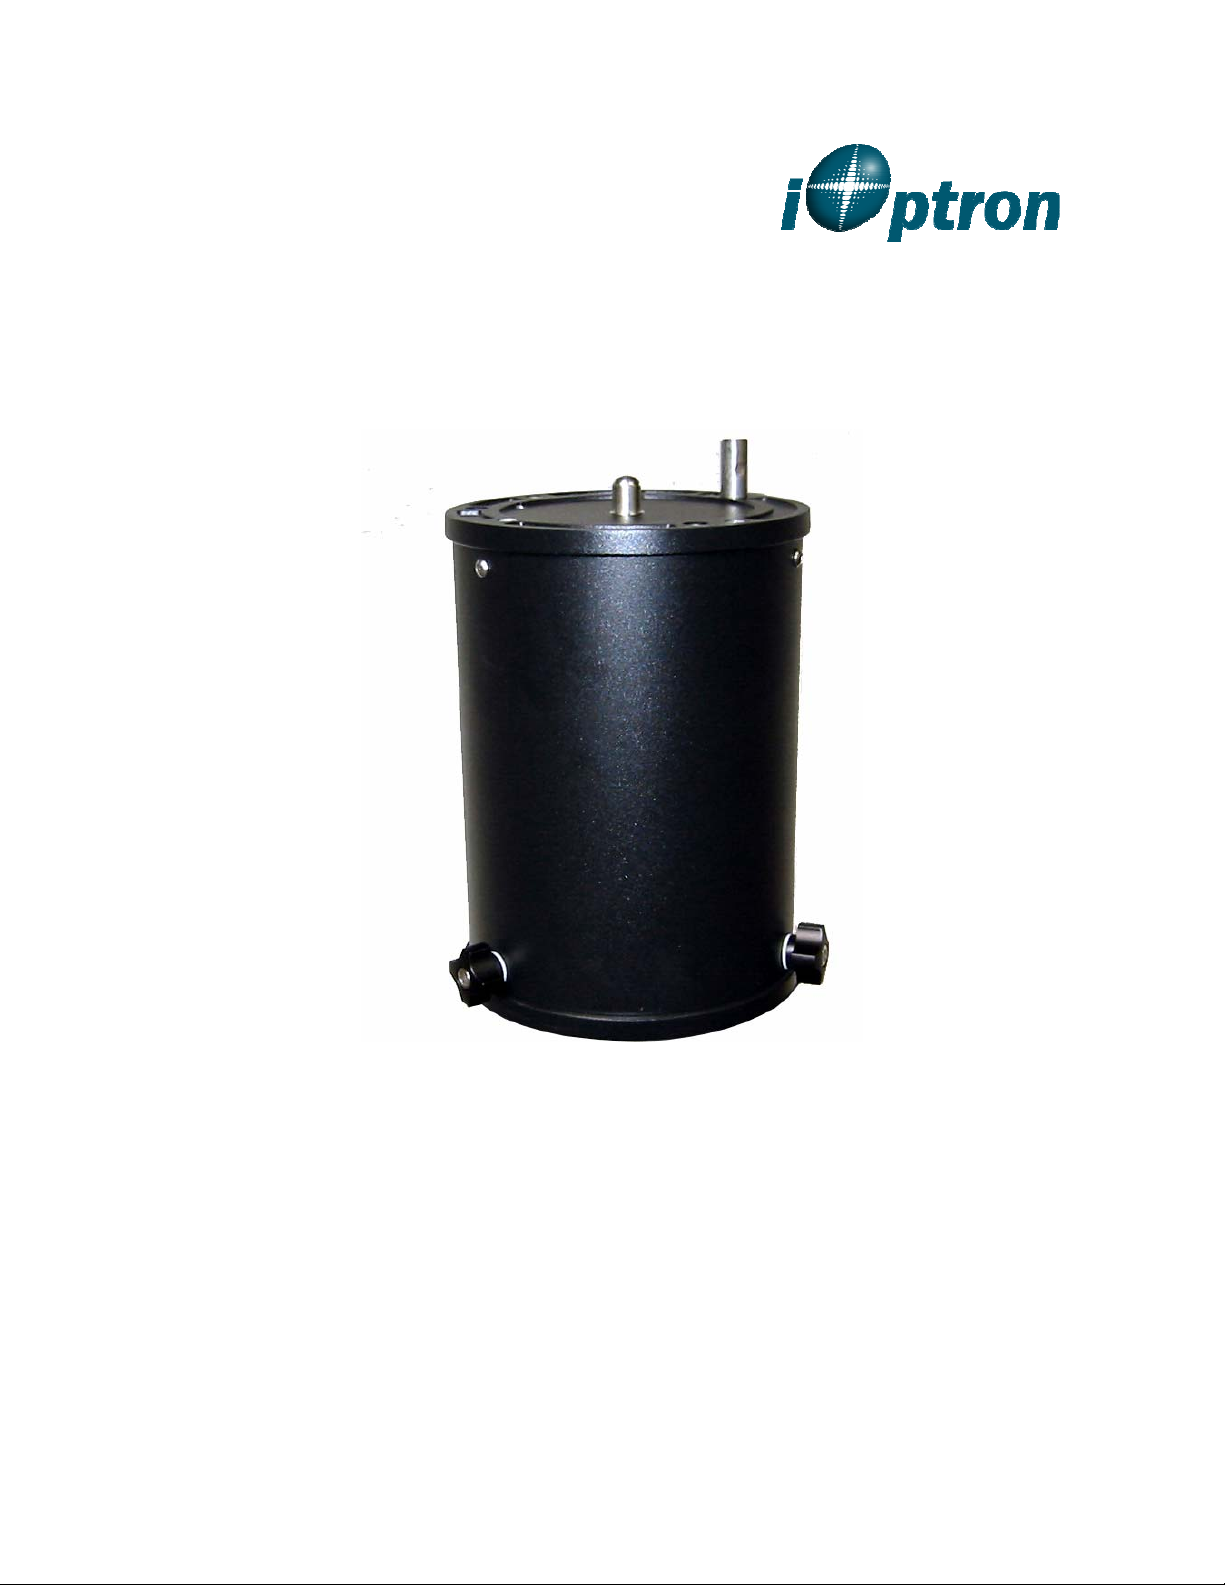
iOptron® MiniPier
Instruction Manual
Product #8032

MiniPier 8032
iOptron® MiniPier is designed for iOptron GOTO mounts, which includes iEQ45, iEQ301,
MiniTower, MiniTower II, or MiniTower Pro mount. It can be used with a MiniTower,
MiniTower Pro, or iEQ45 tripod.
Parts include2:
1. 1x MiniPier Body
2. 1x iEQ45 center stud and alignment peg
3. 2x M8 hex head screws for iEQ tripod mounting
4. 1x M12 Center Bolt with turning lever for MiniTower/MiniTower Pro mounting
5. 3x M10 hex head screws for MiniTower tripod mounting
6. 1X iEQ30 alignment peg and 2X mounting screws (optional, for those who does not have a
iEQ30 tripod)
Specifications:
Pier diameter: 5.7" (144mm) with 6" (150mm) Flange plates
Pier height: 8" (203mm)
1
For an iEQ30 mount, an iEQ45 or MT/MTP tripod is needed. A top flange with iEQ30 mounting holes will be
supplied. Please specify when ordering.
2
Parts included may be different from the list and photos.
MiniPier for iEQ45/iEQ30
The assemble example shown here is for installing a MiniPier onto an iEQ45 tripod. For an
iEQ30 mount, either an iEQ45 tripod or a MiniTower/MiniTower Pro tripod is needed.
1. Extend the tripod legs and adjust the height of the tripod. Secure the tripod. Remember that
the MiniPier will add 8 inch in height. Remove the alignment peg from the iEQ45 tripod head.
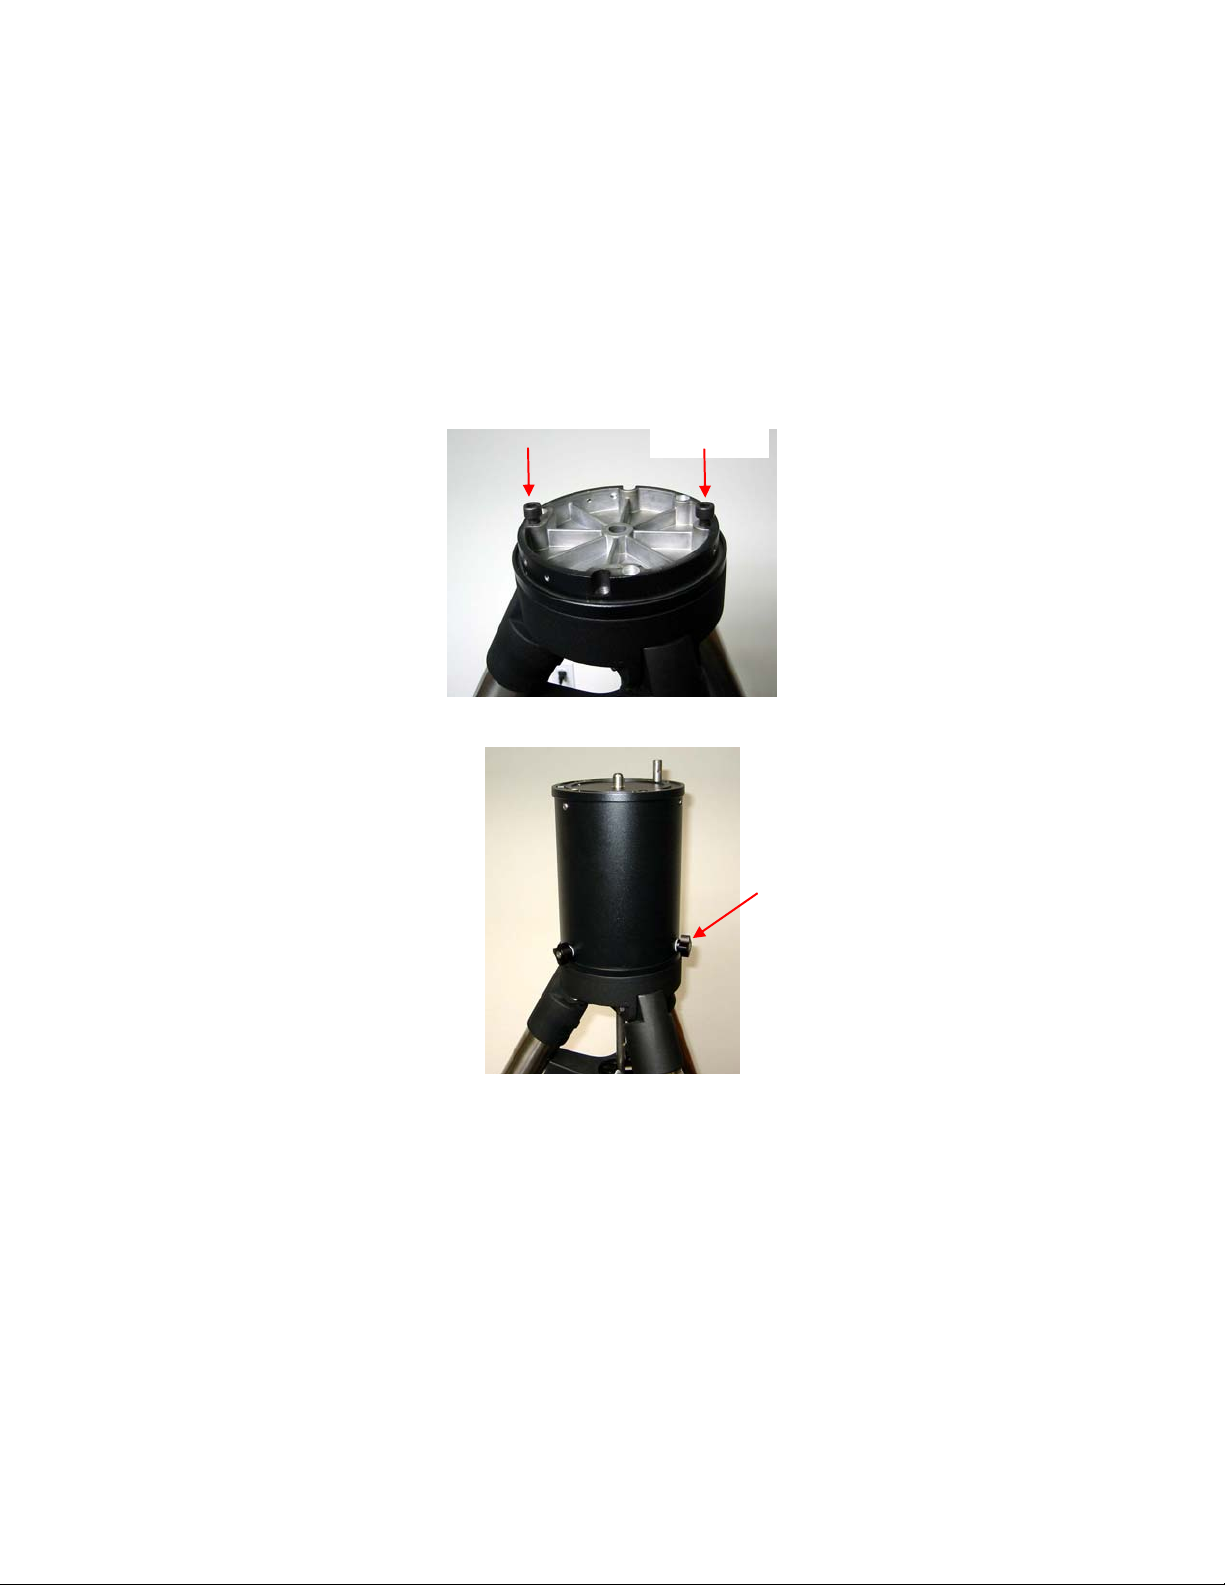
2. Release three locking screws located at the bottom of the MiniPier body. Put the Base
Flange onto the tripod head. Using two M8 hex head screws to secure the base flange on to
the iEQ45 tripod.
M8 screw
3. Put the MiniPier body onto the Base Flange and secure it using three locking screws.
Lockingscrew
4. Final adjust the tripod height and level the tripod with MiniPier before mounting the iEQ45
mount.

Example: an iEQ45 mount on a MiniPier with an iEQ45 tripod

Example: an iEQ30 mount on a MiniPier with an iEQ45 tripod
(Note: a special top flange with iEQ30 mounting holes is needed)
Mini Pier for MT/MT2/MTP
The assemble example shown here is to installing a MiniPier onto a MiniTower tripod. The
procedure will be similar for installing a MiniPier onto a MiniTower Pro tripod.
1. Extend the tripod legs and adjust the height of the tripod. Remember that the MiniPier will
add 8 inch in height.
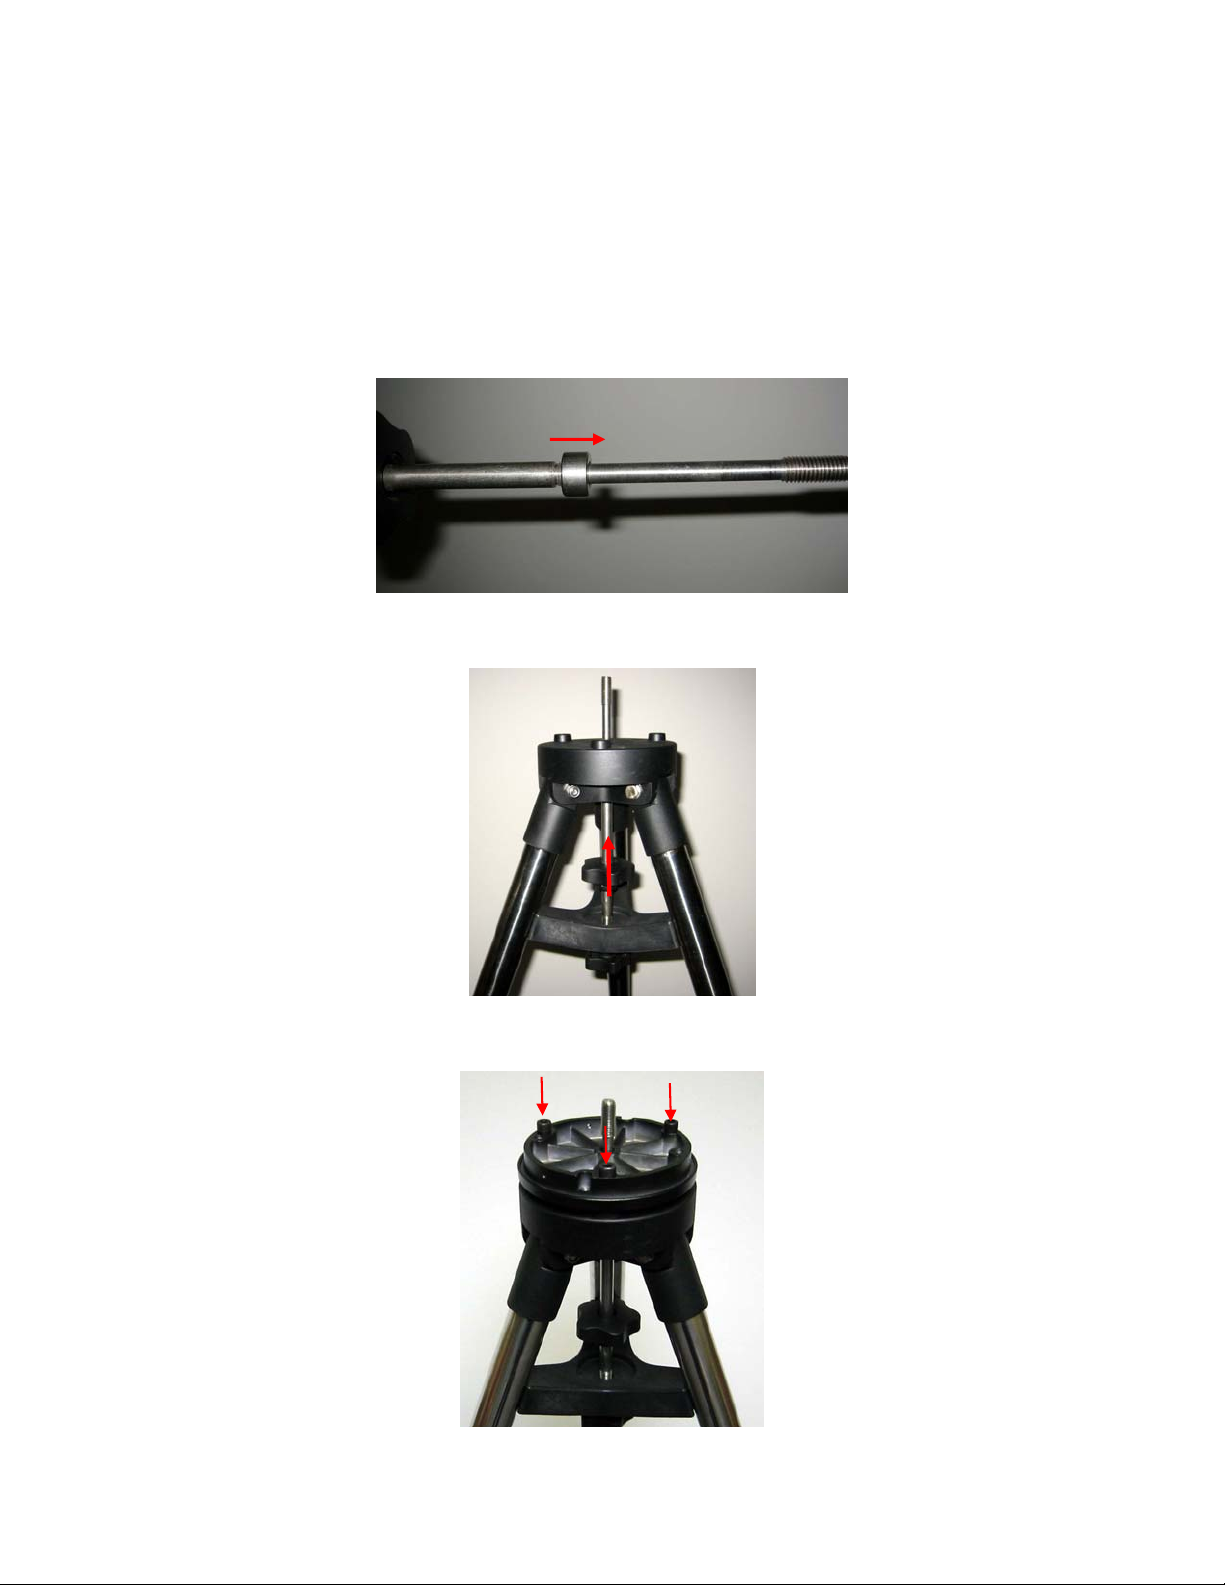
2. Unthread and remove the stainless steel nut from MT tripod rod.
3. Thread the tripod rod all the way up into the threaded hole on the tripod head and tighten it.
Lock the tripod using tripod spreader and tripod lock.
4. Release three locking screws located at the bottom of the MiniPier body. Put the Base
Flange onto the tripod head. Using three M10 hex head screws to secure the base flange.

5. Remove iEQ center stud and alignment peg. Insert the MiniTower Securing Bolt through the
hole on the top mounting flange. Install the Turning Lever.
6. Put the MiniPier body onto the Base Flange and secure it using three locking screws.
7. Final adjust the tripod height and level the tripod with MiniPier before mounting the
MiniTower mount.
8. Install 3 MiniTower level adjustment screws and threaded in about half of the threads. Put
the MiniTower on to it. Level it. Thread the MiniTower Securing Bolt into the MiniTower and
tighten it. Make sure the mount is leveled while rotating the mount.

Example: An MiniTower on a MiniPier with a MiniTower tripod
 Loading...