

Page 1
Intelligent LED Controller Manual
The Intelligent LED controller can be controlled by DMX 512
console. Our LED ceiling light, LED underground light and LED
underwater light together with the intelligent LED controller can make
colorful and dynamic light scenery effects. It is widely applied to
entertainment hall, stage, social club and outdoor building decoration.
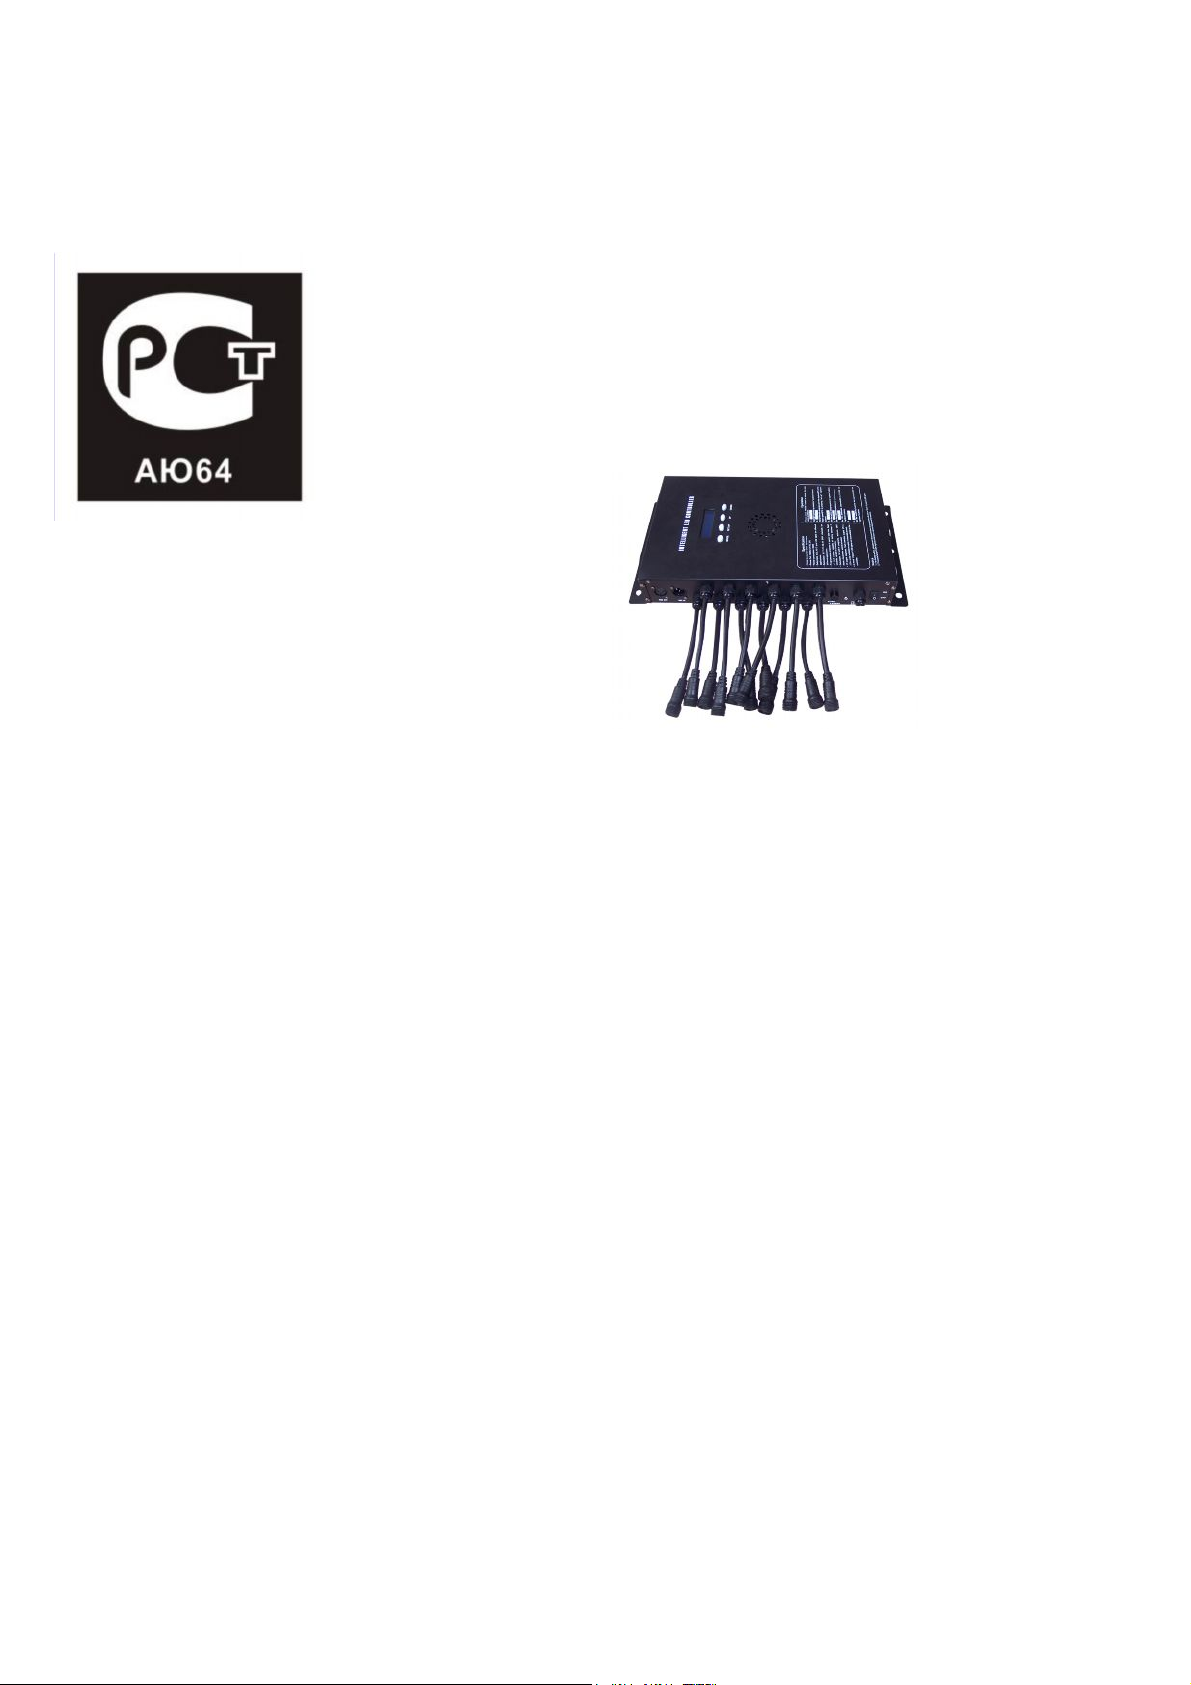
Picture:
A: Specification:
Power In: AC100V-240V 50HZ/60HZ
Power Out: 12XDC12V X2.2A
Power consumption: 350W
Size: L461 X W244 X H68mm
Weight: 4.8kgs
Selectable 4,6,8,10,12 pcs LED lights for different applications.
Selectable 5,9,13,17,25,49 DMX channels for different applications.
Programmable variations of speed, fa de time, flash of each pattern, ca pable of fading between 2
second, variable to 2 minutes.
Selectable 14 built-in programs, auto-run, DMX mode, slave mode, sound-activated.
12 output interfaces. Each interface output 12V X 2.2A. every interface occupies 4 channels at
most.
12 pcs of LED lights can be available at most for each controller.
B, Operation:
Please press “MODE” button to activate the main menu as follows:
1 of 1
Page 2
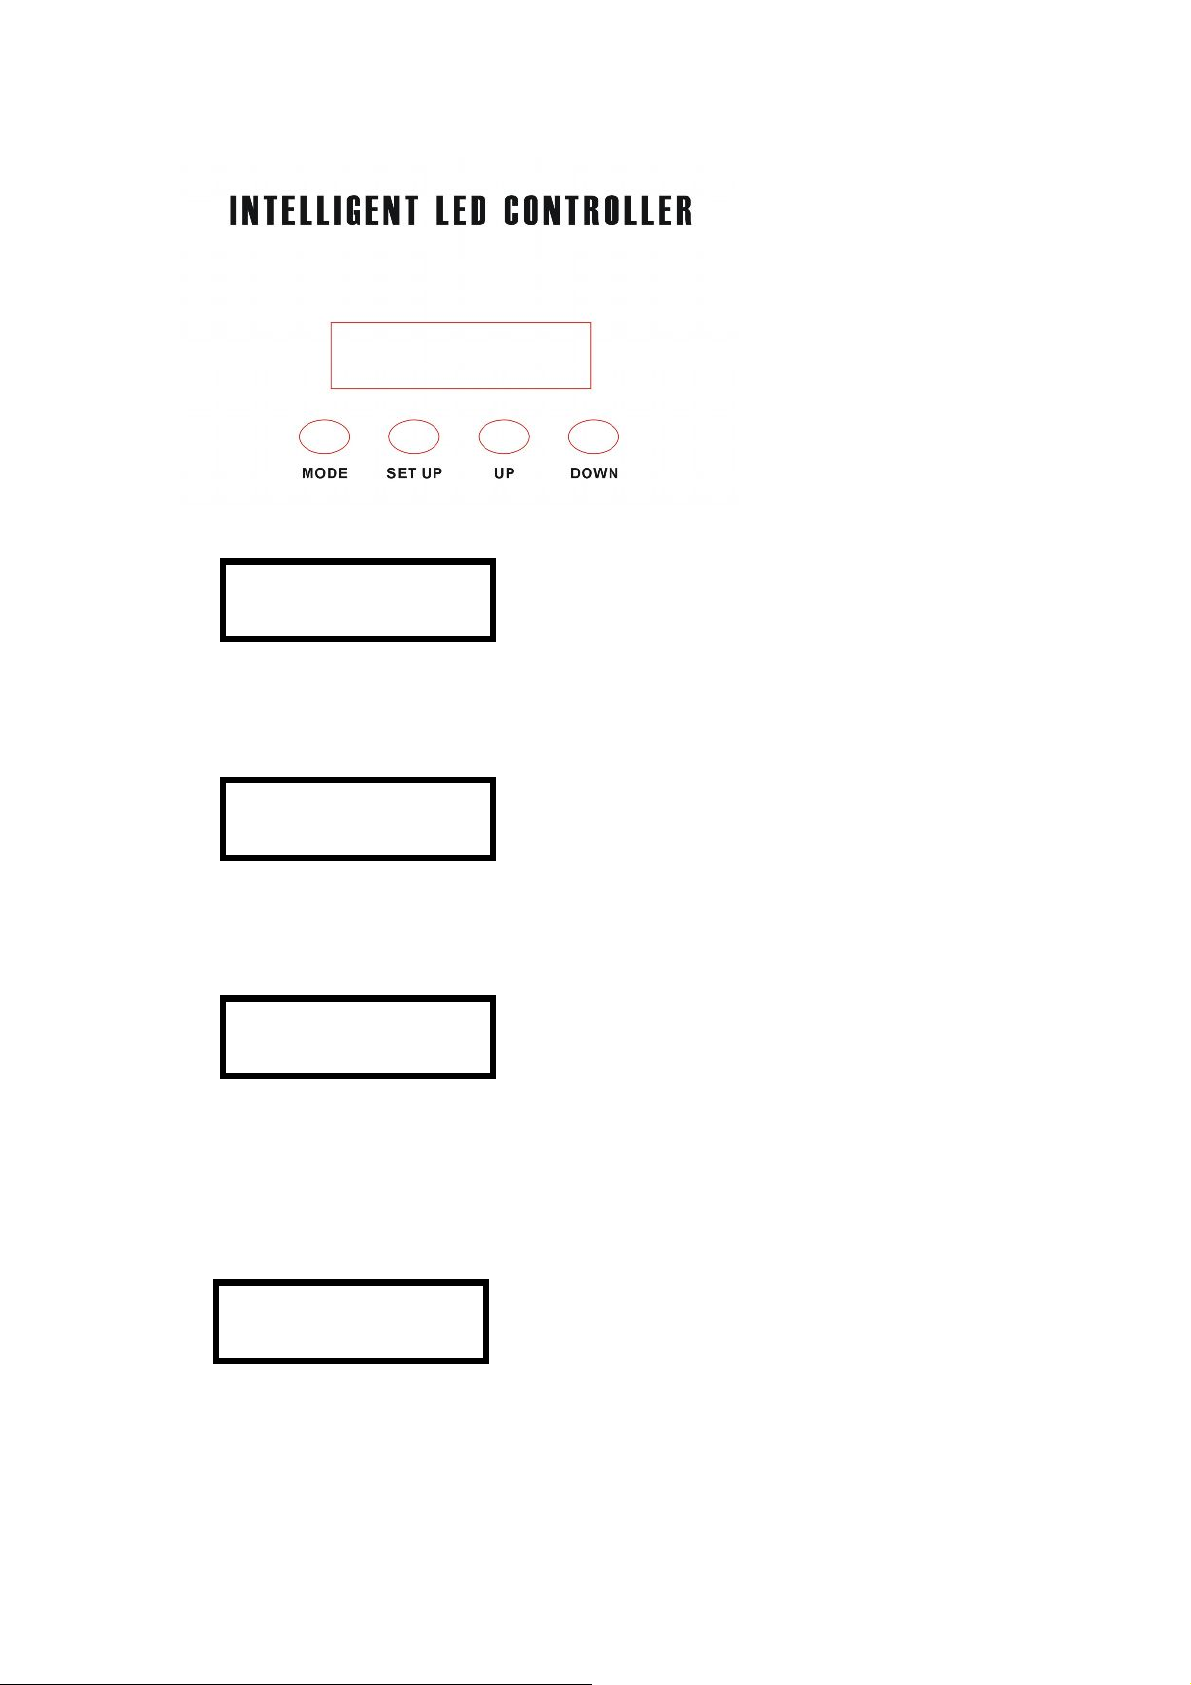
1,
DMX address: 001
LIGHT QTY:
Set the quantity for the LED lights connected with the controller by pressing “up” and “down”
button. For better effects, you please connect 4 or 6 or 8 or 10 or 12 LED lights with the
controller.
2,
01:STATIC COLOR
Set preferable built-in progra ms and the step time(SP) or the flash speed(FS) by pressing “set up”,
“up” and “down”. “set up” button is for selecting preferable data, “up” and “down” is for
changing the number of data.
3,
AUTO RUN
Set auto-run programs via “up/down” buttons.
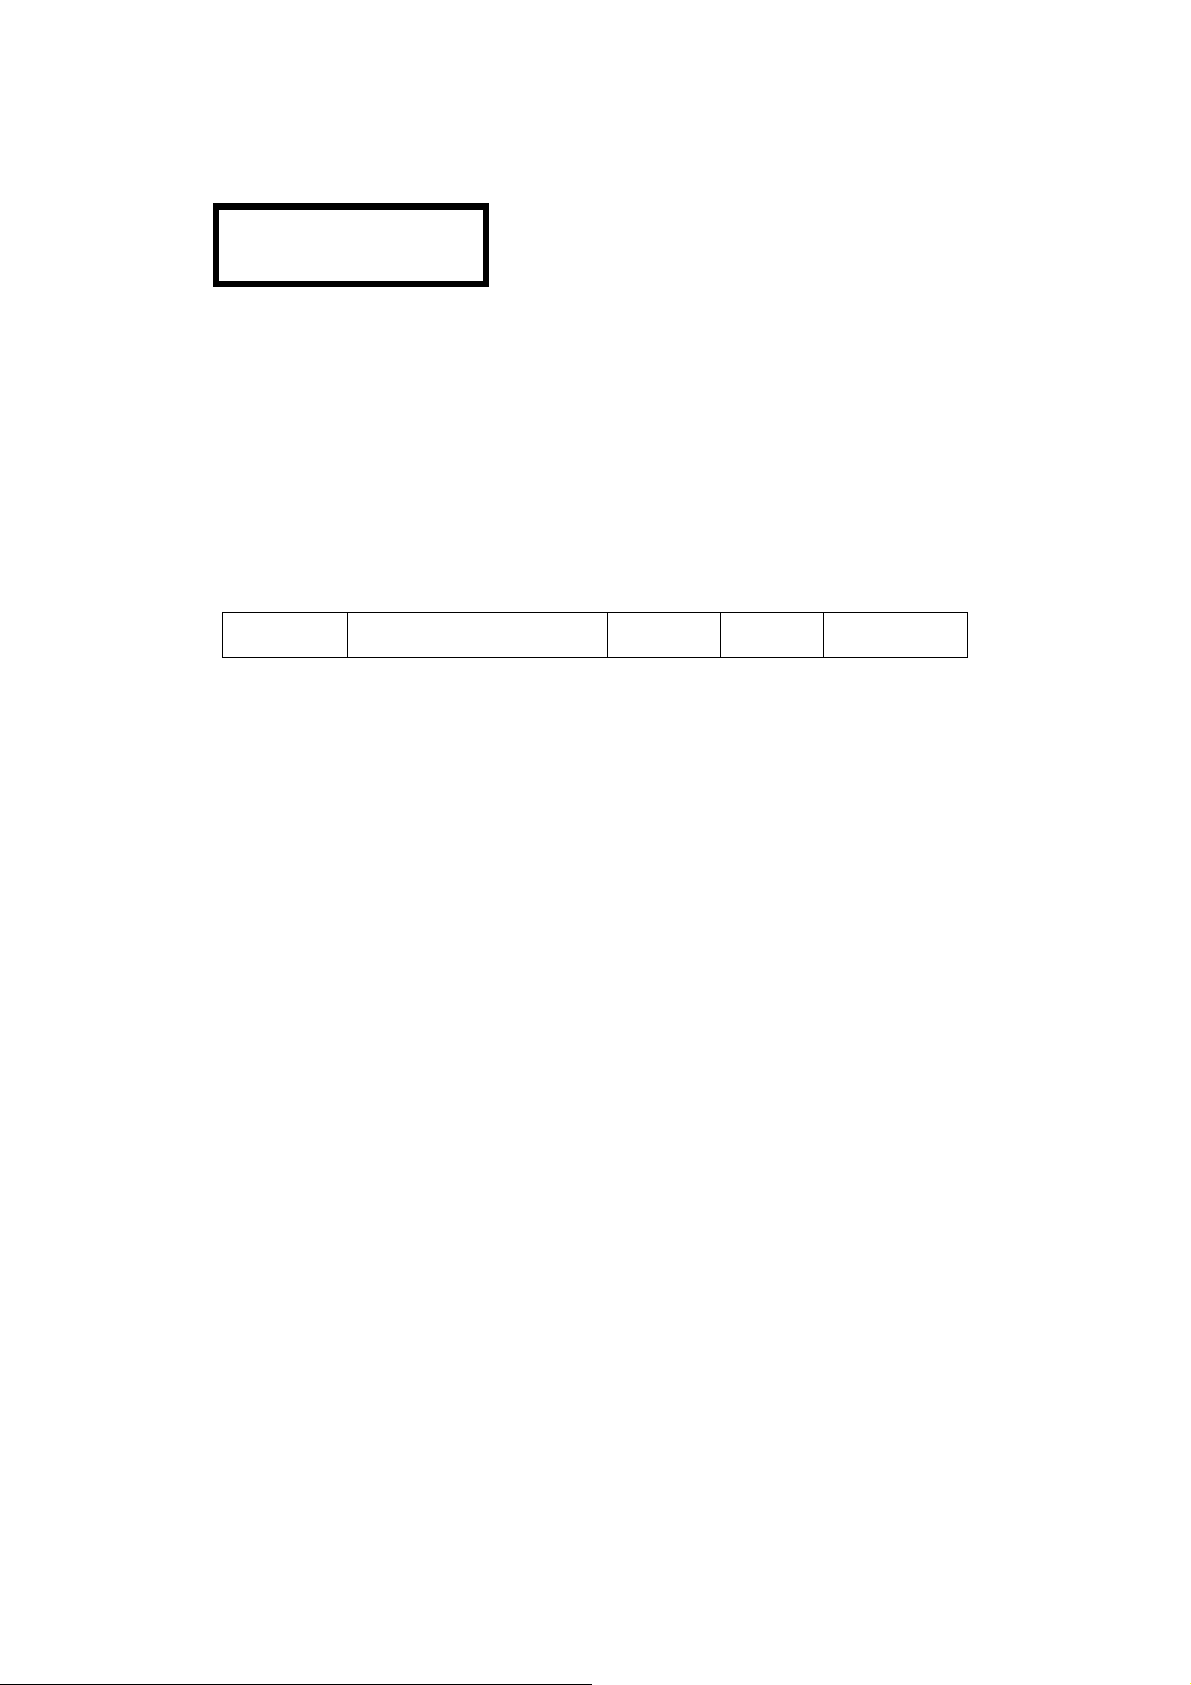
4, 1) Addressing
The controller allows you to assign the DMX address which is defined as the first channel from
which the intelligent LED controller will respond the DMX controller. For address setting, press
“set up”buttons until the display shows as follows:
DMX MODE
Set the desired address via the “up” and “down”.
2) SETTING DMX CHANNELS
The controller allows you to set 5,9,13,17,25,49 DMX channel for different applications.
press“set up”button until the display is as follows:
2 of 2
Page 3
DMX MODE
Channel No.: 49
Set the desired 5,9,13,17,25,49 DMX channel via the “up” and “down”.
3) DMX protocol
①When the value of the first DMX channel is 251~255, the protocol as follows:
CH1 CH2 CH3 CH4 CH5
3 of 3
Page 4

0~10: black
11~21:red
22~32:yellow
33~43:green
44~54:cyan
55~65:blue
66~76:purple
77~87:white
251~255
88~98:slow dream
99~109:fast dream
110~120:color fade
121~131:color change
132~142:flow1
143~153:flow2
154~164:flow3
165~175:flow4
176~186:double flow1
187~197:double flow2
0~255
speed
0~10
NOTHING
11~255
FLASH
NO USE
198~208:multi color
209~219:2color flow1
220~230:2color flow2
231~255:sound activated
4 of 4
0~255
sensitivity
0~255
SET COLOR
NO USE NO USE
Page 5

②when the value of the first channel is 0-250, it is as follows:
Ⅰ, set 5 channels
the dimmer occupies the first channel , the flash occupies the second channel, each LED light
occupies 3 channels(R,G,B)
Ⅱ, set 9 channels
the dimmer occupies the first channel , light1-light6 occupy CH2(flash), Ch3(R), Ch4(G), Ch5(B),
light7-light1 occupyCH6 ooccupyCH6(flash), Ch7(R),Ch8(G),Ch9 (B).
Ⅲ, set 13 channels
the dimmer occupies the first channel, light1-light4 occupy CH2(flash), Ch3(R), Ch4(G), Ch5(B),
light5-light8 occupy CH6(flash), Ch7(R), Ch8(G), Ch9(B), light9-light12 occupy CH10(flash),
Ch11(R), Ch12(G), Ch13(B)
Ⅳ, set 17 channels
the dimmer occupies the first channel, light1-light3 occupy CH2(flash), Ch3(R), Ch4(G), Ch5(B);
light4-light6 occupy CH6(flash), Ch7(R), Ch8(G), Ch9(B); light7-light9 occupy CH10(flash),
Ch11(R), Ch12(G), Ch13(B); light7-light9 occupy CH14(flash), Ch15(R), Ch16(G), Ch17(B)
5 of 5
Page 6

Ⅴ, set 17 channels
the dimmer occupies the first channel, light1-light2 occupy CH2(flash), Ch3(R), Ch4(G), Ch5(B);
light3-light4 occupy CH6(flash), Ch7(R), Ch8(G), Ch9(B); light5-light6 occupy CH10(flash),
Ch11(R), Ch12(G), Ch13(B); light7-light8 occupy CH14(flash), Ch15(R), Ch16(G), Ch17(B);
light9-light10 occupy CH18(flash), Ch19(R), Ch20(G), Ch21(B); light11-light12 occupy
CH22(flash), Ch23(R), Ch24(G), Ch25(B);
Ⅵ, set 49 channels
the dimmer occupies the first channel, light1 occupies CH2(flash), Ch3(R), Ch4(G), Ch5(B);
light2 occupies CH6(flash), Ch7(R), Ch8(G), Ch9(B); light3 occupies CH10(flash), Ch11(R),
Ch12(G), Ch13(B); light4 occupies CH14(flash), Ch15(R), Ch16(G), Ch17(B); light5 occupies
CH18(flash), Ch19(R), Ch20(G), Ch21(B); light6 occupies CH22(flash), Ch23(R), Ch24(G),
Ch25(B); light7 occupies CH26(flash), Ch27(R), Ch28(G), Ch29(B); light8 occupies CH30(flash),
Ch31(R), Ch32(G), Ch33(B); light9 occupies CH34(flash), Ch35(R), Ch36(G), Ch37(B); light10
occupies CH38(flash), Ch39(R), Ch40(G), Ch41(B); light11 occupies CH42(flash), Ch43(R),
Ch44(G), Ch45(B); light12 occupies CH46(flash), Ch47(R), Ch48(G), Ch49(B).
③, For example, set 9 channels, the protocol as follows:
CH1 CH2 CH3 CH4 CH5 CH6
0~250
dimmin
g
0~10
NOTHING
11~255
R 1 G 1 B 1
6 of 6
0~10
NOTHING
11~255
CH7 CH8 CH9
R2 G2 B2
Page 7

FLASH 1
0~10: black
11~21:red
22~32:yellow
33~43:green
44~54:cyan
55~65:blue
66~76:purple
77~87:white
FLASH 2
251~
255
88~98:slow dream
99~109:fast dream
110~120:color fade
121~131:color change
132~142:flow1
143~153:flow2
154~164:flow3
165~175:flow4
176~186:double flow1
187~197:double flow2
0~255
speed
0~10
NOTHING
11~255
FLASH
NO
USE
NO USE
NO USE
NO
USENOUSE
198~208:multi color
209~219:2color flow1
220~230:2color flow2
0~255
Set color
7 of 7
Page 8

231~255 : sound
SENSITIVITY: 31
sensitivityNO USE NO USE
activated
5,
SLAVE MODE
set the Slave mode by pressing “set up” button.
6,
SOUND MODE
Set the sensitivity level for the sound activated via “up/down” buttons.
7, the sketch map of rear side of the controller:
0~255
8 of 8
 Loading...