

Page 1
Intel®PC Camera Pro Pack
with Intel
®
Create and Share
™
Software Deluxe
Getting Started Guide
Page 2
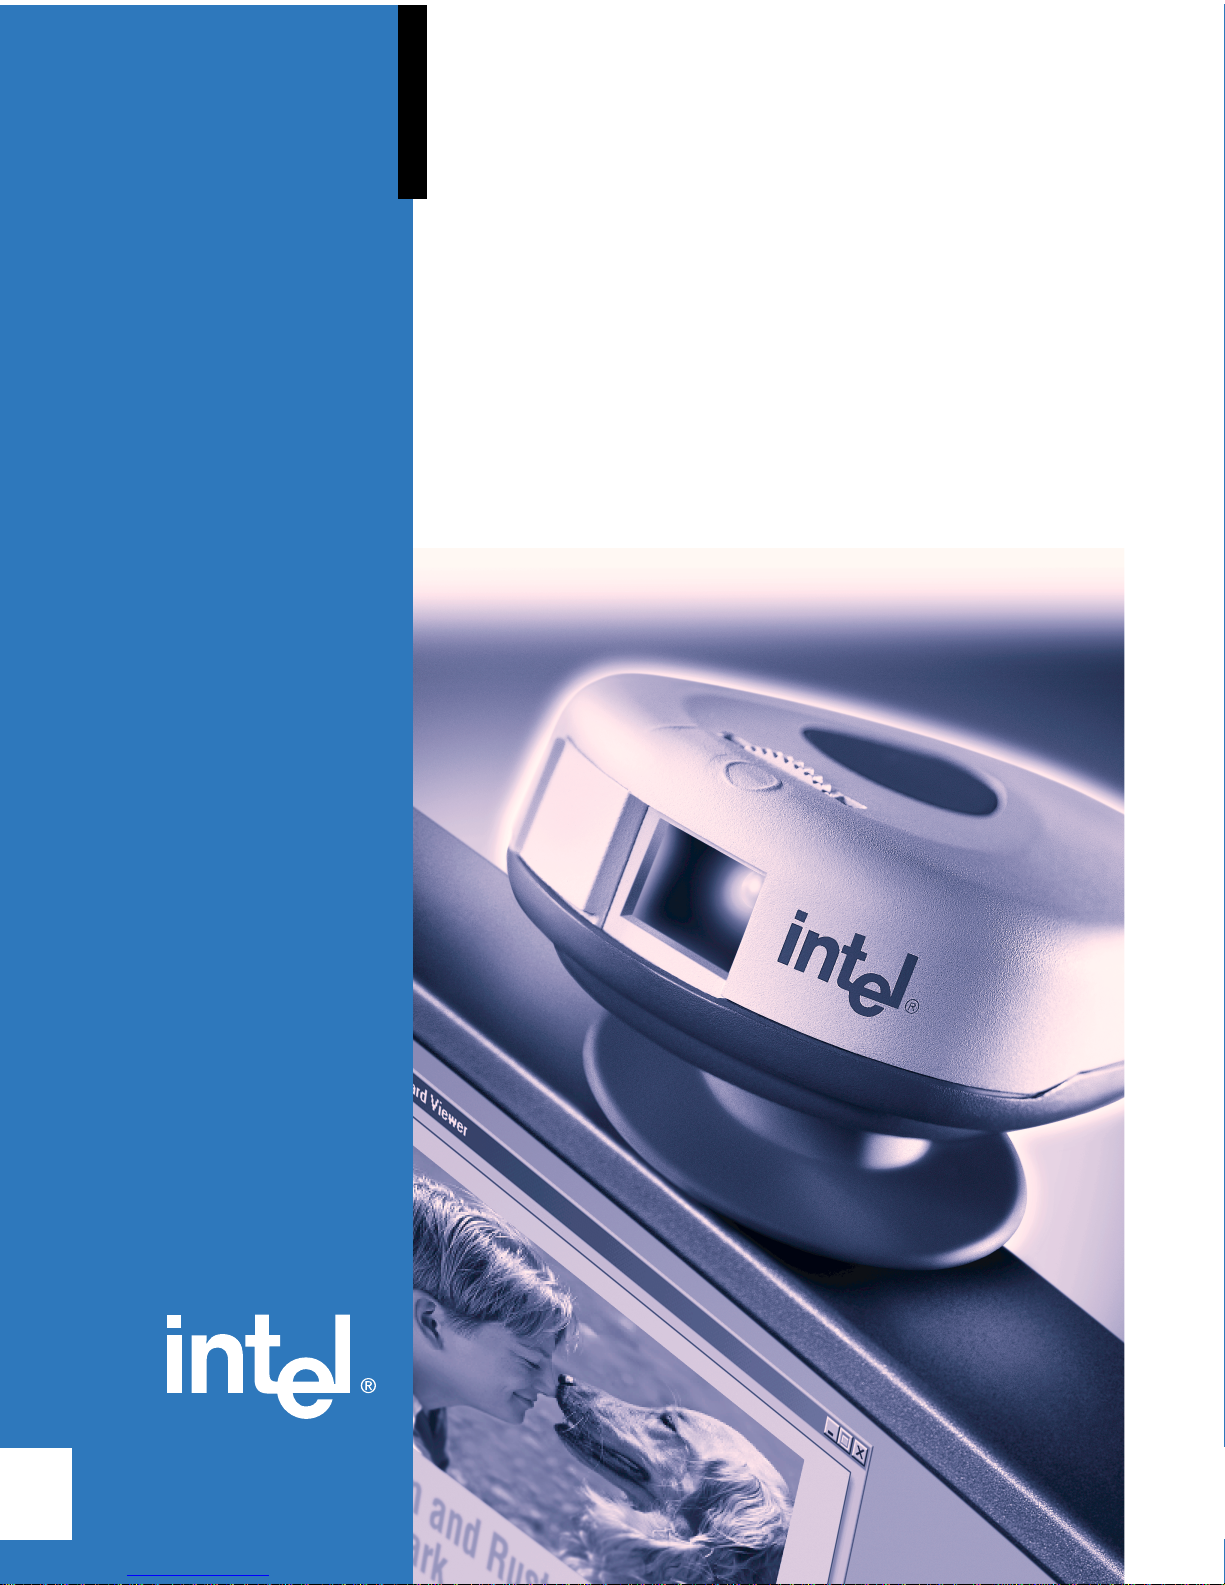
Camera Mount
for your
Notebook PC
If you bought the Intel®PCCamera Pro Pack to install on your notebook
PC, we have the camera mount you need.
It is designed specifically to attach
theIntel®PCCamera Pro to your notebook’s
display. This camera mount is light,
sturdy and compact, and can also be
easily detached from your notebook.
To purchase the mobile camera mount,
visit our web site at
www.intel.com/PCcamera/accessor.htm
Notebook PC, software and camera not included.
Page 3
Welcome
Audio stereo-to-mono
Congratulations! You can now start visiting with friends
and family using your new Intel Video Phone
software as well as using the Intel PC Camera Pro to
capture video, audio, and still images that can be
organized, stored, and incorporated into email
postcards, movies, and home pages using Intel
Create & Share Software Deluxe.
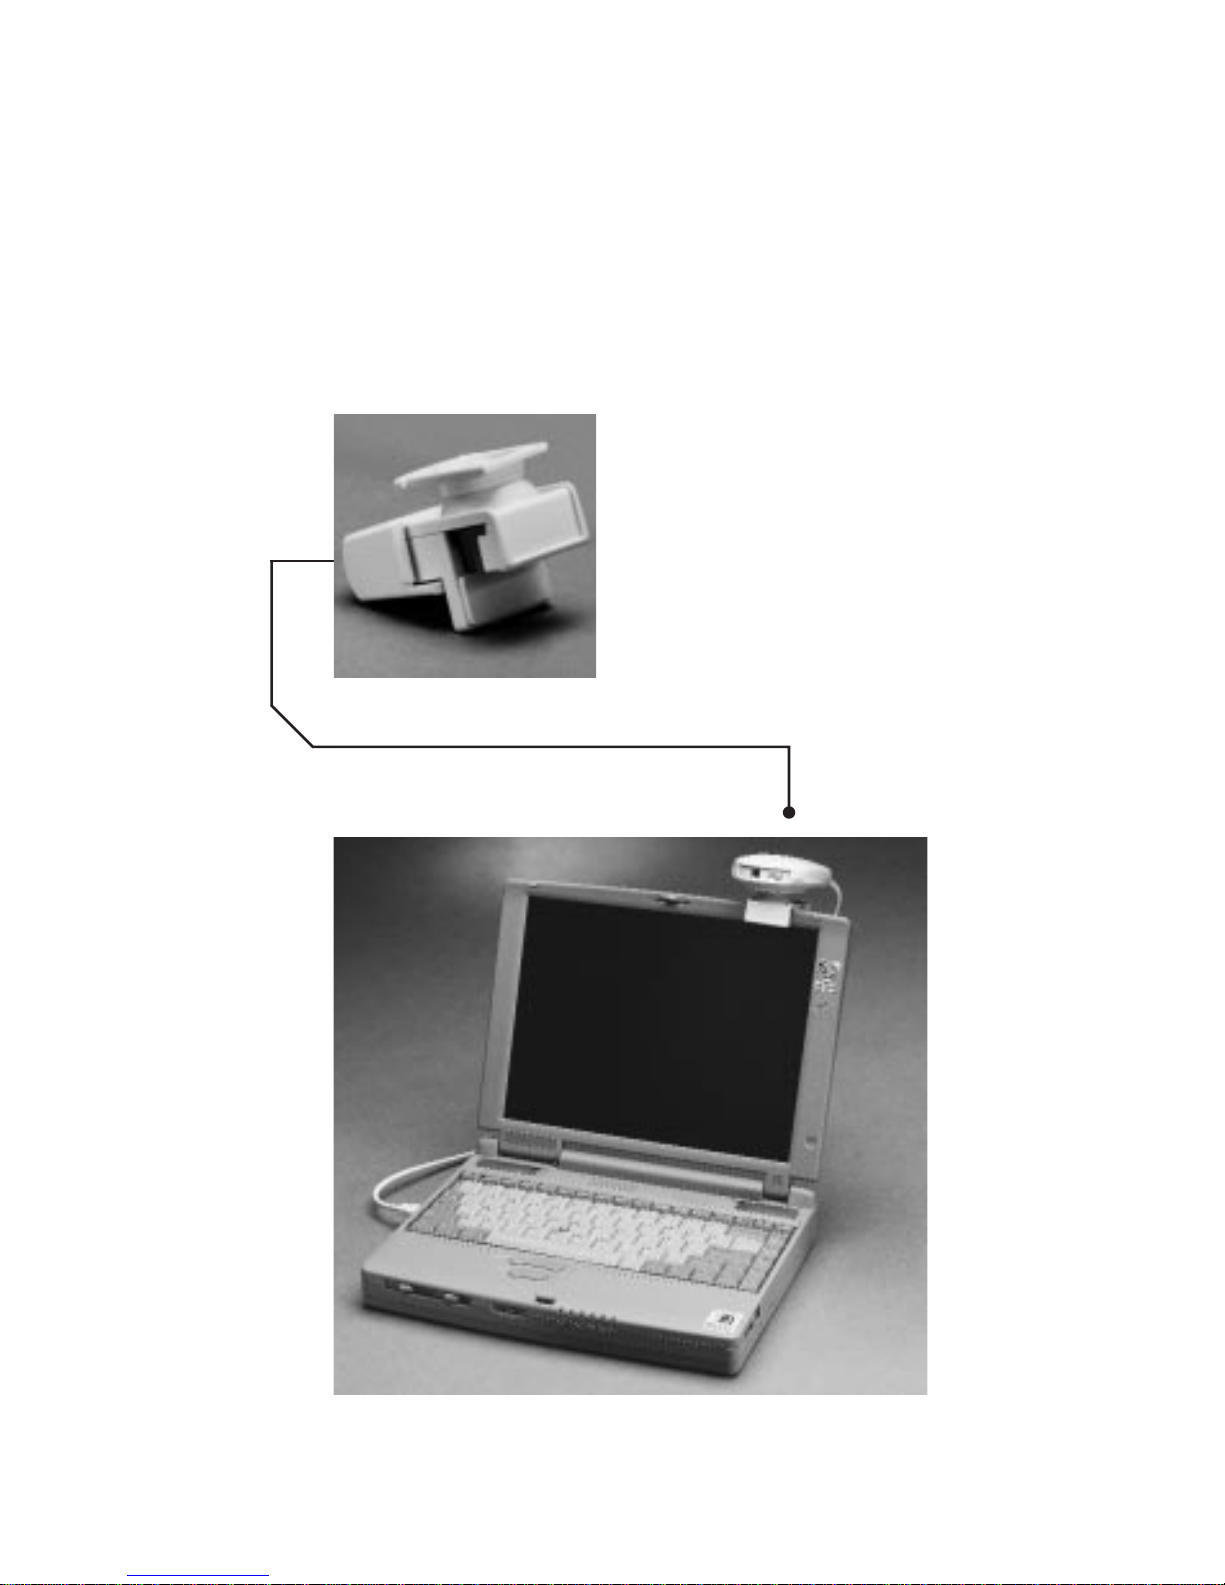
What you should have
Before starting the installation, check that your
package contains these items:
Intel PC Camera Pro
Getting Started Guide
Online Manuals
Video cable
Intel Create & Share
Software Deluxe CD
Intel Video Phone
“Send to a Friend” CD
Audio cable
adapter
There are two manuals for this product. Both of the
manuals can be found online, and one is printed as
well. The product manuals are:
GETTING STARTED GUIDE 1
Page 4

• Intel PC Camera Pack Pro with Intel
Create & Share Software Deluxe Getting
Started Guide - printed and online
• Intel Create & Share Software Deluxe
User’s Manual- online only
Where are the
online manuals?
You can find the
manuals at:
Start>
Programs> Intel
Create & Share
Software>
Manual
Getting Started Guide -A quick look at the product
features, with a detailed
description of the camera and
how to use it effectively, and
how to make an Internet
phone call.
User’s Manual - Details using the software
including using galleries,
taking snapshots, recording
videos, creating and sending
email postcards, making
movies, creating and adding
content to your own home
pages, setting up the camera
to automatically take
snapshots, as well as making
video phone calls over the
Internet, regular phone lines
or high-bandwidth
connections.
Intel Quick Tour
Intel Quick Tour, a multimedia demonstration,
introduces the Intel PC Camera Pro and the Intel
Create & Share Software Deluxe capabilities.
Run the Quick Tour for tips and hints on what you can
do with the Intel Create & Share Software Deluxe, from
making video phone calls, creating and sending email
postcards, making movies and web pages, to
automatically taking snapshots and more.
2 GETTING STARTED GUIDE
Page 5

Step-by-step instructions for these tasks and others
can be found in the online Help, or in Chapter 2 of the
Intel Create & Share Software Deluxe User’s
Manual.
To run the Quick Tour
• Go to Start> Programs> Intel Create & Share
Software> Quick Tour.
Visit the Web site
To find out what’s new, get information on special
offers, learn more about what you can do with your
camera visit the web site at:
http://www.intel.com/PCcamera
Starting Intel® Create &
Share™ Software Deluxe
From the Windows Start menu click Intel Create &
Share Software or double-click the desktop icon.
The first time you run the Intel Create & Share
Software Deluxe:
1 The Configuration Wizard guides you through
configuring your system. Be sure to run the
default tests.You must complete all of the tests
and supply all user information to successfully
use the software.
To run the
Configuration
Wizard again, go
to:
Start>Programs
>Intel Create &
Share Software>
Set Up Audio &
Video.
GETTING STARTED GUIDE 3
Page 6

To register later,
go to:
Start>
Programs>Intel
Create & Share
Software>
Register Online.
Note
Be sure to register
to “Stay in the
Loop”. Registered
users are
periodically
informed of
updates, upgrades,
and special offers.
Note:
Ensure that the
camera’s shutter is
open and that the
room is well lit.
Note
The information
entered on the User
Information screen
is only used for
video phone calls
Reminder
Use the Next and
Back buttons to
move through the
Configuration
Wizard’s screens.
2 A splash screen presents you with the options of
running the Quick Tour or using the software.
We suggest you run the Quick Tour to get an
overview the many things you can do with your
new Intel PC Camera Pro.
The second time you run the Intel Create & Share
Software Deluxe:
• The Intel Registration Wizard appears so you
can register your program. If you choose to
register now, complete the requested
information. Remember to connect to the
Internet to register online.
Completing the Configuration
Wizard
1 On the first screen Yes is checked confirming
the presence of a camera. Click Next to
continue.
2 On the User Information screen type your name,
email address, and location. This information is
used to help your friends call you when you are
running Intel Video Phone software. The email
address you type is what identifies you when
using the Intel Video Phone. Double-check your
email address to ensure that your family, friends,
or business associates can reach you using the
video phone.
3 On the Internet Options screen select the kind of
Internet connection you will use with the Intel
Video Phone.
If you are unsure, select “Use the default
Connection”.
Additionally:
a If you use a modem to connect to your
Internet Service Provider (ISP), select ‘Use
a Dial-up Networking Connection’ and select
the name of your dial-up connection.
4 GETTING STARTED GUIDE
Page 7

b If you use an Online Service Provider, such
as America Online (AOL*) to log onto the
Internet, select ‘Use a specific Network
Adapter’. Select your adapter from the list
(For example: AOL adapter).
c If you have more than one connection to the
Internet and don’t care which connection is
used, select ‘Use the default Internet
connection’. Intel Video Phone will use the
same kind of connection used the last time
you connected to the Internet.
d If your computer is always connected to the
Internet using a cable, DSL, ISDN, or LAN
Internet connection, select ‘My computer
has a Cable, DSL, ISDN, or LAN Internet
connection’. These connection types enable
high-speed connection options.
4 On the Speaker Test screen you can adjust the
volume of your speakers. Click Test then click
and drag the slider to adjust the volume of the
recorded message. Click Next when the volume
is adjusted the way you like.
5 On the Microphone Test screen you set the
microphone level. Click Test and start speaking
into the microphone. Move the slider up or down
as you speak until you see yellow in the energy
bar. Click Next to continue.
6 On the Modem Selection screen you select the
modem that you use for your Internet connection.
Your modem should already be selected. Click
Test to test the modem. This test checks for a
dial tone. If you have problems here click Help to
bring up common troubleshooting tips.
7 On the Modem Connection Test screen, your
modem is tested to verify its calling capabilities.
Click ‘Perform the modem connection test’,
and then click Test. (This test only happens if
you are running Windows* 98).
GETTING STARTED GUIDE 5
Page 8

Note
When installing on a
computer running
Windows* 95,
select Microsoft
WDM Image
Capture on the
Video Device
Detection screen.
Note
For help with
problems that can
occur during the
Configuration
Wizard see
Appendix A
Troubleshooting in
the User’s Manual.
8 On the Video Device Detection screen, select the
Intel PC Camera Pro. Click Next to continue.
9 On the Video Hardware Test screen you should
see a picture from your camera in the video window. To adjust the picture click Advanced to
bring up the Video Source tab.
If you do NOT see live video, your camera may
not be configured properly. For solutions, visit the
Troubleshooting Assistant at http://sup-
port.intel.com/support/createshare/camerapack/tsa.htm.
10 The Device Profile test profiles the camera and
tunes the Intel Video Phone software for the best
video quality. Click Test to test the video camera.
11 The DirectDraw* test verifies that your computer
can run DirectDraw. DirectDraw lets you view the
other person’s video at full screen during a video
call with Intel Video Phone software. If the video
picture is clear, click Yes to enable DirectDraw. If
anything else happens, click Next. You will still
be able to see the other person’s video during a
call, but not full screen.
12 Configuration Completed screen. Click Finish to
close the Configuration Wizard.
6 GETTING STARTED GUIDE
Page 9

Setting up the IntelPC Camera
Pro
Make sure the camera lens cover is open when you
take pictures or create videos. Use the snapshot
button to take snapshots, and the focus dial to focus
the video picture. To adjust the quality (such as hue,
saturation, or sharpness) of the video picture, follow
the instructions in online Help under camera settings.
Snapshot button. To take a
snapshot, press the button.
Focus dial - to adjust the focus
of the video picture, rotate the
dial.
Easy video-in connector.
Connect the supplied video
cable here to an external
video device like a VCR,
camcorder, or DVD player.
With this cable you can
transform previously
recorded video into digital
video. You can also record
directly through your device
onto your computer’s hard
drive.
Tripod connector. Mount
the camera on a tripod to
avoid camera jitter, which
can contribute to larger file
sizes.
Camera mount. Slide the
camera onto the mount and
connect mount to surface.
GETTING STARTED GUIDE 7
Page 10

Note
The snapshot
button on Intel PC
Camera Pro only
works when the
Intel Create &
Share Software is
running.
Tips
• Place the light source in front of you, not
behind you; avoid bright light which may cause
a glare.
• Wear solid-colored clothing; avoid patterns and
grays.
• To turn on the camera slide the lens cover to
the open position
• Common positions for the camera include on
top of the computer monitor or on a speaker.
Using the Camera’s Video Input
The Intel PC Camera Pro has a connector to connect
other video devices like camcorders or VCRs to your
computer for use with the Intel Create & Share
Software Deluxe.
This VCR
example uses
the supplied
video and audio
cables.
Your external
device may
require different
cables and
adapters.
Now you can take those video tapes of family
gatherings, business meetings, and special occasions
like vacations and turn selected scenes into digital
format for sharing in email, during video phone calls, or
on your home pages.
An example of creating a digital video clip
from video tape
1 Connect one end of the supplied video cable to
the Intel PC Camera Pro and the other end to
the external device (we are using a VCR).
2 To include the sound from the video as a part of
the recording, connect the supplied audio cable
from the VCR to the computer’s sound card.
8 GETTING STARTED GUIDE
Page 11

Video
cable
Audio cable
3 From the Home Screen of the Intel Create &
Share Software Deluxe, click Record Video.
4 Click A/V Input on the Intel Scene Recorder
window.
5 On the Video and Audio Input dialog, select
“External video plugged into camera”. The Audio
Source is automatically selected for you.
6 Click Apply
7 Click OK.
8 Queue up the video tape in the VCR to the
scene you are interested in recording.
9 Click Record on Scene Recorder.
10 Press Play on the external player.
11 Once the scene is recorded, click Stop on the
Scene Recorder window.
12 Press Stop on your external player.
13 Click Play to play back the video in the Scene
Recorder window.
14 Click Trim to trim the recorded video to the
length you are interested in.
15 Click Save to save the file.
Note
When capturing
video from
previously
recorded video,
you can add
narration to the
video clip from a
microphone, or
use music from a
CD, rather than
the sound that is
part of the original
video. See the
online Help for
details.
GETTING STARTED GUIDE 9
Page 12

What are the possibilities?
Here’s a short list of some of the things that you can
do.
• Take the video you recorded of your son’s
graduation and create a “Graduation’s
Highlights” video clip for sharing with family
and friends via your home page or on an email
postcard.
• With that video you made of the house hunting
trip for your new job, you could create a “Best
of the Houses Seen” video showing the
features of the houses you are interested in.
The highlights could include your own
narration, added when the video was recorded
or when you were creating the movie.
• With a camcorder you can record the keynote
address to the sales staff and later use the
Intel Create & Share Software Deluxe to edit
and trim some of this video for inclusion on the
company’s website.
• Using that already edited sales address, you
can create a small movie for your own
presentation to Marketing at a later point in
time.
What is included?
The Intel® PC Camera Pro Pack includes an Intel® PC
Camera Pro and the Intel® Create & Share Software
Deluxe that lets you use your PC to communicate in a
variety of new ways. To learn about all of the
applications described here, see the Intel® Create &
Share Software Deluxe User’s Manual.
10 GETTING STARTED GUIDE
Page 13

Features include:
• Intel® Video Phone—Now you can talk to and
see others at the same time using the Intel
Video Phone software to make video phone
calls over the Internet. For information about
making Internet phone calls, see the section
entitled “Preparing your first Internet phone
call”.
You may also be able to make telephone video
calls over regular telephone lines if you are
running Windows 98 and have a video-ready
modem.
See Appendix B Telephone Video Calls in the
user’s manual for more information.
• Intel® Email Postcard—Incorporate
snapshots, video files, and sound files into the
supplied templates or into a template you
design, you can create email postcards and
send them to family, friends, or business
associates.
• Intel® Movie Builder— lets you put together
movies and multimedia business productions
complete with title cards, audio and video
footage, snapshots and special effects, in no
time.
• Intel® Home Page Builder— Construct home
pages with words, graphics, still images, and
video automatically using the supplied
templates or in a template you design.
• Intel® Auto Snapshot—set up the Intel PC
Camera Pro to automatically take snapshots
and send them to your hard drive, to a
specified email address, or directly to your
home pages.
GETTING STARTED GUIDE 11
Page 14
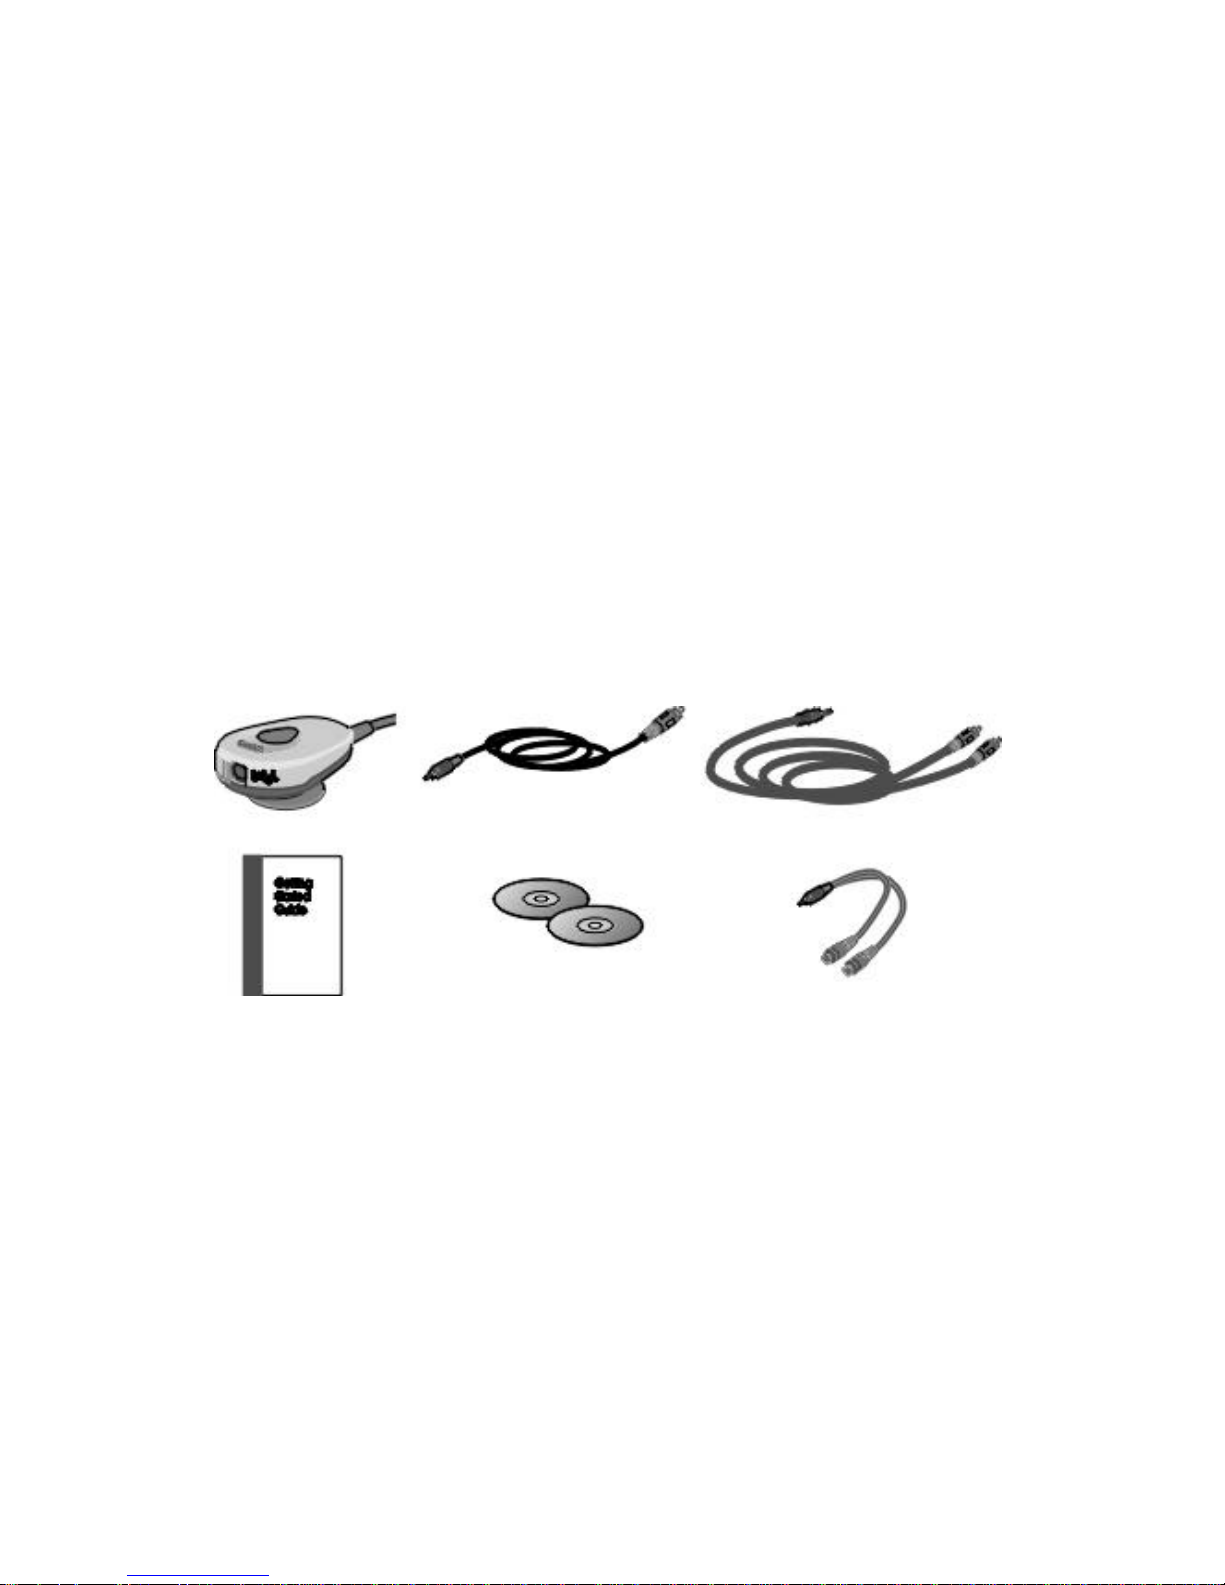
• PC Camera Games—Use the Intel PC
Camera Pro to put yourself into a virtual reality
where you can pop the falling bubbles, shoot
baskets, or hold the whole world in your hands.
To put yourself in the action, click the PC
Camera Games icon on the Home screen.
• Intel® Home Screen—The starting place for
all activity. From here you can access your
galleries, create new media files, launch the
video phone, email postcard application, the
home page builder application, the movie
builder application, PC camera games
software, and set up the camera to take
snapshots automatically.
• Intel® Gallery—The project and media file
manager within the software. From the gallery,
you can open and organize projects and video,
image, and sound files, collectively called
“media”.
• Intel® Snapshot— Quickly and easily take
snapshots using your PC camera. These
snapshots can be assembled into your own
online photo galleries, sent to others using
email, and incorporated into web pages or
movies.
• Intel® Scene Recorder—Record and trim
video clips to spice up a web page, add
interest to a presentation, or share a video
moment of your children with their
grandparents.
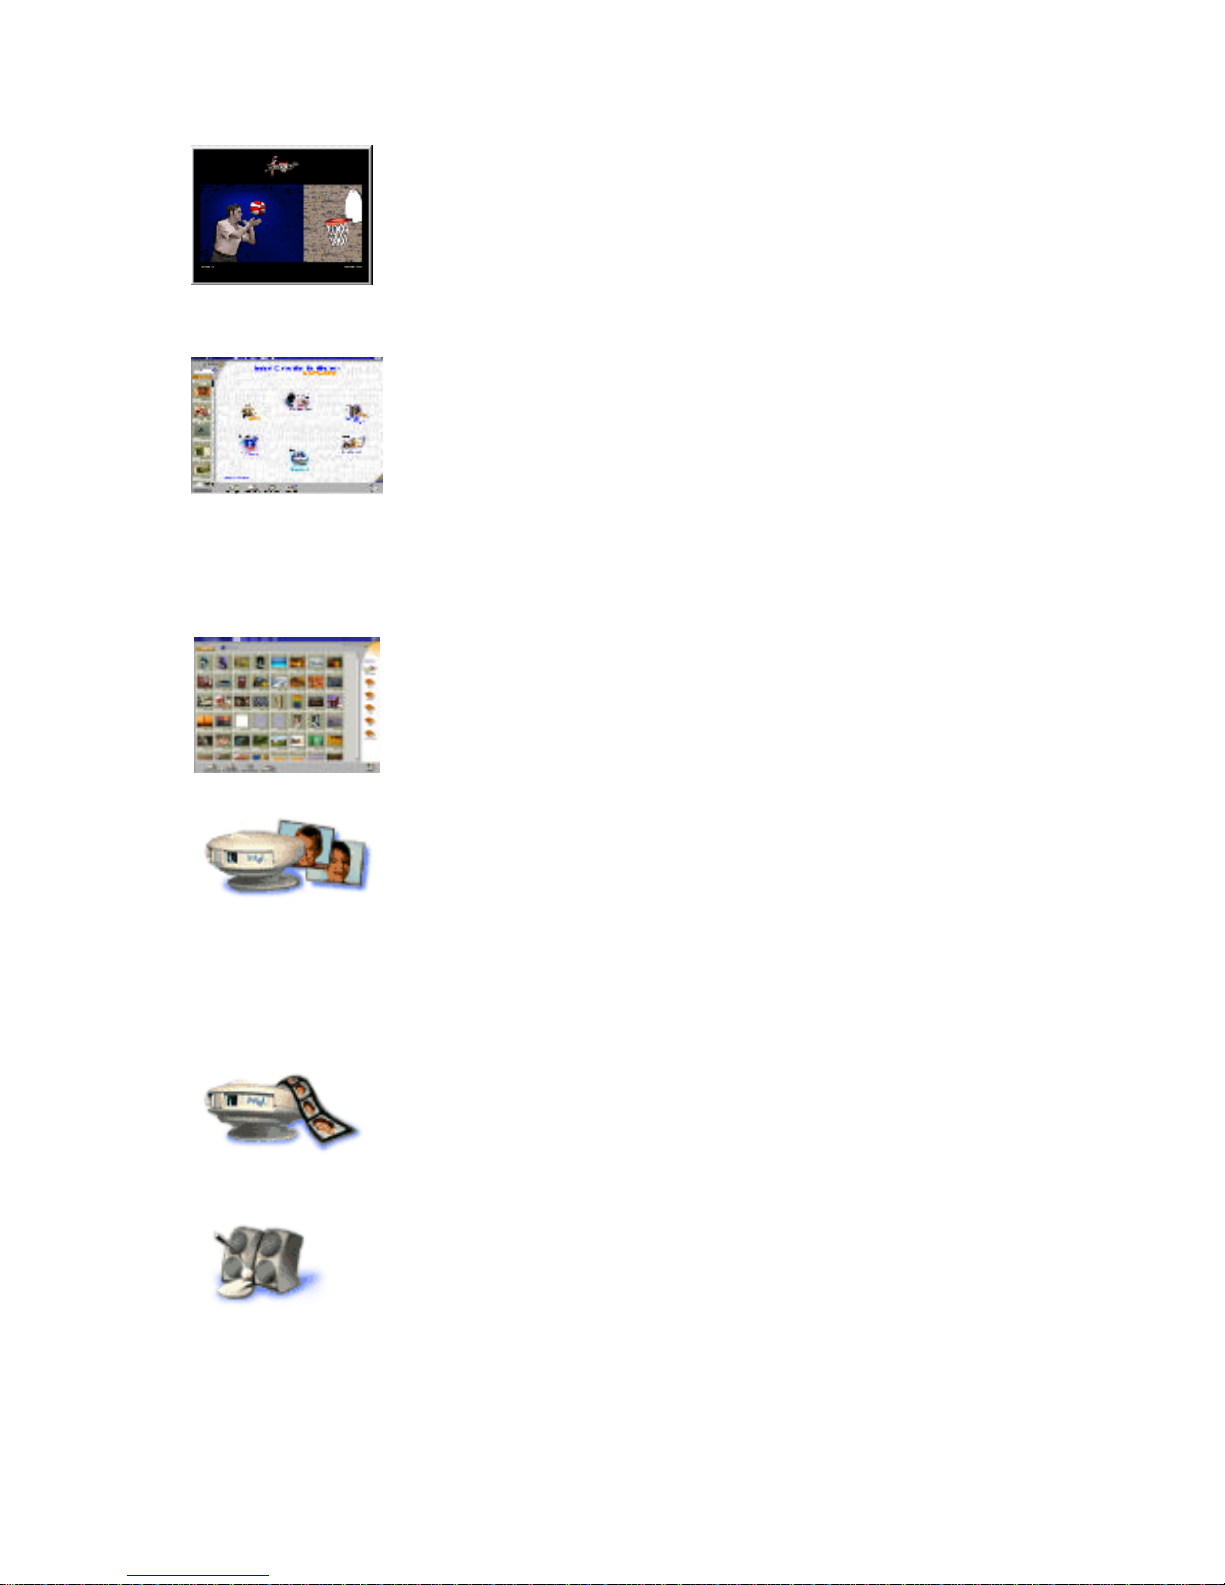
• Intel® Audio Recorder— Make audio files
that record your baby’s first words, narrate a
business presentation, or send an audio
message in an email postcard.
12 GETTING STARTED GUIDE
Page 15

Preparing for your first Internet
phone call
One of the most popular uses of the Intel Create &
Share Software is to make Internet video phone calls
using an Intel Video Phone.
You can make Internet video phone calls with anyone
who has a standards compatible (H.323) video phone
application. The following sections describe how to
make an Internet video call using an email address.
This method is the easiest way to call another Intel
Video Phone user because their email address is
automatically registered in the same directory listing
service as yours.
For more information about Internet video phone calls
and other calling methods, consult the Intel Video
Phone’s online Help.
Making Internet video phone calls
Note
The person you
are calling may
have a different
version of Intel
Video Phone or a
different video
phone
application. They
may need to
follow different
steps to place a
call.
The first five times you use the Intel Video Phone
software, the online help displays to guide you through
the details of making a successful video phone call.
The basics of making an Internet video
phone call:
To place a call to another Intel Video Phone user, you
must know their email address. This address MUST be
the same email address they typed when they installed
their video phone.
To check the email address of the person you are
calling have them:
1 Open their video phone.
2 From the Tools menu on their video phone,
choose Options.
3 The email address is found on the User Info tab.
Tip
To make a test
call, open your
browser and type
this URL:
www.intel.com/
PCcamera/
portals/
testcall.htm
Note
In other versions
of Intel Video
Phone software,
the email address
might be found
under the
Options or Set
Options buttons.
GETTING STARTED GUIDE 13
Page 16

Note
The person you
are calling must
have their video
phone running
and be connected
to the Internet.
To make an Internet video phone call:
1 Start Intel Video Phone.
Start the Intel Create & Share Software, and
then click Make a Video phone call on the
Home screen.
2 Establish an Internet connection.
Click the Internet button or the Internet On
button. In many cases, this will bring up your
Connect To dialog box where you can type your
user name and password.
If you are using an Online Service Provider, such
as America Online (AOL), you MUST manually
connect to the Internet before clicking the
Internet button.
3 Place an Internet video call.
a After Internet Ready appears in the status
area at the top of the video phone, click the
Call button.
b Type the email address of the person you
want to call.
c If you want to call someone who has a non-
Intel video phone application and who is
registered with a different directory service,
you must type the name of their directory
listing service in the Directory Services box.
For example, if the person you are calling is
using Microsoft NetMeeting*, type
ils.microsoft.com in the Directory Services
box.
d Click OK. After your audio connection is
established, you can talk to the person you
have called.
e To add video, one person clicks the Video
button. After your video connection is
established, the person you called can see
and hear you. If they have a camera on their
PC, you can see and hear them.
14 GETTING STARTED GUIDE
Page 17

4 End the call.
Click Hangup to end the call.
Depending on your modem, operating system, and
computer, you may also be able to make telephone
video calls over your regular telephone line.
To do so, your computer must include:
•A factory-installed Intel Video Phone software
and a Video-Ready modem
OR
•Windows 98 and a Video-Ready modem.
For information about making telephone video calls,
see Appendix B: Telephone Video Calls in the Intel
Create & Share Software Deluxe User’s Manual.
The Intel Create
& Share
Software Deluxe
User’s Manual
can be found at:
Start>
Programs> Intel
Create & Share
Software>
Manual> User’s
Manual.
Helpful Hints for making
Internet phone calls
To improve the sound quality:
• Speak slowly and clearly into the microphone
• Wait until the other person stops speaking
before you reply.
• Eliminate background noise from your area.
• Consider using a headset instead of speakers.
This allows you to use full-duplex audio,
eliminates feedback, and reduces background
noise. Headsets with built-in microphones work
as well.
• Keep the microphone away from the speakers
to avoid feedback
Full-duplex
when both parties
in a video phone
call can speak at
the same time.
• Ensure that the microphone’s volume is not too
loud.
GETTING STARTED GUIDE 15
Page 18

If you are experiencing difficulties:
• Mute the video and ask the other person to do
the same. Your audio will remain connected.
- Click the drop-down menu on the Mute
button.
To improve the video quality:
• Make your My video and Guest video windows
smaller and ask the other person to do the
same:
- Click the View menu and select a
smaller size.
• Put light in front of you, not behind you for a
well-lit image.
Other tips:
• Remember, the person you are calling may
have a different version of Intel Video Phone or
a different video phone application. Be patient
while making a call.
• Place the camera on top of your computer and
the microphone at least 6 inches from a
computer speaker.
• Disable call waiting on your regular telephone
line. (Consult your telephone directory for
details.)
• Make sure your phone and modem are
properly connected to your computer.
• You'll get a better connection quality if you try
to avoid connecting to the Internet at peak
times. These peak times are during evenings,
on holidays, and weekends
16 GETTING STARTED GUIDE
• If your modem supports it, a 56kbps
connection to the Internet means higher
quality Internet phone calls.
Page 19

For further instructions and solutions to common
problems, consult the online Help. For customer
support, check the Intel customer support Web site at:
http://support.intel.com/support/createshare/
camerapack
GETTING STARTED GUIDE 17
Page 20

A Technical Specifications
The following are the technical specifications for the Intel PC Camera
1
Pro
.
Characteristics Specification
Image Sensor Progressive scan CCD, 640 x 480
Image Format YUV 4:2:0
Interface Universal Serial Bus (Rev. 1.00)
Special Feature Flicker Free Operation (under 50 Hz/60 Hz
fluorescent lighting)
Maximum No. of Pixels 640 x 480
Resolutions (native) 640 x 480, 320 x 240, 160 x 120
Additional camera
(scaled) resolutions
available
Snapshot image
resolution (using
supplied software)
Video image resolution
(using supplied
software)
Frame rate
Min. Illumination 20 Lux
Gamma 0.45
White Balance Automatic or manual control
2
352 x 288, 176 x 144, 240 x 180, 240 x 176
640 x 480 maximum
640 x 480 maximum
30fps@160 x 120, 30fps@QCIF (176 x
144),30fps@CIF (352 x 288), 5 -
15fps@VGA (640 x 480)
Pan - Mechanical 360 deg
GETTING STARTED GUIDE 18
Page 21

Characteristics Specification
Lens F2.5
Tilt - Mechanical 22.5 deg down, 18 deg up
Connector Series A type of USB receptacle
Dimensions 71 mm x 45 mm x 109 mm
Safety Standards UL, cUL
EMC Standards FCC (B), CE, VCCI
1 For use only with UL listed PC.
2 Video capture and playback frame rate and resolution depend on many factors, including video
source, system configuration, and software used.
GETTING STARTED GUIDE 19
Page 22

Intel Camera Limited Warranty
Limited Warranty
Intel warrants that the Camera Hardware Product if properly used and installed, and the CD-ROM on
which the accompanying software is provided, will be free from defects in material and workmanship
for a period of one (1) year after the date of purchase.
If the Camera Hardware Product or the CD-ROM which is the subject of this Limited Warranty is
defective in material or workmanship during the warranty period, Intel, at its option, will:
• REPAIR the Camera Hardware Product by means of hardware and/or software; OR
• REPLACE the Camera Hardware Product or CD-ROM with a replacement Camera Hardware Product or CD-ROM; OR,
• If Intel is unable to repair or replace the Camera Hardware Product or CD-ROM, REFUND
the then-current value of the Camera Hardware Product or CD-ROM.
THIS LIMITED WARRANTY, AND ANY IMPLIED WARRANTIES THAT MAY EXIST UNDER
STATE LAW, APPLY ONLY TO THE ORIGINAL PURCHASER AND LAST ONLY FOR AS
LONG AS SUCH PURCHASER CONTINUES TO OWN THE CAMERA HARDWARE PRODUCT AND CD-ROM.
Extent of Limited Warranty
This warranty does NOT cover the performance or functionality of any computer software included in
the package with the Camera Hardware Product, this warranty only covers defects in the CD-ROM
media such as a broken CD-ROM or a defect in the CD-ROM that would prevent the CD-ROM from
being read by your personal computer’s CD-ROM drive. INTEL MAKES NO WARRANTY THAT
THE SOFTWARE PROVIDED WITH THIS CAMERA HARDWARE PRODUCT WILL FUNCTION WITHOUT INTERRUPTION OR OTHERWISE BE FREE OF ANOMALIES, ERRORS OR
"BUGS". INTEL MAKES NO WARRANTY WITH REGARD TO ANY SOFTWARE PROVIDED
WITH THIS CAMERA HARDWARE PRODUCT UNLESS SPECIFICALLY SET FORTH OTHERWISE IN A LICENSE AGREEMENT ACCOMPANYING SUCH SOFTWARE.
This limited warranty does not cover any costs relating to removal or replacement of any Camera
Hardware Product, CD-ROM, or software installed on your computer.
This limited warranty does not cover damages due to external causes, including accident, problems
with electrical power, usage not in accordance with product instructions, misuse, neglect, alteration,
repair, or improper installation.
How To Be Eligible For Warranty Coverage
In order to be eligible for warranty coverage, You MUST register the Camera Hardware Product with
Intel within thirty (30) days of purchase. Registration can be completed by following the instructions
in the "Register Online" program that is included on the CD-ROM that is included in the package
with the Camera Hardware Product.
How to Obtain Warranty Service
To obtain warranty service, you must return the Camera Hardware Product to Intel. Before returning
the Camera Hardware Product to Intel, you must contact Intel’s Customer Support Group at 1-916377-7000.
If you obtain warranty service from Intel, upon Intel’s verification that the Camera Hardware Product
or CD-ROM may be defective, you will be issued a Return Material Authorization (RMA). When you
return the Camera Hardware Product and CD-ROM to Intel, you must include the RMA number on
the outside of the package. Intel will not accept any returned Camera Hardware Product or CD-ROM
that has no RMA number on the package.
Page 23

If you return the Camera Hardware Product and/or CD-ROM to Intel, you must assume the risk of
damage or loss during shipping. You must use the original packaging or the equivalent, and you must
pay the postage.
Intel may elect to replace or repair the Camera Hardware Product and/or CD-ROM with either a new
or reconditioned product. The returned product shall become Intel’s property on receipt by Intel.
The replacement Camera Hardware Product and/or CD-ROM is warranted under this written warranty and is subject to the same limitations and exclusions for the remainder of the original warranty
period or ninety (90) days, whichever is longer.
WARRANTY LIMITATIONS AND EXCLUSIONS
THESE WARRANTIES REPLACE ALL OTHER WARRANTIES, EXPRESS OR IMPLIED
INCLUDING, BUT NOT LIMITED TO, THE IMPLIED WARRANTIES OF MERCHANTABILITY AND FITNESS FOR A PARTICULAR PURPOSE. INTEL MAKES NO EXPRESS WARRANTIES BEYOND THOSE STATED HERE. INTEL DISCLAIMS ALL OTHER WARRANTIES,
EXPRESS OR IMPLIED INCLUDING, WITHOUT LIMITATION, IMPLIED WARRANTIES OF
MERCHANTABILITY AND FITNESS FOR A PARTICULAR PURPOSE. SOME STATES DO
NOT ALLOW THE EXCLUSION OF IMPLIED WARRANTIES SO THIS LIMITATION MAY
NOT APPLY TO YOU.
ALL EXPRESS AND IMPLIED WARRANTIES ARE LIMITED IN DURATION TO THE LIMITED WARRANTY PERIOD. NO WARRANTIES APPLY AFTER THAT PERIOD. SOME
STATES DO NOT ALLOW LIMITATIONS ON HOW LONG AN IMPLIED WARRANTY LASTS,
SO THIS LIMITATION MAY NOT APPLY TO YOU.
LIMITATIONS OF LIABILITY
INTEL’S RESPONSIBILITY UNDER THIS, OR ANY OTHER WARRANTY, IMPLIED OR
EXPRESS, IS LIMITED TO REPAIR, REPLACEMENT OR REFUND, AS SET FORTH ABOVE.
THESE REMEDIES ARE THE SOLE AND EXCLUSIVE REMEDIES FOR ANY BREACH OF
WARRANTY. INTEL IS NOT RESPONSIBLE FOR DIRECT, SPECIAL, INCIDENTAL, OR
CONSEQUENTIAL DAMAGES RESULTING FROM ANY BREACH OF WARRANTY OR
UNDER ANY OTHER LEGAL THEORY INCLUDING, BUT NOT LIMITED TO, LOST PROFITS, DOWNTIME, GOODWILL, DAMAGE TO OR REPLACEMENT OF EQUIPMENT AND
PROPERTY, AND ANY COSTS OF RECOVERING, REPROGRAMMING, OR REPRODUCING
ANY PROGRAM OR DATA STORED IN OR USED WITH A SYSTEM CONTAINING YOUR
CAMERA HARDWARE PRODUCT CD-ROM OR ACCOMPANYING SOFTWARE.
SOME STATES DO NOT ALLOW THE EXCLUSION OR LIMITATION OF INCIDENTAL OR
CONSEQUENTIAL DAMAGES, SO THE ABOVE LIMITATIONS OR EXCLUSIONS MAY NOT
APPLY TO YOU.
THIS LIMITED WARRANTY GIVES YOU SPECIFIC LEGAL RIGHTS, AND YOU MAY ALSO
HAVE OTHER RIGHTS THAT VARY FROM STATE TO STATE.
Page 24

FCC Compliance Statement
This device complies with Part 15 of the FCC Rules. Operation is subject to the two following conditions:
1. This device may not cause harmful interference.
2. This device must accept any interference received, including interference that may cause undesired operations.
The board has been tested and verified to be within the energy emission limits for Class B digital
devices as defined in Part 15 of the FCC Rules. These limits are designed to provide reasonable protection against harmful interference in a residential situation. This board generates, uses and can radiate radio frequency energy and, if not installed and used in accordance with the instructions, may
cause harmful interference to radio communications. Installed correctly, it probably will not interfere
with your radio or TV. However, we do not guarantee the absence of interference.
If you modify the board in any way, without getting approval from Intel Corporation, your board may
violate FCC regulations. Violation of FCC regulations may cause the FCC to void your right to use
the modified board. Only peripherals (computer input/output devices, terminals, printers, etc.) certified to comply with the Class B limits may be attached to the computer containing the board. Operations with non-certified peripherals is likely to result in interference with radio and TV reception.
NOTE: Use only shielded, grounded cables.
If you suspect this board is causing interference, turn your computer on and off while your radio or
TV is showing interference. If the interference disappears when you turn the computer off and reappears when you turn the computer on, something in the computer is causing interference.
To reduce interference, try these suggestions:
• Change the direction of the radio or TV antenna.
• Move the computer or the radio or TV. For example, if the computer is to the right of the TV,
move it to the left of the TV. Or, move the computer farther away from the radio or TV.
• Plug the computer into a different outlet. Don’t plug your radio or TV into the same circuit as
your computer.
• Ensure that all expansion slots (on the back or side of the computer) are covered. Also, ensure
that all metal retaining brackets are tightly attached to the computer.
If these suggestions don’t help, consult your computer dealer or an experienced radio/TV technician
for more suggestions.
Industry Canada’s Compliance Statement
This Class B digital apparatus meets all requirements of the Canadian Interference-Causing Equipment Regulations.
Cet appareil numérique de la classe B respecte toutes les exigences du Règlement sur le matériel
brouilleur du Canada.
Page 25

Intel World Wide Web Support
You can reach Intel’s automated support services 24 hours a day, every day at no charge. The services
contain the most up-to-date information about Intel products. You can access installation instructions,
troubleshooting information, and general product information.
Intel Help Files: View the online help in each application and the README files included with the
product for detailed information on product features and functions.
If you don’t have access to automated services: Contact your local retailer or call one of Intel’s
Customer Support Centers.
World Wide Web
Customer Support: http://support.intel.com/support/createshare/camerapack/
Troubleshooting Assistant: http://support.intel.com/support/createshare/
camerapack/tsa.htm.
Intel Customer Support Technicians
North America: For 90 days you are entitled to speak to our technical support professionals, however,
standard phone charges will apply. After your initial 90 days of unlimited technical phone support,
you can pay per incident using a credit card.
Important: At the time of your call, please be at your computer and have your serial number ready.
Support options are subject to change without notice.
Country Telephone Number
North America 1-916-377-7000
Spare parts and additional accessories are available for your camera pack. Please refer to http://
support.intel.com/support/createshare/camerapack/1839.htm.
 Loading...