

Intek HR-5500 Owner's Manual
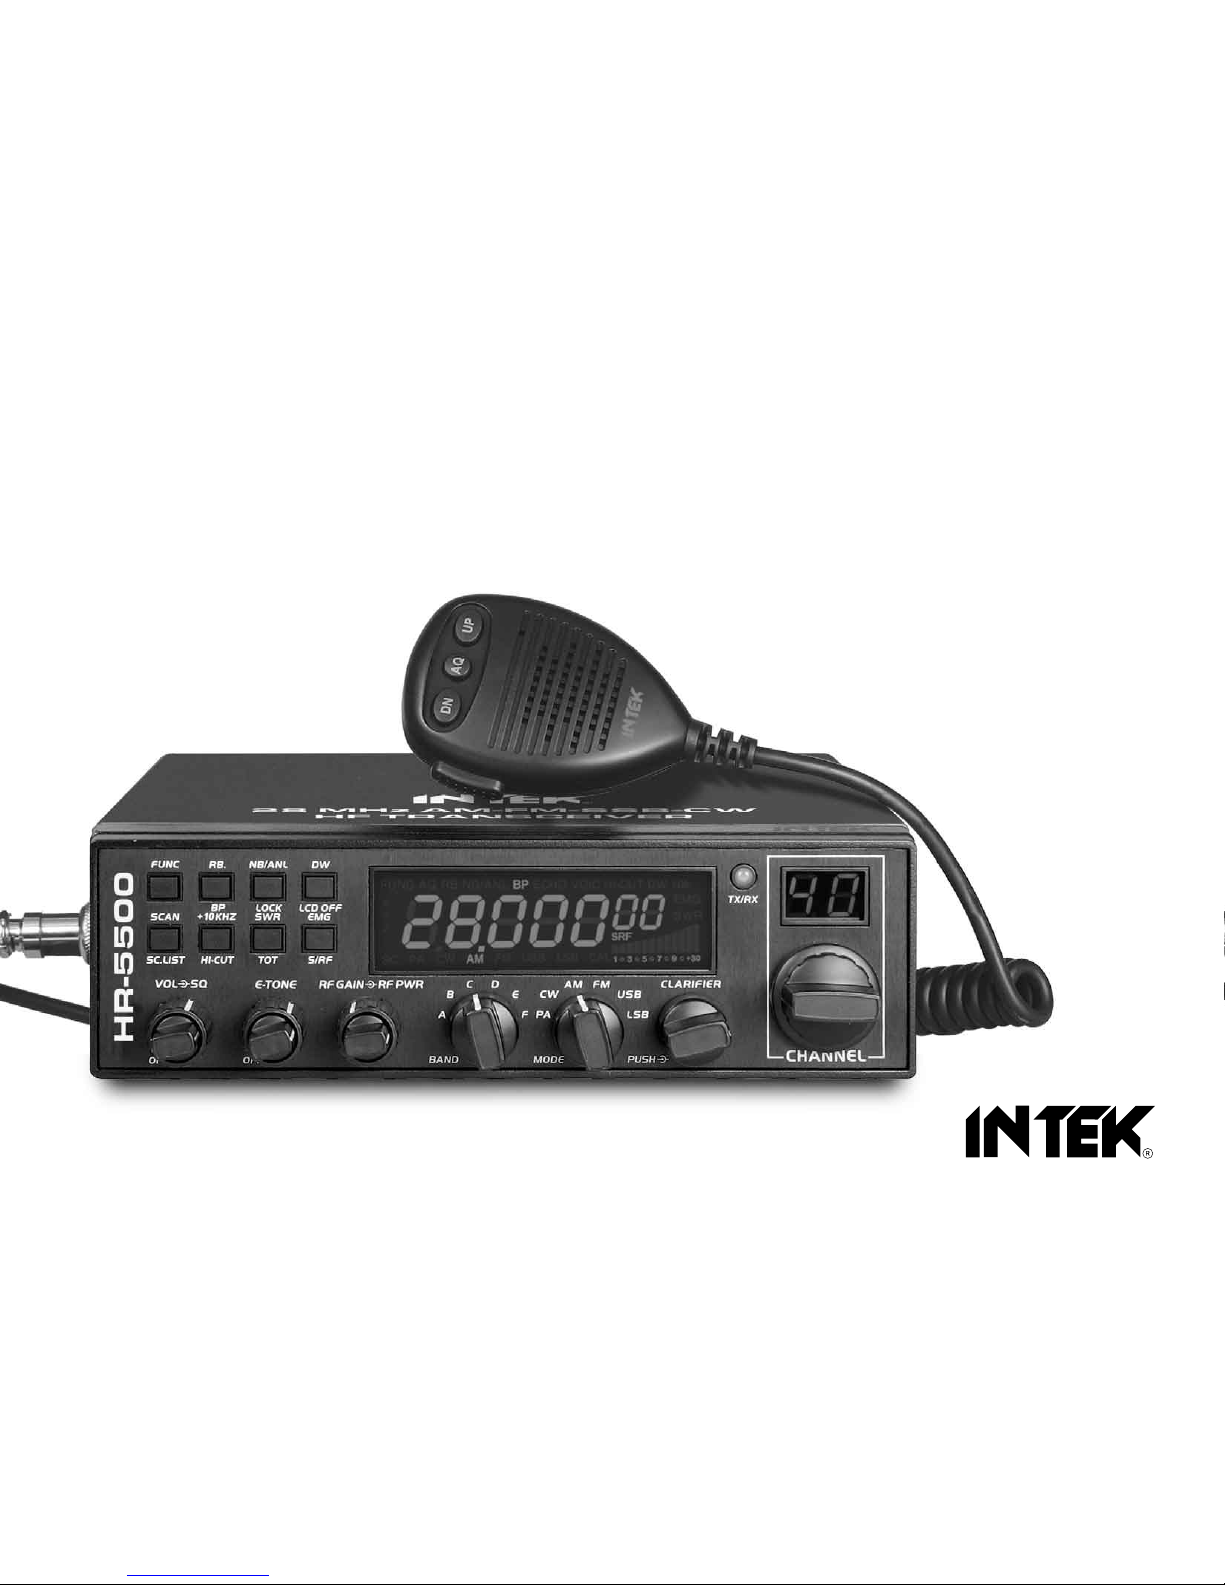
OWNER'S MANUAL
MANUALE DI ISTRUZIONI
28 MHZ AM-FM-USB-LSB-CW
AMATEUR RADIO HF TRANSCEIVER
HR-5500
With the present declaration, we certify that the following products :
INTEK HR-5500
comply with all the technical regulations applicable to the above mentioned products
in accordance with the EC Directives 2006/95/EC, 2004/108/EC, 99/5/EC.
Type of product : 28 MHz HF Amateur Radio Equipment
Details of applied standards : EN 301 783-1 V1.2.1, EN 301 783-2 V1.2.1
EN 301 489-1 V1.8.1, EN 301 489-15 V1.2.1
EN 60950-1 +A11
Manufacturer : INTEK S.R.L.
Via G. Marconi, 16
20090 Segrate, Italy
Tel. 39-02-26950451 / Fax. 39-02-26952185
E-mail : intek.com@intek-com.it
Notified Body : EMCCert Dr. Rasek
Boelwiese 5, 91320 Ebermannstadt
Germany
Identification Number : 0678
Contact Reference : Armando Zanni
Tel. 39-02-26950451 / Fax. 39-02-26952185
E-mail : intek.com@intek-com.it
Segrate, 01/12/2011 dr. Vittorio Zanetti
(General Manager)
DECLARATION OF CONFORMITY
EC Certificate of Conformity
(to EC Directive 2006/95, 2004/108, 99/5)
Declaration of Conformity
RoHS
2002/95/EC
0678
CH

NOTICE !
It is recommended to carefully read this owner’s manual before using the product. This will also help the user to prevent using the radio in violation of the regulations
valid in the country where the product is used, as well as to avoid any possible interferences with other services.
Index - Notice
Index - Notice . . . . . . . . . . . . . . . . . . . . . . . . . . . . . . . . . . . . . . . . . . . . . . . . . . . . . . . . . . . . . . . . . . . . . . . . . . . . . . . . . . . . . . . . . . . . . . . . . . . . . . . . . . . . . . . . . . . .1
Notice . . . . . . . . . . . . . . . . . . . . . . . . . . . . . . . . . . . . . . . . . . . . . . . . . . . . . . . . . . . . . . . . . . . . . . . . . . . . . . . . . . . . . . . . . . . . . . . . . . . . . . . . . . . . . . . . . . . . . . . . . .1
Introduction - Content of the packaging . . . . . . . . . . . . . . . . . . . . . . . . . . . . . . . . . . . . . . . . . . . . . . . . . . . . . . . . . . . . . . . . . . . . . . . . . . . . . . . . . . . . . . . . . . . . . 2
Function and Features . . . . . . . . . . . . . . . . . . . . . . . . . . . . . . . . . . . . . . . . . . . . . . . . . . . . . . . . . . . . . . . . . . . . . . . . . . . . . . . . . . . . . . . . . . . . . . . . . . . . . . . . . . . .3
Installation . . . . . . . . . . . . . . . . . . . . . . . . . . . . . . . . . . . . . . . . . . . . . . . . . . . . . . . . . . . . . . . . . . . . . . . . . . . . . . . . . . . . . . . . . . . . . . . . . . . . . . . . . . . . . . . . . . . 4 - 6
Controls and Operation . . . . . . . . . . . . . . . . . . . . . . . . . . . . . . . . . . . . . . . . . . . . . . . . . . . . . . . . . . . . . . . . . . . . . . . . . . . . . . . . . . . . . . . . . . . . . . . . . . . . . . . 6 - 10
Function Menu Setup . . . . . . . . . . . . . . . . . . . . . . . . . . . . . . . . . . . . . . . . . . . . . . . . . . . . . . . . . . . . . . . . . . . . . . . . . . . . . . . . . . . . . . . . . . . . . . . . . . . . . . . . 10 - 13
Specifications . . . . . . . . . . . . . . . . . . . . . . . . . . . . . . . . . . . . . . . . . . . . . . . . . . . . . . . . . . . . . . . . . . . . . . . . . . . . . . . . . . . . . . . . . . . . . . . . . . . . . . . . . . . . . . . . . .14
Optional Accessories . . . . . . . . . . . . . . . . . . . . . . . . . . . . . . . . . . . . . . . . . . . . . . . . . . . . . . . . . . . . . . . . . . . . . . . . . . . . . . . . . . . . . . . . . . . . . . . . . . . . . . . . . . . . 15
User Information . . . . . . . . . . . . . . . . . . . . . . . . . . . . . . . . . . . . . . . . . . . . . . . . . . . . . . . . . . . . . . . . . . . . . . . . . . . . . . . . . . . . . . . . . . . . . . . . . . . . . . . . . . . . . . . 15
Notes . . . . . . . . . . . . . . . . . . . . . . . . . . . . . . . . . . . . . . . . . . . . . . . . . . . . . . . . . . . . . . . . . . . . . . . . . . . . . . . . . . . . . . . . . . . . . . . . . . . . . . . . . . . . . . . . . . . . . . . . .16
NOTICE !
This radio is an Amateur Radio HF transceiver, designed to work on the 28 MHz frequency band reserved to Amateur Radio communication. This transceiver has been
manufactured and factory programmed, in order for the user to operate the radio immediately after purchase. The radio covers the 28 MHz (10-Meter) Amateur Radio
HF frequency band (frequency range 28.000-29.700 KHz). The manufacturer is not responsible for any modification to the hardware or software of the product, which
might possibly cause the radio to operate illegally and/or out of this frequency range
.
- 1 -

- 2 -
Introduction - Content of the packaging
Congratulations!
Congratulations for selecting and purchasing a INTEK quality product. INTEK HR-5500 is a 10-Meter band Amateur Radio transceiver using
advanced hardware and software design. This transceiver includes a number of advanced functions and systems, therefore it is definitely necessary
to carefully read this owner’s manual before using the radio. With a correct use of the product in accordance with the operating method described in
this manual, the product will offer a trouble free use for many years. INTEK is constantly engaged to develop and provide quality products meeting
the customers requirements, however any suggestion or comments on this product that might help us to improve quality are warmly welcome.
Content of the packaging
Please check that all the following items are contained in the packaging :
Main unit (transceiver)
DC power cord with fuse holder and fuse
Dynamic microphone
Car mounting bracket
Car mounting bracket accessories (hardware, knobs, etc.)
Microphone bracket
Owner’s manual

- 3 -
Functions and Features
FUNCTIONS AND FEATURES
1. Big LCD which displays frequency and all kinds of information
2. DUAL-DIGITAL TUBE FOR CHANNEL DISPLAY
3. USE EL technology for backlight
4. PA, CW, AM, FM, USB, LSB modes
5. 6 bands in total, with 60 channels at most in each band to be
programmed.
6. Frequency Tuning Step can be 10Hz, 100Hz, 1KHz or 10KHz.
7. Multiple CLARIFIER Operating Modes
8. Flexible menu functions and PC programming software to meet
varied customer demands
9. ECHO Function
10. SQ, ASQ Function (FM and AM mode only)
11. RF GAIN ADJUSTMENT
12. RF PWR ADJUSTMENT
13. SCAN FUNCTION
14. RB FUNCTION
15. NB/ANL FUNCTION
16. DW DUAL-WATCH FUNCTION
17. BEEP VOICE PROMPT
18. +10KHZ Function
19. SWR, S/RF, DC Voltage display function
20. TOT function
21. HI-CUT FUNCTION
22. EMG CALL
23. SWR PROTECTION
24. POWER SUPPLIED VOLTAGE PROTECTION
25. Key-Lock Function
WARNING
To use the radio, please connect the antenna to the location "B" on
the back panel of the equipment firstly and then set the SWR
(Standing Wave Ratio) before transmitting. Failure to do so may
result in destruction of the power amplifier, which is not covered by
the guarantee.
RESET FUNCTION (Resume Factory Default)
This Radio introduces RESET FUNCTION to prevent accidents and
provide a solution for customers who changed some functions
unconsciously and do not know how to resume normal settings. The
Radio will resume factory default once this function is activated.
How to Operate:
Step 1: Power off the radio.
Step 2: Press and hold FUNC and SCAN keys at the same time,
followed by powering on the radio.
Step3: Release the two keys when LCD displays "RES".
All former settings would be replaced by Factory Default value when
LCD displays "REND" .
WARNING: All former settings would be replaced by Factory Default
value after operating the RESET FUNCTION.
- 4 -
Installation
INSTALLATION
1. WHERE AND HOW TO MOUNT YOUR RADIO
a) You should choose the most appropriate setting from a simple and
practical point of view.
b) Your radio should not interfere with the driver or the passengers.
c) Remember to provide different wires for passing and protection. (e.g.:
power, antenna, accessory cabling) so that they do not in any way
interfere with the driving of vehicles.
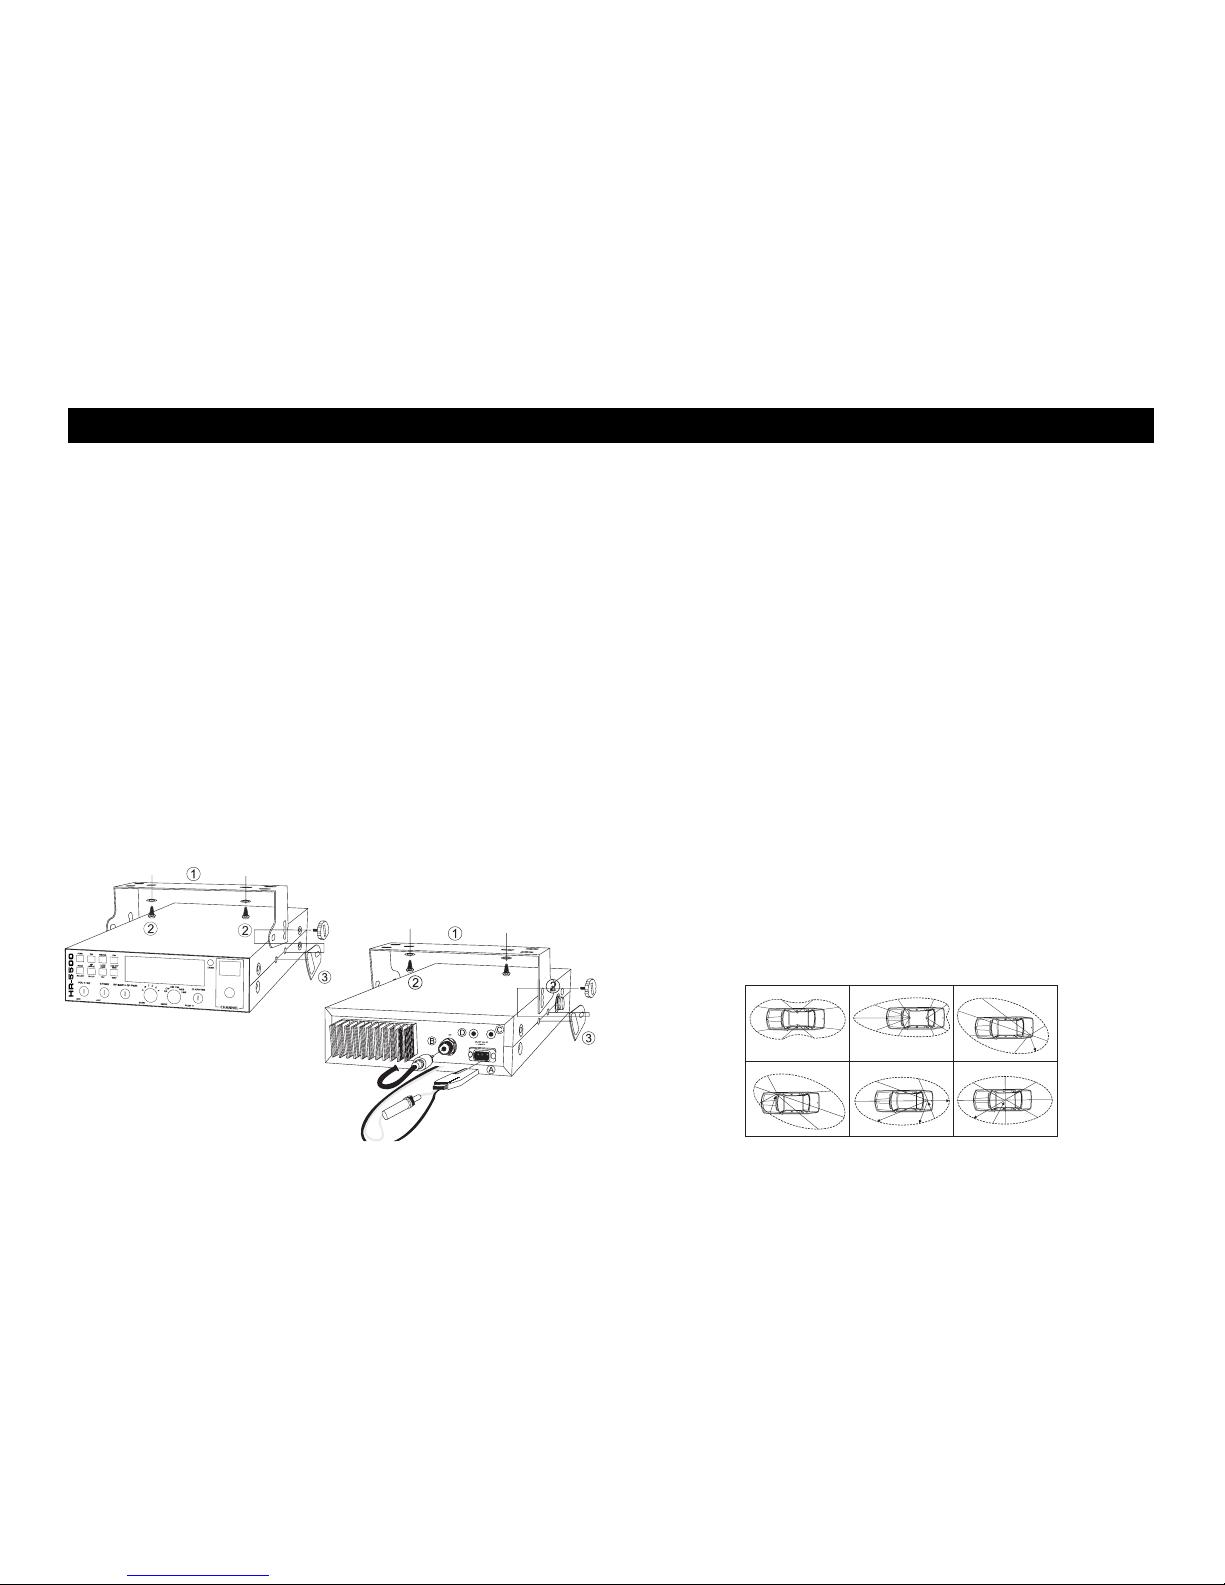
d) To install your equipment, use the cradle (1) and the self-tapping screws
[2] provided (drilling diameter 5 mm). Take care not to damage the
vehicle’s electrical system while drilling the dash board.
e) Do not forget to insert the rubber joints [3] between the radio and its
support as these have a shock-absorbing effect which permits gentle
orientation and tightening of the set.
f) Choose where to place the microphone support and remember that the
microphone cord must stretch to the driver without interfering with the
controls of the vehicle.
2. ANTENNA INSTALLATION
a) Choosing your antenna:
For radios, the longer the antenna, the better its results. Your dealer will
help you with your choice of antenna.
b) Mobile antenna:
- Must be fixed to the vehicle where there is a maximum of metallic
surface(ground plane) , away from windscreen mountings.
- There are two types of antenna: Pre-Regulated Antenna which should
be used on a good ground plane (e.g. car roof or lid of the boot), and
Adjustable Antenna which offer a much larger frequency range and can
be used on a smaller ground plane.
For an antenna which must be fixed by drilling, you will need a good
contact between the antenna and the ground plane. To obtain this, you
should lightly scratch the surface where the screw and tightening star
are to be placed.
- Be careful not to pinch or flatten the coaxial cable (as this runs the risk
of break down and/or short circuiting).
- Connect the antenna to location.
c) Fixed antenna:
A fixed antenna should be installed in a space as clear as possible. If it
is fixed to a mast, it will perhaps be necessary to stay it, according to the
laws in force (you should seek professional advice). All HR-5500
antennas and accessories are designed to give maximum efficiency to
each radio within the range.
 Loading...