

Infratech SL 16XX series, SL 24XX Series, SL 30XX Series, SL 40XX Series, SL 2424 Installation, Use & Care Manual
...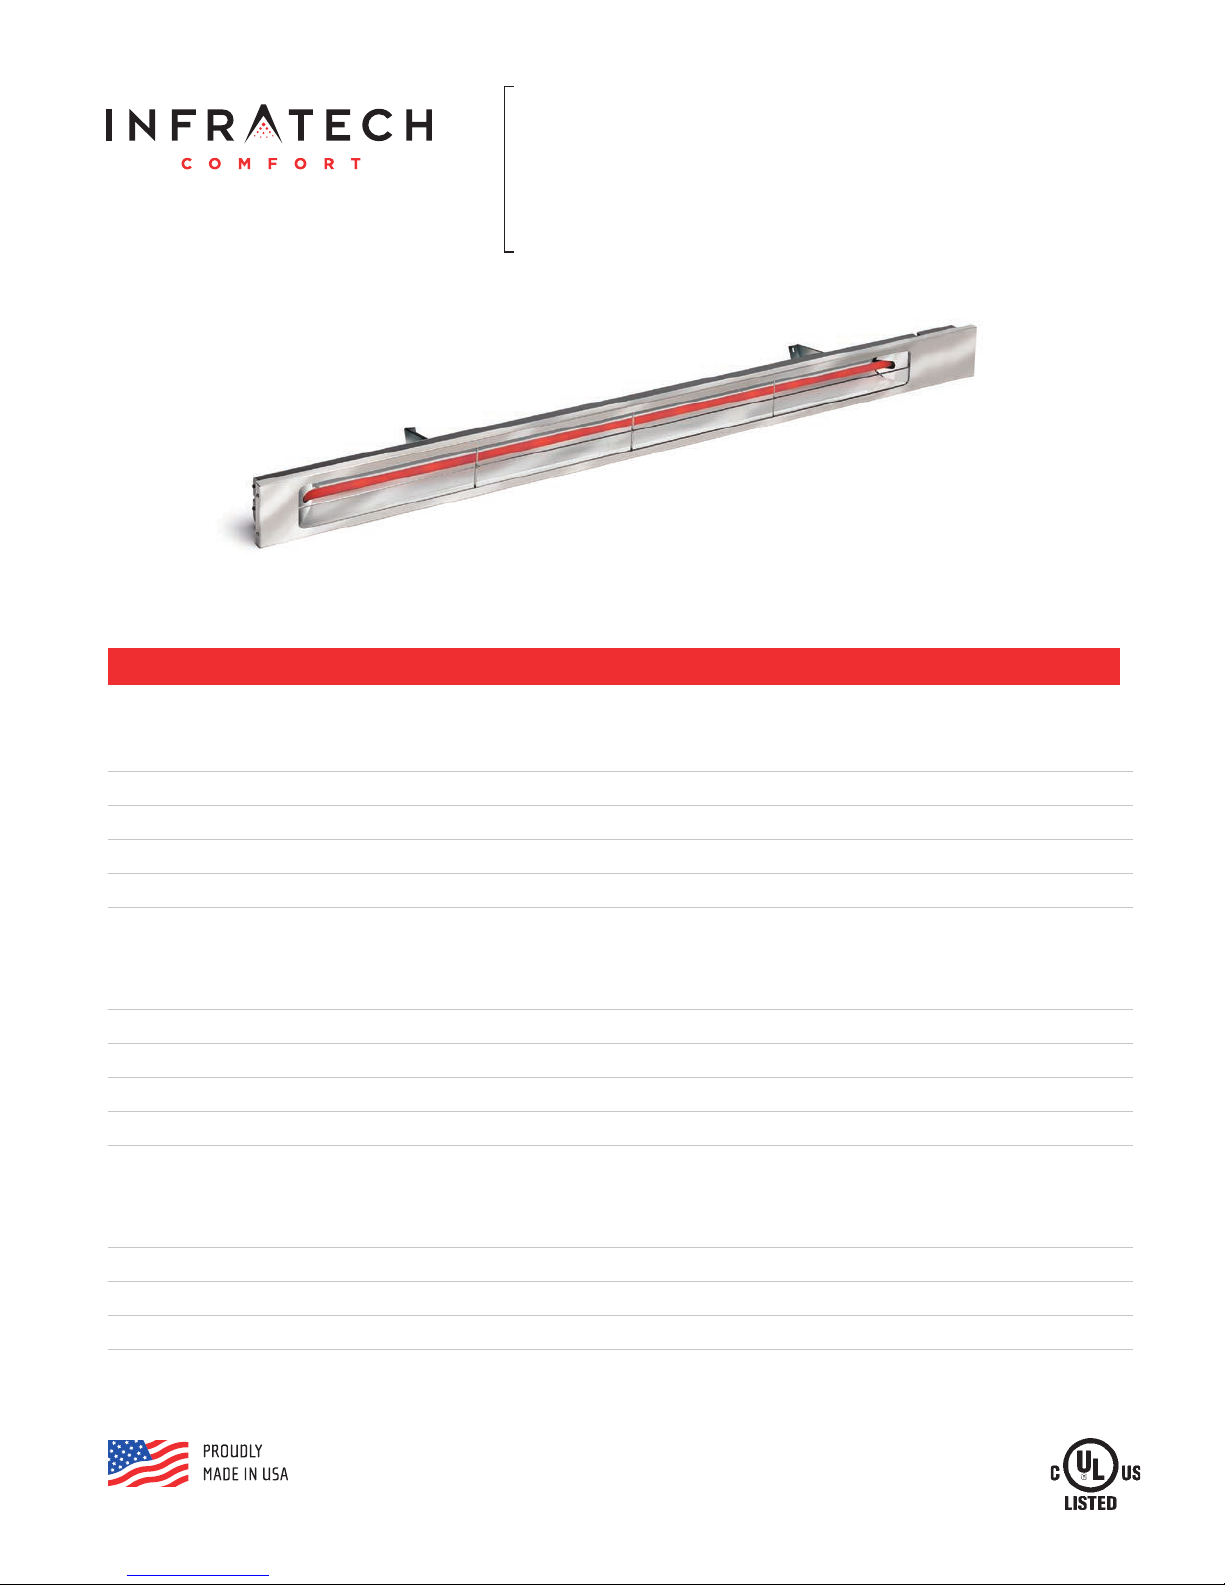
TABLE OF CONTENTS
INSTALLATION USE & CARE MANUAL
ALL WEATHER SL-SERIES QUARTZ TUBE
ELECTRIC INFRARED RADIANT HEATER
IMPORTANT INFORMATION
Warnings 2
Installation Instructions 3
Wiring Instructions 3
Outdoor Installation 3
Maintenance Instructions 3
APPLICATION INFORMATION
Mounting Instructions 3-4
Typical Wiring (Schematics) 4
General Notes 5
Areas Covered (Table) 5
Location Suggestions 7
PARTS LIST
Parts List 6
Trouble Shooting Guide 6
Warranty 8
Warranty Registration 8
SAVE THIS MANUAL FOR FUTURE REFERENCE

WARNINGS
READ ALL INSTRUCTIONS BEFORE USING HEATER
Unit may be a source of possible shock. NEVER attempt to service heater without disconnecting its power source.
Source of possible ignition.
CAUTION
High Temperature, risk of fire, keep electrical cords, drapery, furnishings and other combustibles at least 3 feet
(0.9m) from the front of heater and away from sides and rear.
MOUNTING HEIGHT/CLEARANCES
CLEARANCE FROM COMBUSTIBLES:
MIN. 6" CLEARANCE
BEHIND HEATER
MIN. 18" FROM
SIDES AND ENDS
OF HEATER
MIN. 36" IN FRONT
OF HEATER
· For Wall-Mounting, do not install heater closer than 18" (45.7cm) from adjacent walls and 6" (15.2cm) from
ceiling and do not install less than 6' (1.8 m) if the heater is labeled as UL Listed and 8' (2.4m) if the heater is
labeled as UL/CUL Listed from floor, while heater is set at a downward angle of 30 to 60 degrees.
· For Ceiling-Mounting, do not install heater closer than 18" (45.7cm) from adjacent walls and 6" (15.2cm) from
ceiling and do not install less than 6' (1.8 m) if the heater is labeled as UL Listed and 8' (2.4m) if the heater is
labeled as UL/CUL Listed from floor, while heater is at a maximum 30 degrees.
· Adjacent Heaters to be installed no less than 3' (0.9 m) apart.
· Do NOT operate within 25 feet of flammable/explosive material.
· Never block heater.
· Heaters greater than 240 Volts are for “Commercial Use Only. Risk of fire. Do not use as a residential or
household heater.”
· A means for disconnection of the appliance must be incorporated in accordance with the local wiring codes.
· Do not use if the heating element is damaged or cracked.
“IMPORTANT INSTRUCTIONS”
“SAVE THESE INSTRUCTIONS”
2
INSTALLATION INSTRUCTIONS
This heater must be permanently installed and hard wired by a licensed electrician in accordance with local electrical
codes. Assembly procedure must be performed with no electrical power to unit.
Step 1: Check UL/CE label on heater for proper voltage.
Step 2: Follow supplied wiring instructions
WIRING INSTRUCTIONS
The heater is drilled and threaded for standard 1/2" conduit fittings. The installing electrician will need to provide the
appropriate rigid metallic, flexible or liquid tight conduit for the installation location.
Use only copper wire suitable for 90°C.
Observe local electrical code regulations.
OUTDOOR INSTALLATION
Step 1: Heater must be mounted with reflector angled down.
Step 2: All electrical connections must be in compliance with the National Electric Code and local codes for outdoor wiring.
Step 3: Use only wiring components UL/CE listed for outdoor use with IP X 4 minimum rating.
MAINTENANCE INSTRUCTIONS
Before performing any maintenance, power must be disconnected and the heater cool to touch.
Heater housing, reflector and heating element can be rinsed with a hose or wiped down with isopropyl alcohol, acetone,
or glass cleaner, using a clean, scratch-free rag or paper towel. Any oxidation, surface rust or discoloration can be
removed with stainless steel cleaner or metal polish on the bare metal surface.
Make sure all water, solvents or cleaners are removed and the heater is dry before reconnecting power.
MOUNTING INSTRUCTIONS
These models may be chain or bracket mounted to any ceiling or horizontal surface. Installation must be such that 18"
minimum clearance is maintained around the heater on 4 sides and 36" directly in front. 6" of clearance provided by
mounting brackets is required behind the plane of the face.
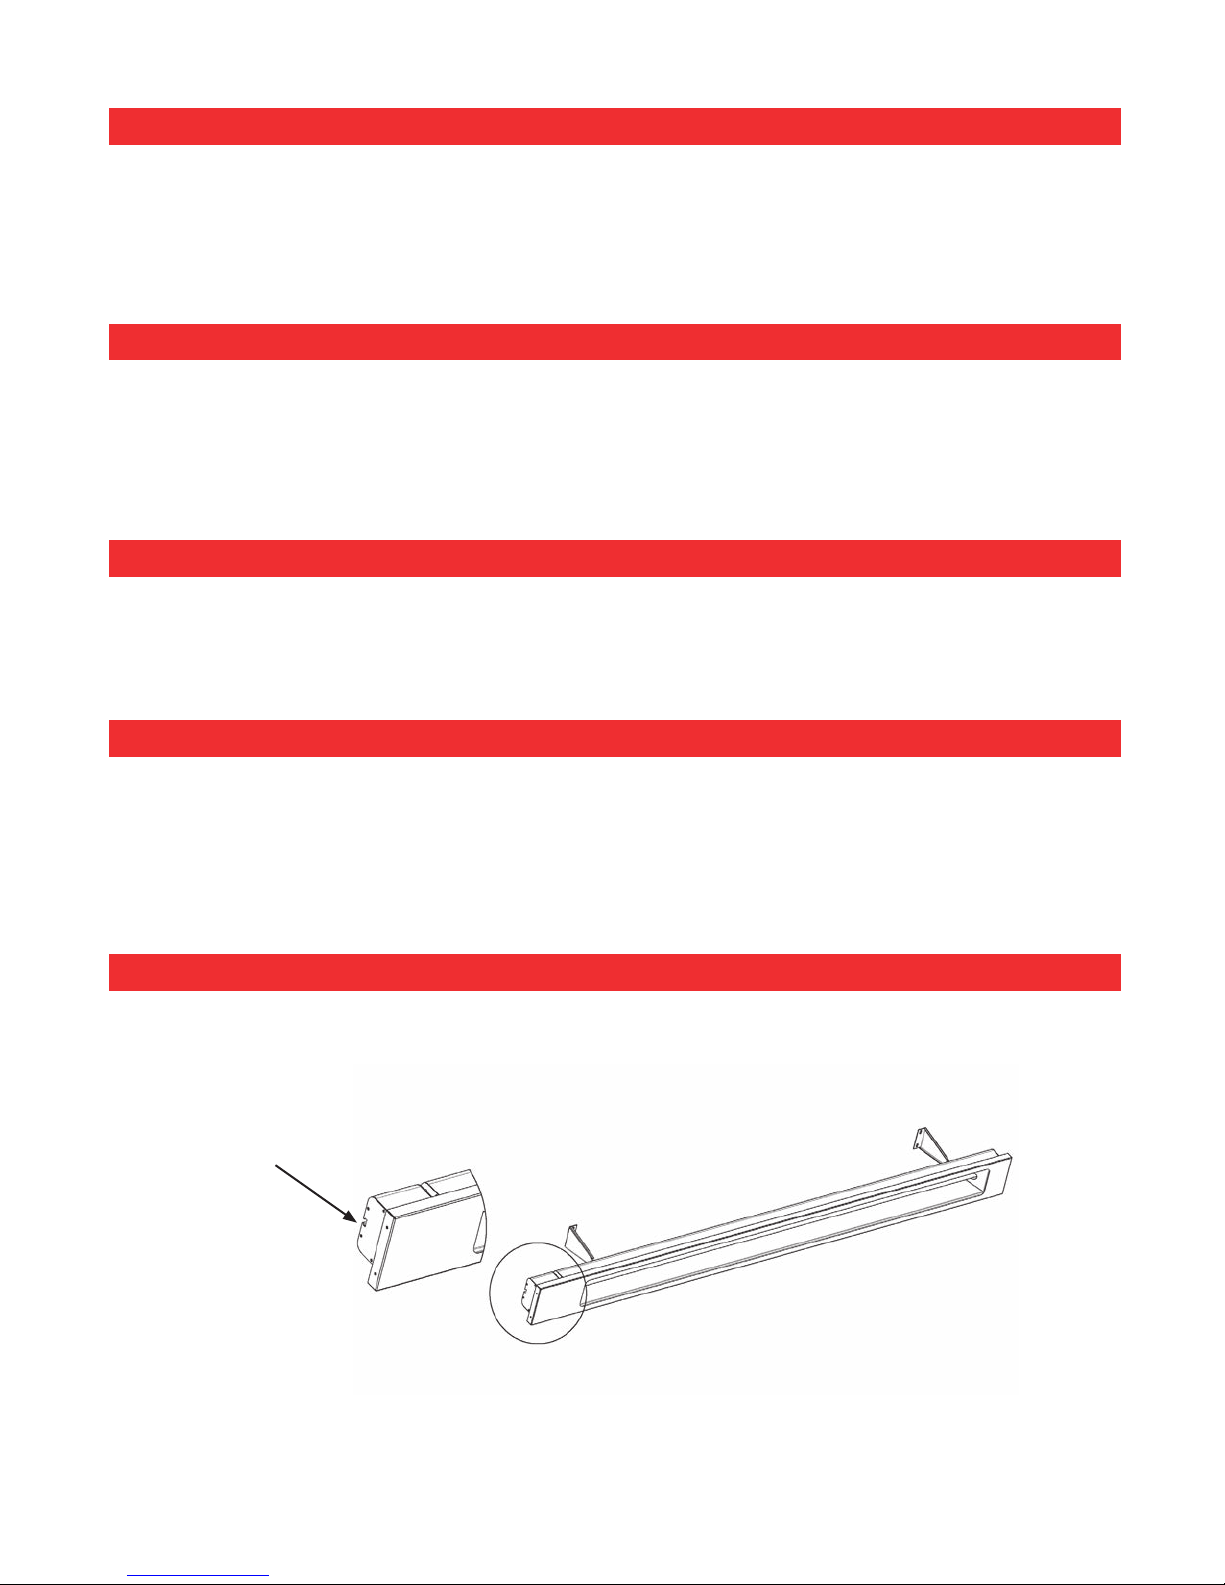
“T” SLOT
Adjustable wall/ceiling brackets are furnished with all SL-series heaters. Brackets have positive stops at 30°and 60°.
When used, they allow heater to be fastened to wall and then tipped down to 60°; for ceiling mount, tilted to 30° max.
Brackets are positioned along a “T” slot on back of unit. You must maintain a minimum distance between the mounting
brackets to ensure a stable installation.
3
 Loading...