

Page 1
i mpact
lighting equipment and accessories
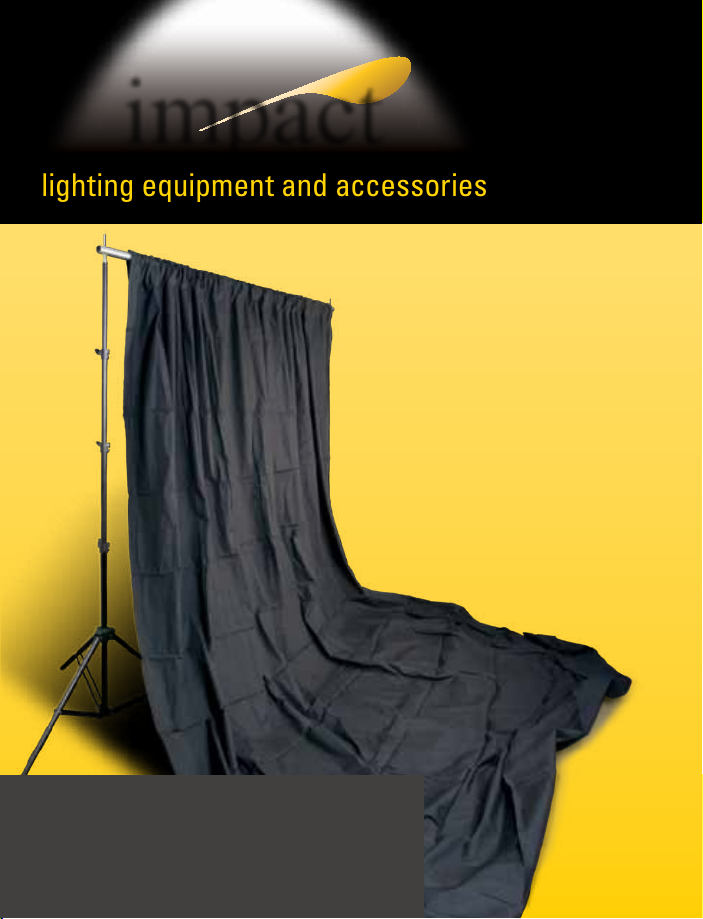
Background Support System
INSTRUCTIONS
Cloth b ackdrop
not incl uded
unles s purchased
as a kit.
Page 2

Thank you for purchasing the Impact Background Suppor t System. We
designed this background support system from 16-gauge aluminum tubing to
be strong but lightweight. It will support seamless paper rolls up to 11´ in
length or 12´-wide sheets of muslin. The four cross-bar sections can be
combined into 6´, 9´, or 12´ lengths. Two air-cushioned support stands have
three positive-locking knobs and are adjustable from 39˝ to 10.5´. The stand
tops are equipped with 3/8˝ spigots, which can be removed for the 1/4˝-20
and 5/8˝ studs underneath. Non-skid suppor t feet give your backdrop added
stability. The heavy-duty canvas carry bag has a separate sleeve for each
piece, cutting down on the noisy clanking that occurs with simpler kits.
We trust that our background support system will serve your creative
inspirations reliably for years to come. Please read these instructions
carefully on how to set up this equipment.
The basic Impact Background Suppor t System contains the following:
• Two support stands • Four cross-bar sections
• Canvas carry bag • User manual
If you purchased this background support system as a k it , you may also have a clo th
background, seamless backdrop paper, clamps, sandbags , or ot her accessories . To see
all of our accessories, please visit our Web site: ww w.impact st udioligh ting.com.
All ima ges in this manua l are for illustrat ive purposes onl y. Your sys tem may differ sl ightly from the o ne pictured.
Page 3
Setting Up Your Background Support System
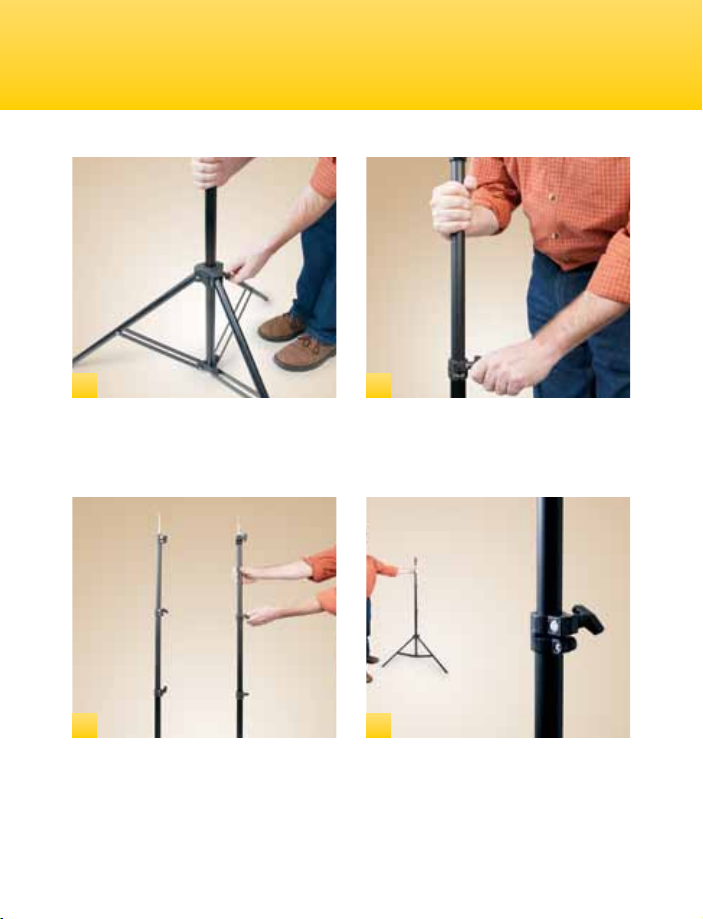
1 2
Start with one of the stands. Unlock the
legs by turning the knob counter-clockwise.
Spread the leg sections, but maintain a low
center of gravity. Re-tighten the knob.
Raise t he height of the s tand by unlocking
the sections. Start w ith the lowest knob,
and raise each section to your desired
height. Re-t ighten each knob.
3 4
Congure the second s tand to match the
rst.
Place the two st ands approximately
where you want the backdrop to hang.
You’ll be able to adjust them once you get
the cross bar in place.
Page 4

5 6
Next , assemble the cross bar. You can
assemble the cross bar sections into a 6, 9,
or 12-foot length. The ends of your cross
bar must be the sections with oval holes.
7 8
Twist until the at indents align. This
locks the pieces. Cont inue adding
sections in this way, keeping the sections
wit h the oval holes on the two ends.
Connect one section to anot her by
inser ting a knobbed end into an open end.
Twist the t wo sections unt il you can insert
the knobbed end all the way.
Mount the cross bar onto the spigots.
You may need to adjust the position of t he
stands. Make cer tain the suppor t system
is steady and in position before adding
backdrops.
Page 5

9 10
Your Impact Background Suppor t System
will now suppor t a cloth or seamless paper
background.
11 12
If you’re using seamless paper as your
background, lif t one end of your crossbar
from its support s tand. Slide the paper
roll over the crossbar, then remount the
cross bar.
For a cloth background, you’ll have to rst
remove the cross bar. Slide the cross bar
into the pocket on top of the background.
Then remount the cross bar.
Pull down the paper roll to the desired
length. Secure t he seamless paper roll
wit h clamps or gaffers’ tape to prevent it
from unrolling.
Page 6

13
It’s a good practice to secure the legs of
your background supports with a sandbag
or weight bag.
14
You can unscrew the 3/ 8˝ spigot tops from
the suppor t stands and use the 1/4˝-20
and 5/8˝ studs to mount lights or other
lighting equipment . Don’t lose the spigot!
15
A cloth background ready for shooting. A seamless paper background ready for
16
shooting.
Page 7

Accessories
Impact Muslin Backgrounds
Impact Muslin Shee t Backgr oun ds are
grea t for both studio and locat ion work .
Made from 10 0% high-qualit y cotton,
these shee ts are available in a varie ty of
colors and sizes. They are seamless and
feature a 4 ˝ rod pocket on top for
hanging. A carr y bag is included, and the
background is machine was hable.
Impact Sandbags (Full)
Impact Sandbags come in a variety of
shapes, weights, and are either black or
orange. They are used f or anchoring the
bases of light s tands and set walls.
The saddle-s tyle sandbags have t wo
wings so they can be draped over light
stand legs . Each side of the bag has a
hand strap for easy han dling and hanging
on hooks. T he out er shell is wat er
resistan t, heav y-duty cordura ny lon.
Impact Sandbags (Empt y)
Impact Sandbags also come in an empt y
version with a double-z ippered closure.
They can be lled with sand, small rocks ,
or anything heav y, and emp tied a t the
end o f the shoot. They come in a variet y
of sizes and capacit ies.
To see these accessories and all of our light ing equipment ,
please visi t our Web site.
ww w.impactstudiolighting.com
Page 8

Impact provides a limited warrant y that t his product is free f rom defects in
materials and workmanship to t he original purchaser under normal use for a
period of one (1) year from the original purchase date. Impac t’s responsibility
wit h respect to this limited warranty shall be limi ted solel y to repair or
replacement, at it s option, of any product which fails during normal consumer
use. This warrant y does not ex tend to damage or failure which resul ts from
misuse, neglec t, accident , alteration, abuse, improper ins tallation or
maintenance. To obtain a replacement during the time of this warrant y,
please return the defective item with proof of purchase along with an RMA
number to the place of purchase. This warran ty gives you specic legal
rights, and you may also have other rights which var y from state to state.
©Co pyrigh t 200 9 Impact
To see all of our lighting equipment,
please visit our Web site.
impact
ww w.impactstudiolighting.com
 Loading...