


 Loading...
English
Model : iMM178
Instruction Manual
Vibe PlusTM
INTRODUCTION
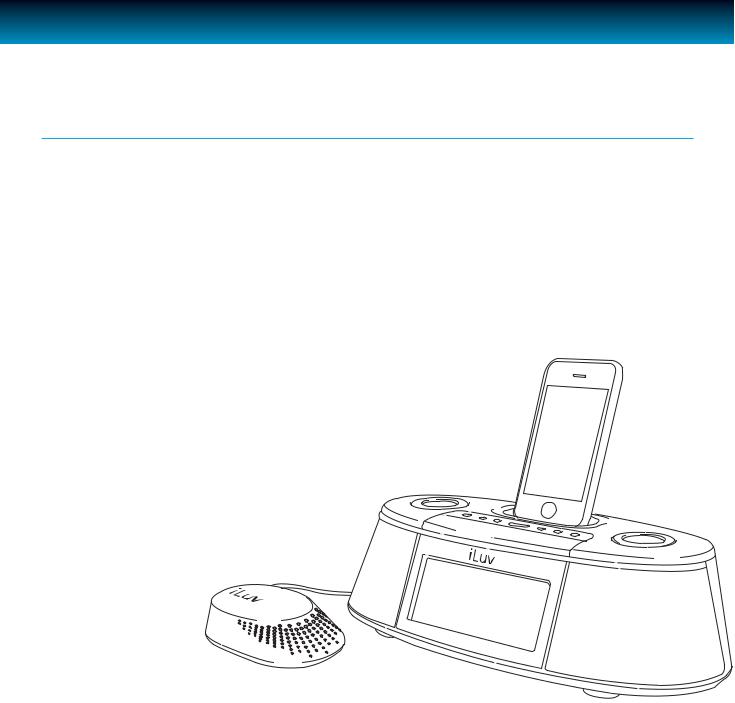
Congratulations on your purchase of the new iMM178 for your iPhone or iPod. Please keep this manual for future reference.
Desktop Alarm Clock with Bed Shaker for your iPhone or iPod
·Built-in speakers allow you to hear your music with depth and clarity
·Large display; easy to read
·LCD dimmer level control
iPod and iPhone*
·Enjoy rich sound from your iPhone or iPod
·Plays and charges your iPhone or iPod
·Integrated universal dock for your iPhone or iPod
Digital Dual Alarm Clock
· Digital clock display with dual alarm clock
·Bed shaker vibrates a bed or pillow to wake up the heaviest sleepers
·Wake to iPhone or iPod, FM radio, buzzer, or bed shaker
·Sleep to iPhone or iPod, FM radio
Radio
· FM stereo radio
· PLL digital tuning technology · Programmable presets
for 8 radio stations
1 | iLuv

INTRODUCTION
What’s included
·AC adapter
·Bed shaker
* iPhone 3GS, iPhone 3G, iPhone, iPod touch 2nd generation, iPod nano 5th generation, iPod nano 4th generation, iPod touch 1st generation, iPod nano 3rd generation, iPod classic, iPod nano 2nd generation, iPod with video, iPod nano 1st generation, iPod 4th generation, iPod mini.
iMM178 | V10M10_IM_EN_01262010 |
iLuv | 2 |

TABLE OF CONTENTS
INTRODUCTION |
1 |
|
GETTING STARTED |
|
|
Installing the AC Adapter |
4 |
|
Protect your Furniture |
4 |
|
Installing a Dock Adapter |
4 |
|
Location of Controls on the Main Unit |
5 |
|
Power ON/OFF |
6 |
|
Back Up battery |
6 |
|
Back Up Function |
6 |
|
OPERATIONAL INSTRUCTIONS |
|
|
Setting the Clock |
7 |
|
Setting the Alarm |
10 |
|
Using the Snooze Function |
12 |
|
Using the Sleep Function |
13 |
|
Listening to your iPhone or iPod |
14 |
|
Using the Shaker Speaker |
15 |
|
Listening to the Radio |
15 |
|
Charging your iPhone or iPod |
17 |
|
Adjusting the Brightness of the LCD Screen |
17 |
|
Setting the Bass and Treble |
17 |
|
Resetting the Unit |
17 |
|
TROUBLESHOOTING GUIDE |
18 |
|
USER SAFETY GUIDE |
19 |
|
SPECIFICATIONS |
25 |
|
3 | iLuv

GETTING STARTED
Installing the AC Adapter
Locate the AC adapter jack on the back of the unit. Insert the AC adapter cable into the jack, and plug into the wall outlet.
Protect your Furniture
This model is equipped with foam ‘feet’ to prevent the product from moving when you operate the controls.
Installing a Dock Adapter
1.How to insert a dock adapter
a.Please use dock adapter that came with your iPod or iPhone
b.Using the correct dock adapter ensures the proper fit for your iPod or iPhone.
c.Gently push the dock adapter down into the universal dock.
d.Carefully place your iPod into the universal dock. Your iPhone or iPod must not be in a case or “Skin”.
2.How to remove the dock adapter
·Remove your iPod or iPhone first, then carefully remove the dock adapter.
iMM178 | V10M10_IM_EN_01262010 |
iLuv | 4 |

GETTING STARTED
Location of Controls on the Main Unit
1. |
iPhone/iPod dock |
11. |
SEARCH knob |
|||||
2. |
VOLUME knob |
12. |
SELECT button |
|||||
3. |
MODE button |
13. |
SETUP button |
|||||
4. |
|
/ AL OFF button |
14. |
SLEEP button |
||||
|
||||||||
|
||||||||
5. |
Alarm 1 button |
15. |
MEMORY button |
|||||
6. |
Alarm 2 button |
16. |
PLAY/PAUSE |
|
|
|
/PRESET/ AUTO SCAN button |
|
|
|
|||||||
|
|
|||||||
7. |
SNOOZE/DIMMER button |
17. |
LCD screen |
|||||
8. |
DC power jack(12V/2A) |
18. |
BED SHAKER jack |
|||||
9. |
FM ANT. |
19. |
SPEAKER SELECTOR switch |
|||||
10. Speaker (SHAKER) |
20. |
Volume switch (SHAKER) |
||||||
1
2
3
4
5
6
7
8
9
10
11
12
13
14
15
16
17
18
19
20
5 | iLuv
GETTING STARTED
Power
ON
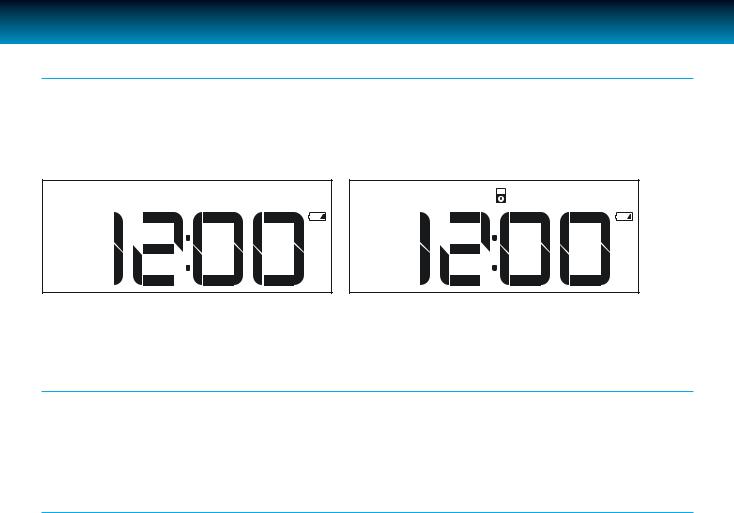
Connect AC power adapter to the unit. Then plug into AC wall outlet. Clock will appear on LCD. Press  /AL OFF to turn on the unit. Power indication LED will light and LCD will display current playing mode.
OFF
Press  /AL OFF to turn off the unit. LCD will display current time only.
Back Up battery
Insert three (3) AAA batteries. When there’s a power outage, clock setting will be maintained. In this status, the unit will not fully function. When the inserted battery is low, low battery indicator will display on the LCD.
Back Up Function
If the AC supply is interrupted, the clock display we will make memory function for FM preset even power is outage will go off and most of settings will be canceled. To back up the clock, insert three “AAA” size batteries (not supplied) in the battery compartment in the bottom of the unit. The back up battery does not provide operation of your iPhone or iPod.
Note: Always use Alkaline batteries and remove the batteries when the unit is not to be used for an extended period of time.
iMM178 | V10M10_IM_EN_01262010 |
iLuv | 6 |
Loading...