

Iluv iHD171 Instruction Manual

Model : iHD171
Instruction Manual
HD Radio™ Receiver with iTunes Tagging
English
INTRODUCTION
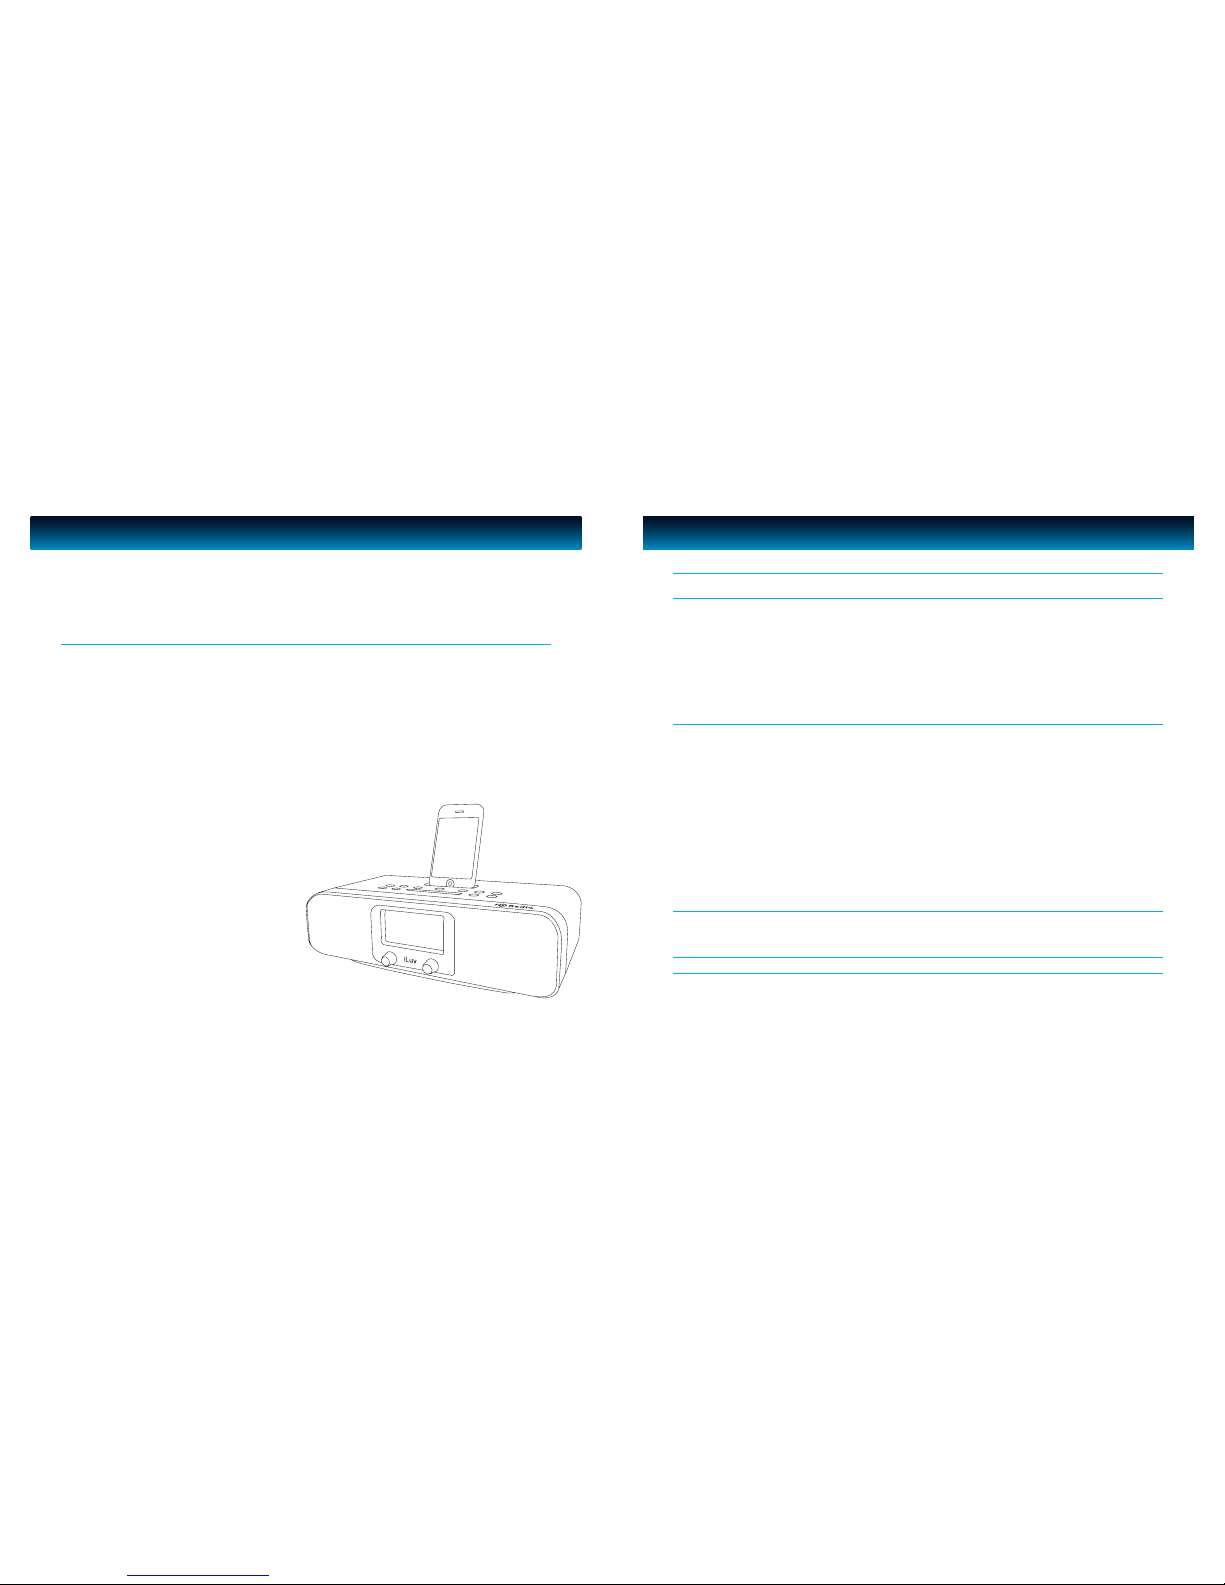
Congratulations on your purchase of the new iLuv iHD171 HD Radio™ receiver with iTunes tagging.
Targeted specically to work with your iPhone and iPod, iLuv stereo audio system with the built-in
universal dock provides advanced audio and radio performance that brings out the best in your music.
Do not forget to keep this manual for future reference.
HD Radio receiver with iTunes tagging
HD Radio receiver
• Provides crystal clear, digital stereo for AM/FM HD Radio and multicast stations
• Receive HD radio signals to increase the clarity of your FM radio stations to CD-quality sound
• Displays information such as station and song name, band, frequency and more if available from the station
• One touch “iTunes Tagging” ; tag a currently playing song from HD Radio receiver and download it to your iPod*
• Receives standard analog AM and FM stereo radio
• PLL digital tuning technology
• Programmable presets for 30 radio stations (10 for AM / 20 for FM)
iPod
• Enjoy rich sound from your iPhone or iPod**
• Plays and charges your iPhone or iPod**
• Outputs your favorite videos to your TV if your iPhone or iPod**
Digital Dual Alarm Clock
• Digital clock display with dual alarm function
• Wake to iPod, AM/FM radio, or buzzer
• Sleep to iPod, AM/FM radio
What’s included
• Main unit
• Remote control (battery included)
• Dock adapters
• Video cable
• Audio patch cable (3.5mm to 3.5mm)
• AM loop antenna
• FM antenna
• Instruction manual
* ”iTunes Tagging” function supports iPod 5th generation (video), iPod classic, iPod nano 3rd and 4th generation, iPod touch 1st and 2nd generation
and iPhone, iPhone 3G. Note: Make sure the latest iPhone or iPod software is installed or tagging may not work. For information on how to update
your iPhone or iPod with the latest software, refer to the User Manual for your iPhone or iPod.
** Compatible with any iPod with dock connector (Excluding 1st, 2nd, and 3rd generation iPod)
*** Including iPod 5th generation (video), iPod classic, iPod nano 3rd and 4th generation, iPod touch 1st and 2nd generation, iPhone and iPhone 3G
Introduction
Getting Started
Power Source
Installing the Backup Batteries
Protect your Furniture
Installing the Remote Control Battery
Preparing the Remote Control
Installing the Dock Adapter
Location of Controls on the Main Unit
Location of Controls on the Remote Control
Location of Indications on the LCD Screen
Operational Instructions
Using the Time Sync Feature
Setting the Clock Time and Calendar
Setting the Alarm Time
Using the Alarm
Snooze/Dimmer Operation
Sleep Operation
Listening to the Radio
Storing Preset Stations
iTunes Tagging
Charging your iPhone or iPod
Listening to your iPhone or iPod
Using your iPhone
Listening to a Non-Docking iPod of other Portable Audio Devices
Watching Videos on an External Monitor or TV
Maintenance and Troubleshooting Guide
Maintenance
Troubleshoot ing
User Safety Guide
Specications
TABLE OF CONTENTS
1
3
3
3
4
4
4
5
6
7
8
8
9
9
10
10
11
12
13
14
14
15
15
16
17
17
19
26
iLuv | 2iHD171 | V10M10_IM_EN_1030081 | iLuv
GETTING STARTED
• This HD Radio System operates from AC120V/60Hz line power supply.
• The Remote Control operates on 1 Lithium battery, CR2025 (Included).
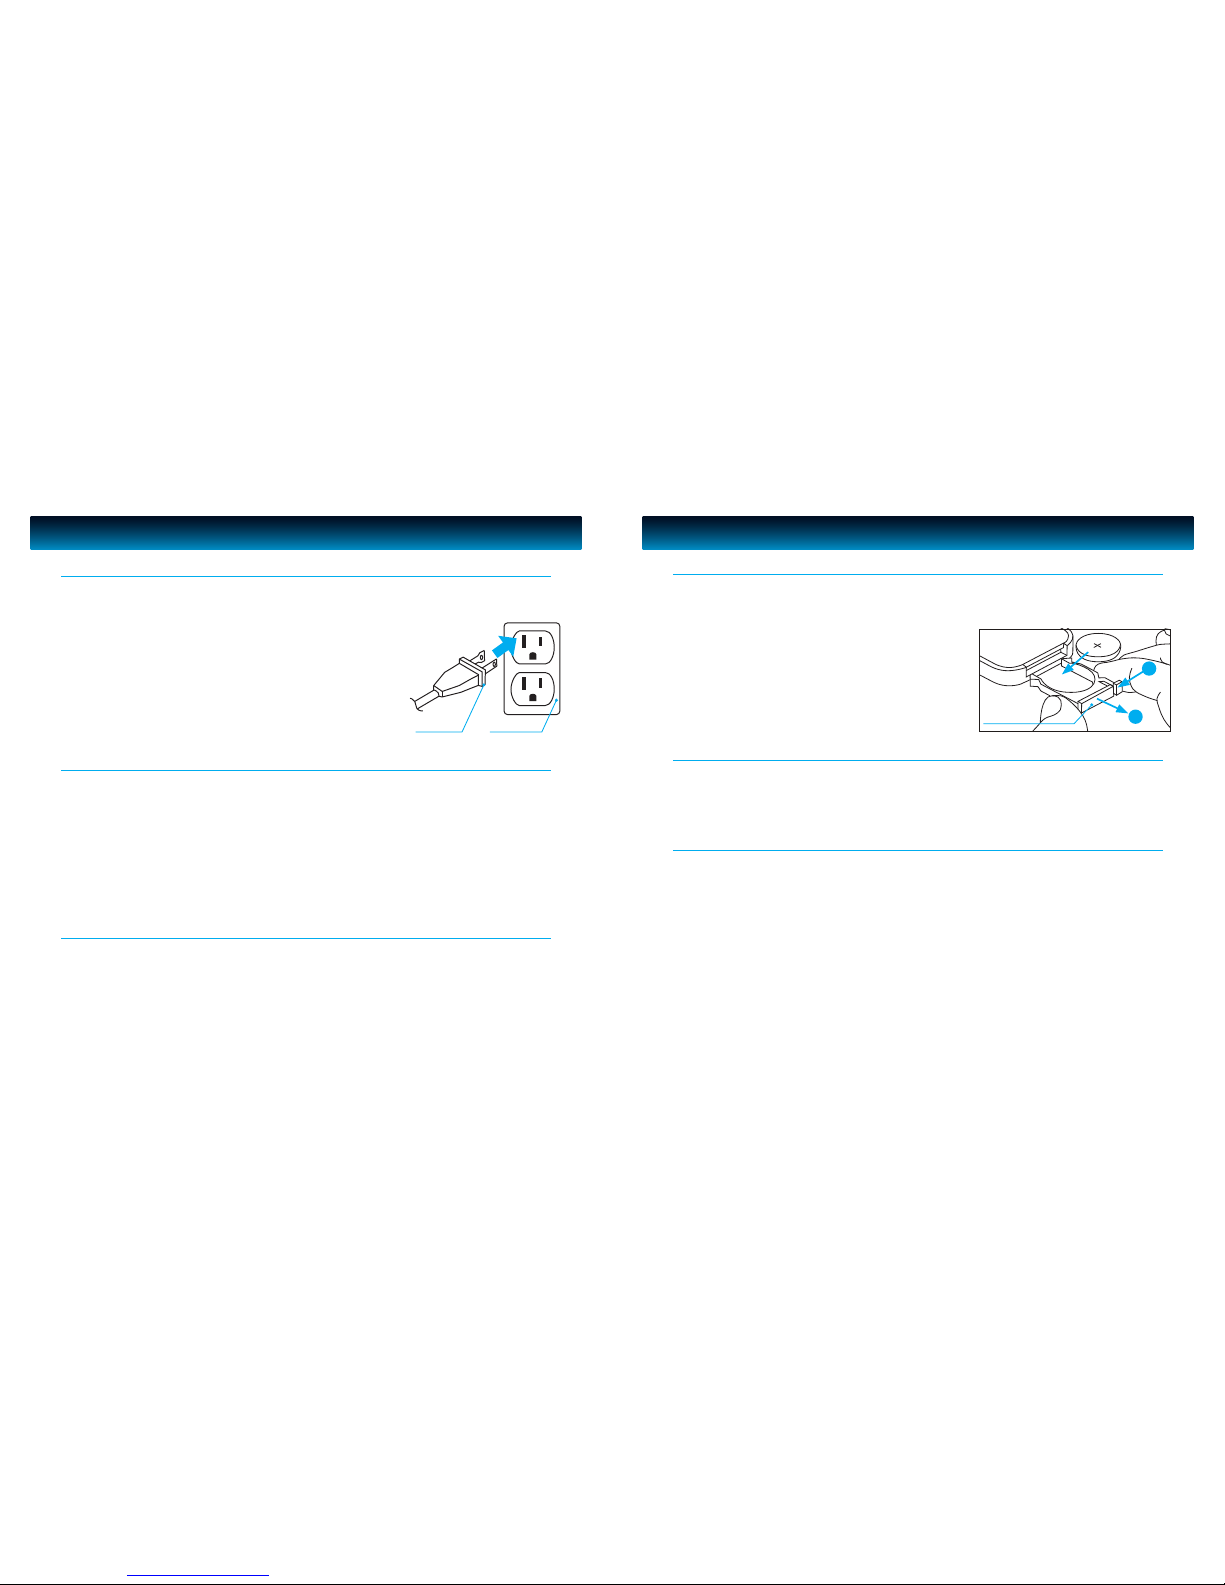
Insert the AC plug into a standard 120V AC outlet as shown in the diagram
on this page. The Radio will automatically go into standby mode.
Power Source
Note:
The system has an AC plug and will only t into matching AC outlets. This
is a safety feature to reduce the possibility of electric shock. If the plug will
not t in your AC outlets, you should have the outlet changed by a qualied,
licensed electrician. Do not use an adapter to make the plug t into your
outlet. This defeats the safety feature and could expose you to electric shock.
The clock radio uses a backup battery system to provide continuous alarm operation and clock settings
in the event of a power failure. If the Backup Battery has been installed and a power failure occurs or the
DC cord is accidentally disconnected, the display will not remain lit, but the current time and alarm time
settings will be temporarily maintained. Otherwise, you must reset the time and alarm settings.
1. Make sure the AC power is connected. Otherwise all settings may be lost during battery replacement.
2. Open the battery compartment cover located on the bottom of the unit.
3. Attach a 9V battery to the connector and insert into the battery compartment.
4. Close the compartment cover.
Installing the Backup Batteries
AC Plug AC Oulet
The remote control battery has been previously installed and ready for operation for the rst time
use. When the remote control stops functioning, replace the battery with a new one. To do so,
locate the battery compartment and follow the steps below:
Installing the Remote Control Battery
GETTING STARTED
To ensure that your iPhone or iPod will t properly into the built-in universal dock, we have included several detachable dock adapters for many iPod players with this product. Please check the
bottom of dock adapters to see the compatibility with your iPhone or iPod.
1. How to insert a dock adapter
a. First choose the dock adapter that corresponds with the type of iPhone or iPod you would like
to dock. Using the correct dock adapter ensures the proper t for your iPhone or iPod.
b. Gently push the dock adapter down into the universal dock.
c. Carefully place your iPhone or iPod into the universal dock. It must not be in a case or “Skin”.
2. How to remove the dock adapter
• Remove your iPhone or iPod rst, then grasp the dock adapter and lift upwards carefully.
Note: The iHD171 is not magnetically shielded and may cause color distortion on the screen of some TVs or video
monitors. To avoid this, you may need to move the unit further away from the TV or monitor if unnatural color
shifts or image distortion occurs.
Installing the Dock Adapter
1. Remove the battery cover. Squeeze notched tab A while
pulling battery door latch B to re lease the battery door
latch and slide the battery holder outward.
2. Insert a “CR2025” 3V lithium battery making certain to
follow the correct polarity (+/-).
3. Slide the battery holder back into the remote control.
Battery
door latch
A
B
iLuv | 4iHD171 | V10M10_IM_EN_1030083 | iLuv
This model is equipped with non-skid rubber ‘feet’ to prevent the product from moving when you
operate the controls. These ‘feet’ are made from non-migrating rubber material specially formulated to
avoid leaving any marks or stains on your furniture. However certain types of oil based furniture polishes,
wood preservatives, or cleaning sprays may cause the rubber ‘feet’ to soften, and leave marks or a rubber
residue on the furniture. To prevent any damage to your furniture we strongly recommend that you
purchase small self-adhesive felt pads, available at hardware stores and home improvement centers
everywhere, and apply these pads to the bottom of the rubber ‘feet’ before you place the product on ne
wooden furniture.
Protect your Furniture
1. Remove the battery protective lm.
2. Point remote control toward the front of the main unit. The eective range of the remote is about
19 ft from the remote sensor and within an angle of about 45° from the front of the unit.
Preparing the Remote Control

GETTING STARTED
1. LCD Screen
2. Stereo Speakers
3. VOLUME Knob
4. iPhone / iPod Dock
5. iTunes TAG Button
6. MEMORY Button
7. PRESET Button
8. POWER Button
9. SOURCE/WAKE TO Button
Location of Controls on the Main Unit
GETTING STARTED
18. HEA DPHONE jack
19. AUX IN jack
20. AUDIO OUT R jack
21. AUDIO OUT L jack
22. VID EO OUT jack
23. AM LOO P ANTENNA jack
24. FM AN TENNA connection
Location of Controls on the Main Unit - continued
1. ALARM / RESET / POWER Button
2. SOURCE Button
3. MEMORY Button
4. PLAY / PAUSE II Button
5. REWIND I Button
6. VOLUME - Button
7. MUTE Button
8. PRESET Button
9. SLEEP Button
10. SNOOZE / DIMMER Button
11. FAST FORWARD I Button
12. VOLUME + Button
Note: The included remote control commands all of the basic functions
on iHD171. Aim the remote control towards the center of the main unit
for the best results. To install a new battery, please refer to the section
“Installing the Remote Control Battery”.
Location of Controls on the Remote Control
VOL
AUX IN
OUTPUT
VIDEO
AM ANTENNA
FM ANTENNA
1
2
3
4
5
6
7
19 20 21 23 2418
iLuv | 6iHD171 | V10M10_IM_EN_1030085 | iLuv
10. PLAY / PAUSE II Button
11. TUNING Knob
12. SNOOZE / DIMMER Button
13. EQ / TIME SYNC Button
14. TIME SET Button
15. SLEEP Button
16. ALARM 2 Button
17. ALARM 1 Button
2
10
9
8
7
6
1
3
5
11
2
4
13
14
15
16
17
12
8
9
10
11
12
22
GETTING STARTED
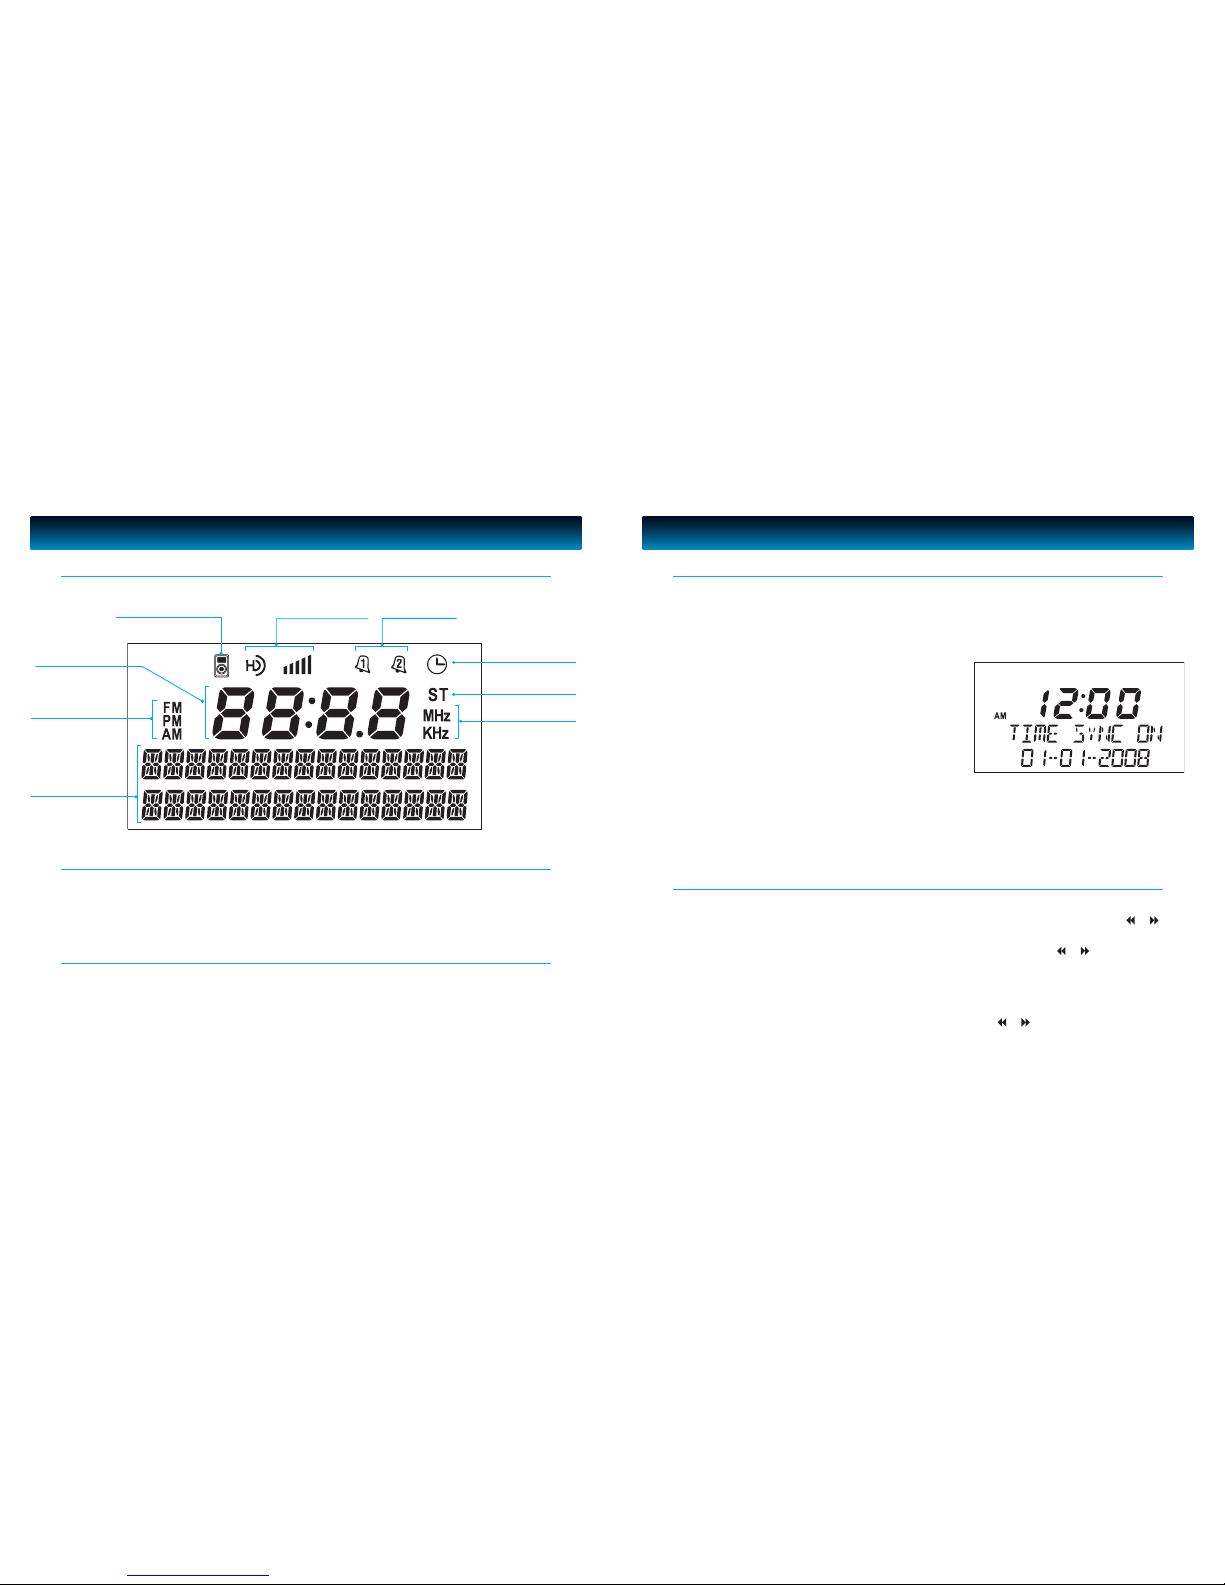
Location of Indications on the LCD Screen
ALARM 1 / ALARM 2
indicator
iPod mode indicator
FM STEREO
Indicator
Frequency unit
Band / AM-PM
indicator
OPERATIONAL INSTRUCTIONS
The iHD171 is equipped with a Time Sync feature which sets the time and date on the clock of the iHD171
in sync with the docked iPhone or iPod.
1. Press and hold EQ / TIME SYNC Button for approximately two (2) seconds to turn Time Sync function
ON or OFF. “TIME SYNC ON” or “ TIME SYNC OFF” will temporarily display on the LCD screen for ve (5)
seconds.
2. After the Time Sync function is turned ON, dock your
iPhone or iPod, the unit will start authenti cation and
will sync time/date from docked iPhone or iPod.
3. As Time Sync processes, “TIME SYNC” will ash for
approximately two (2) minutes on LCD.
4. If Time Sync is turned ON while your iPhone or iPod is
docked, the iHD171 will automatically synchronize time
and date from the docked iPhone or iPod
Note: Time Sync is compatible with iPhone 3G, iPhone, iPod touch (2nd generation), iPod nano (4th generation),
iPod classic, iPod touch (1st generation), iPod nano (3rd generation), iPod nano (2nd generation), iPod with video, iPod
nano (1st generation).
Using the Time Sync Feature
iLuv | 8iHD171 | V10M10_IM_EN_1030087 | iLuv
RBDS Messages /
Date / FUNCTION
indicator
HD Radio / Signal
Strength indicator
SLEEP Indicator
Time / Frequency
readout
1. Push the connector plug on the end of the antenna wire onto the FM Antenna Connector at the
rear of the radio.
2. Straighten out the Antenna to its full length and orient the wire for the best reception.
Connecting the FM Antenna Wire
Connect the provided Loop Antenna as described below:
1. Connect the 3.5mm plug of AM loop antenna to the AM ANTENNA jack at the rear of the unit.
2. Orient the AM loop antenna for the best reception.
Connecting the AM Loop Antenna
1. Press and hold the TIME SET Button located on the top of the unit until 12H or 24H appears. Select
your desired clock display either 12 hour or 24 hour by turning TUNING Knob (or press I or I on
the remote control). Then press the TIME SET Button again to conrm 12H or 24H mode setting.
2. The hour display at the center will ash. Turn the TUNING Knob (or press I or I on the remote
control) to set the current time, then press the TIME SET Button again to conrm clock setting.
(Note: if the system is set to 12-hour mode, the AM or PM indicator will be lighted on.) The minute
display will now ash. Follow the same procedure to set the minute.
3. The month, date and year display at the lower right will ash successively. Press the TIME SET Button
to accept the current setting, or turn TUNING Knob (or press I or I on the remote control) until
current month, date or year is displayed. Press the TIME SET Button to conrm month, date or year
setting.
Setting the Clock Time and Calendar
 Loading...